Introduction
Welcome to the world of extending SAP Fiori elements OData V4 apps using the Flexible Programming Model. This model offers a hassle-free approach to expanding app functionalities. Whether you prefer coding in SAPUI5 or utilizing our new building blocks, you’ll find ample ways to customize your apps with ease. In this blog, I’ll provide an overview of the flexible programming model and guide you to the relevant documentation.
Summary
In this blog, you’ll learn how the Flexible Programming Model simplifies extending SAP Fiori Elements apps. We’ll explore customization options, from basic SAPUI5 coding to leveraging new building blocks. By the end, you’ll have a clear understanding of how to adapt apps effortlessly while discovering resources for further exploration.
Pre-requisites:
- S/4 HANA System
- Sap Fiori Elements App (OData V4)
- VSCode with SAP Fiori Tools – Extension Pack
- Extension Points
- Custom Form Element
- Custom Filter
- Custom Form Element
- Building Blocks
- Table
- Table
- Controller Extensions
- Edit Flow
Extension Points
Extension points in the Flexible Programming Model act like customizable slots in SAP Fiori Elements apps. They let you easily add your own custom elements—sections, actions, form elements, filters, header facets, table columns, and even entirely new pages—just like in Fiori elements for OData V2. But now, you can even seamlessly integrate whole new pages into your app’s navigation flow, giving you the freedom to personalize your app experience in unique ways.
Here are some examples:
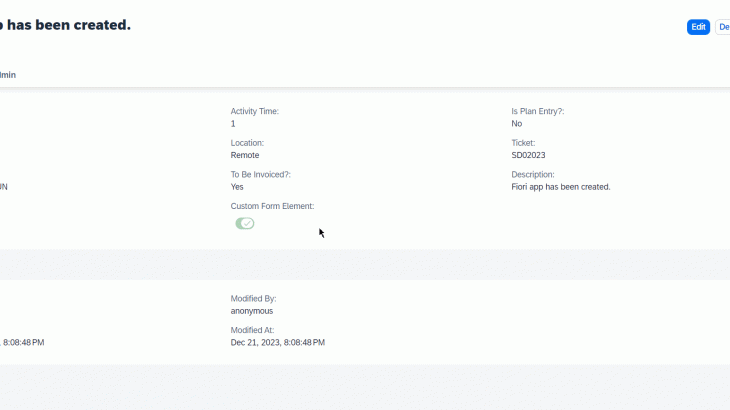
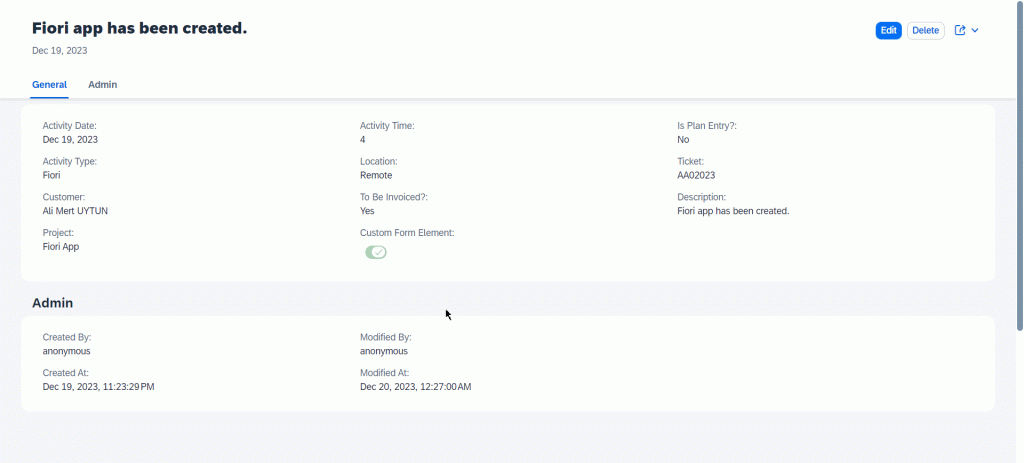
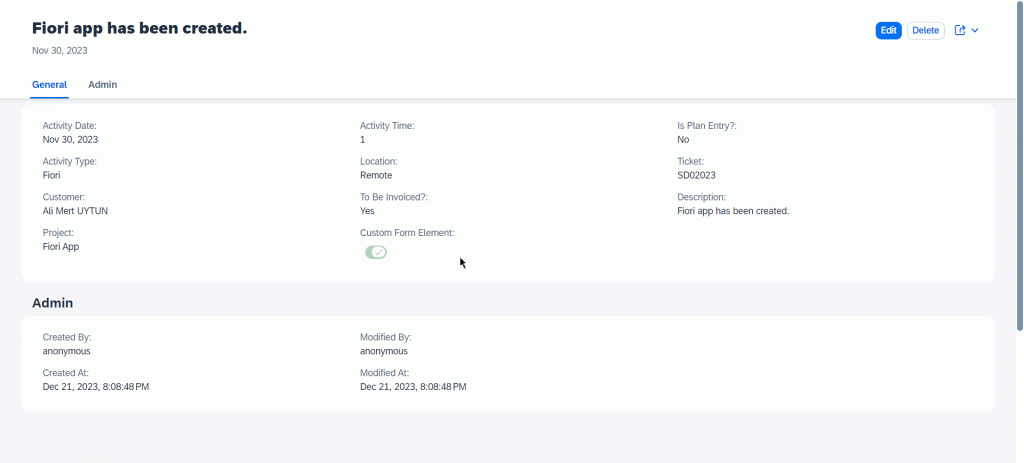
Custom Form Element
Custom form element let you easily add your own unique elements to forms wherever you need in SAP Fiori Elements apps like below.
First, we need change manifest.json
//..
"ActivitySetObjectPage": {
    "type": "Component",
    "id": "ActivitySetObjectPage",
    "name": "sap.fe.templates.ObjectPage",
    "options": {
        "settings": {
            "editableHeaderContent": false,
            "controlConfiguration": {
                "@com.sap.vocabularies.UI.v1.FieldGroup#General": {
                    "fields": {
                        "customFormElementIdentification1": {
                            "template": "activity.list.report.ext.fragment.CustomField",
                            "label": "Custom Form Element",
                            "position": {
                                "placement": "After",
                                "anchor": "DataField::be_invoiced"
                            }
                        }
                    }
                }
            }
        }
    }
}
//..
In this code, our custom field will come from webapp/ext/fragment/CustomField.fragment.xml which has the label ‘Custom Form Element’ and is placed after the be_invoiced field. We should put our code block just below of ‘editableHeaderContent: false’. ‘activity.list.report’ is a namespace. FieldGroup#General is facet which we located our field.
Lastly, we will create CustomField.fragment.xml in webapp/ext/fragment/.
<core:FragmentDefinition
    xmlns:core="sap.ui.core"
    xmlns="sap.m"
    xmlns:macros="sap.fe.macros"
>
    <Switch
        id="checkBoxOption2"
        enabled="{ui>/isEditable}"
        state="{be_invoiced}"
        type="AcceptReject"
    />
</core:FragmentDefinition>
There are two important points. First, the binding field that we want for our custom component and managing the edit status of this component with binding necessary UI properties.
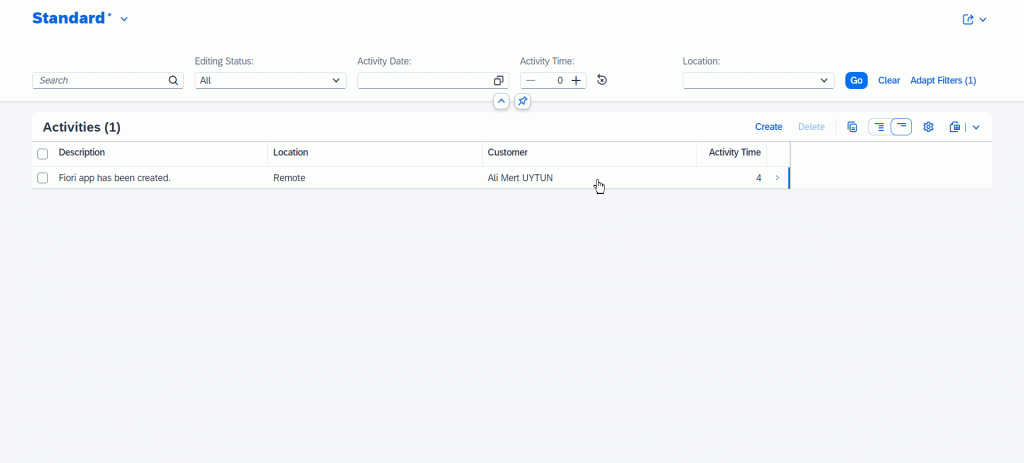
Custom Filter
Custom filters in the Flexible Programming Model allow you to add personalized filters to refine data exactly how you need in SAP Fiori Elements apps.
We need to change the manifest.json.
//...
"ActivitySetList": {
  "type": "Component",
  "id": "ActivitySetList",
  "name": "sap.fe.templates.ListReport",
  "options": {
      "settings": {
          "contextPath": "/ActivitySet",
          "variantManagement": "Page",
          "navigation": {
              "ActivitySet": {
                  "detail": {
                      "route": "ActivitySetObjectPage"
                  }
              }
          },
          "controlConfiguration": {
						"@com.sap.vocabularies.UI.v1.SelectionFields": {
							"showClearButton": true,
							"filterFields": {
								"activity_time": {
									"label": "Activity Time",
									"template": "activity.list.report.ext.fragment.CustomFilter",
									"availability": "Default",
									"position": {
										"placement": "After",
										"anchor": "activity_date"
									}
								}
							}
						}
					}
        }
    }
},
//...
Our custom filter will come from webapp/ext/fragment/CustomFilter.fragment.xml which has label ‘Activity Time’ and placed After activity_date field with ‘Default’ availability. This custom field for ‘activity_time’ field. We should put our code block inside of settings of List Report Page. ‘activity.list.report’ is namespace.
Now, we will create CustomFilter.fragment.xml in webapp/ext/fragment/.
<core:FragmentDefinition
    xmlns:core="sap.ui.core"
    xmlns="sap.m"
>
    <HBox
        id="_IDGenHBox1234"
        alignItems="Center"
        width="100%"
        core:require="{handler: 'activity/list/report/ext/controller/CustomFilter'}"
    >
        <StepInput
            id="_IDGenStepInput1"
            value="{path: 'filterValues>', type: 'sap.fe.macros.filter.type.Value', formatOptions: { operator: 'LE' }}"
            min="0"
            max="8"
            step="2"
            width="100px"
        />
        <core:Icon
            id="_IDGenIcon113212"
            src="sap-icon://reset"
            press="handler.onReset"
            class="sapUiSmallMarginBegin"
        />
    </HBox>
</core:FragmentDefinition>
We have js file to handle press event of reset button. core:require tag in HBox connects our js file to our view. Please note that, we must change dots to slashs in our namespace like that ‘activity.list.report’ to ‘activity/list/report’. Here is CustomFilter.js that is located in webapp/ext/controller.
sap.ui.define(
    ["sap/ui/model/Filter"],
    function (Filter) {
        "use strict";

        return {
            onReset: function (oEvent) {
                this.setFilterValues("activity_time");
            }
        };
    }
);
Building Blocks
Building blocks, distinct from extension points, serve as reusable elements essential in constructing SAP Fiori elements apps. These components, integral to the app’s template, ensure a standardized approach while simplifying development. They’re orchestrated consistently by the framework, ensuring automatic compliance with SAP Fiori standards, including functionalities like draft handling and side effects. Leveraging these building blocks streamlines app extension, promising enduring and easily maintainable software.
Table
I added the table building block to my custom section, boosting my app’s features but you can also use this building block in your custom fiori app. You can use it directly in your own app without much hassle. The cool part? Table building block is also customizable as you can see I added new custom column. It’s a handy feature that makes app development easier and more consistent, giving your app an instant functionality boost.
<macros:Table
        contextPath="/ActivitySet"
        metaPath="to_today/@com.sap.vocabularies.UI.v1.LineItem"
        id="LineItemTable"
        headerVisible="false"
        readOnly="true"
        enableAutoColumnWidth="true"
    >
        <macros:columns>
            <macrosTable:Column
                id="_IDGenColumn1"
                header="Activity Time/Day"
                importance="High"
                width="10em"
                key="FirstColumnKey"
            >
                <mc:HarveyBallMicroChart
                    id="_IDGenHarveyBallMicroChart1"
                    size="XS"
                    total="8"
                    totalScale="hr"
                >
                    <mc:items>
                        <mc:HarveyBallMicroChartItem
                            id="_IDGenHarveyBallMicroChartItem1"
                            fraction="{activity_time}"
                            color="Good"
                            fractionScale="hr"
                        />
                    </mc:items>
                </mc:HarveyBallMicroChart>
            </macrosTable:Column>
        </macros:columns>
    </macros:Table>
ContextPath is your entity name if you want to use entity directly just make metaPath=”@com.sap.vocabularies.UI.v1.LineItem” and you can add custom column and bind easily as below.
Controller Extensions
Controller Extensions in SAP Fiori elements offer a set of internally used extensions, exposing overrideable methods that provide developers with added flexibility in customizing app behaviors.
Edit Flow
The edit flow functionality empowers you to efficiently manage crucial object page events, such as before save, before discard, after edit, and after save, within your Fiori Elements app.
First, we need to add these code block to our manifest.json under sap.ui5 to extend controller for ObjectPage.
//..
"sap.ui5": {
	"extends": {
		"extensions": {
			"sap.ui.controllerExtensions": {
				"sap.fe.templates.ObjectPage.ObjectPageController": {
					"controllerName": "activity.list.report.ext.OPExtend"
				}
			}
		}
	},
//..
Then we need to create OPExtend.controller.js under webapp/ext. We will handle every event in edit flow in that js.
sap.ui.define(
    [
        "sap/ui/core/mvc/ControllerExtension",
        "sap/m/Dialog",
        "sap/m/DialogType",
        "sap/m/Text",
        "sap/m/Button",
        "sap/m/ButtonType",
        "sap/m/MessageToast",
        "sap/m/MessageBox"
    ],
    function (ControllerExtension, Dialog, DialogType, Text, Button, ButtonType, MessageToast, MessageBox) {
        "use strict";

        return ControllerExtension.extend("activity.list.report.ext.OPExtend", {
            // this section allows to extend lifecycle hooks or override public methods of the base controller
            override: {
                onInit: function () { },
                editFlow: {
                    onBeforeSave: function (mParameters) {
                        var sTodayDate = new Date().toISOString().split('T')[0];
                        return this._createDialog("Activity Date will be changed with today's date.").then(() => {
                            mParameters.context.setProperty('activity_date', sTodayDate)
                        });
                    }
                },
            },
            _createDialog: async function (sText, mParameters) {
                return new Promise(function (fnResolve, fnReject) {
                    var oApproveDialog = new Dialog({
                        type: DialogType.Message,
                        title: "Confirm",
                        content: new Text({ text: sText }),
                        beginButton: new Button({
                            type: ButtonType.Emphasized,
                            text: "Continue",
                            press: function () {
                                oApproveDialog.close();
                                fnResolve();
                            }
                        }),
                        endButton: new Button({
                            text: "Cancel",
                            press: function () {
                                oApproveDialog.close();
                                fnReject();
                            }
                        }),
                        escapeHandler: (pCloseDialog) => {
                            pCloseDialog.resolve();
                            fnReject();
                        }
                    });
                    oApproveDialog.open();
                });
            }
        });
    }
);
This code allows you to change activity date with today’s date before save event.
Remember, Guided Development is another valuable tool that streamlines your app creation at various stages. It’s a powerful aid in making your development process smoother and more efficient.


