In Part I, we learnt how to make use of external resources in SAPUI5 applications. Now we will implement same in a project and see the concept in action.
With this article you’ll have a chance to play around the gauges.
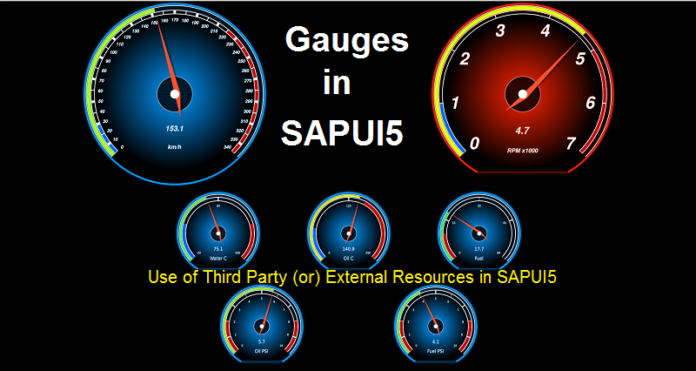
WHAT ARE GAUGES?
Gauges are nothing but a measurement device of any range or value. For example, speedometer, it is also a gauge which measures the speed of our vehicle.
Same way we can represent the gauge in our programming too. Let’s get started an implement a simple Gauges in our Application and make it look cool.
Prerequisites : You should be familiar with WebIDE and creating project.
- If not, do not worry.
- You need this following files to have Gauge effects:
– justgage.js (Licensed under MIT)
– raphael-2.1.4.min.js (Licensed under MIT)
Step 1 : Create an SAPUI5 application.
Step 2 : Make a New Folder in the project and copy these files ‘justgage.js’ and ‘raphael-2.1.4.min.js’ files into your project.

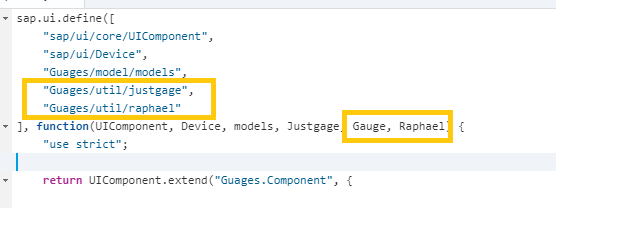
Step 3 : In Component of your application define these files path. Please provide proper path of your files, you can see in my application it is ‘Guages/util/FileName’.
Step 4 : Some Programming
Gauges.view.xml
You can see in the above code that i’m using HTML, FlexBox, Grid to show this gauges you can also try with many other components like VBox, HBox etc.
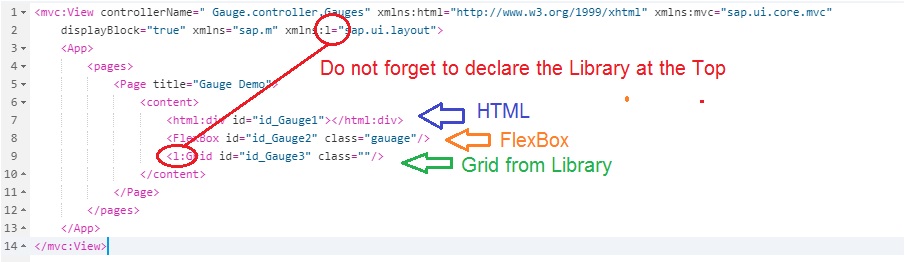
Note: One of our senior SAPSPOT member who is junior in SAPUI5 was trying to use the Grid without declaring the library. Make sure, you do not repeat the mistake. Declare the Library on the Top before using it later.
Gauges.controller.xml
Call the “GuageDispaly” function in “onAfterRendering“.
WHY DO WE NOT CALL THE FUNCTION IN ONINIT?
Technically, we can call the gauageDisplay function in onInit but the resources will not be loaded then. So it makes more logical sense in calling it after rendering.
sap.ui.define([
“sap/ui/core/mvc/Controller”
], function(Controller) {
“use strict”;
return Controller.extend(“ZGauge.controller.Gauges”, {
onAfterRendering: function() {
//Semi-circle gauges
this.GauegeDisplay();
},
//Semi-circle gauges
GauegeDisplay: function() {
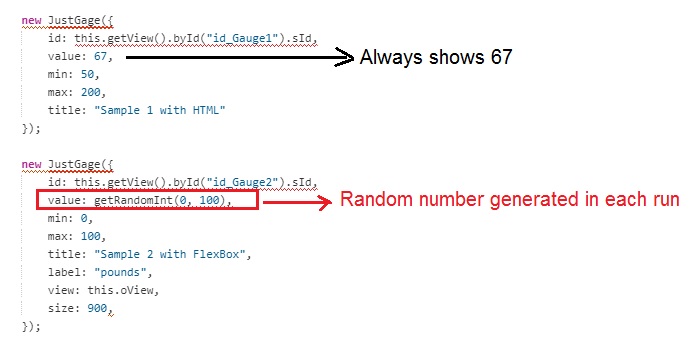
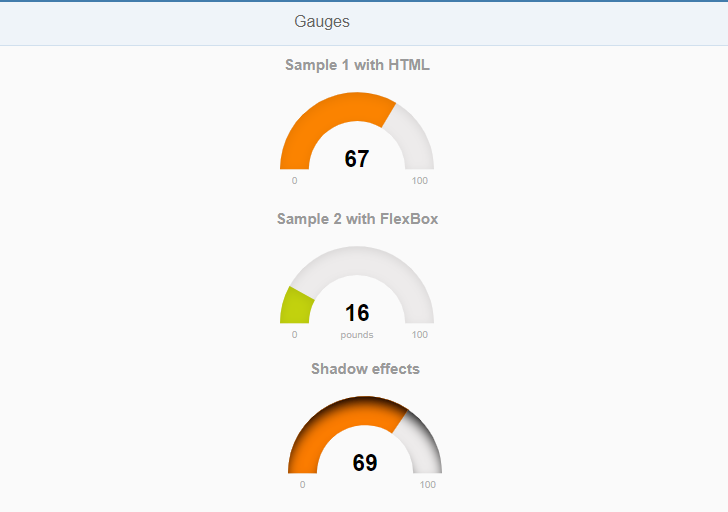
new JustGage({
id: this.getView().byId(“id_Gauge1”).sId,
value: 67,
min: 0,
max: 100,
title: “Sample 1 with HTML”
});
new JustGage({
id: this.getView().byId(“id_Gauge2”).sId,
value: getRandomInt(0, 100),
min: 0,
max: 100,
title: “Sample 2 with FlexBox”,
label: “pounds”,
view: this.oView,
size: 900,
});
new JustGage({
id: this.getView().byId(“id_Gauge3”).sId,
value: getRandomInt(0, 100),
min: 0,
max: 100,
title: “Shadow effects”,
label: “”,
shadowOpacity: 1,
shadowSize: 5,
shadowVerticalOffset: 10,
view: this.oView,
size: 400,
});
},
//Meter Gauges
createGauge: function(container, label, min, max) {
var config = {
size: 120,
label: label,
min: undefined != min ? min : 0,
max: undefined != max ? max : 100,
minorTicks: 5
};
var range = config.max – config.min;
config.greenZones = [{
from: config.min,
to: config.min + range * 0.75
}];
config.yellowZones = [{
from: config.min + range * 0.75,
to: config.min + range * 0.9
}];
config.redZones = [{
from: config.min + range * 0.9,
to: config.max
}];
this.gauges[container] = new Gauge(container, config);
this.gauges[container].render();
return this.gauges[container];
},
});
});
Note: You would find createGauge function in the above Gauges.controller.js. You may ignore it or comment it. We are not using it.
Step 5 : Execute the Application.
There are so many properties that you can play with, like changing the size of the Gauge or giving custom colors and many more. You can find these properties in the Justgage zip file. And there are some examples in the zip file. Do make use of it.


