In this blog post we going to see the steps to send mail content from Front end UI5 applications to CPI in which we configured the mail adapter for sending the contents to the configured mail id’s.
Prerequisites for this demo requires:-
- SAP BTP free tier account
- SAP Business Application studio
- SAP Integration Suite
STEPS TO CONFIGURE IFLOW:
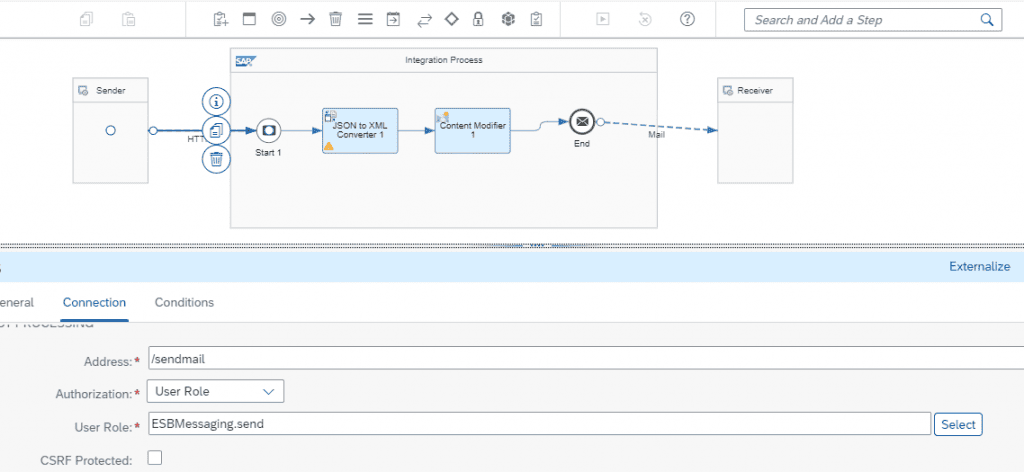
- Create an artifacts with sender, receiver and configure the HTTP adapter as below with the sender, make sure to uncheck the CSRF protection
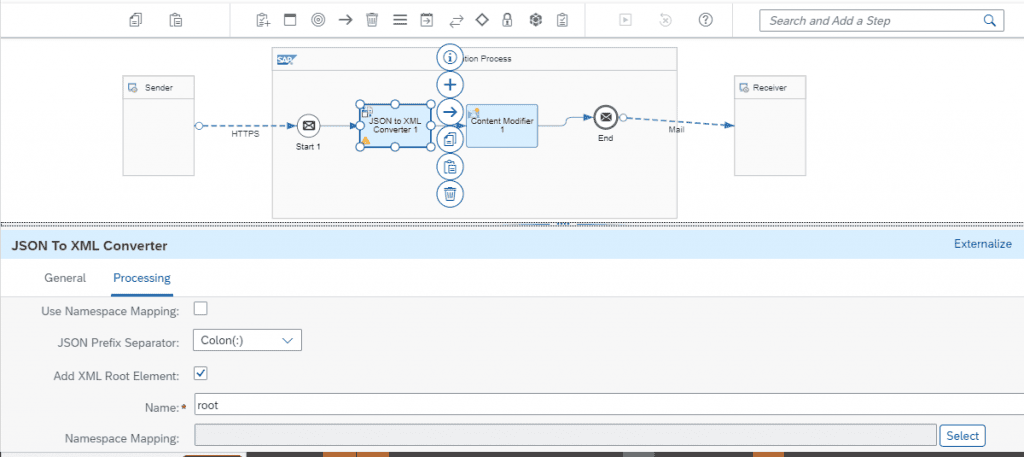
- We are going to pass JSON payload to this iflow so here we are converting it to xml using converter based on our requirement.
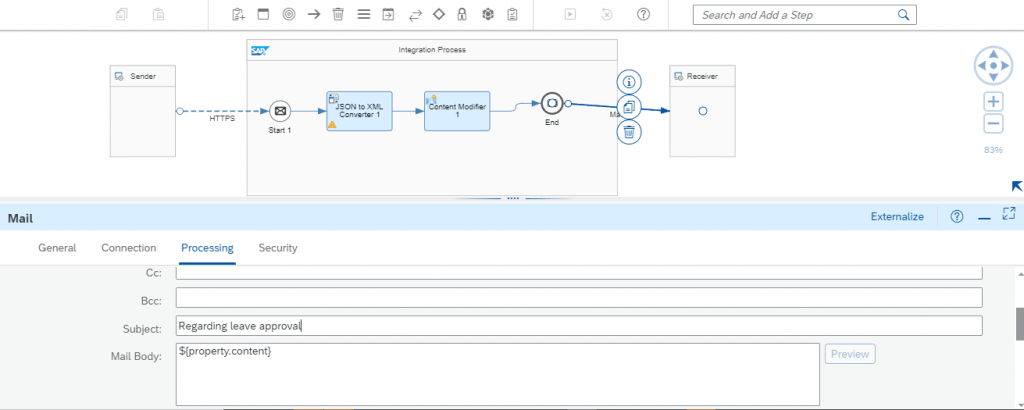
- Next in the content modifier we going to fetch the mail content from the xml using predefined xpath functionality, Basically content modifier is used to modify a message by adding additional data to it.
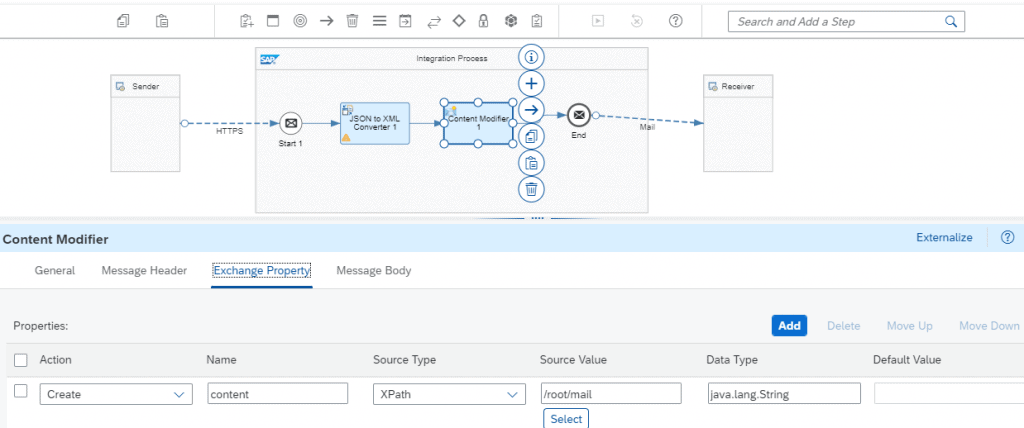
- In the mail adapter we going to pass the property that we created in the content modifier.
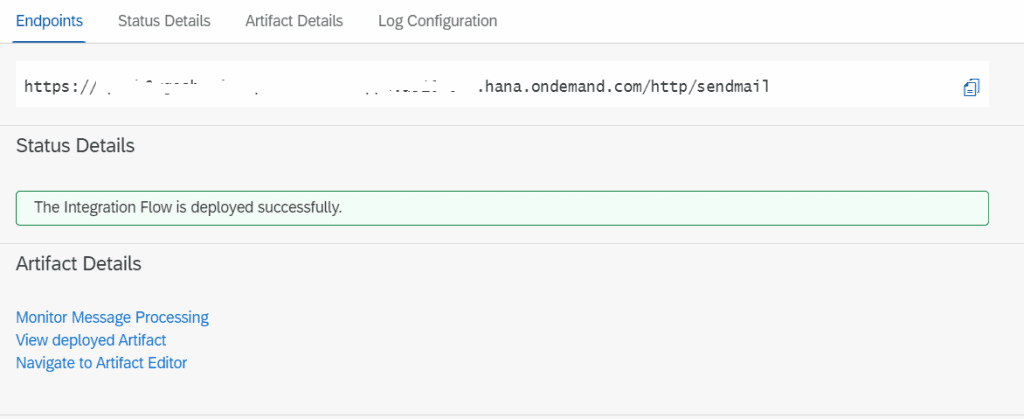
- Now we can deploy the iflow once it is deployed we will be getting the generated endpoint which will be used to trigger the iflow
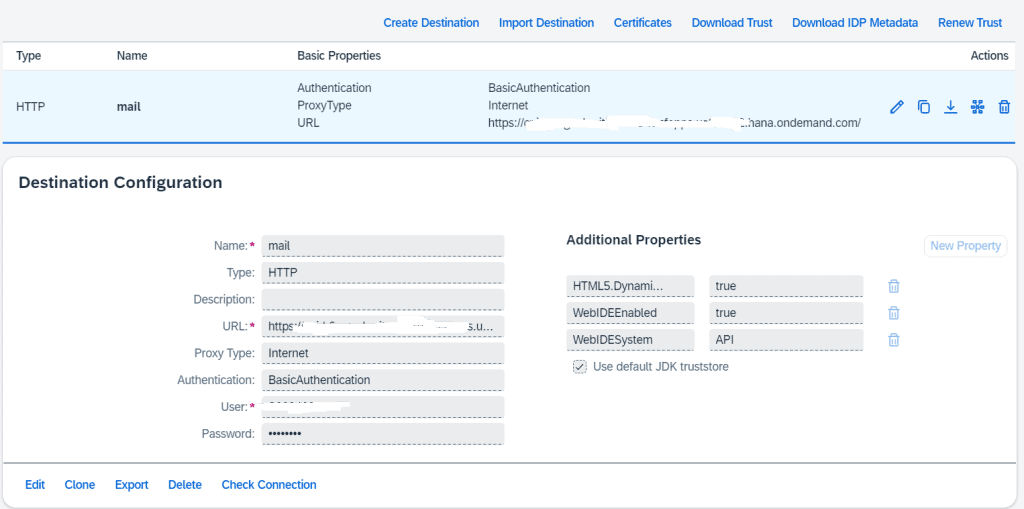
Configuring the CPI Endpoint in SAP destination service:
CREATION OF SAP UI5 APPLICATION:-
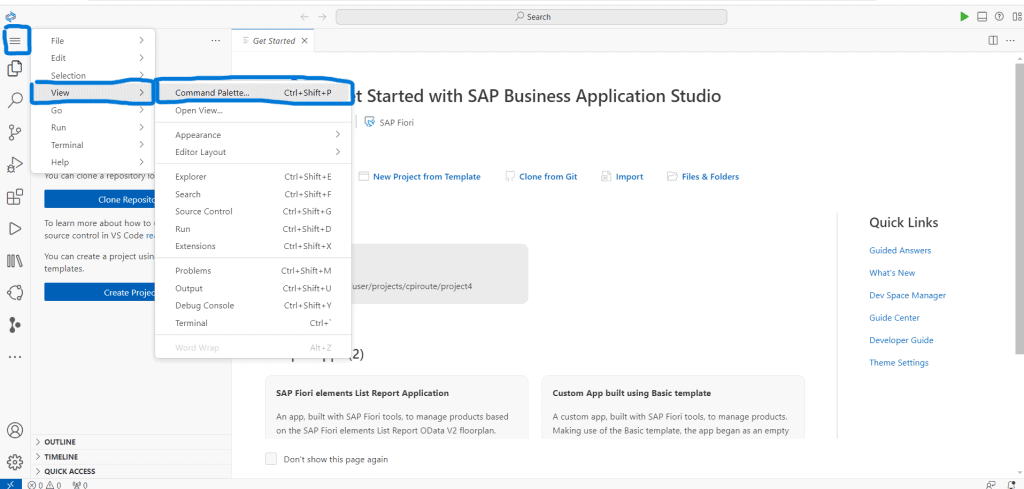
Now it is time to create application since our requirement is to deploy the application in cloud foundry we are going to use standalone approuter for our development.
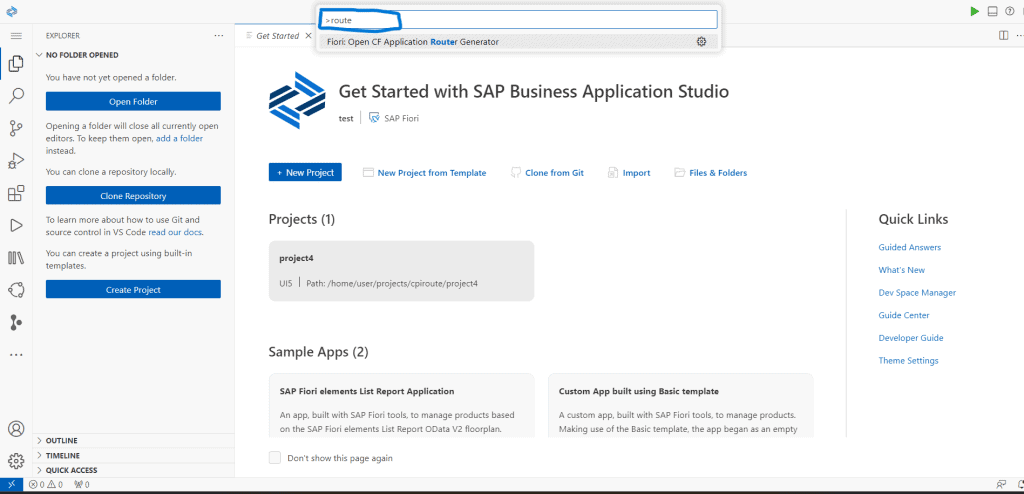
1. select the view from the menu and click the command palette.
2. Type route in the popup and select the router generator
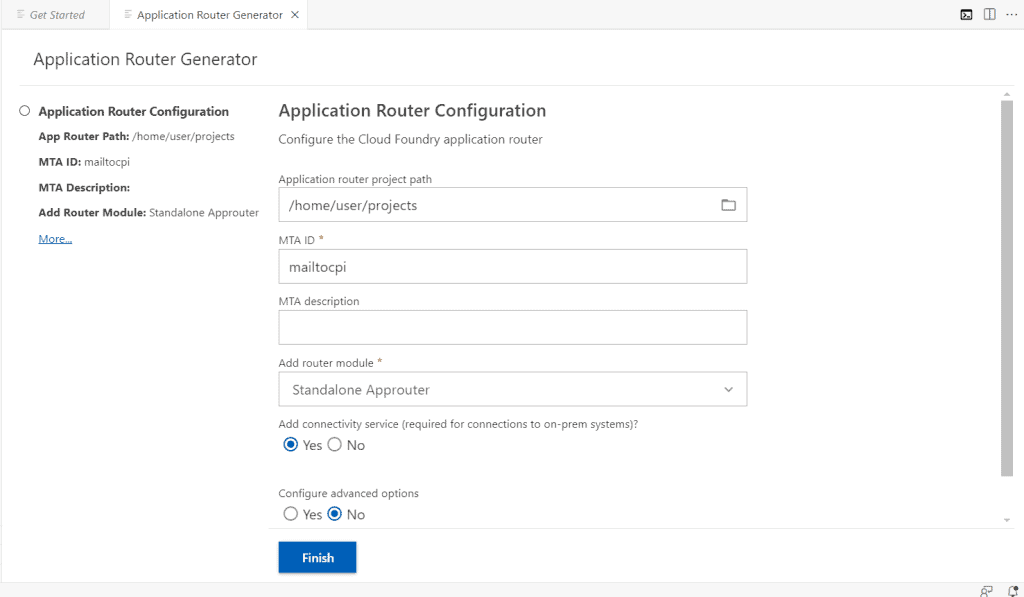
3. Create the router by selecting the standalone router from the drop down and also select the connectivity device then click finish
4. Now the mta.yaml with router configuration file is generated by selecting the open folder option from the menu we can open our mailtocpi router like the below.

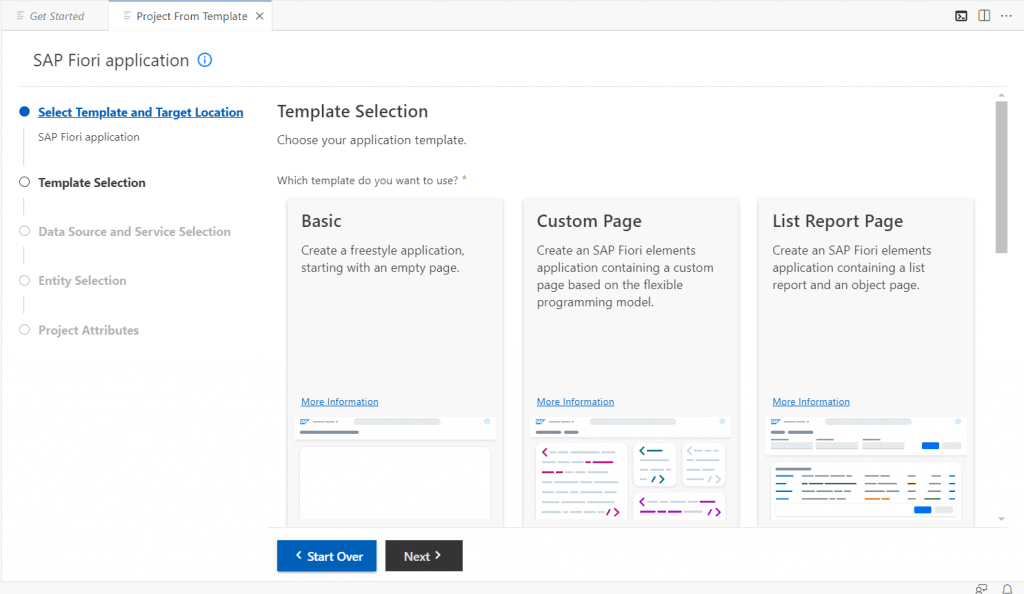
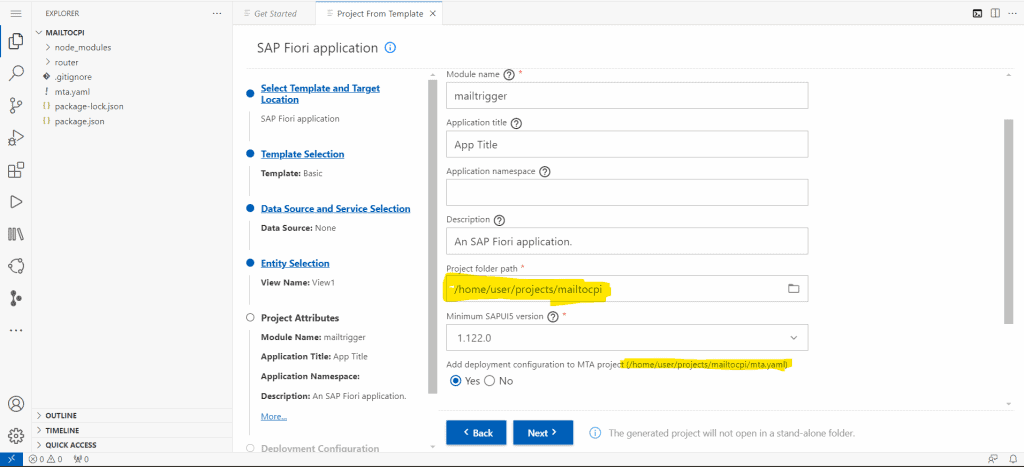
5. Now Select the New project from template and click the sap fiori application tile.

6. Click start you will be getting the options like the below in that select basic and click next
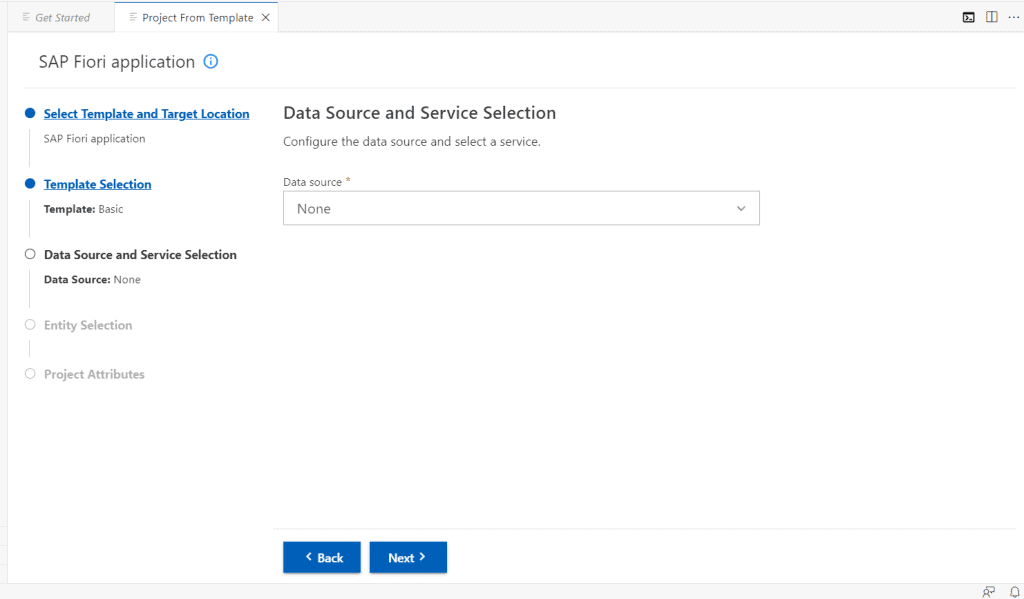
7. Select none for data source and service selection
8. In the project attributes section make sure to define the path of the router we created it will be and select yes for adding the deployment configuration to the router mta.yaml it will add the ui dependencies in the yaml file.
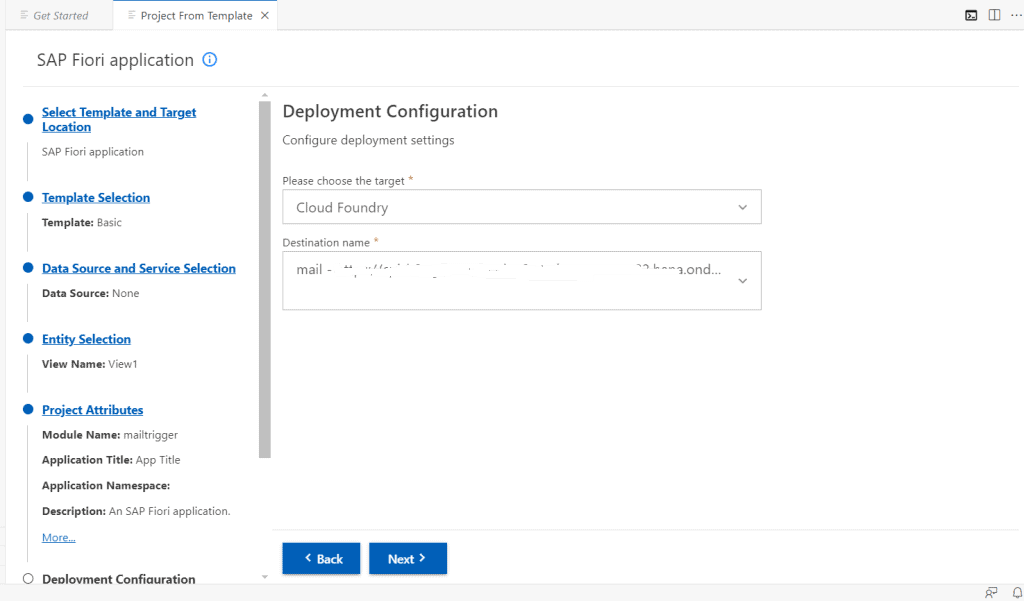
9. In deployment configuration select cloud foundry and the destination we configured.
10. configure your destination in the xs.app.json under the router folder like the below.
{
  "authenticationMethod": "none",
  "routes": [ {

    "source": "/http/sendmail(.*)$",
    "target": "/http/sendmail",
    "destination": "mail",
    "authenticationType": "none",
    "csrfProtection": false
  },
  {
    "source": "^(?:/app|/app/.*)?/resources/(.*)$",
    "target": "/resources/$1",
    "authenticationType": "none",
    "destination": "ui5"
  },
  {
    "source": "^(?:/app|/app/.*)?/test-resources/(.*)$",
    "target": "/test-resources/$1",
    "authenticationType": "none",
    "destination": "ui5"
  }],
  "welcomeFile":"./mailtocpi"
}
11. Adding simple UI with text box and button
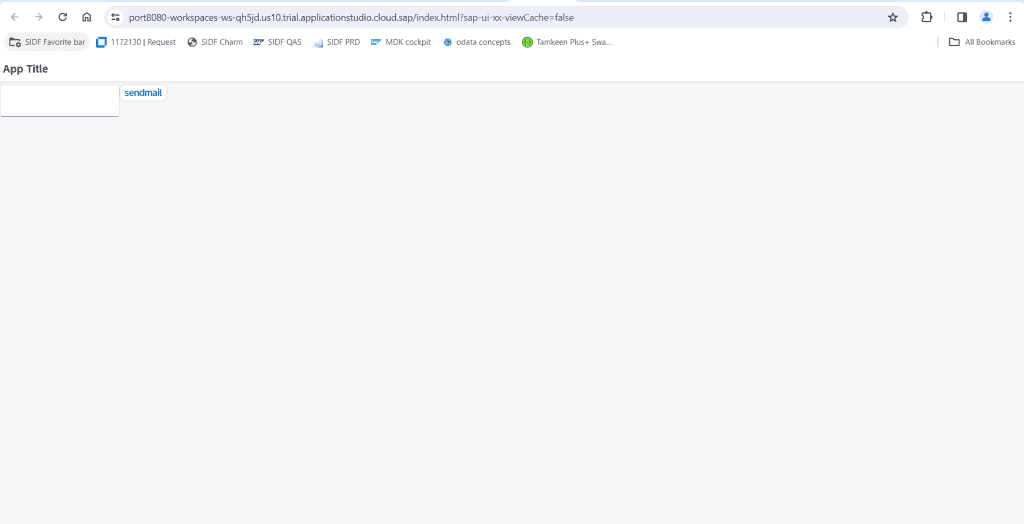
12. Inorder to call the endpoint here we using the ajax call for the click event of the button.
sap.ui.define([
    "sap/ui/core/mvc/Controller"
],
    /**
     *  {typeof sap.ui.core.mvc.Controller} Controller
     */
    function (Controller) {
        "use strict";

        return Controller.extend("mailtocpi.controller.View1", {
            onInit: function () {

            },
            onSend: function () {

                var text = this.getView().byId("mail").getValue();
                var data = JSON.stringify({
                    "mail": text
                });
                // data.mail = "hi im good"
                $.ajax({
                    type: "POST",
                    url: "/http/sendmail",
                    headers: {
                        "content-Type": "application/json"
                    },
                    data: data,
                    success: function (resultData) {
                        alert("Mail Sent Successfully");
                    }
                });
            }
        });
    });
RUN APPLICATION LOCALLY IN BAS:-
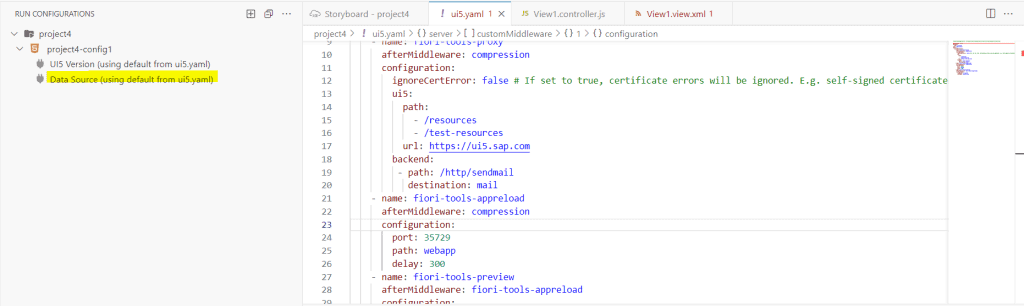
In-order to test locally the application in Business application studio we need to configure the path and the destination name in UI5.YAML like the below which will proxy and redirect our request to the destination
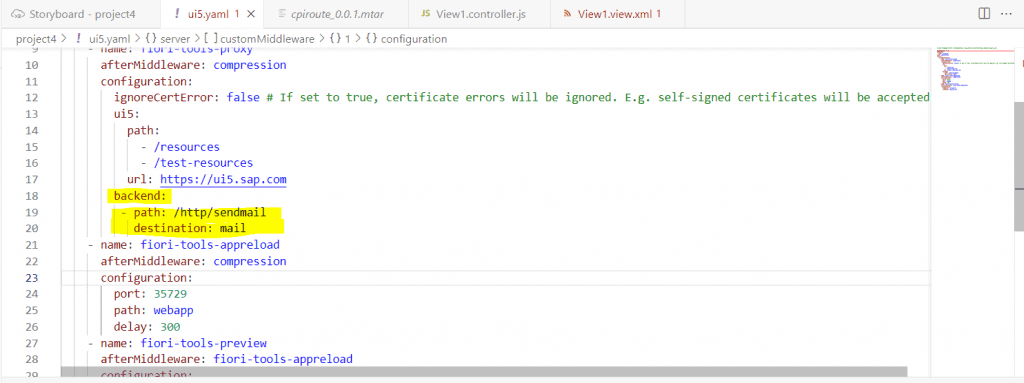
select the data source as default from ui5.yaml
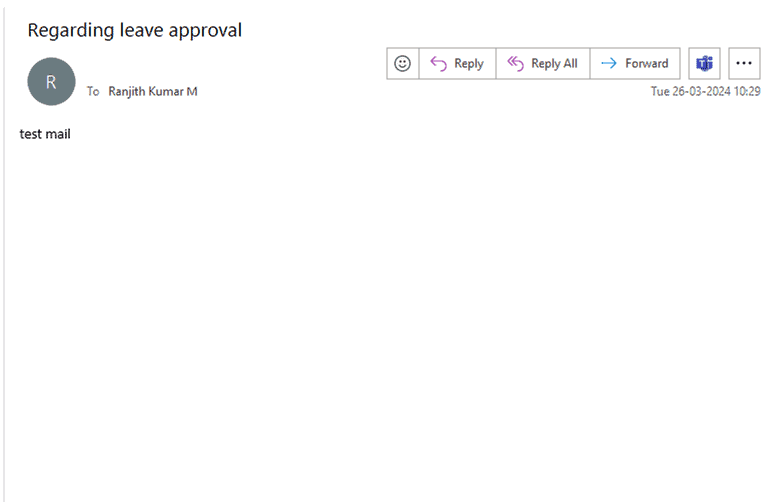
Test Result locally:-

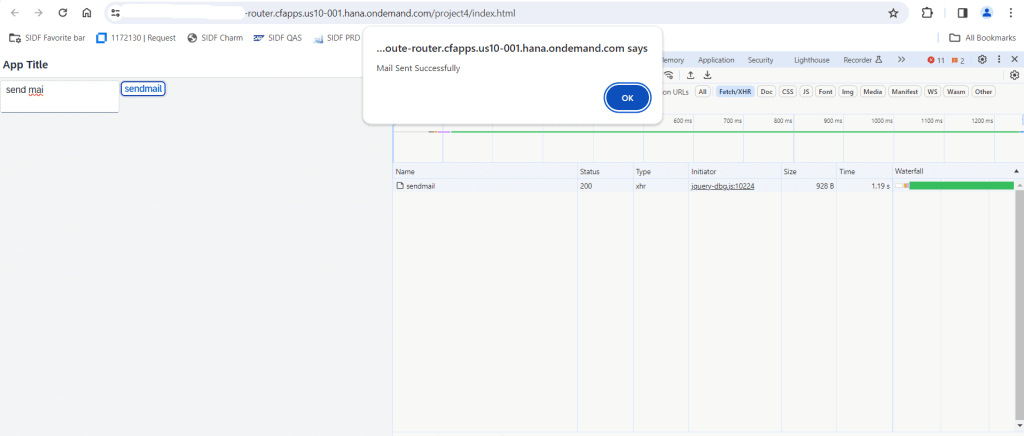
Mail is been sent to the configured mail id.
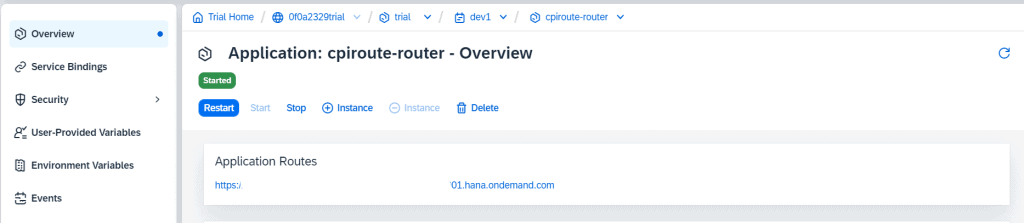
DEPLOYED APPLICATION IN CLOUD FOUNDRY:-
Once we deploy our application to the cloud foundry space we will be getting the route url running in our space like the below.
If we configured the app router correctly by following the above steps you will be getting the api call successfully like the below from your deployed cloud foundry application.