Let me make a confession. SAPSPOT is for beginners but the topics which I have covered so far or would cover in future are for advanced UI5 developers. You need to have worked in some SAPUI5 projects to assimilate it. Or else, it might be all bouncers and you would have to duck through the articles. This is not to dissuade you but to give you a realistic picture of project requirements. What you learn in online/offline/class room training is not always what the clients demand in real projects. Very often than not, there is a huge gap between what we are trained for and what work we get in projects.
Poor Internet Connectivity has direct correlation with the scope for Offline Applications. But sometimes Offline Application may be a business decision too and not just connectivity adversity.
Pre requirements:- Knowledge of creating Hybrid Applications and Simple CRUD batch operations using Odata Model
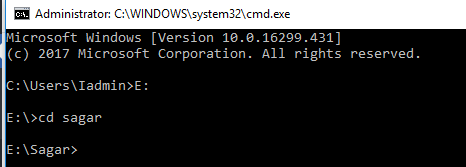
Step1:- Open cmd prompt
Step2:- Create Offline Project of Cordova

Step3:- Add the platform

Step4: Add the SQL Lite Plugin

Step5:- Add the Network information plugin
<code>cordova plugin add cordova-plugin-network-information</code>Step6:- Create a call back Function to perform Sync when device is online
<code>document.addEventListener("online", yourCallbackFunction, false);</code>Step7:- Check for Online or Offline Status
navigator.connection.type if its not none then device is online. This is where the yourCallbackFunction can perform batch operation. Before any crud check if device is online else store in the Database of SQL
<code>var db = window.sqlitePlugin.openDatabase({    name: 'my.db',    location: 'default',  });

//Offline scenario example where crud is insert operation and no internet
if (navigator.connection.type == "none"){

db.transaction(function(tx) {    tx.executeSql('CREATE TABLE IF NOT EXISTS DemoOffline (id, value)');    tx.executeSql('INSERT INTO  DemoOffline  VALUES (?,?)', ['100', 101]);  },
function(error) {    console.log('Transaction ERROR: ' + error.message);  },
function() {    console.log('Populated database OK');  });

}else{//Perform usual oModel.create("/Entity,oentity,{success:function(){},error:function(){}}");}</code>
Step7:- Batch Operation once Online
Once device is online as per step6 you need to perform batch operation
<code>yourCallbackFunction: function(){
var array = [];
  db.transaction(function(tx) {
    tx.executeSql('SELECT * FROM DemoOffline', [], function(tx, rs) {
     //rs.rows.item push it into an array
    }, function(tx, error) {
      console.log('SELECT error: ' + error.message);
    });
  });
if(array.length>0){
//Create the batch operation
//Call the oModel.submitChanges();
}
}</code>
Step8:- Build an APK file using the below final command


