
There are 4 types of Model in UI5 namely JSON model, OData Model, XML Model and Resource Model. Of these, JSON, Resource and XML are client side Models while OData is a server side Model.
In this tutorial, we will create a JSON model and bind it to sap.m.List Control. We shall do this exercise using the SAP Web IDE. The data in JSON model will be that of the employees of a company. The data will contain attributes like employee ID, employee name, location and contact number.
Let’s start our development.
Login to your Web IDE account. Once you are logged in and navigated to the Web IDE service, below page will be displayed.
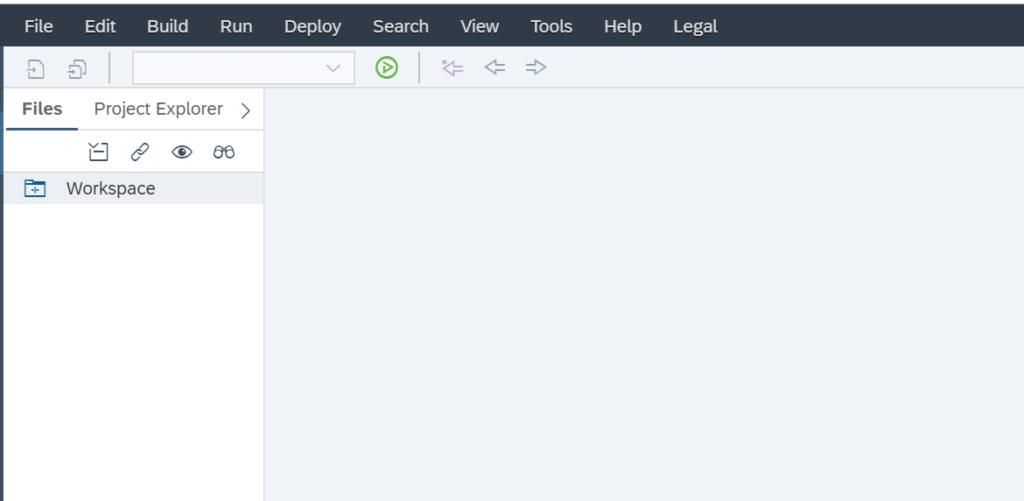
SAP Web IDE Initial Page
Next, lets create a new project. So, go to File->New->Application from Template.
Below wizard will start. Select the template as SAPUI5 Application.
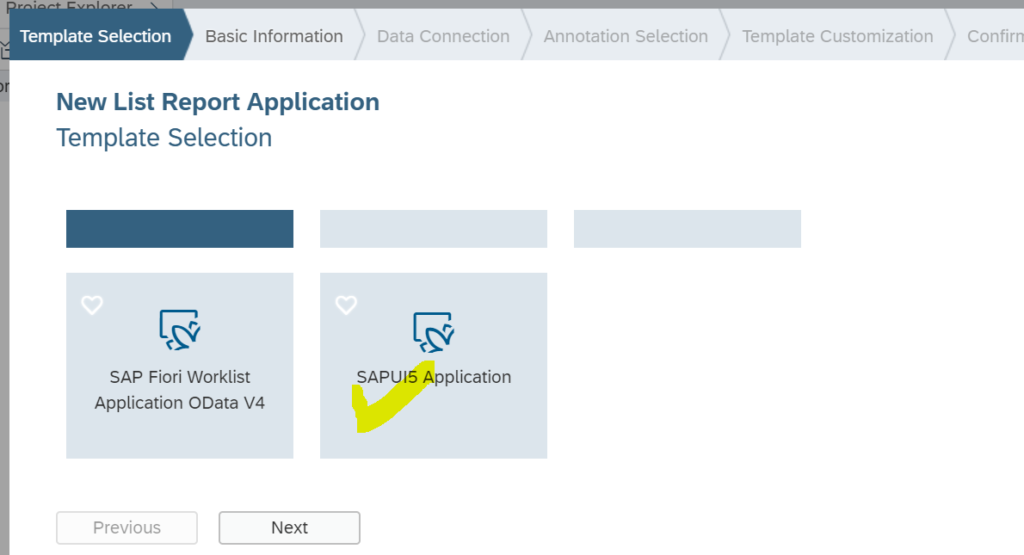
Click Next, then enter basic information like name and name space of the application.
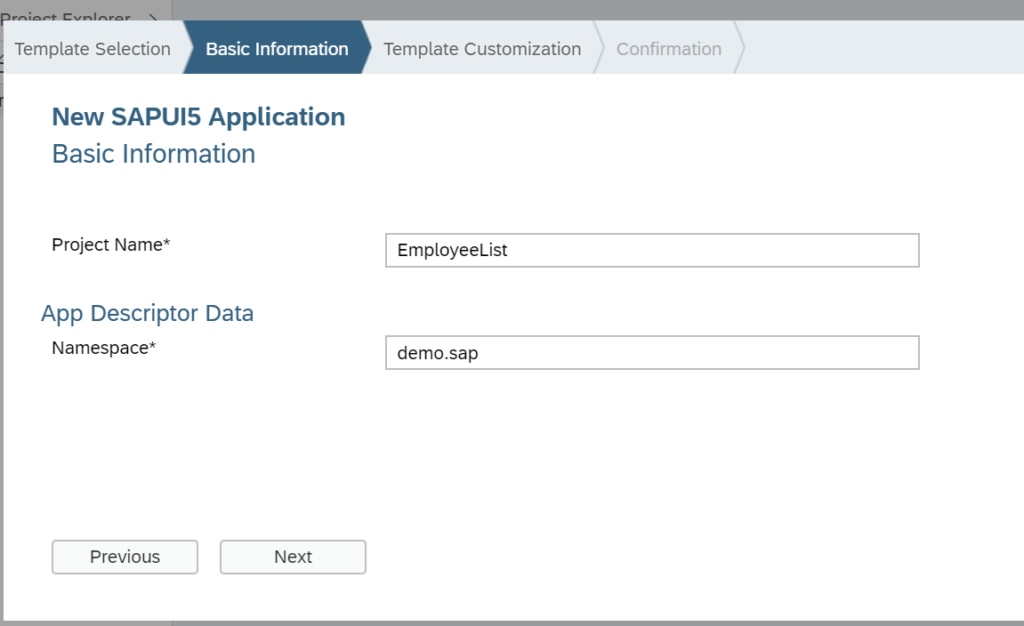
Click next and then select which type of view you want to create in your application (xml,js,html or json). XML is the preferred view type as recommended by SAP, I’ve selected XML. Provide a name of the view. I’ve let the name remain the same as populated by the wizard.
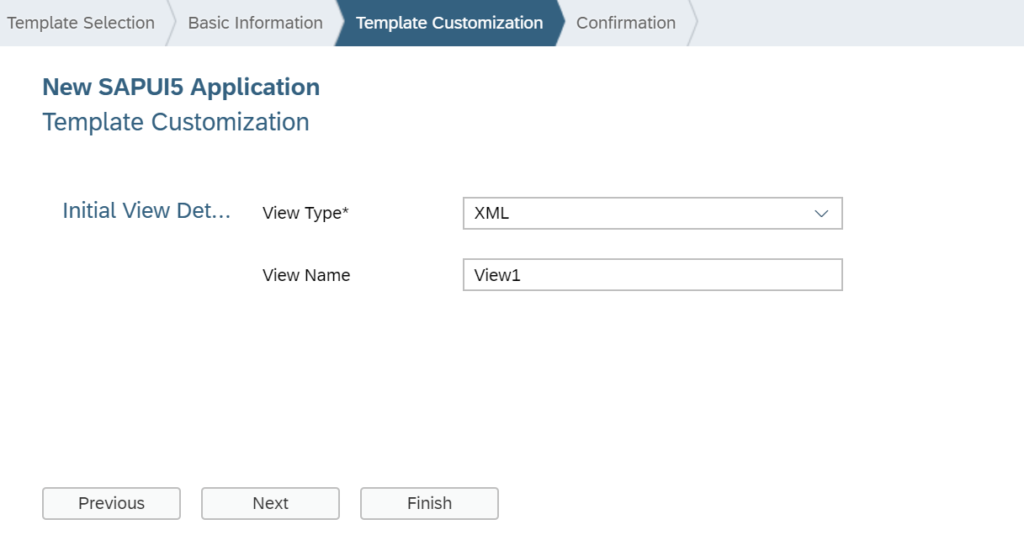
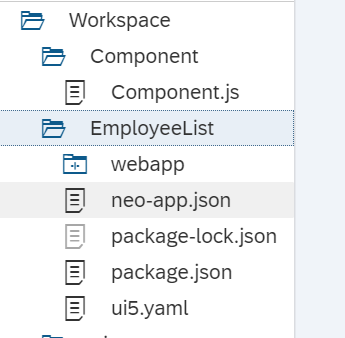
Click Finish. Below shown project will be created in your Web IDE workspace.
Next, Open View1.controller.js file and add below code in the onInit method of the view.
<code>sap.ui.define([
	"sap/ui/core/mvc/Controller",
	"sap/ui/model/json/JSONModel"
], function (Controller, JSONModel) {
	"use strict";

	return Controller.extend("demo.sap.EmployeeList.controller.View1", {
		onInit: function () {

// Create Employee Data in JSON format. In below data,'emp' is the rootnode.
			var oEmpData =
			{
	       emp: [{
			empid: "111111",
			empname: "John Walter"
		},
		{
			empid: "222222",
			empname: "Rashid Khan"
		},
		{
			empid: "333333",
			empname: "Supriya Singh"
		}
	]
};
// Create an instance of JSON Model using the Employee data available above.
var oModel = new JSONModel(oEmpData);
// Set the Model to the current view so that Model's data is available to
// the entire view. It means any control within that view can use this
// Model's data for binding unless another Model is bound to that specific control.
this.getView().setModel(oModel);
		}
	});
});</code>
In the above code, we are doing 3 things:
- First, creating Data of Employees in JSON format. ‘emp’ is the root node.
- Secondly, we are creating an instance of JSON model using Employee data. var oModel = new JSONModel(oEmpData);
- Lastly, we are setting the Model to the View so that its data is available to the control’s of the view for binding. this.getView().setModel(oModel);
After this, lets create the view part. So, open view1.view.xml file and add below code in it.
<code><mvc:View controllerName="demo.sap.EmployeeList.controller.View1" xmlns:mvc="sap.ui.core.mvc" displayBlock="true" xmlns="sap.m">
	<Shell id="shell">
		<App id="app">
			<pages>
				<Page id="page" title="{i18n>title}">
					<content>
						<List
							id="emplist"
							items="{/emp}"
							headerText="Employee Data"
							headerDesign="Standard"
							footerText="End of the List"
							noDataText="No Employees"
							showNoData="true">
							<items>
								<StandardListItem title="{empid}" description="{empname}"></StandardListItem>
							</items>
						</List>

					</content>
				</Page>
			</pages>
		</App>
	</Shell>
</mvc:View></code>
For better visibility and understanding, screenshot of xml view code is given below.
In the XML view, I’ve highlighted 3 areas namely:
- items aggregation of List Control, title and description properties of StandardListItem. Since ’emp’ is the rootnode of our JSON model, it is used to bind the items of List control. It indicates that all records/line items of JSON model will be displayed in the List by the virtue of the so called aggregation binding. items=”{/emp}”
- Also, We need to tell the view that which control will be used as template for populating all the line items of the list. So, in our case, we’ve chosen StandardListItem.
- Then, we’ve bound the title and description properties of StandardListItem to empid and empname attributes of JSON model. “{empid}” “{empname}”
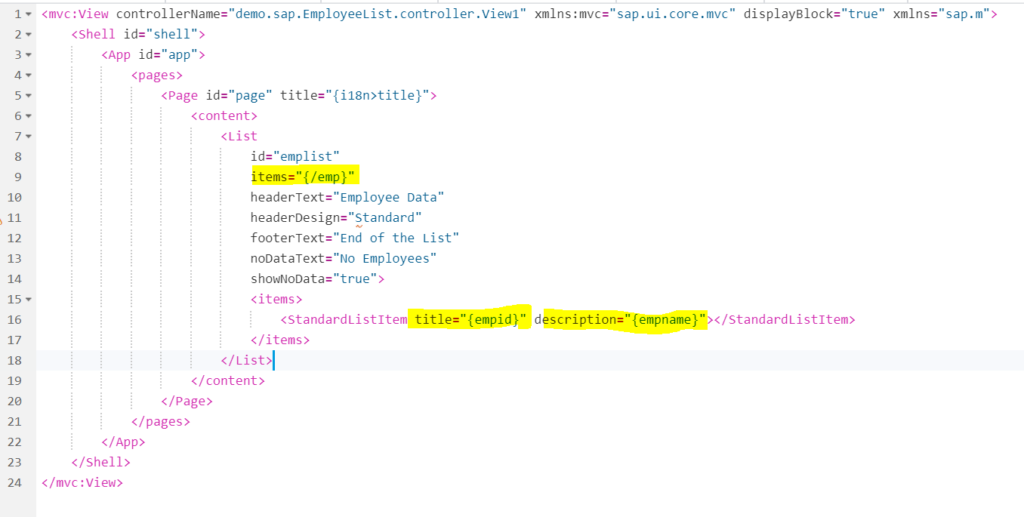
XML view showing binding
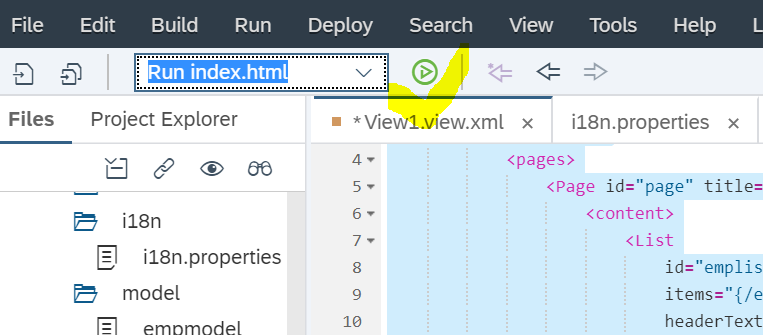
Let’s Test
Time to execute the application…Click on Play button available on the toolbar of Web IDE.
And this is the output, We have successfully created a List Control which is responsive (can render well on Desktop, Laptop, Mobile and Tablet devices).
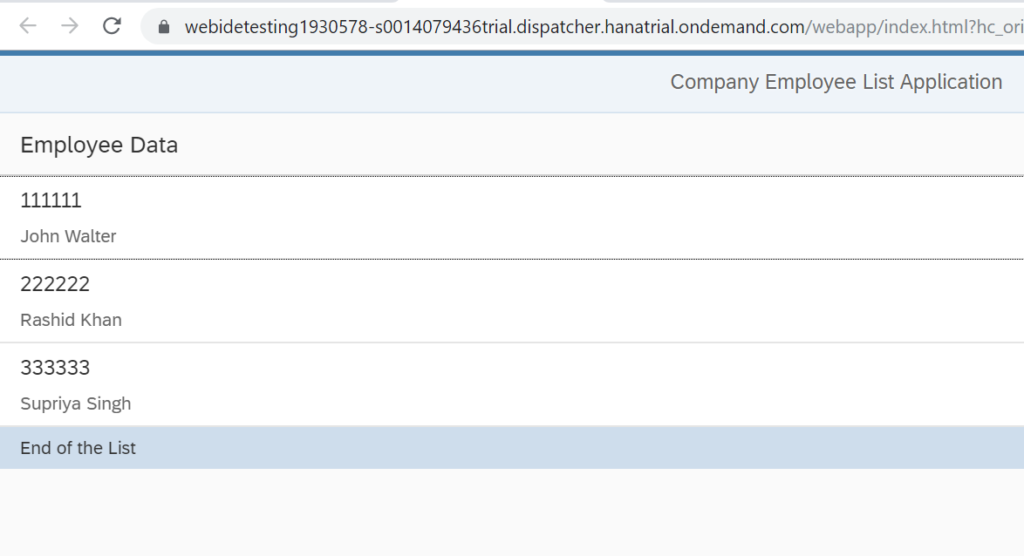
SAPUI5 List Control showing Employee code and name in Title and Description properties respectively
Navigation Feature in the App
Further, lets add navigation feature in the list to make our application dynamic. Let us make the list clickable and display the clicked item details in a ObjectHeader Control below the List.
To achieve this click, navigation and display, we need to perform below 3 activities:
- Add a ObjectHeader Control below the List in our View.
- Define the type property of StandardListItem to ‘Navigation‘ so that the list items become clickable
- Finally we define a press event handler to handle the event of press on the StandardListItem.
After these changes, xml view code will look like below. New changes are highlighted in yellow.

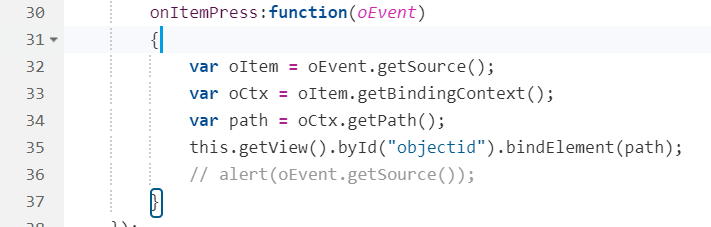
Also, we need to define event handler for the press event of StandardListItem. The event handler called onItemPress is defined in controller. Please refer below code for it.
<code>onItemPress:function(oEvent)
		{
			var oItem = oEvent.getSource();
			var oCtx = oItem.getBindingContext();
			var path = oCtx.getPath();
			this.getView().byId("objectid").bindElement(path);
			// alert(oEvent.getSource());
		}</code>
Screenshot of the code is also given below:
Let’s understand the Event Handler code:
- In this event handler, we are passing oEvent as the parameter. This is framework defined parameter and using this we can identify which control had triggered the event.
- Once we have the instance of the control which triggered event, we can easily obtain its binding context and hence the path of the binding within a list of items.
- We can then use the path to do a Element binding on any other control (ObjectHeader in this case) and display the data available on that path.
For example, when item no. 3 in the list is clicked, the path gets calculated as ‘/emp/3′. This path is passed to bindElement method. As a result data of third list item gets displayed in the ObjectHeader Control. This is shown below.
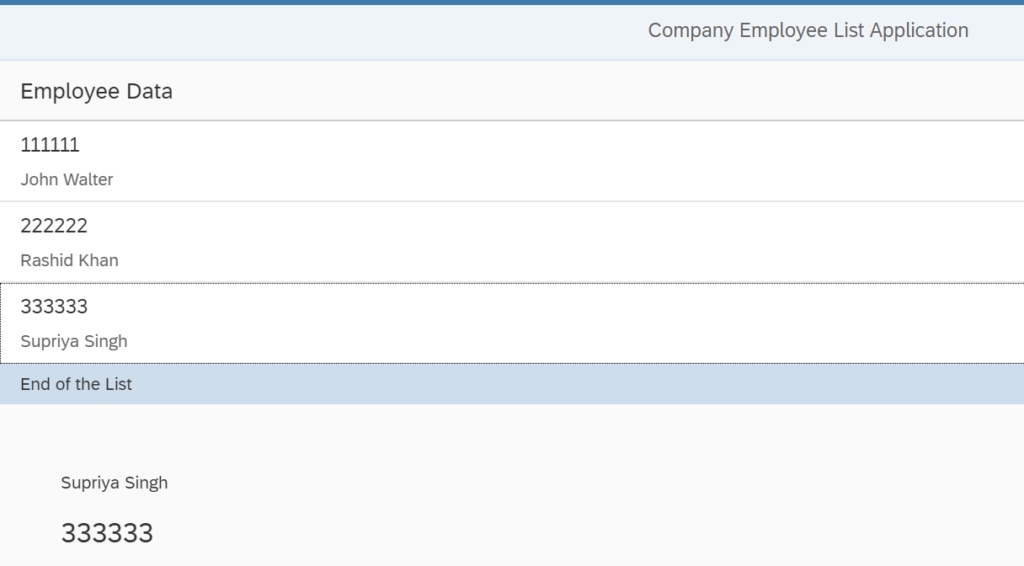
Third Item in the list was clicked to display its details in the ObjectHeader Control below the List


