Though it has been some months that we released the Implementation principle document on certain topics that help in optimizing the configuration of Onboarding
Onboarding 2.0 relies on business rules to determine the user experience for new hires based on attributes such as organizational information. In this document certain scenarios are listed where in business rules can control the following
- The Home Page Tiles visible to the new hire
- The Onboarding Program associated with the new hire’s specific scenario
Scenario 1 Custom tiles visibility on the home page (Note this is not for the new home page)
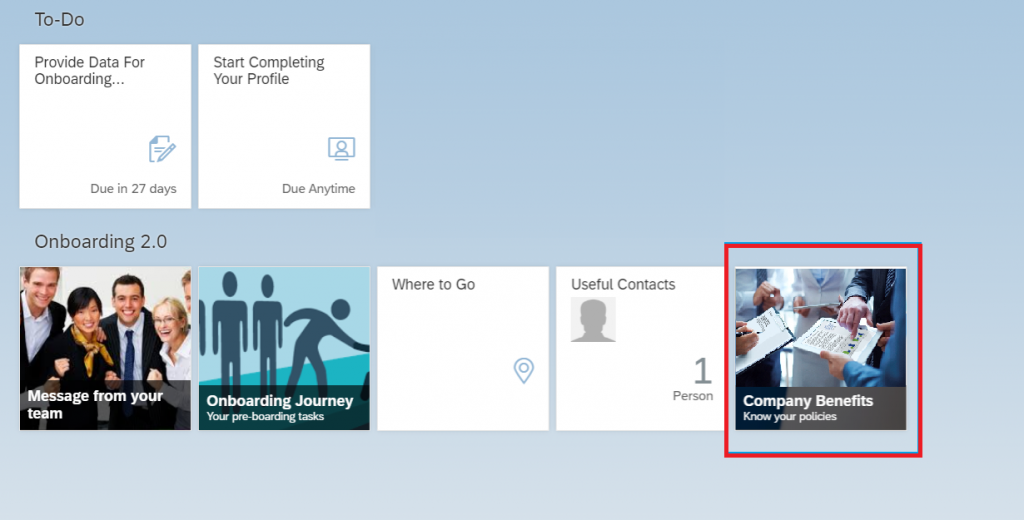
Very often there is a requirement Custom Home Page tiles should be shown based on organizational attributes like company or division or sometimes even based on country.
One recommended use of these tiles is to provide policies or non-signature forms for the new hire to reference in a convenient location. Using business rules, we can determine which tiles and policies show up for a new hire based on their country or other attributes. Below is an example of how to restrict visibility based on the country of employment.
Step 1: Open transaction for creating business rules.
To create a business rule, navigate to Admin Center>Business Rules Admin and select the “+” to add the business rule.

Step 2: Select the right rule scenario.
In Configure Business Rules select rule scenario Custom Tile > Show New Hire Onboarding Content scenario.

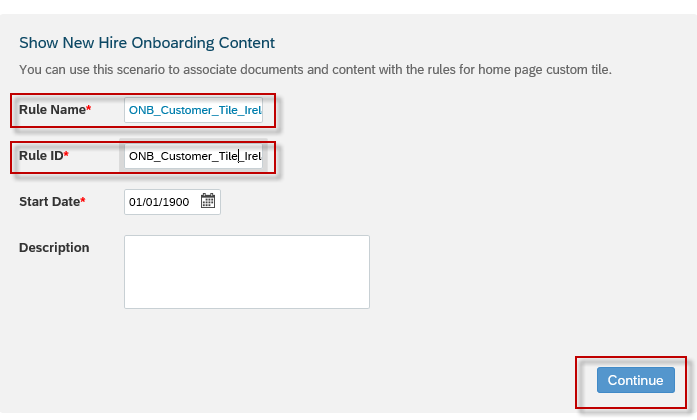
Step 3: Enter the rule header.
Create your rule name as shown in the following example:
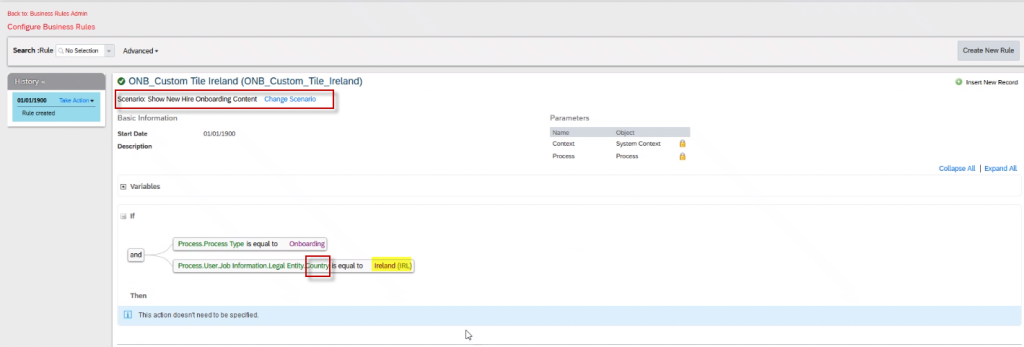
Step 4: Add the ‘If’ condition
Create the rule for a specific country. In this example, we’ve considered the country of Ireland. Select Process and enter the criteria. Process Type is equal to Onboarding and the Process User Job information Legal Entity Country is equal to Ireland.
Note: The legal entity in Employee Central must be already associated with the country/region before creating this rule.
Step 5: Create the custom tile
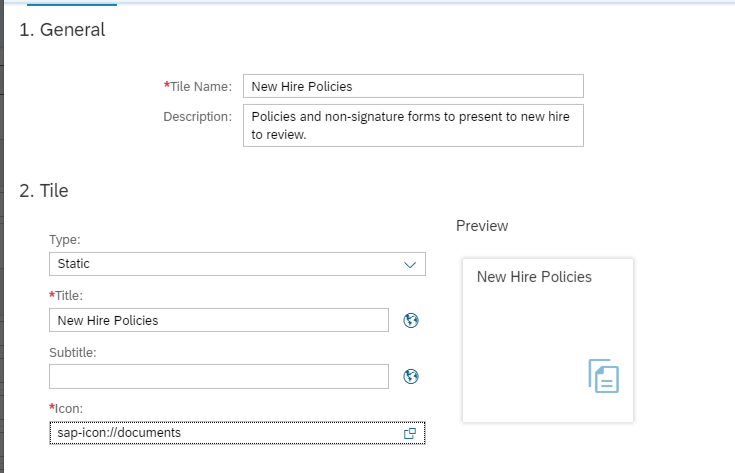
Once the rule is created, go to the Admin center > Manage Home Page, and select Add Custom Tile. Enter a Tile name and select an icon for the custom tile as shown in steps 1 and 2.
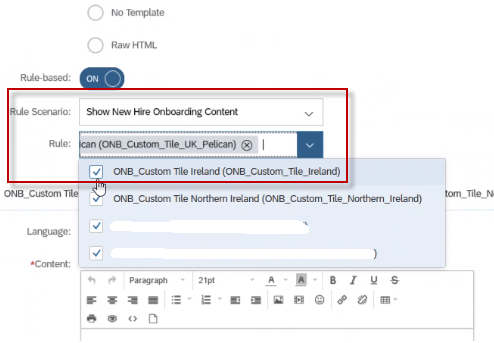
Step 6: Turn on Rule-Based toggle.
Slide the Rule-based toggle to turn it ON, and select the rule base and select Rule Scenario “Show New Hire Onboarding Content”. Select the newly created business rule from the drop-down. In this example, the created rule is ‘ONB_Custom Tile Ireland’.
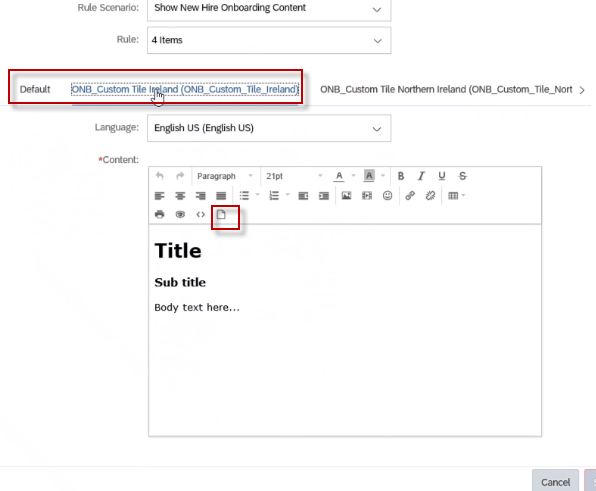
Step 7: Assign the business rule created earlier.
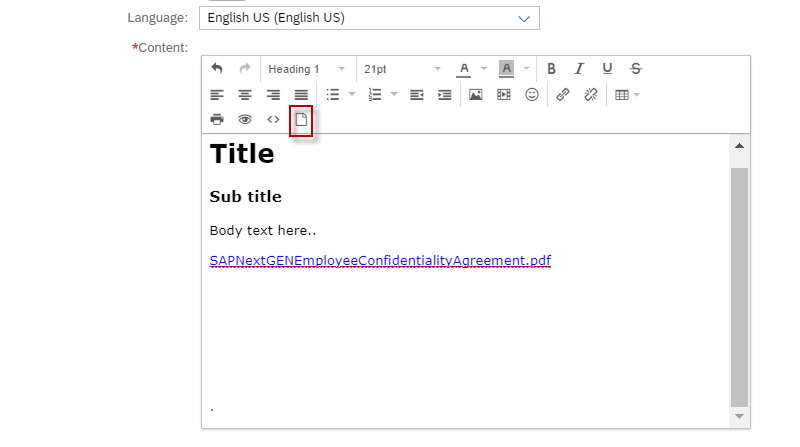
Select the correct tile. For example, to add content for the specific country/region tile, select ONB_Custom Tile Ireland. Click on the Document icon to insert the Document link to the tile.
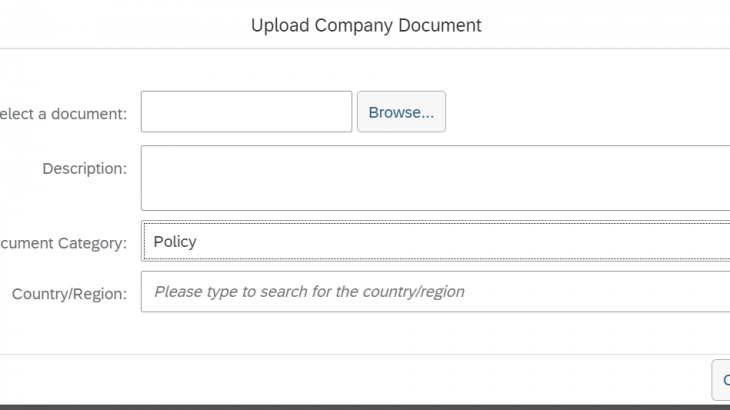
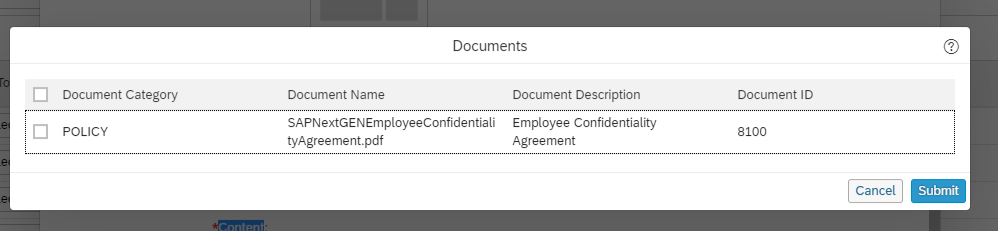
Step 8: Select the document that must be a part of the custom tile
Select your document. Note you must have your policy uploaded before this step under Admin> Manage Documents.
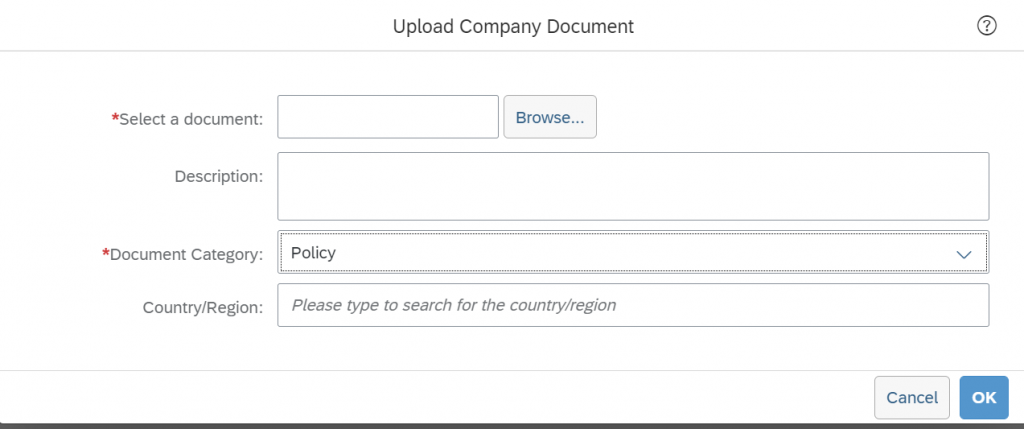
In manage Documents , use the upload icon on the bottom right corner of the screen
Select Policy document as the document category.
Step 9: System generates the link for the custom tile.
The system will then generate the link for your custom tile. We recommend that you move the link below the title, subtitle, and body text as the system generates the link above the Title.
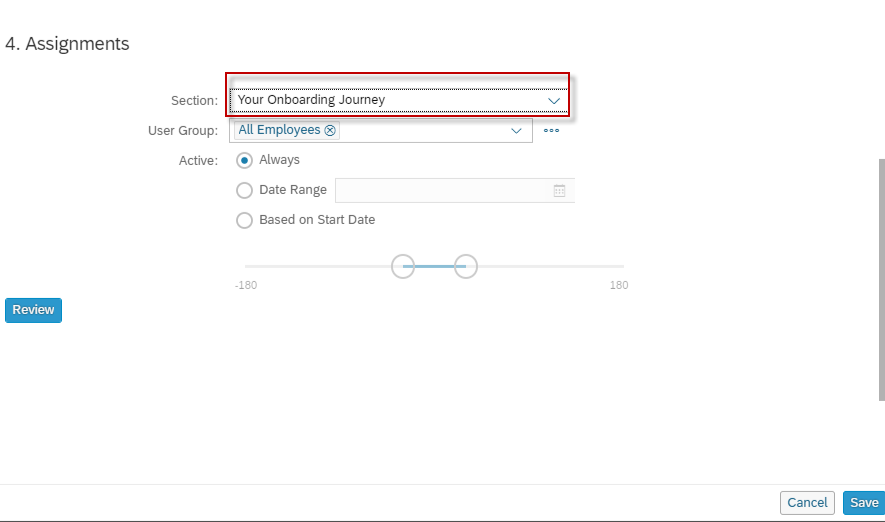
Step 10. Select Your Onboarding Journey from the Section field so that it appears to new hire during the Onboarding process.
Scenario 2 Selecting the Onboarding program using rules
Step 1: Navigate to the transaction Manage Onboarding and Offboarding Task
Click on the “New Program” or copy an existing program.
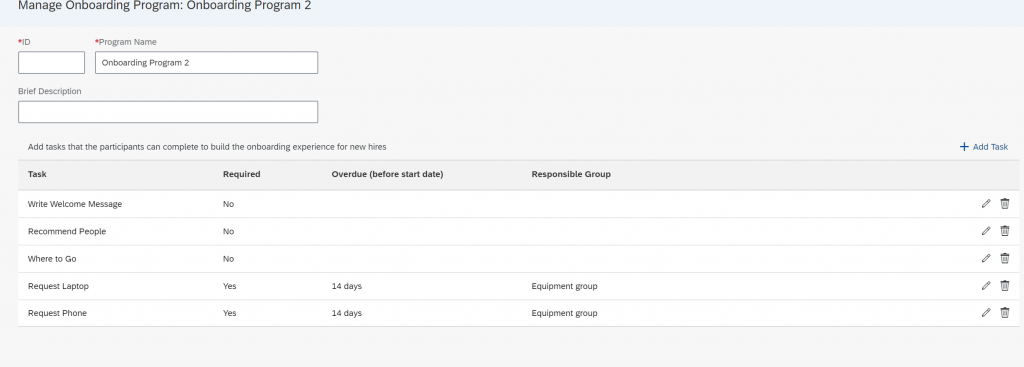
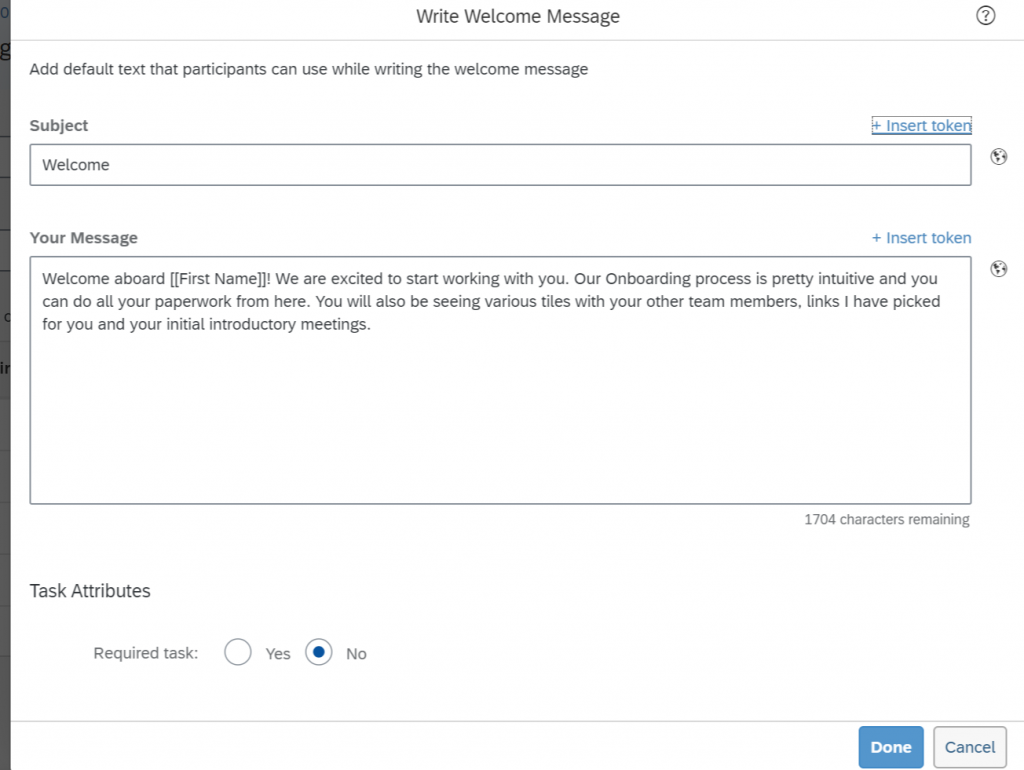
Enter the ID, Program Name, and brief description. Add tasks that are relevant to the program
Step 2: Update the task properties
Step 3: Finalize the tasks
If you have copied a program remove tasks that are not related and save the program
2.1 Create a lookup table for efficient usage of rules
A business rule is needed to select the variant based on the country for this scenario. You would need a lookup table to optimize the rule.
Step 1: Navigate to Create Object configuration
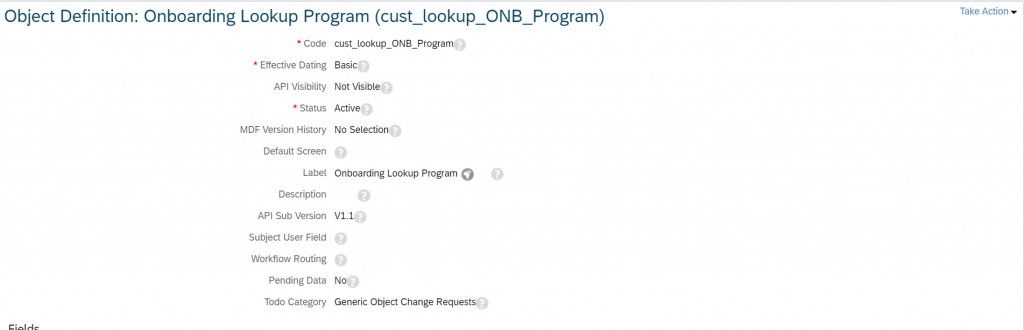
Step 2: Create fields for the lookup object
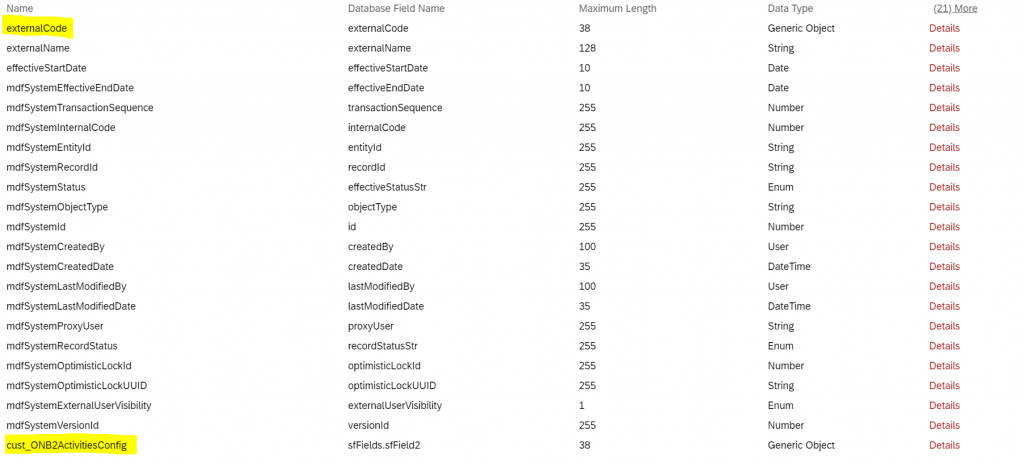
The lookup table should mainly contain two fields, Country/Region and Onboarding program.
- Field “externalCode” is of type generic object and the source object is country/region.
- Field “externalName” is hidden and is not used.
- Field Cust_ONB2ActiviriesConfig is of the type generic object and the source object is ONB2ActivitiesConfig.
Step 3: Create data
Once the object is created, use the manage data transaction maintain the values of Onboarding programs based on countries. This mapping would be used in the business rule .
2.2 Business rule to select the program
In this rule, you can use a lookup table to determine the Onboarding program based on the country of employment,
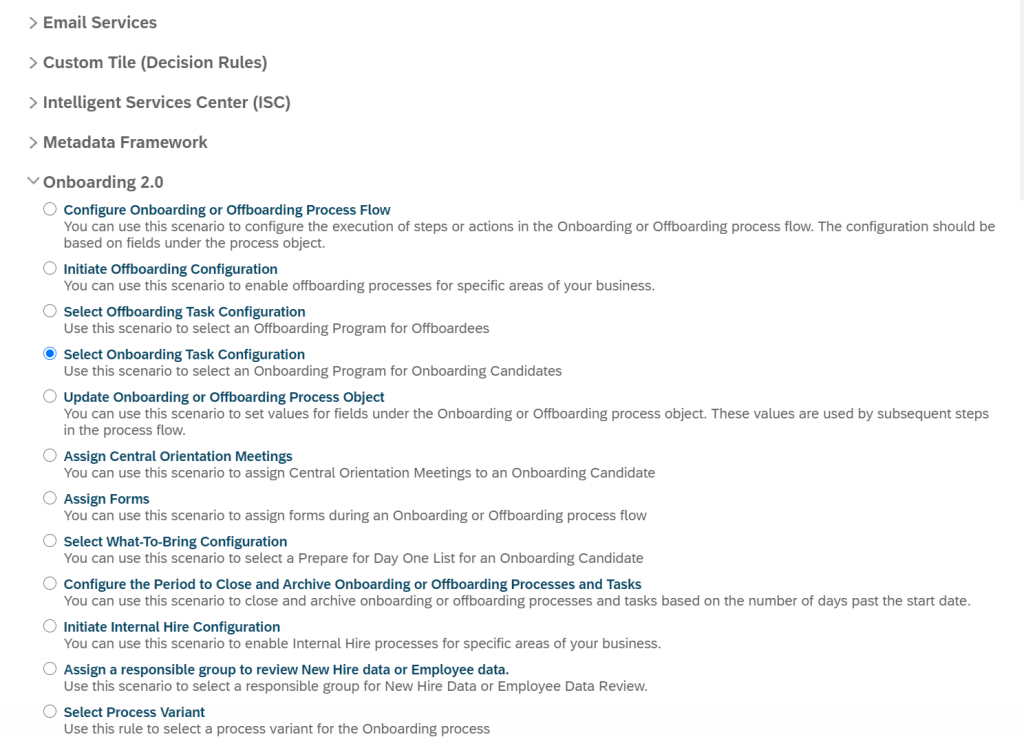
Step 1: Navigate to configure a business rule
Choose the scenario Select Onboarding Task Configuration. Create the rule by giving ID and name
Step 2: Create the If and Else conditions
If and Else conditions are the content of the business rule. Using a variable to hold data helps in optimizing business rules. The lookup table which was created in the previous steps is now used to read and assign the correct Onboarding program based on the country of employment.
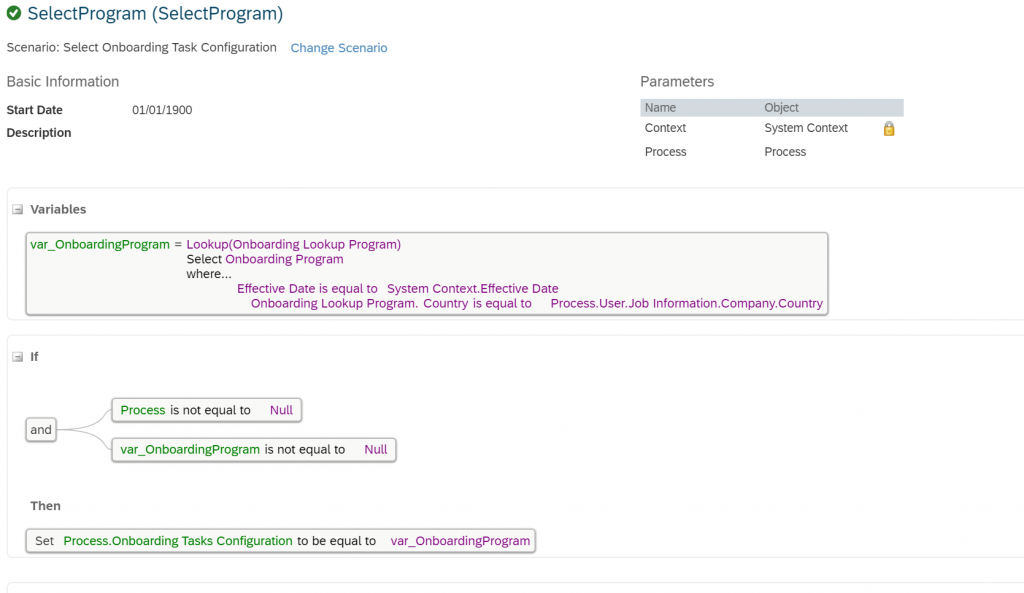
So passed on the county the onboarding program is chosen. Similarly you could create a lookup table based on Division, Business unit etc.


