In this blog post I will cover what is Mentoring, Types of Mentoring Programmes, Mentoring roles, Picklist configurations, Employee Group Configurations, Steps involved in Open Enrolment and Unsupervised Programme.
Mentoring Overview
- Mentoring is partnering with a more experienced colleague to enhance knowledge, skills in a certain area.
- Mentoring provides you the tool to define the Programmes. Mentors and mentees sign up for the programme, monitor the progress.
- The mentor supports the employee by giving advice based on own experiences or other structured ways to transfer knowledge.
- In order to use this feature, you must utilize the Metadata Framework, Role-based Permission and the Attachment Manager.
There are three types of Mentoring Programmes offers by Mentoring tool.
1. Supervised
- Admin/Owner invites mentors and mentees (Invitation email will be sent to mentor/mentee)
- Admin needs to configure five dates. Mentor Sign-up Start, Mentee Sign-up Start, Matching Start, Mentoring Programme Start, Mentoring Programme End
- Mentoring Programme dates are strict: Mentor can’t sign up once mentee sign up begins
2. Unsupervised
- Admin/Owner invites mentors and mentees(Invitation email will be sent to mentor/mentee)
- Admin needs to configure four dates. Mentor Sign-up Start, Mentee Sign-up Start, Mentoring Programme Start, Mentoring Programme End
- Mentee sends request to mentor directly without admin’s involvement
3. Open Enrolment
- No invitations required
- Mentee sends request to mentor directly
- Programs do not have dates
In this blog I will cover ‘Open Enrolment programme’ and ‘Unsupervised programme’.
Mentoring Programme Roles:
There are four roles in mentoring.
- Admin
- Owner
- Mentor
- Mentee
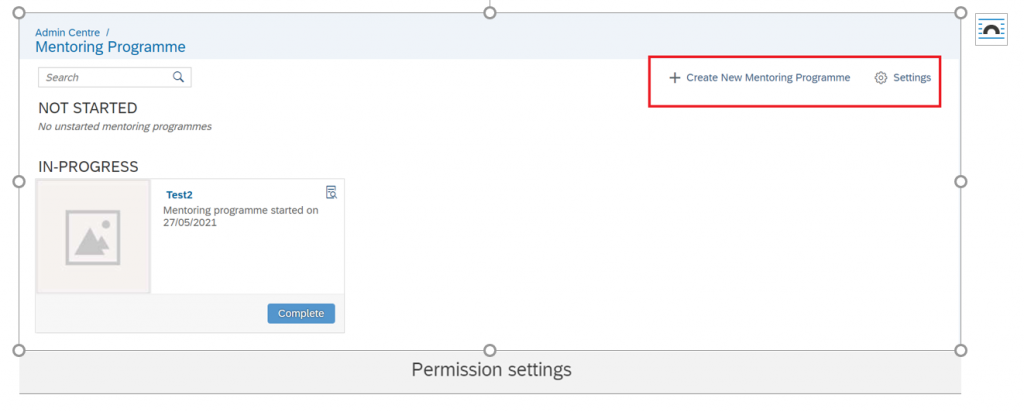
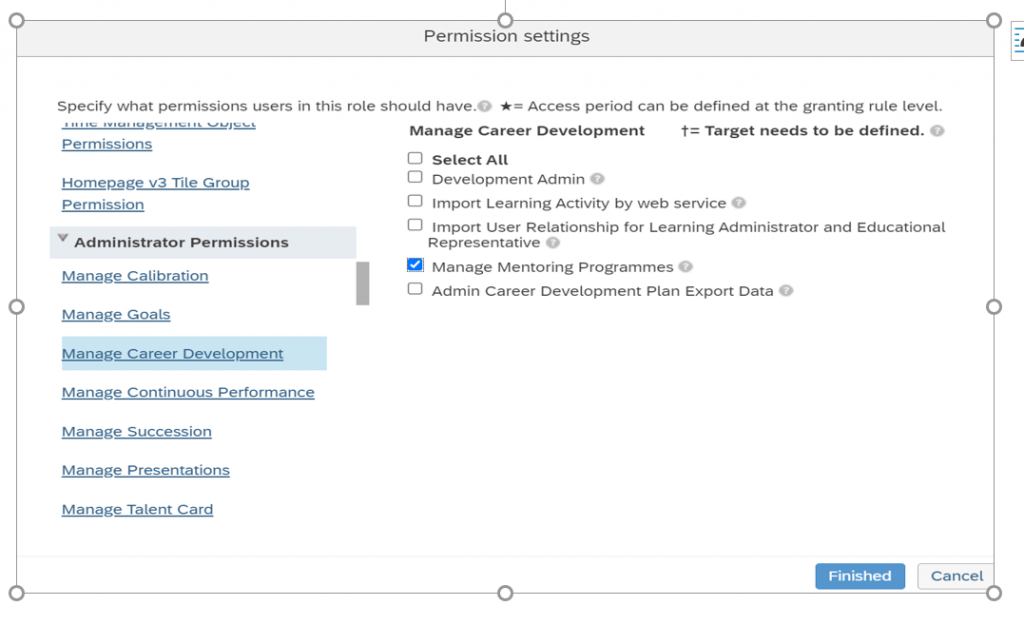
- Admin: Person responsible for administering a mentoring programme. Admin creates mentoring programmes. Admin has ‘Create New Mentoring Programme’ and ‘Settings’ option. ‘Manage Mentoring Programmes‘ permission is mentoring admin permission and with this permission admin will get access to ‘Create New Mentoring Programme’ and ‘Settings’.
- Owner: Program Owner can administer mentoring programmes but can’t create it. Once we add any user as an owner to any programme they will get the ‘Manage Mentoring Programme’ access. Owner doesn’t have ‘Create New Mentoring Programmes’ and ‘Settings ’option.

1. Programme details which can’t be edited by owner in ‘Open Enrolment Programme’: ‘Owner’ and ‘Target Participants’ details .
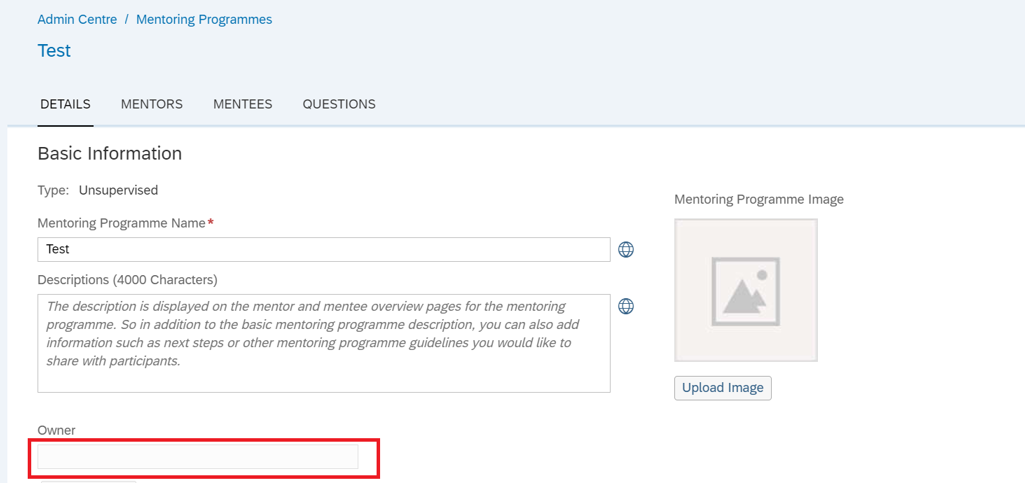
2. Programme details which can be edited by owner in Open Enrolment Programme: Mentoring Programme Name, Descriptions, Image, Mentee per mentor limit, Mentor per mentee limit,Questions.
3. Programme details which can be edited by owner in Unsupervised Programme: Mentoring Programme Name,Descriptions,Image,Mentee per mentor limit, Mentor per mentee limit,Key Dates,Question,Add/Delete Mentors/Mentee if sign up email is not triggered to them.We can’t add/delete mentors /mentee once sign up email is triggered.
- Mentor : Mentor is more experienced person responsible for developing another individual within an organization.
- Mentee : Individual who is looking for guidance in developing their career.
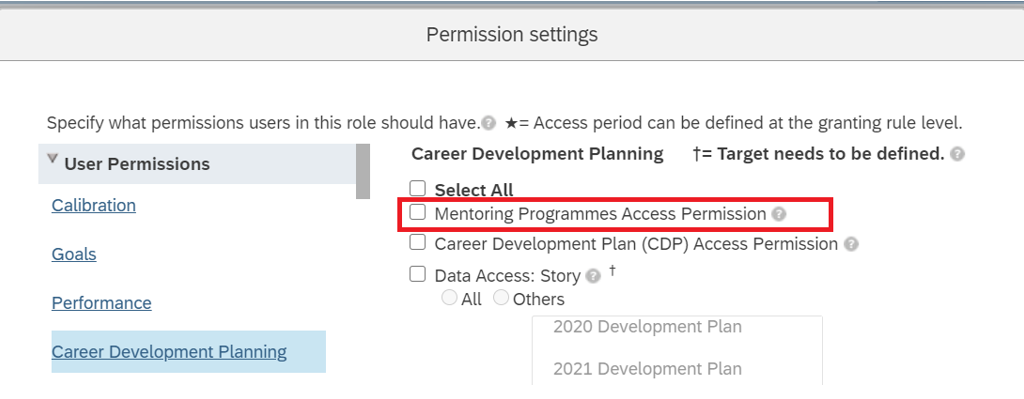
Mentor/Mentee will get access to the Mentoring tab under Development with ‘Mentoring Programmes Access Permission’.
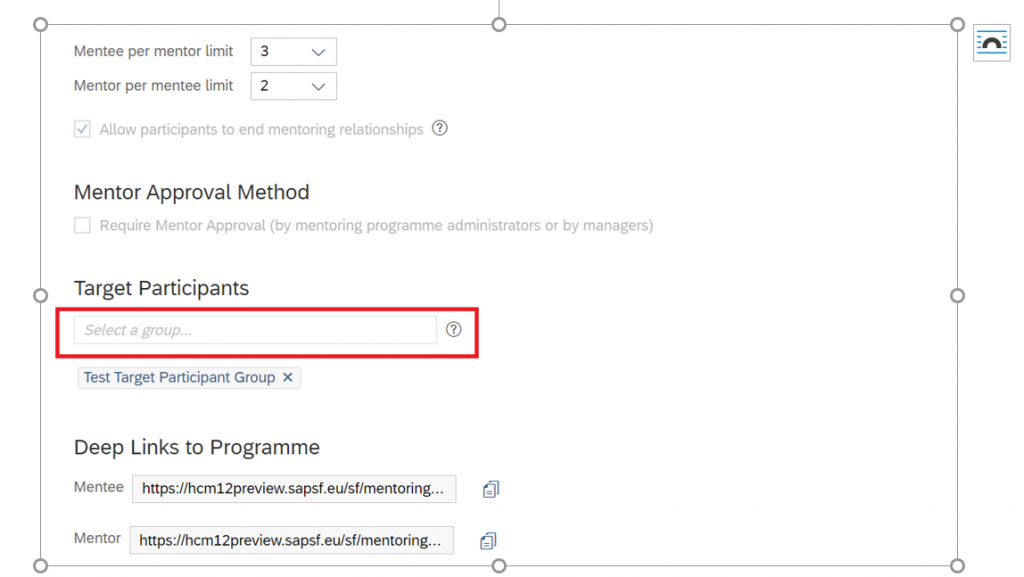
Target Participant Group:
We can control visibility of mentoring Programmes with target participant group. Open enrolment programme will be visible to everyone by default.
Steps to create target employee group:
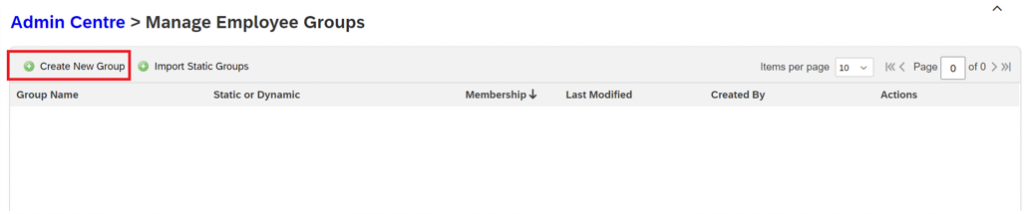
1. To configure target participant group, go to the ‘Manage Employee Groups’.

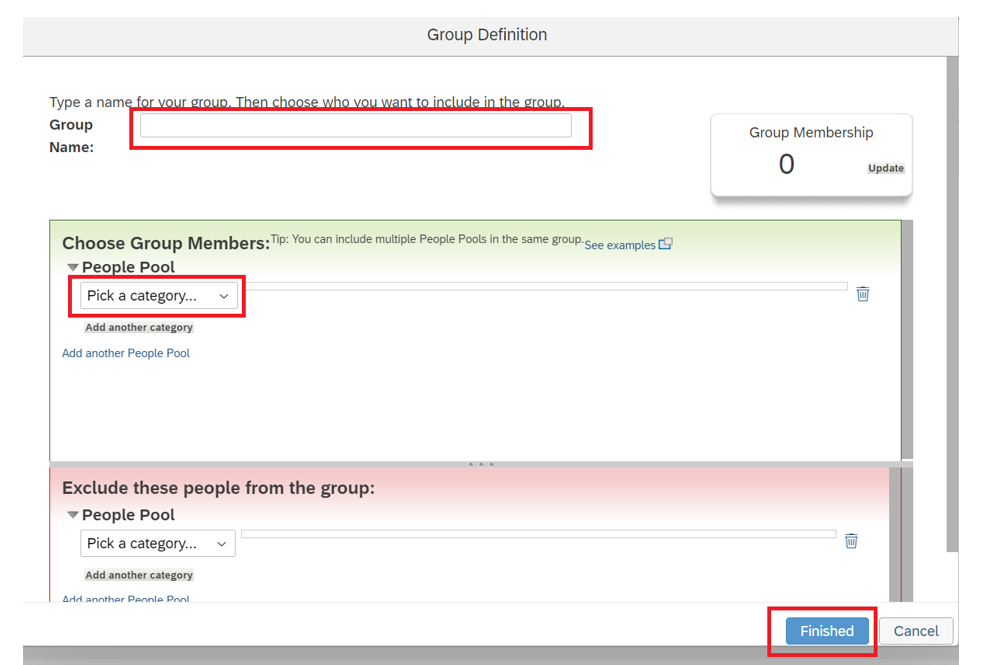
2. Click on ‘Create New Group’.
3 .Enter ‘Group Name‘ and ‘Pick a category’ for People Pool and click ‘Finished‘. As per our requirement different categories can be combined from People Pool.
Mentors/Mentee group for unsupervised programme can be configured using ‘Manage Employee Group’.
Custom Picklist Configuration
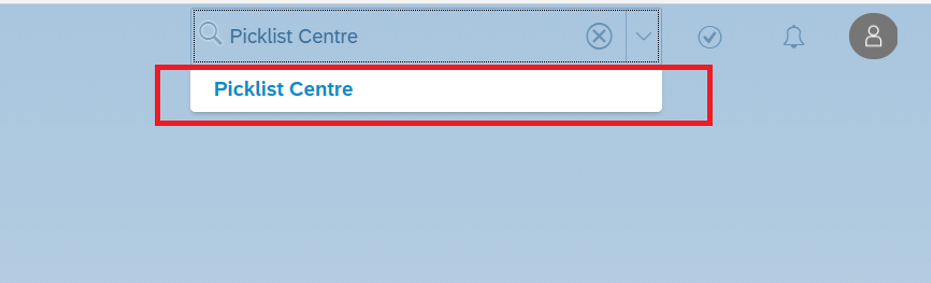
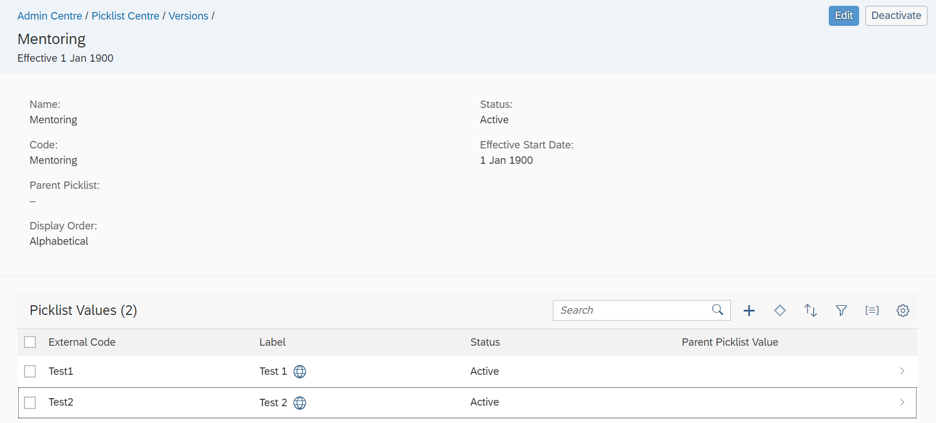
- Go to ‘Picklist Center’ .
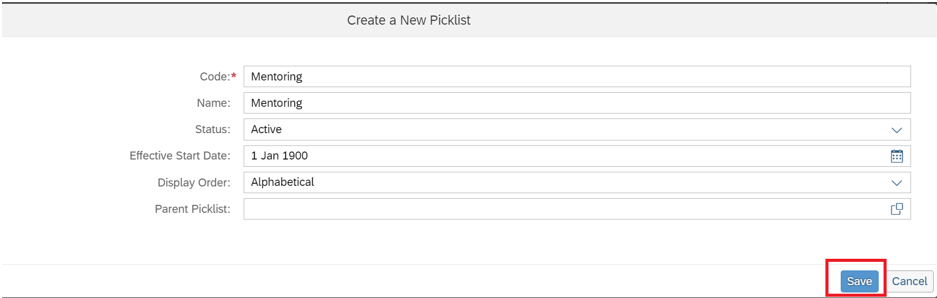
2. Click on ‘Create a Picklist‘ option.

3. Write ‘Code‘, ‘Name‘ and click on ‘Save‘.
4. Click on ‘Add New Value‘ to create picklist values.
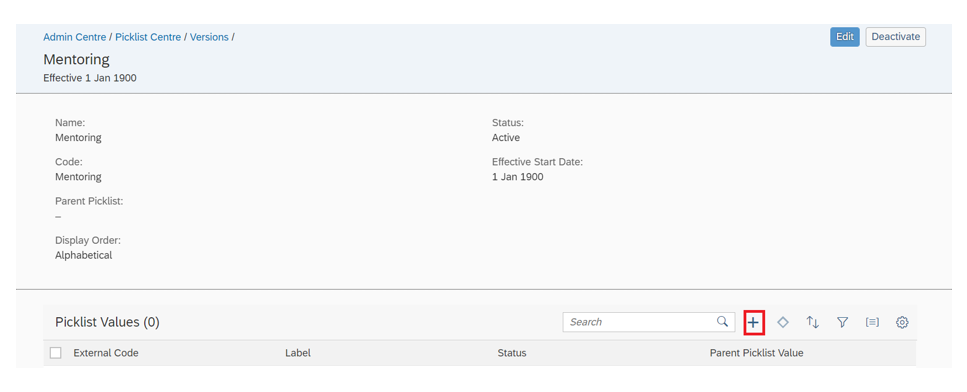
5. Enter ‘External Code‘, ‘Label’ and click on ‘Create‘.

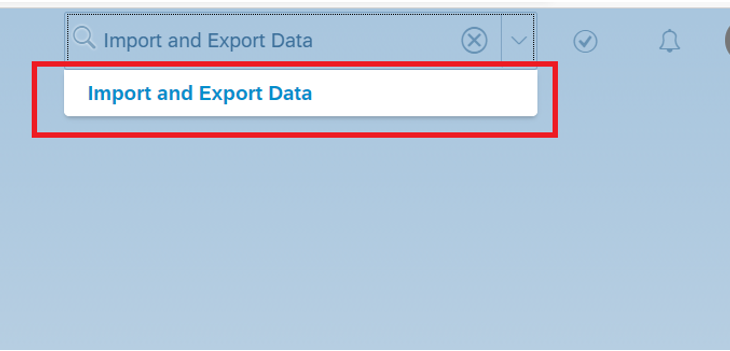
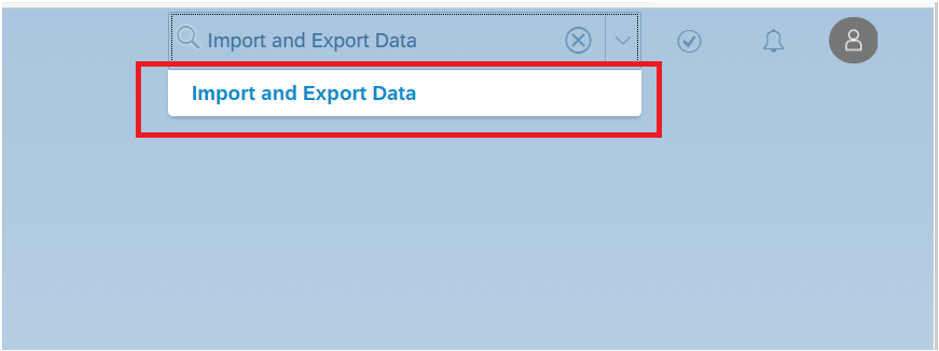
We can also import and export picklist for mass updates using ‘Import and Export data’ option.
1. Go to ‘Import and Export Data’.
2. Download template using ‘Download Template’ option.
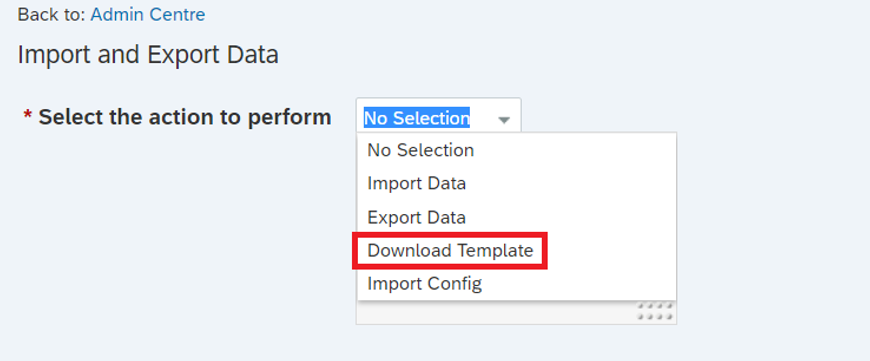
3. Download ‘Picklist‘ and ‘Picklist Values‘ template.
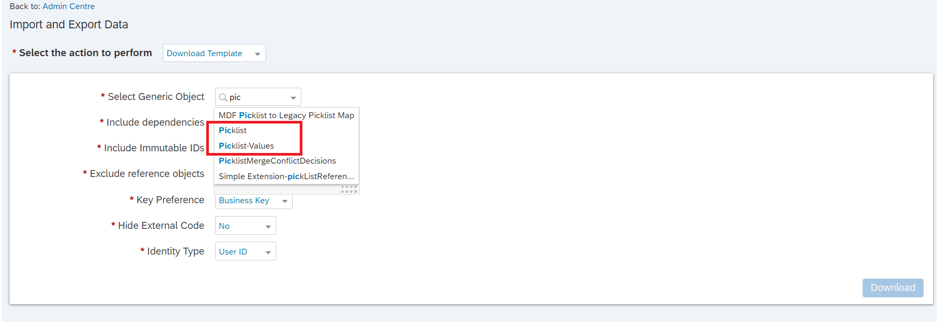
4. Fill the template for Picklist.

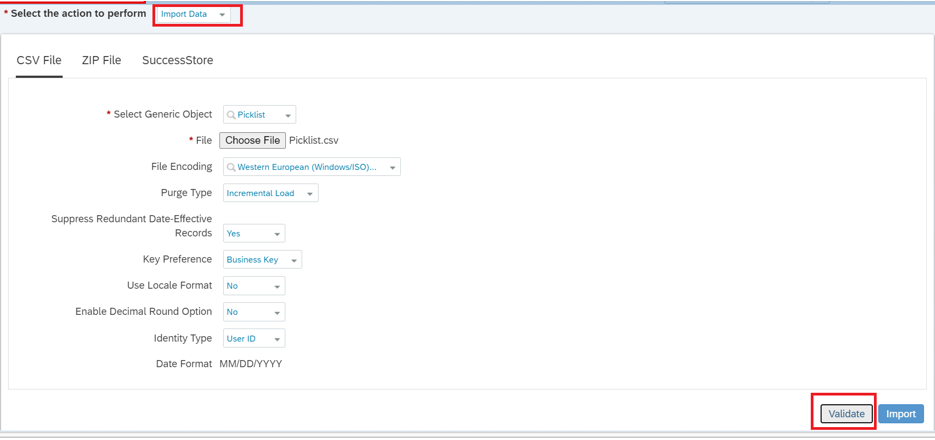
5. Using ‘Import Data’ option upload template. First ‘Validate’ the template and then ‘Import’.
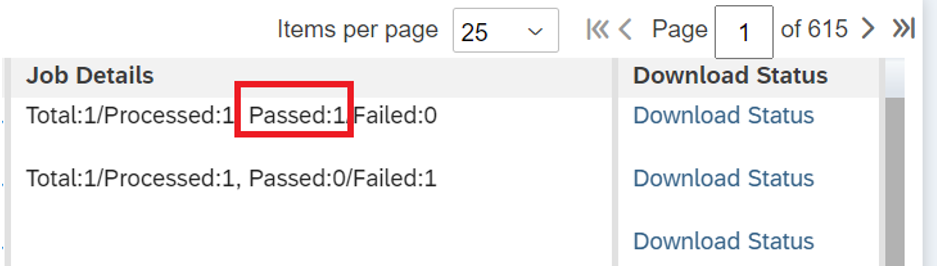
6. Check the status of the job using ‘Monitor Job’ option. Import picklist file if status is passed.
7. Fill Picklist Values template and Import the template.

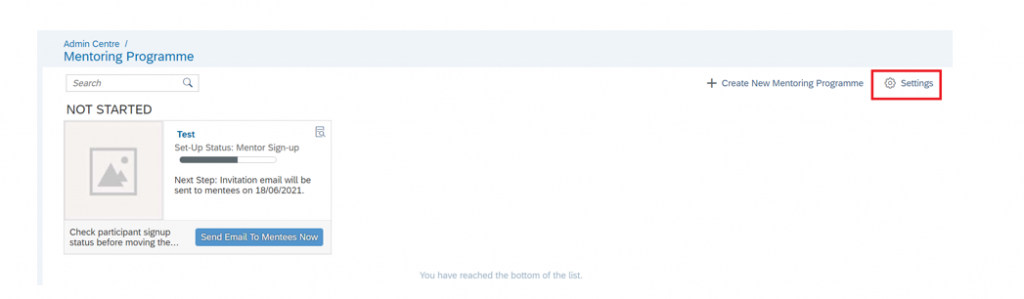
8. Go to ‘Manage Mentoring Programmes’. Click on ‘Settings‘.
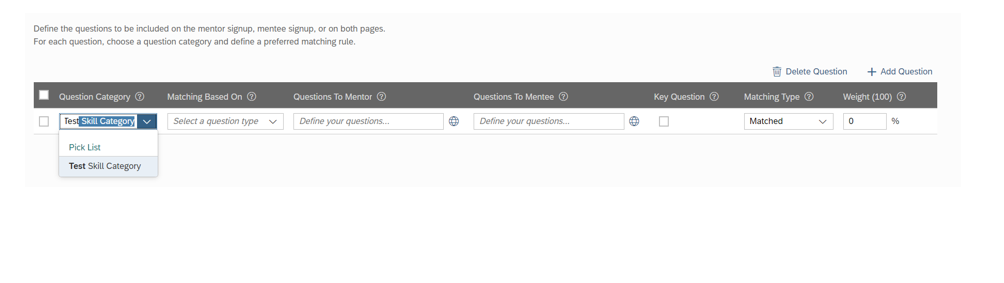
9. Select picklist from drop down.

10. Add Picklist Label and Click on ‘Save‘.

11. Custom picklist is available while creating new mentoring programme.
Steps to create open enrolment programme
1. Admin creates an ‘Open Enrolment Programme‘
2. Mentor Sign Up
3. Admin or Manager approves mentors request based on selected approval method (Only if ‘Mentor Approval Method’ is selected).This step will be skipped if we don’t select ‘Mentor Approval Method’.
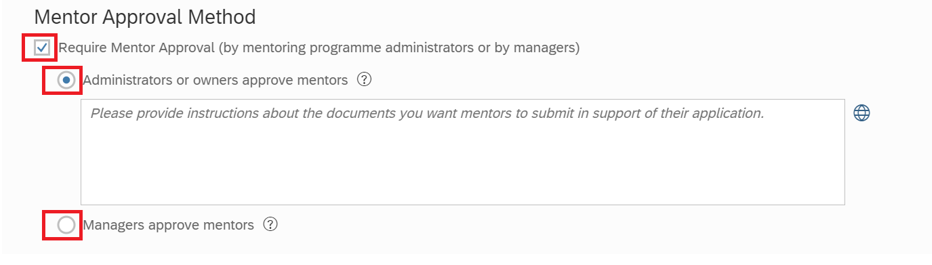
One additional step ‘Upload Document’ will be added during sign up process if admin selects ’Mentor Approval Method‘ while creating programme.
4. Mentee Sign Up
5. Mentor approves Mentee’s request.
6. Once matching happens Mentor/Mentee adds activities to track progress.
7. Mentor/Mentee ends the relationship if required.
8. Programme ends.
Steps to create ‘Unsupervised’ programme
- Admin creates an Unsupervised programme.
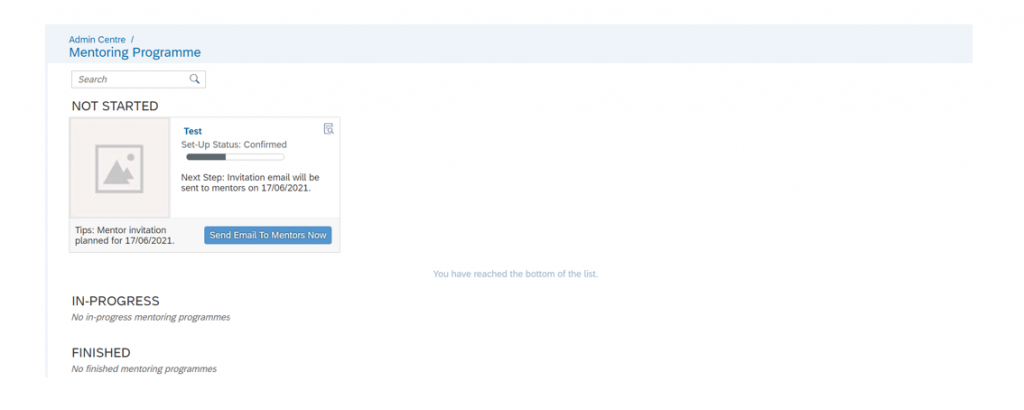
- Invitations will be sent to mentors.
- Mentor Sign Up
- Invitations will be sent to Mentee
- Mentee Sign Up
- Mentor approves Mentee’s request
- Admin/Owner starts the programme
- Mentor/Mentee adds activities to track progress.
- Mentor/Mentee ends the relationship if required. (Only if admin has selected Allow participants to end mentoring relationships option while creating programme).
- Programme ends.


