Goal:
This Blog explains how you can leverage native SAP HANA development artifacts with CAP. In particular we look at the use of Calculation Views, inside Cloud Application Programming (CAP) Applications. This includes OData access to Calculation Views.
Solution:
Pre-requisites: Set Up SAP Business Application Studio for Development
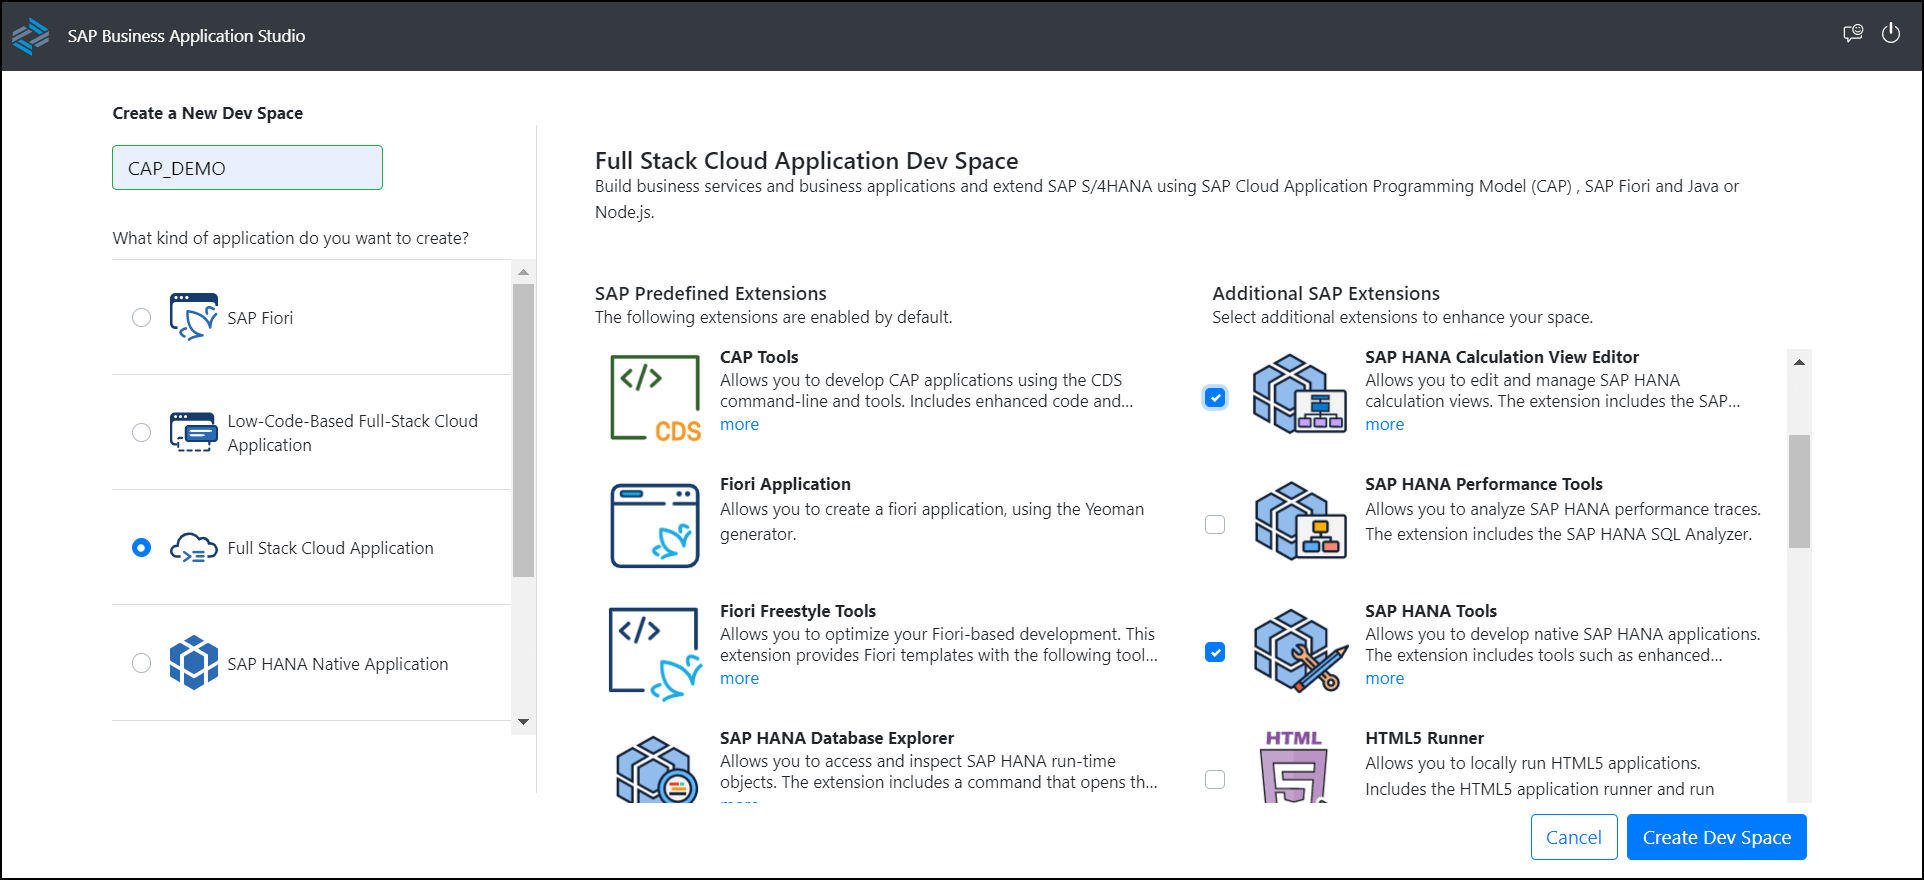
- Launch the Business Application Studio (BAS) and choose Create Dev Space
NOTE: In the SAP BTP trial and free tier you are limited to only two Dev Spaces and only one can be active at a time. If you have performed other tutorials, you might already have reached your maximum. In that case you might have to delete one of the other dev spaces in order to continue with this tutorial.
- Select the Full stack application and select the necessary extensions as shown in the image below and click on the create dev space.
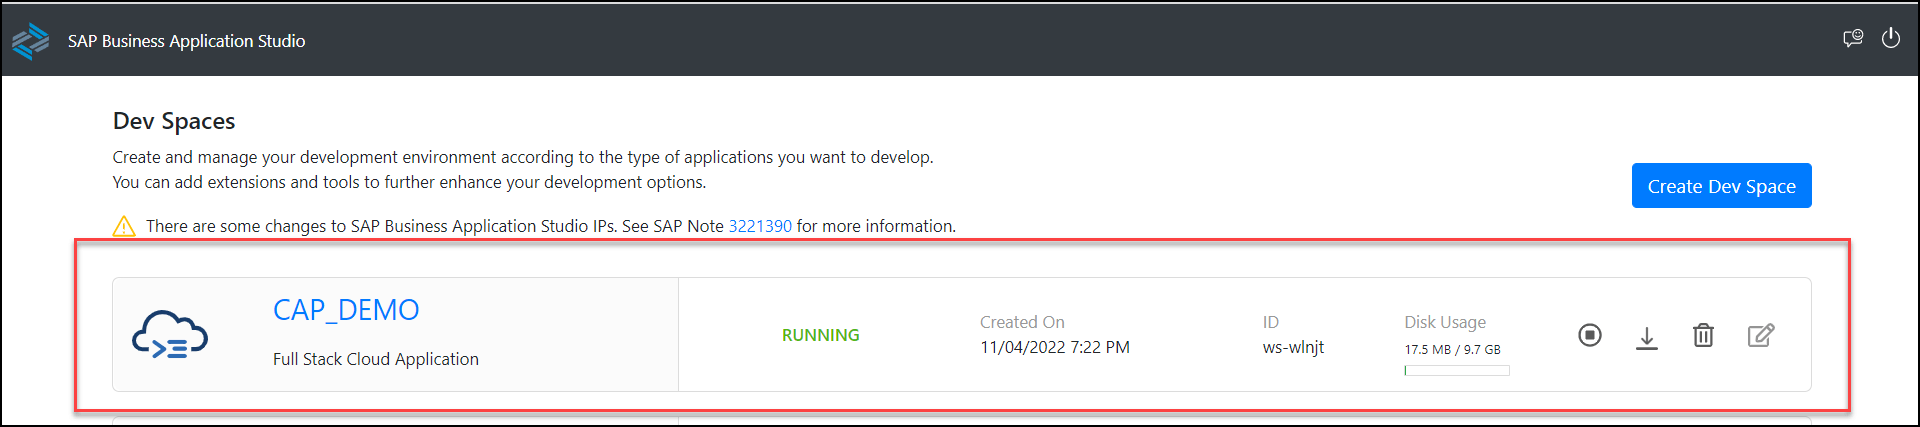
It will then create a dev space. Although it takes couple of minutes to start. Once it is RUNNING, you can click on CAP_DEMO and start creating your projects.
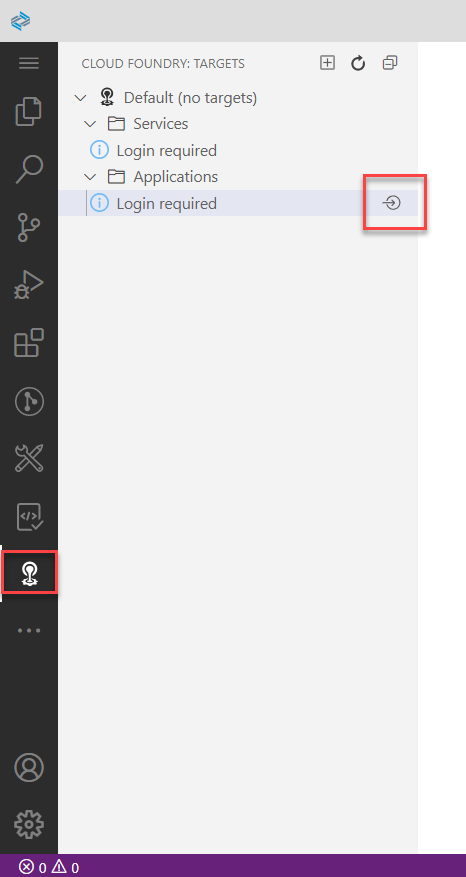
- Add Cloud Foundry LOGIN Connection to your space ( 1.Plugin 2. F1- 3. CF )
Login to Cloud Foundry, there are several ways to login to cloud foundry
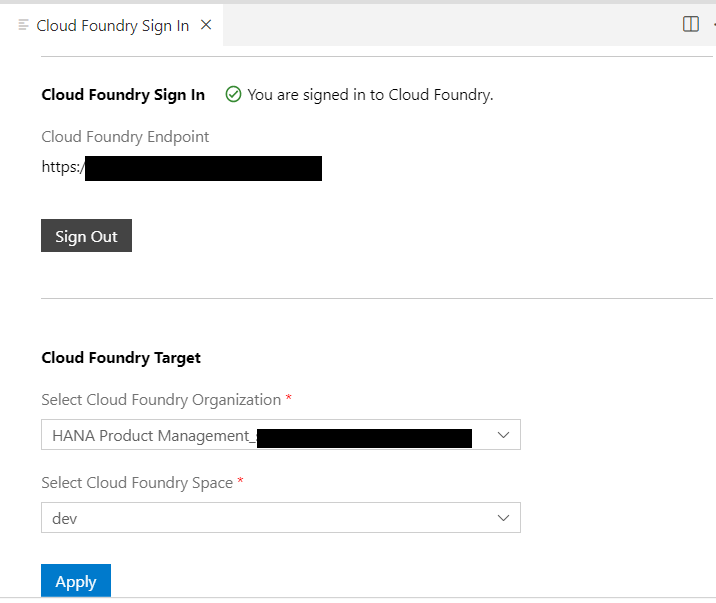
- In the plugins, go to cloud foundry icon and click on the right arrow as shown in the picture.
Fill in the credentials & necessary details such as Cloud Foundry Organization & Cloud Foundry Space.
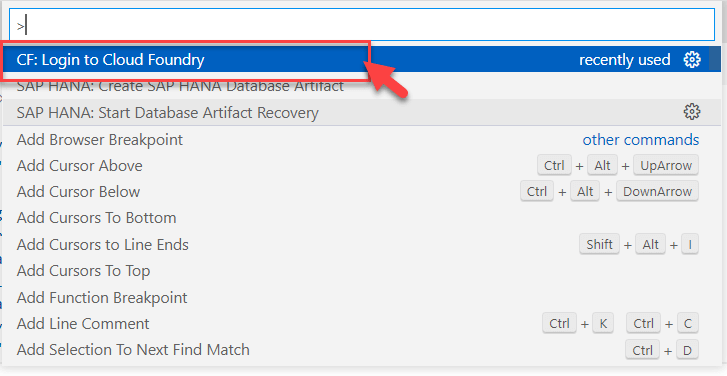
2. Using the Artifact Wizard by clicking on F1.
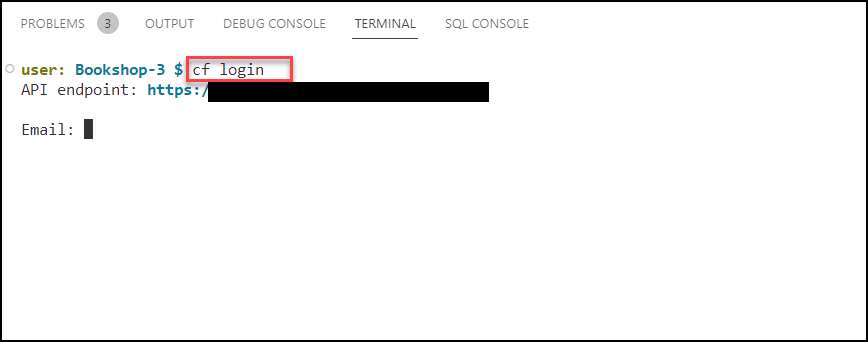
3. Using the terminal: Execute the command,
CF LOGIN
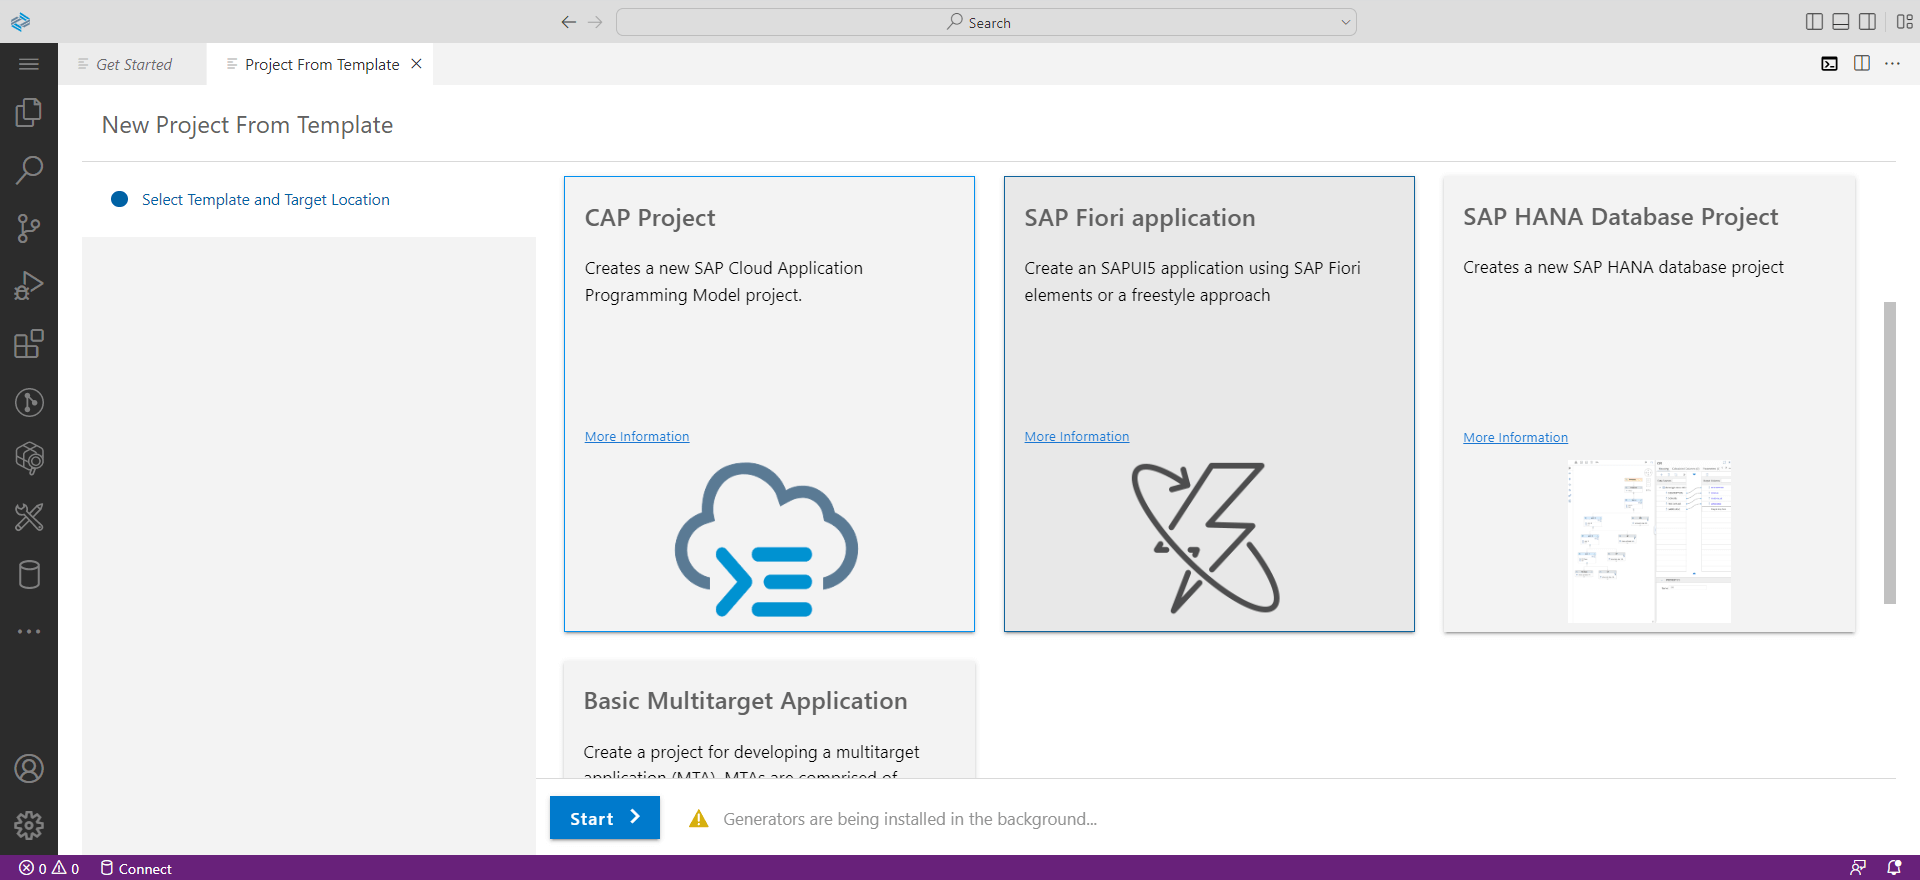
- Create CAP Project: Once you have logged in to Cloud Foundry, Start with the creation of CAP Project by clicking on the Start from Template ( Help > Get Started > Start from Template) and click on CAP Project.
Set your runtime as node.js and add the features that’s selected in the image below and click on finish.
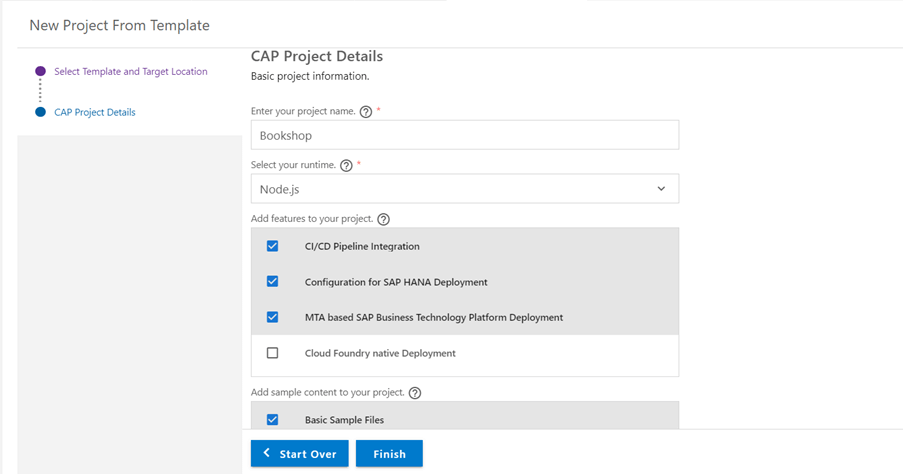
It will then create a CAP Project with some sample folders and files.
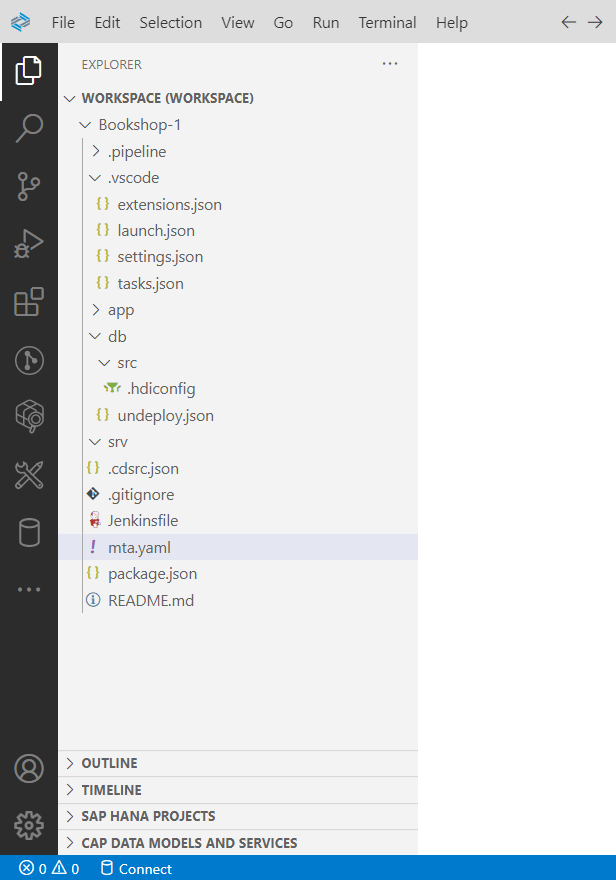
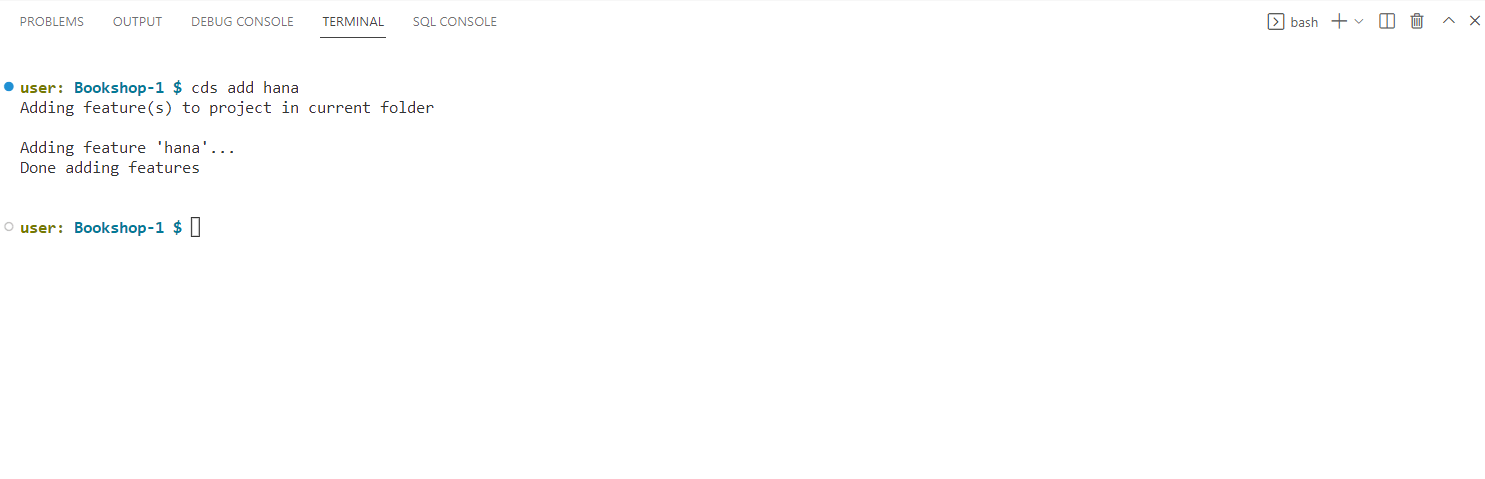
- Adding HANA Target to the Project: Open new terminal (Terminal > New Terminal) and execute the command
CDS ADD HANA
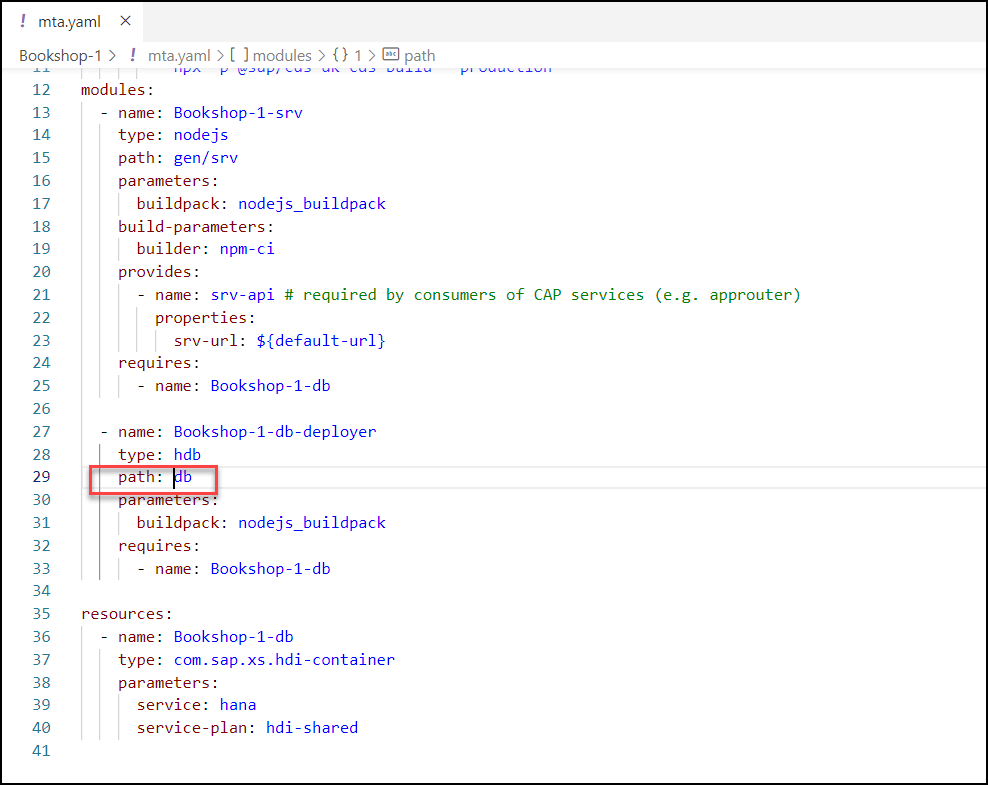
You can see the dependencies in the mta.yaml file.
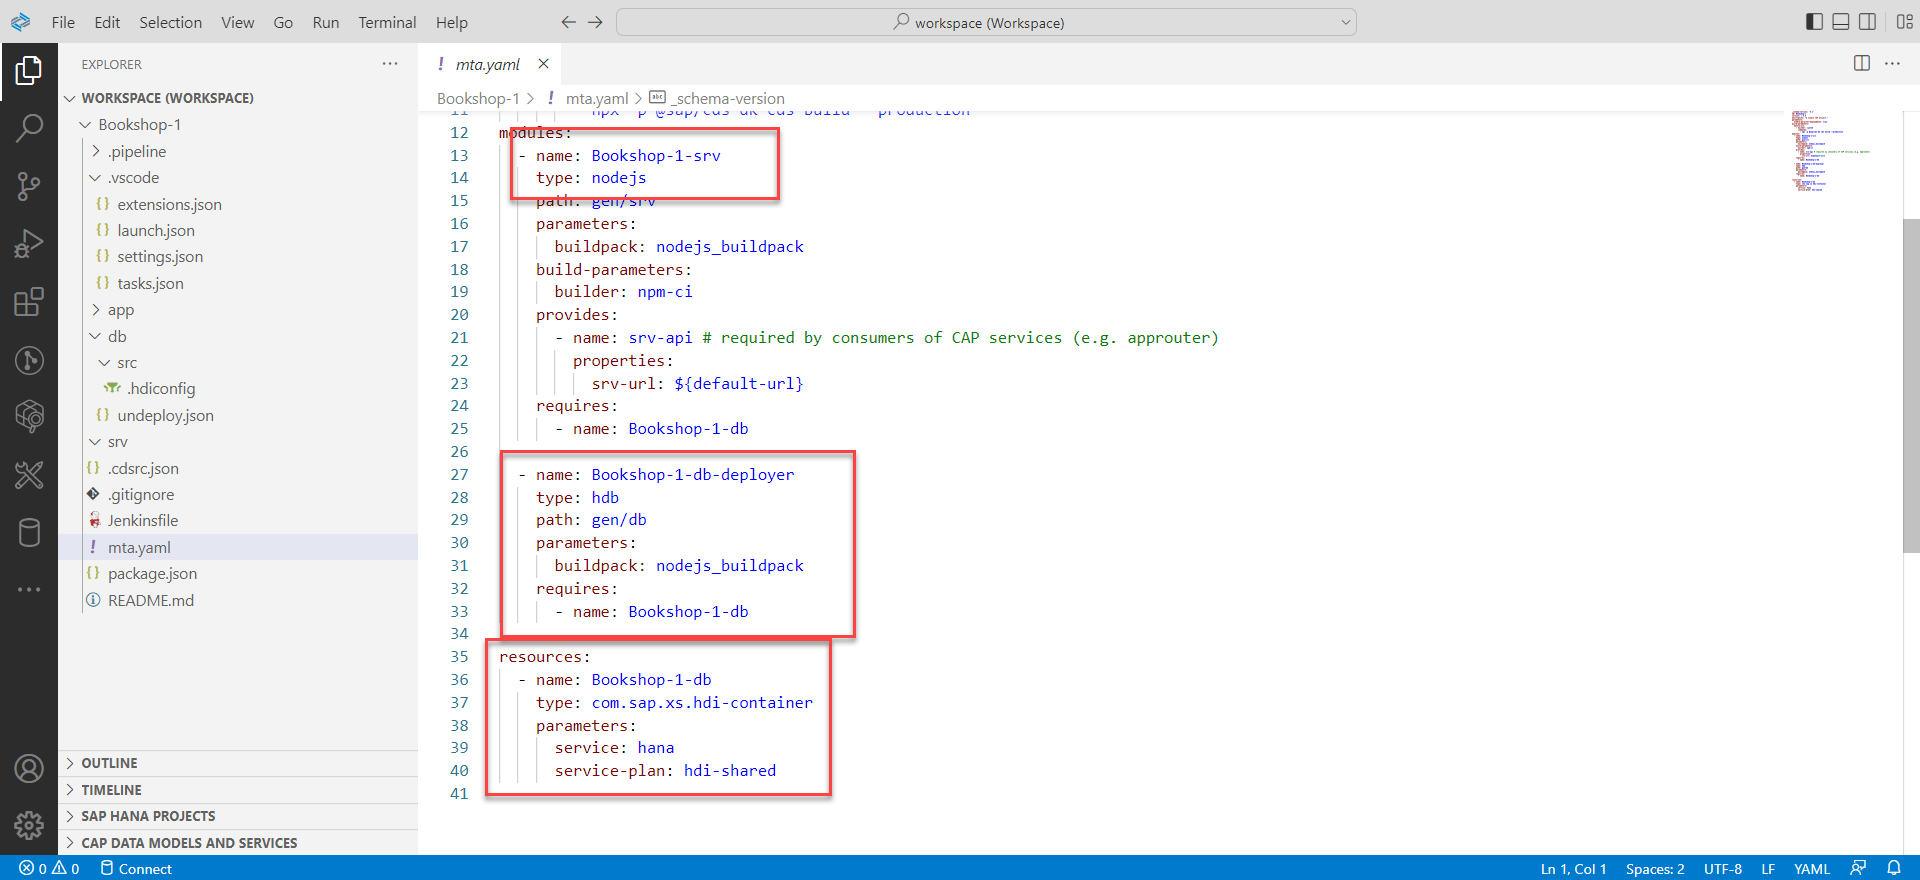
- Adjust the content in the files mta.yaml & package.json
Now change the path from gen/db -> db
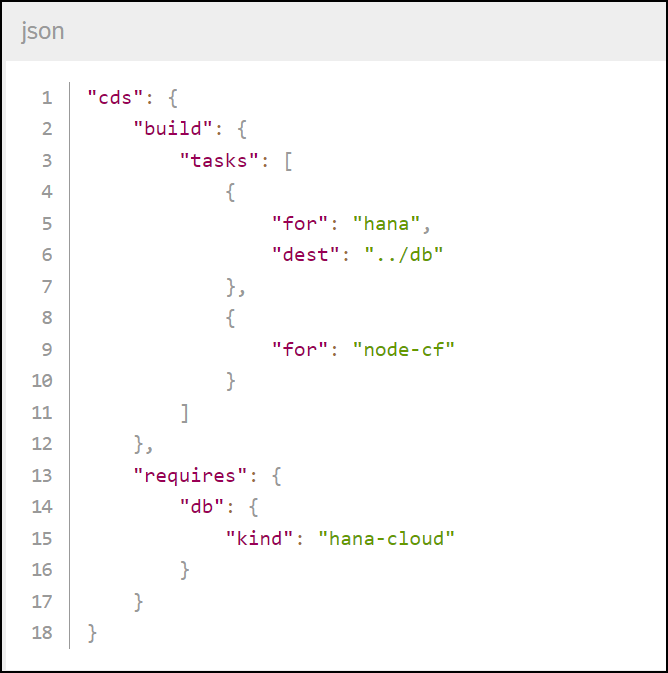
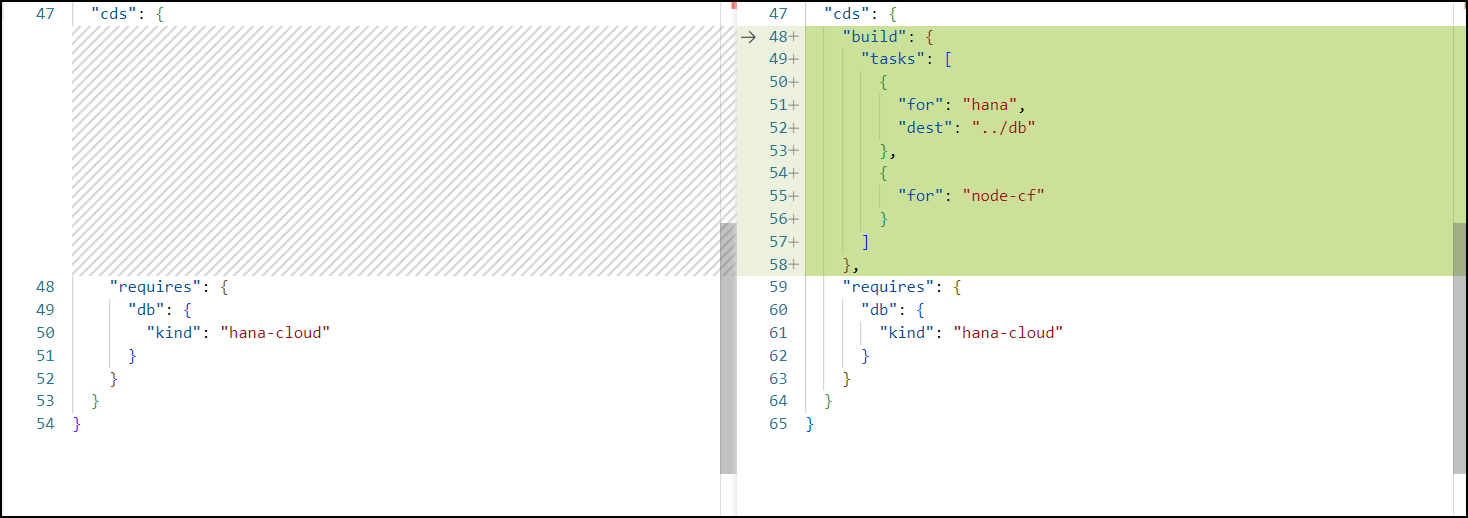
Now, change the cds section of the package.json to the below block of code.
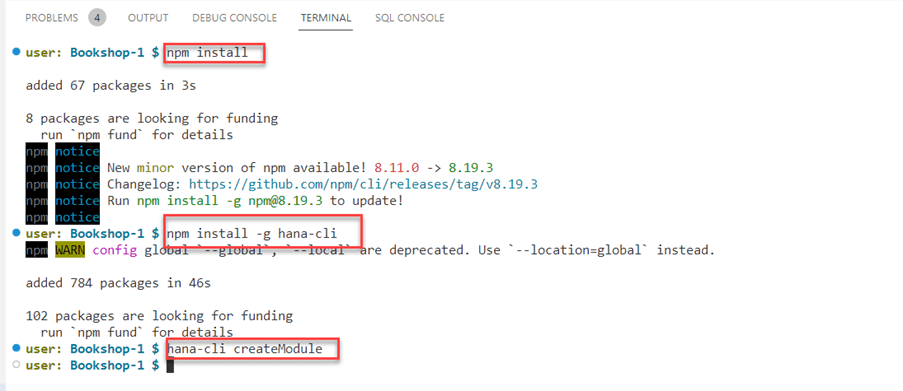
- Install the dependencies
Open the terminal and execute
- npm install ( NOTE: Skip the step if already installed )
- npm install -g hana-cli (Open Source Utility called hana-cli )
- hana-cli createModule
(OPTIONAL) You can clone your git repository or continue with the project with next steps.
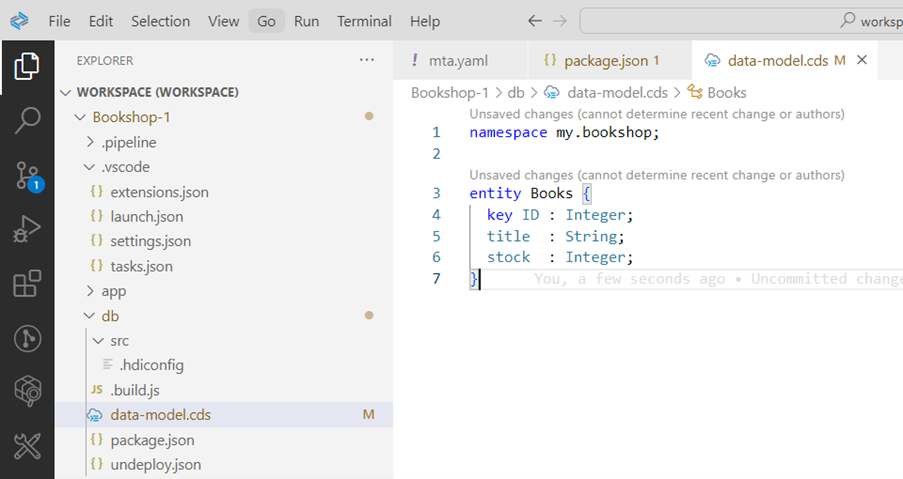
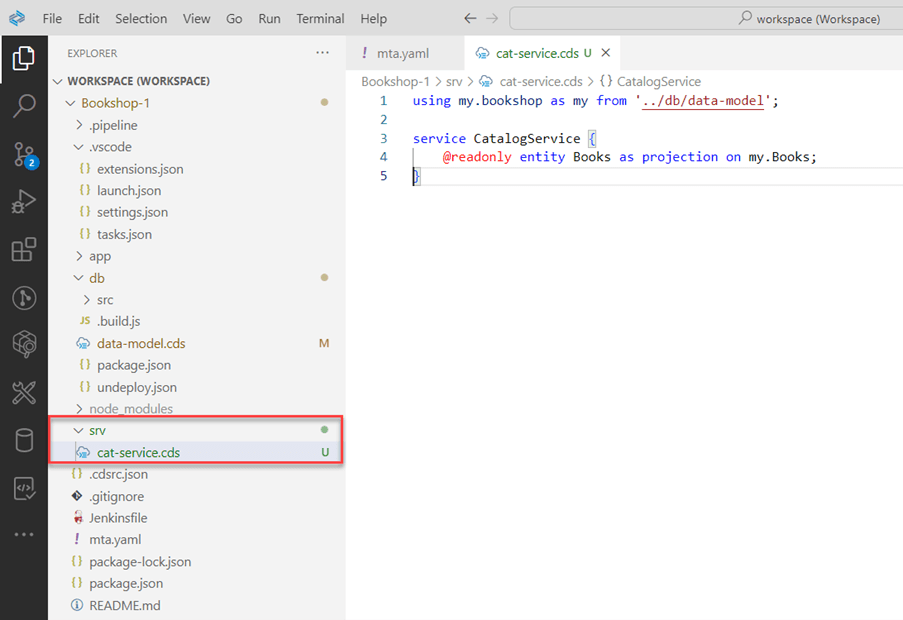
- View the files added from the CAP template
1. src > data-model.cds
2. srv > cat-service.cds
Run the following command
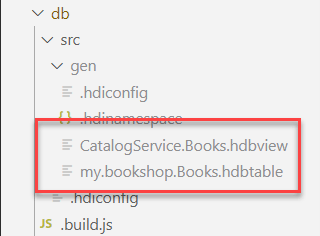
cds build
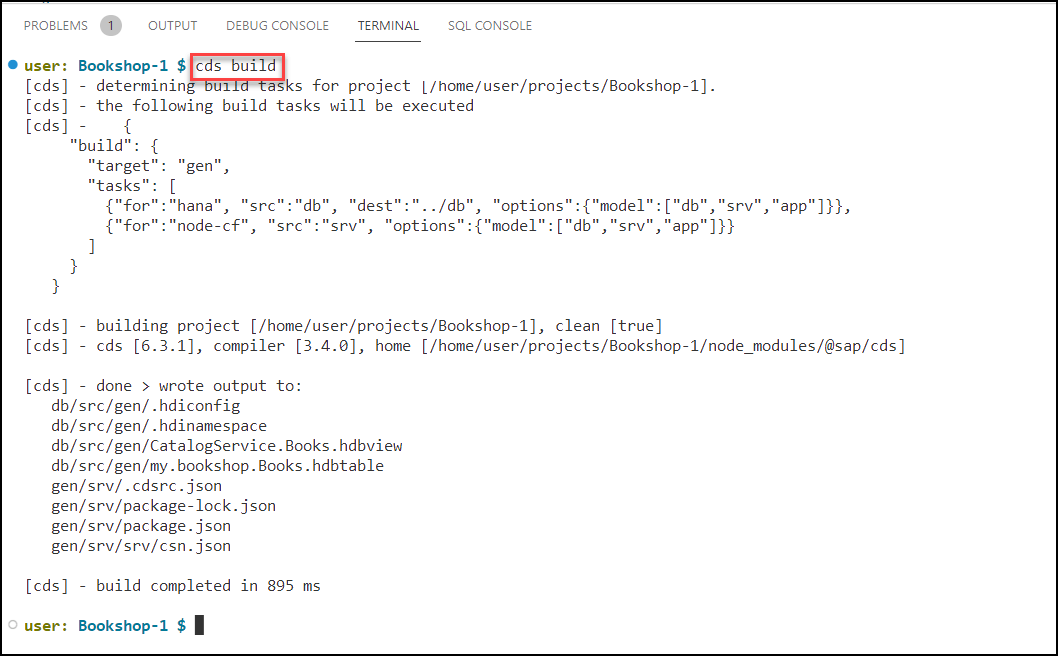
CDS artifacts are now converted to hdbview and hdbtable artifacts and you can find them in the src folder.
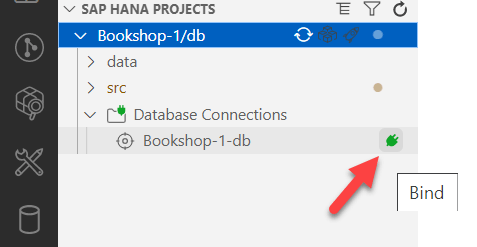
Deploy these objects into HANA database creating tables and views. Bind the project to a database connection and HDI container instance. Click on the bind icon.
The connections with respect to CAP & HANA tooling are distinct. They do not share the same connection. Hence, binding must be done at 2 different points : (a) SAP HANA Project (b) Run Configurations.
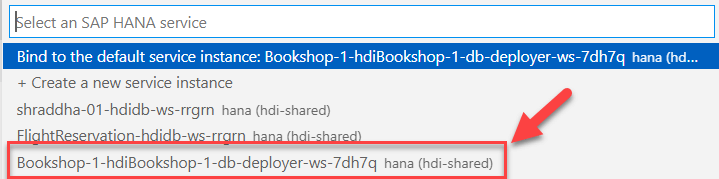
- Create Service Instance
Select an SAP HANA Service and choose from the list displayed.
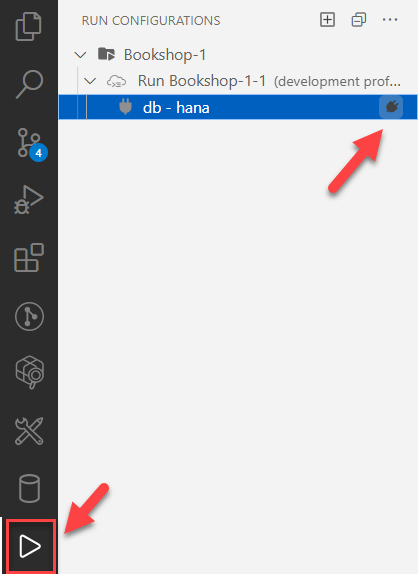
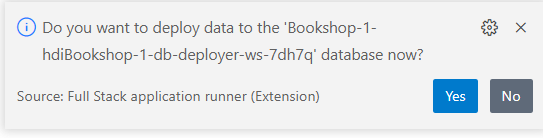
Go to the plugin Run Configuration and bind the connection.
Select ‘Yes’ to the below dialog box.
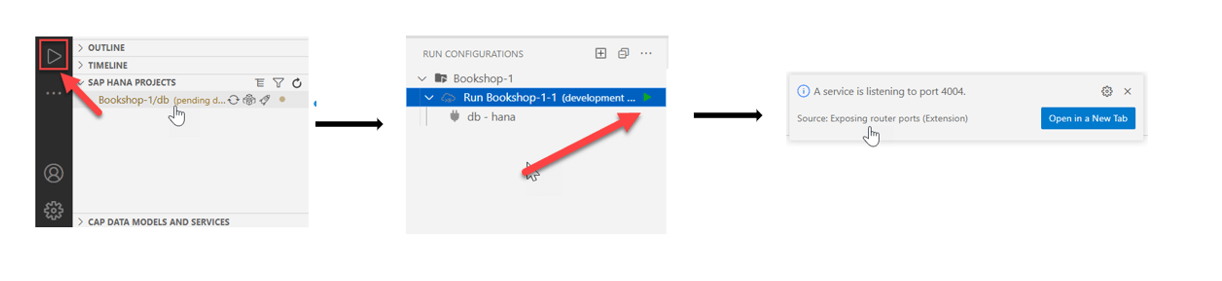
- Run the CAP Project
Once deployed, go to Run Configurations, and click on the run button. This will give an another dialog box to open ‘Bookshop-1’ a new tab.
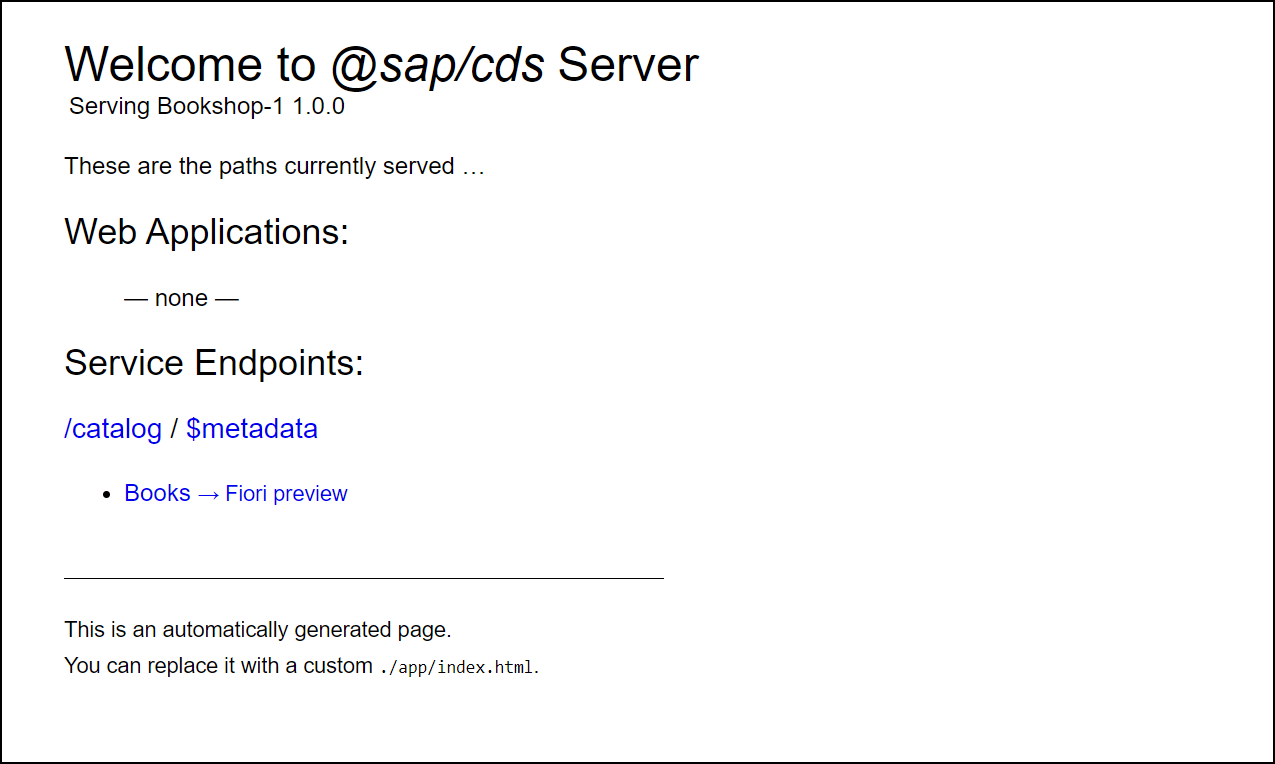
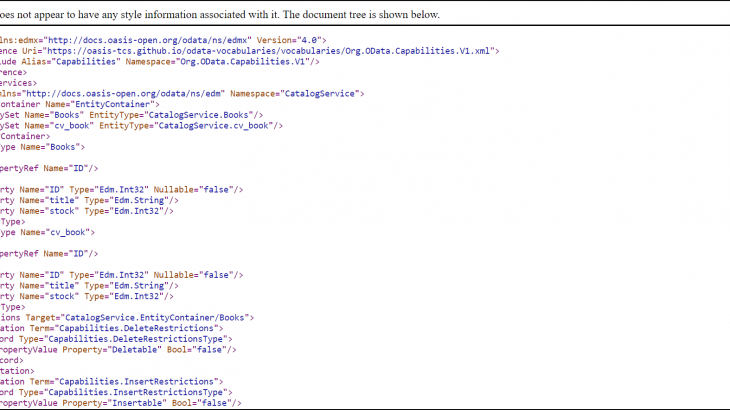
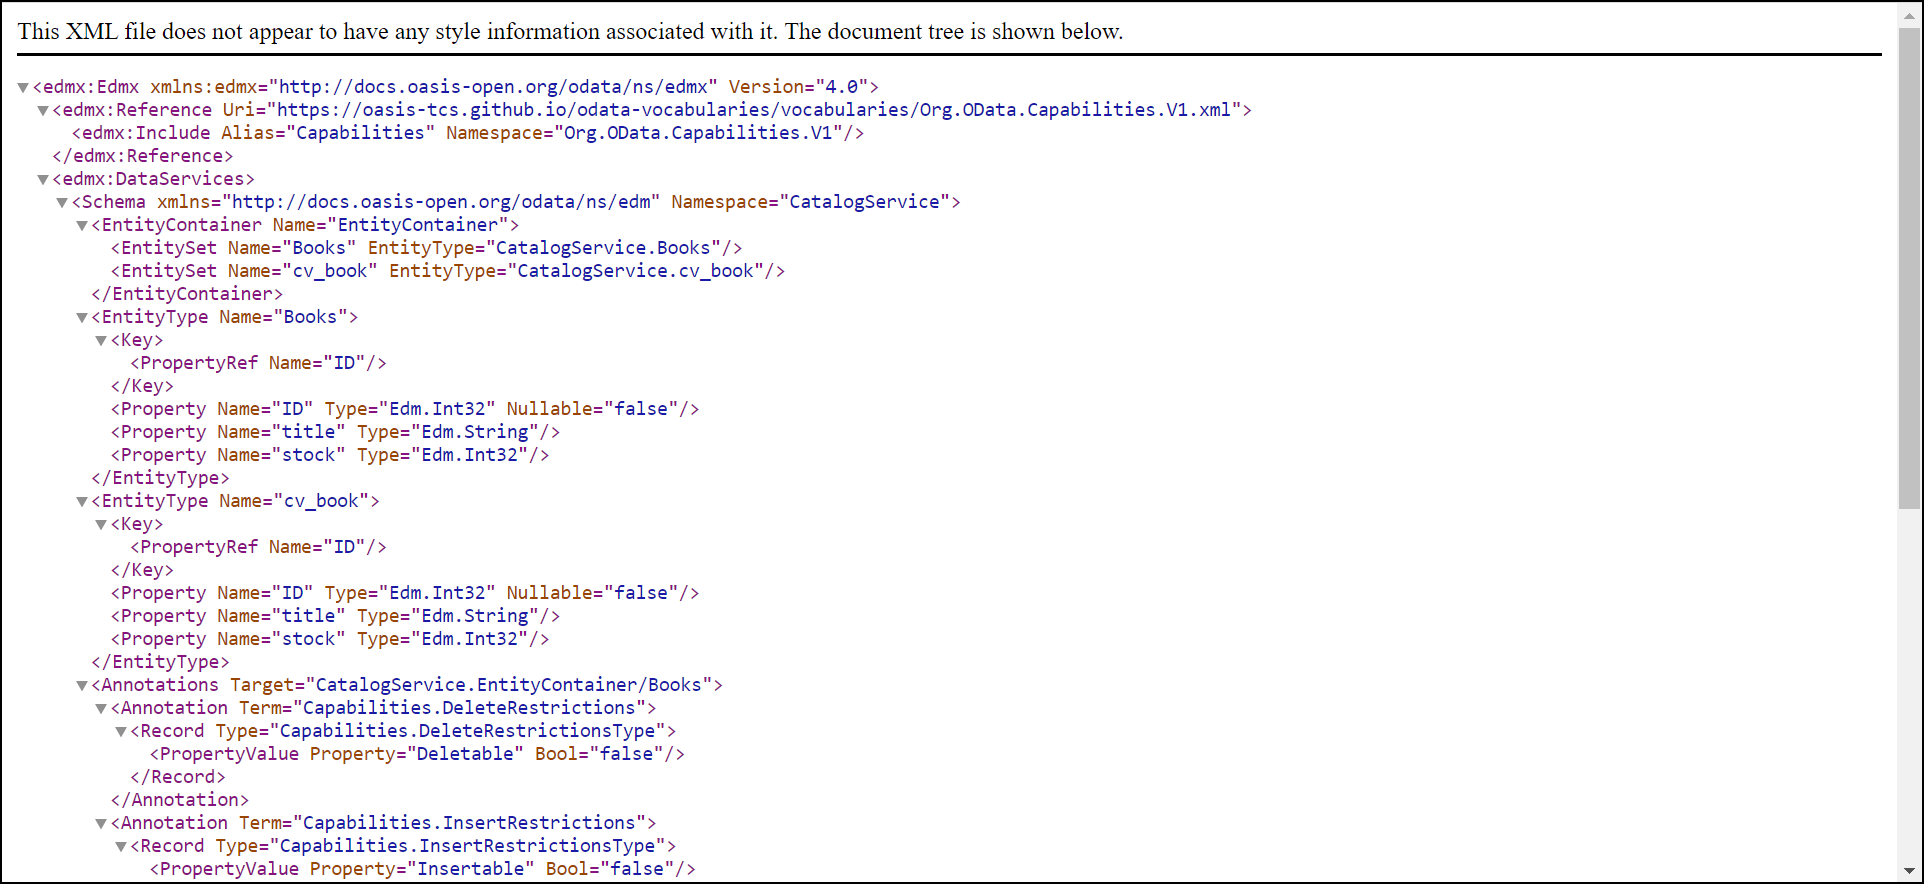
If you click on the $metadata, you can view the technical description of the service.
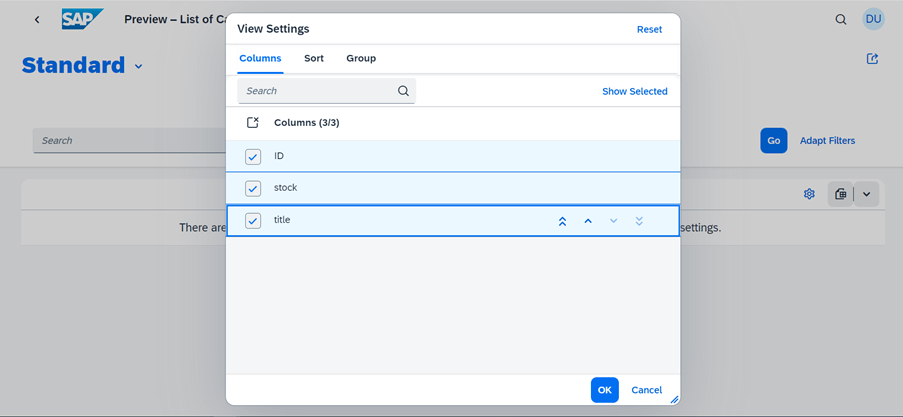
Click on Fiori Preview, attributes have to be selected by clicking on the gear icon ⚙️.
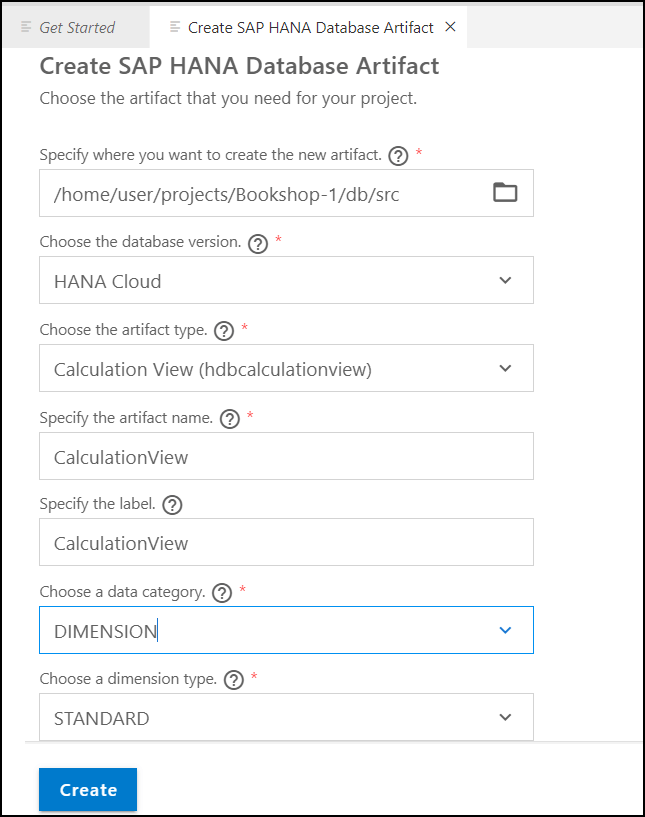
- Create Calculation View
Create a calculation view, click on F1 which in turn will open a wizard to create the database artifact.
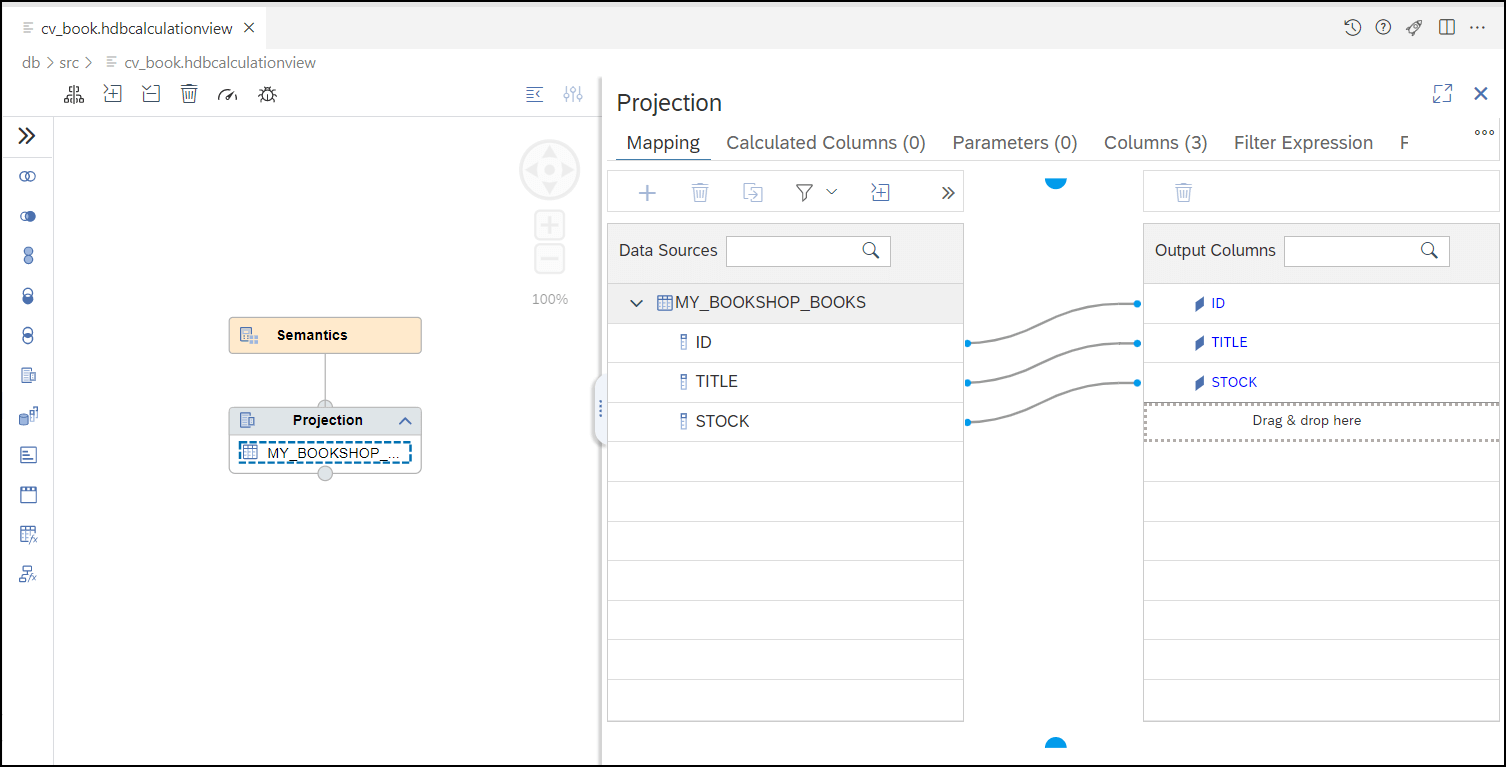
In the Calculation View Editor, Click on the + icon on the projection and add the table. On the right side, there is an icon to expand the details of the projection. By clicking on it, it opens the panel and here you can map the table attributes, by double clicking on the MY_BOOKSHOP_BOOKS header.
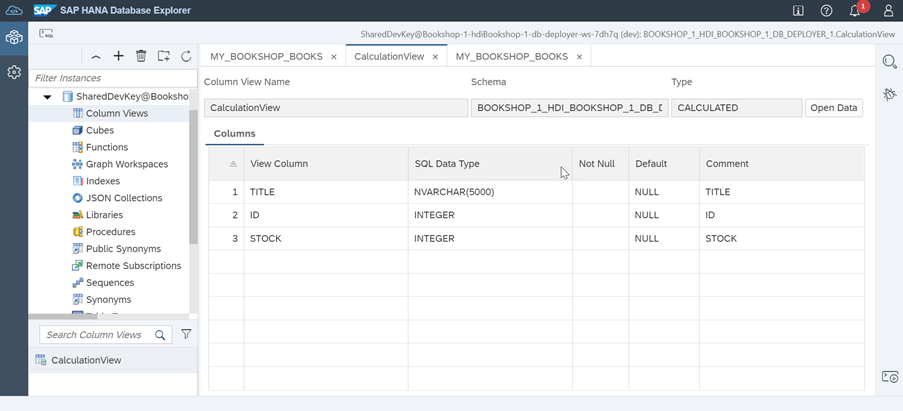
Once deployed, you can view the Calculation View in the Database explorer.
- Edit the .cds files ( data-model.cds & cat-service.cds )
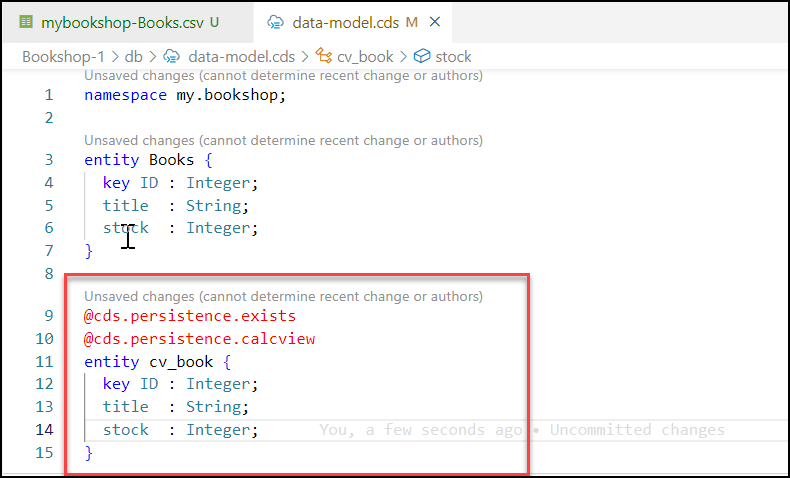

- Create Synonym
Create. hdbsynonym in your src folder
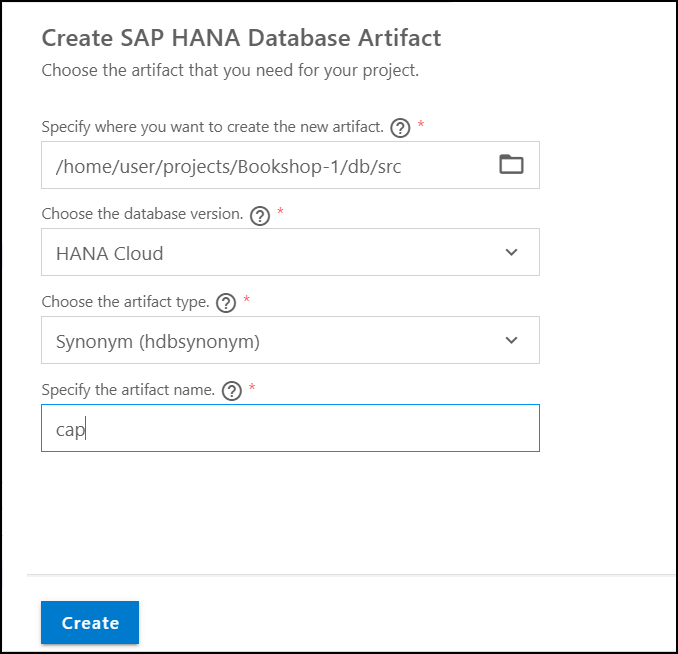
Click on <click_to_add> and enter the synonym name, MY_BOOKSHOP_CV_BOOK and click on the object field, the below table opens. Enter ** on the text field and choose the calculation view cv_book and click finish.

If you open the cap.hdbsynonym in the text editor, it will be as follows.
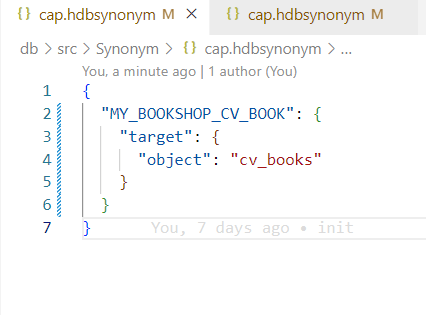
Deploy the project by executing the command cds deploy -2 hana. You can refresh the browser. You can find the new cv_book entity.


