Creation of SAP HANA Database Instance in SAP BTP
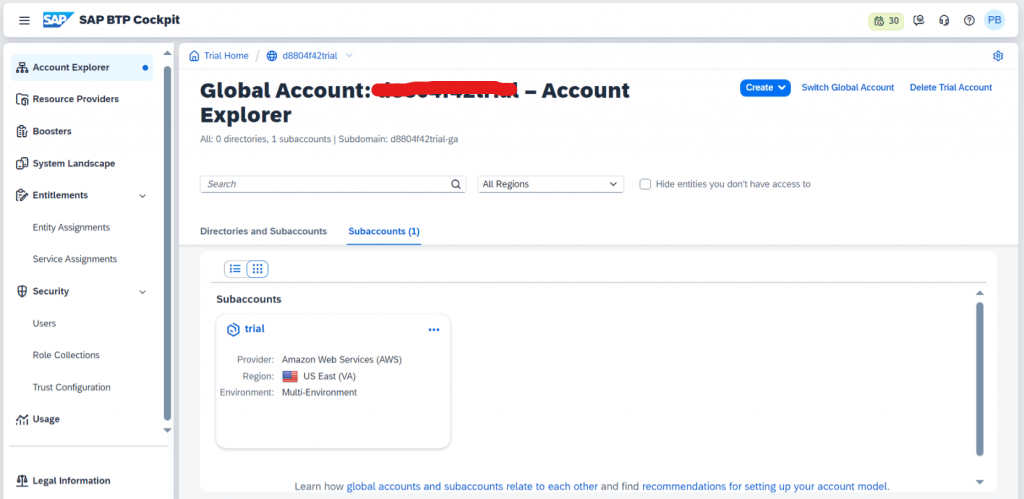
1. Open SAP BTP Cockpit and click on subaccount.
![](https://i0.wp.com/www.erpqna.com/wp-content/uploads/2024/05/sap-hana-database-creation-from-sap-btp-1.png?resize=730%2C356&ssl=1)
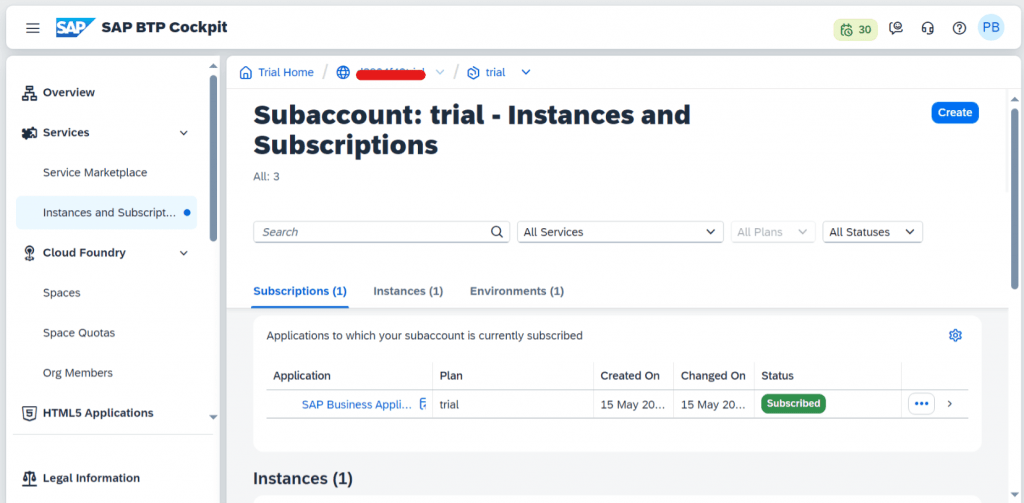
2. Click on Instances and Subscriptions and then click on create button.
![](https://i0.wp.com/www.erpqna.com/wp-content/uploads/2024/05/sap-hana-database-creation-from-sap-btp-2.png?resize=730%2C359&ssl=1)
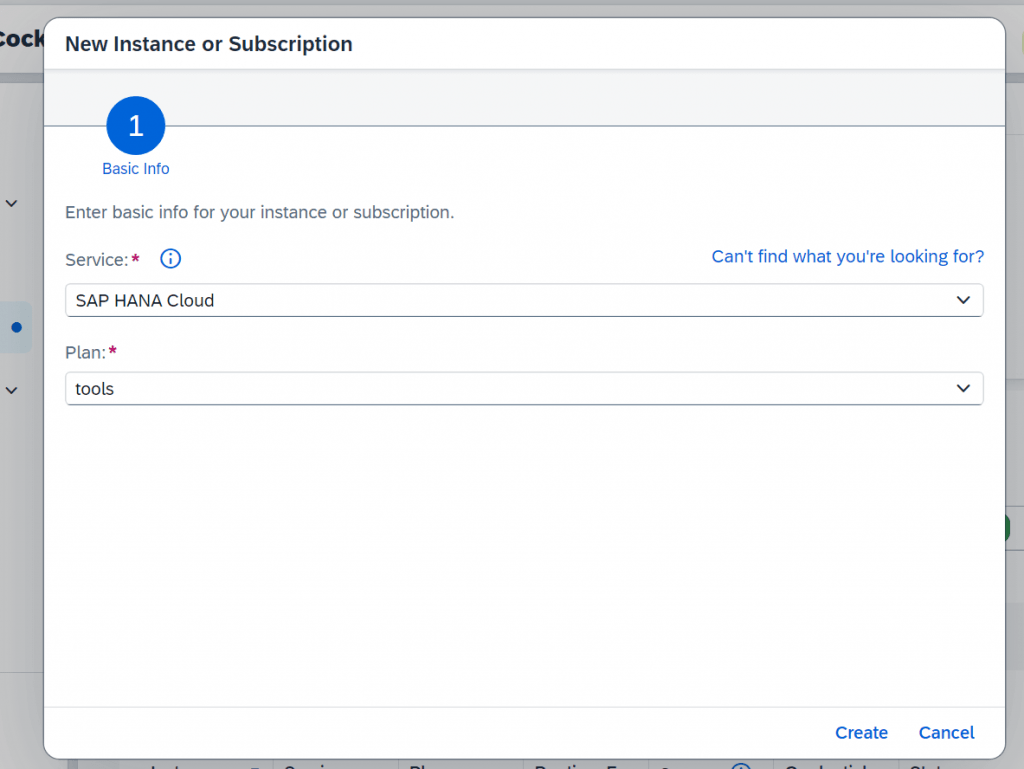
3. Select Service as SAP HANA Cloud and Plan as tools.
![](https://i0.wp.com/www.erpqna.com/wp-content/uploads/2024/05/sap-hana-database-creation-from-sap-btp-3.png?resize=730%2C548&ssl=1)
4. SAP HANA Cloud is now subscribed.
![](https://i0.wp.com/www.erpqna.com/wp-content/uploads/2024/05/sap-hana-database-creation-from-sap-btp-4.png?resize=730%2C405&ssl=1)
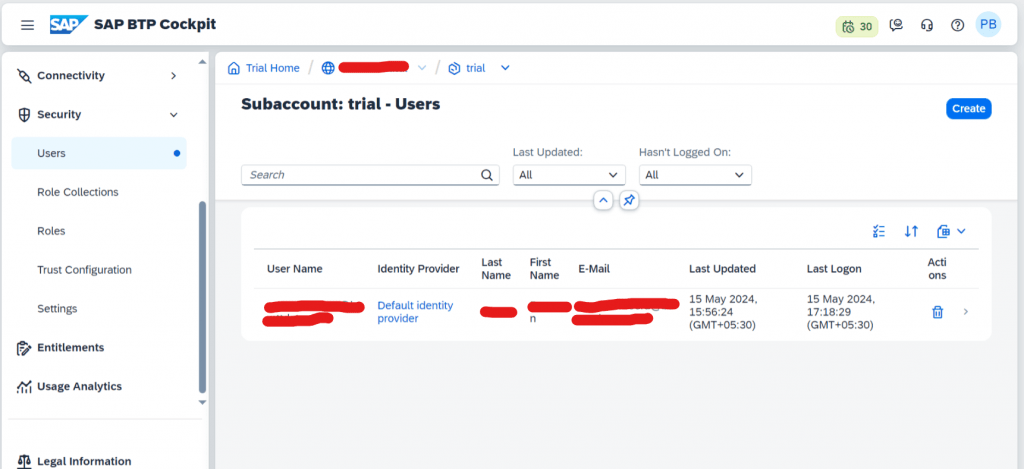
5. Click on Security -> Users and select the user.
![](https://i0.wp.com/www.erpqna.com/wp-content/uploads/2024/05/sap-hana-database-creation-from-sap-btp-5.png?resize=730%2C334&ssl=1)
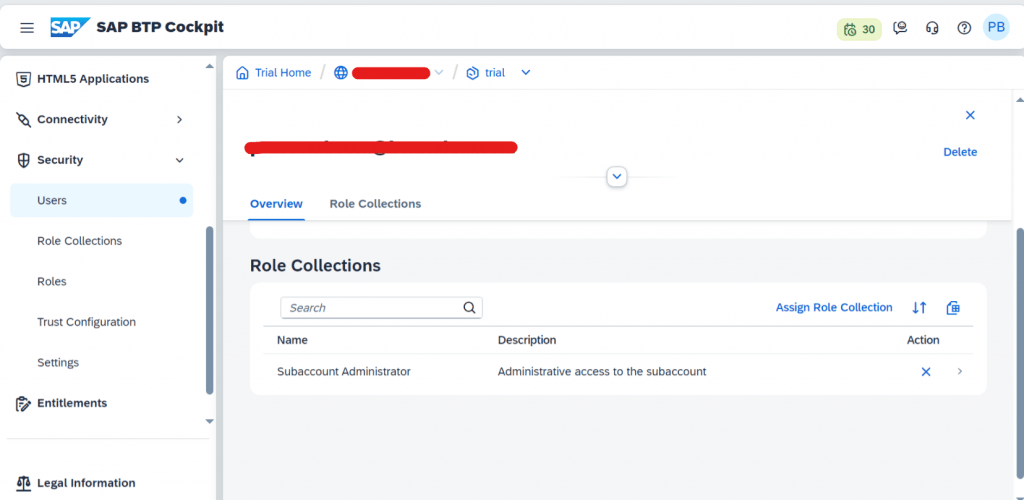
6. Click on Assign Role Collection.
![](https://i0.wp.com/www.erpqna.com/wp-content/uploads/2024/05/sap-hana-database-creation-from-sap-btp-6.png?resize=730%2C356&ssl=1)
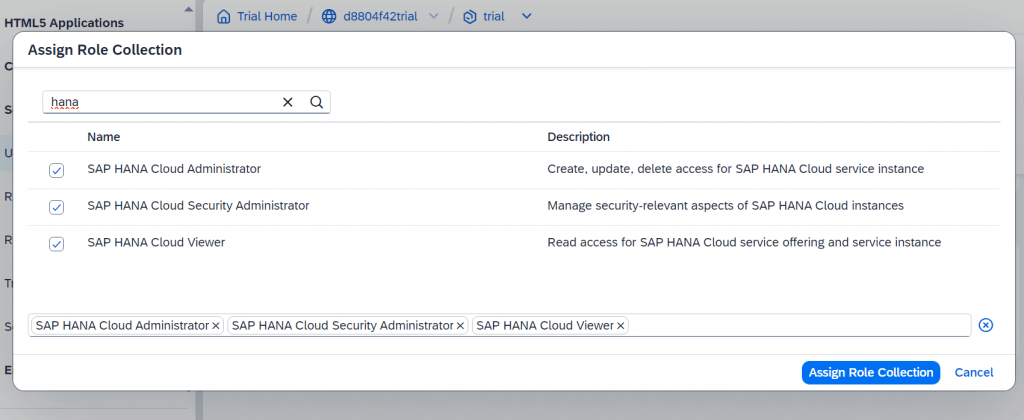
7. Assign the following three roles.
![](https://i0.wp.com/www.erpqna.com/wp-content/uploads/2024/05/sap-hana-database-creation-from-sap-btp-7.png?resize=730%2C299&ssl=1)
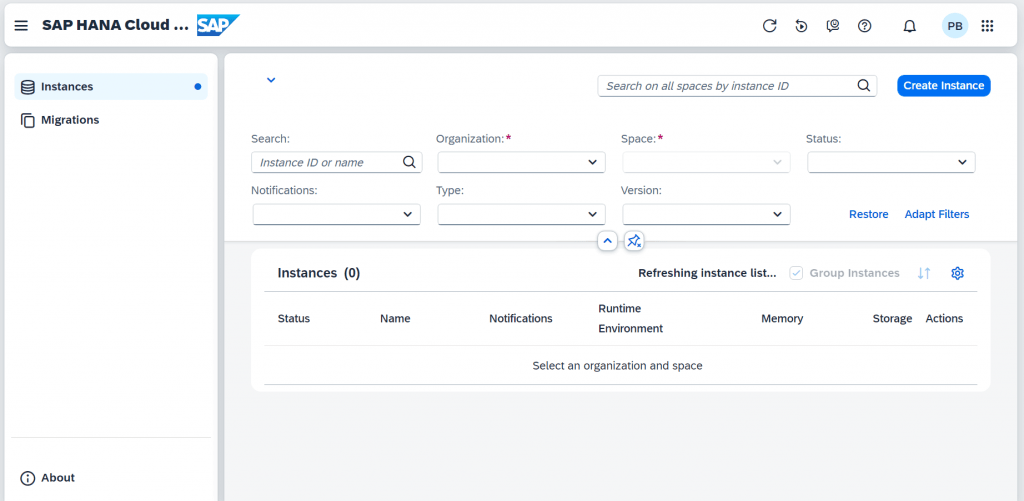
8. Click on SAP HANA Cloud Application; it will open in new window.
![](https://i0.wp.com/www.erpqna.com/wp-content/uploads/2024/05/sap-hana-database-creation-from-sap-btp-8.png?resize=730%2C405&ssl=1)
9. Click on create Instance.
![](https://i0.wp.com/www.erpqna.com/wp-content/uploads/2024/05/sap-hana-database-creation-from-sap-btp-9.png?resize=730%2C357&ssl=1)
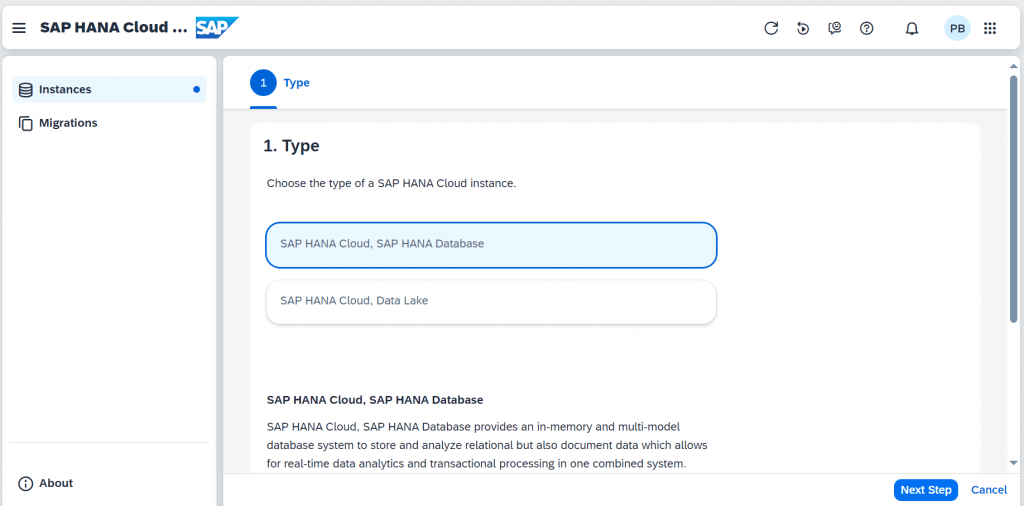
10. Select SAP HANA Cloud, SAP HANA Database and Next Step
![](https://i0.wp.com/www.erpqna.com/wp-content/uploads/2024/05/sap-hana-database-creation-from-sap-btp-10.png?resize=730%2C361&ssl=1)
11. Provide the instance name and password (next step).
![](https://i0.wp.com/www.erpqna.com/wp-content/uploads/2024/05/sap-hana-database-creation-from-sap-btp-11.png?resize=730%2C361&ssl=1)
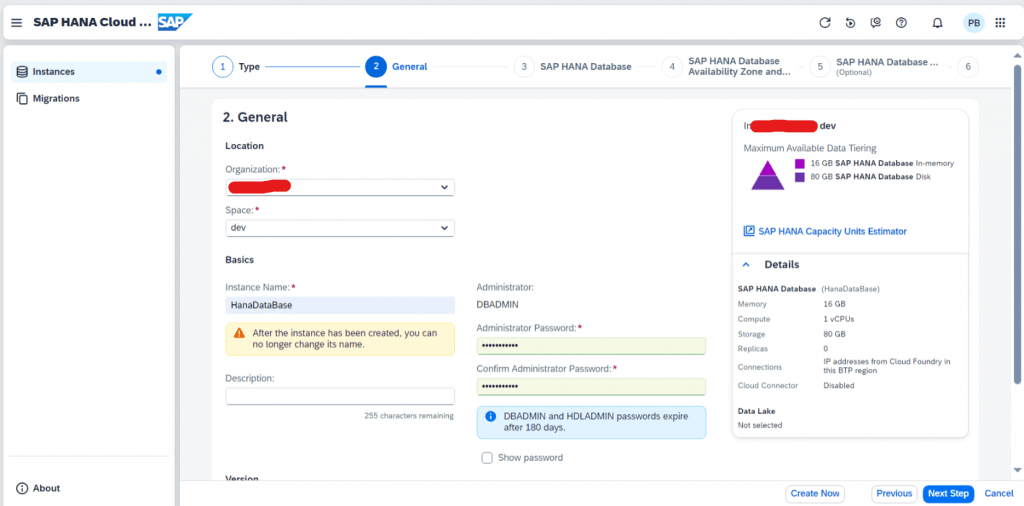
12. Click on Next Step.
![](https://i0.wp.com/www.erpqna.com/wp-content/uploads/2024/05/sap-hana-database-creation-from-sap-btp-12.png?resize=730%2C357&ssl=1)
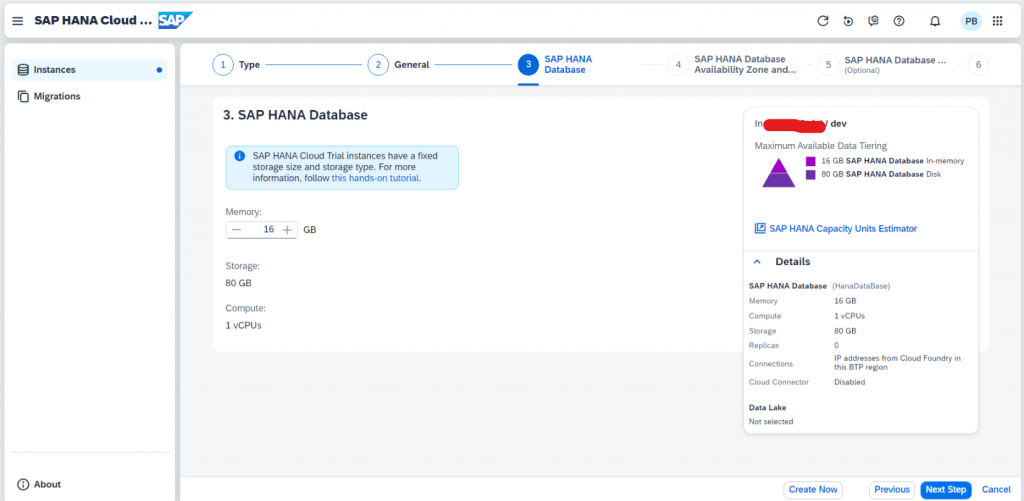
13. Click on Next Step.
![](https://i0.wp.com/www.erpqna.com/wp-content/uploads/2024/05/sap-hana-database-creation-from-sap-btp-13.png?resize=730%2C359&ssl=1)
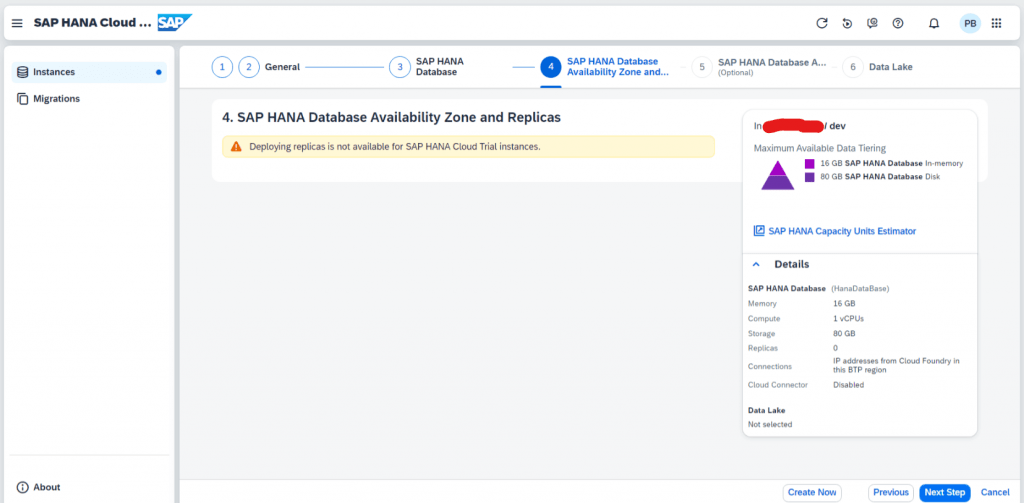
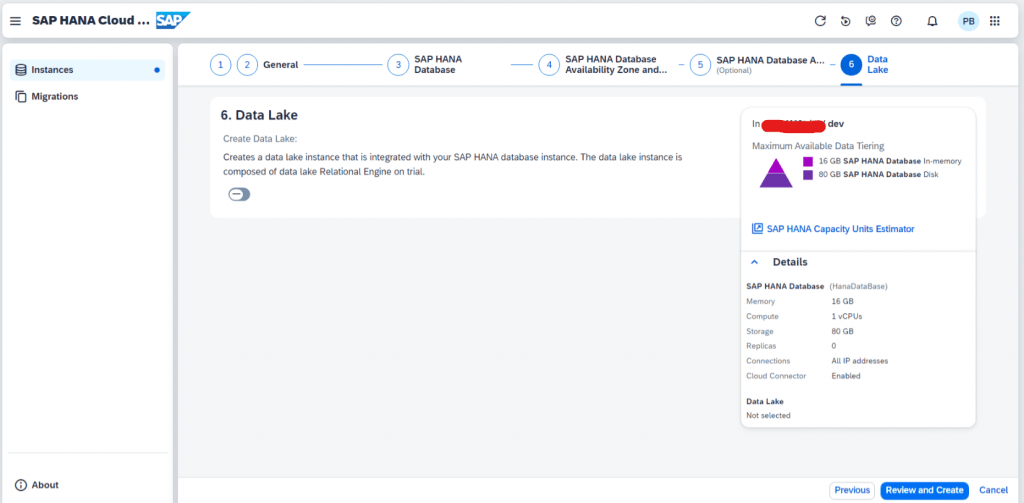
14. Select Allow all IP addresses, Enable Cloud Connector, and select Allow all IP addresses –> Next Step.
![](https://i0.wp.com/www.erpqna.com/wp-content/uploads/2024/05/sap-hana-database-creation-from-sap-btp-14.png?resize=730%2C359&ssl=1)
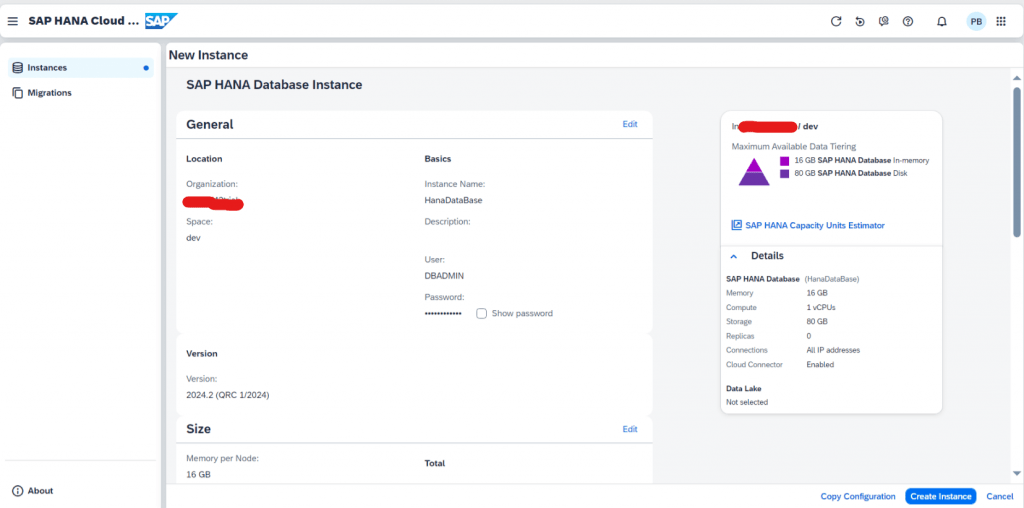
15. Click on Review and Create.
![](https://i0.wp.com/www.erpqna.com/wp-content/uploads/2024/05/sap-hana-database-creation-from-sap-btp-15.png?resize=730%2C359&ssl=1)
16. Click on Create Instance.
![](https://i0.wp.com/www.erpqna.com/wp-content/uploads/2024/05/sap-hana-database-creation-from-sap-btp-16.png?resize=730%2C362&ssl=1)
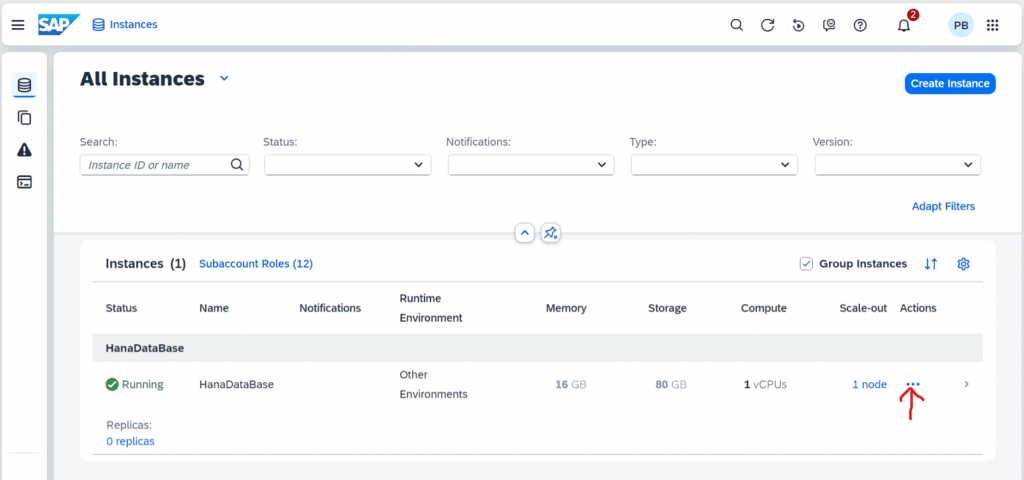
17. Wait until the Instance status turns into Running state and click on Actions three dots.
![](https://i0.wp.com/www.erpqna.com/wp-content/uploads/2024/05/sap-hana-database-creation-from-sap-btp-17.png?resize=730%2C342&ssl=1)
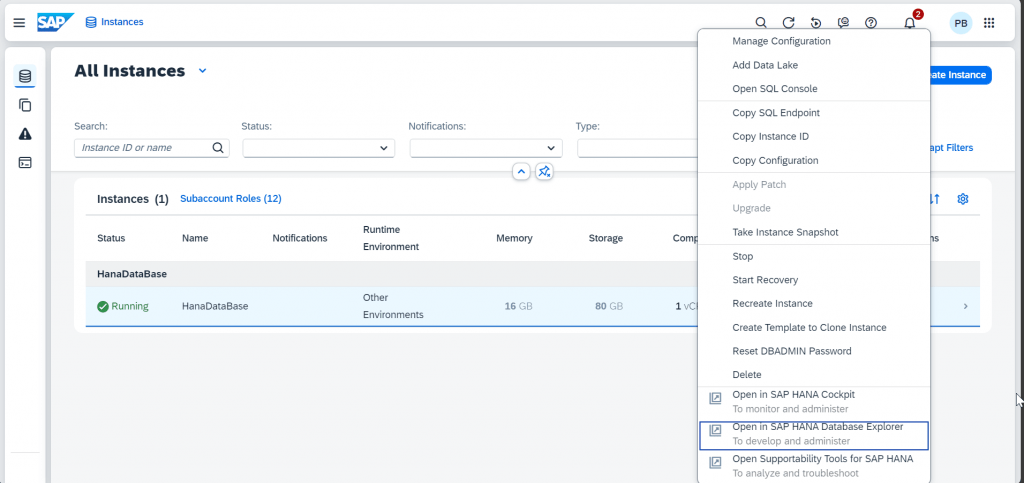
18. Go to Open in SAP HANA Database Explorer; it will open in new window.
![](https://i0.wp.com/www.erpqna.com/wp-content/uploads/2024/05/sap-hana-database-creation-from-sap-btp-18.png?resize=730%2C344&ssl=1)
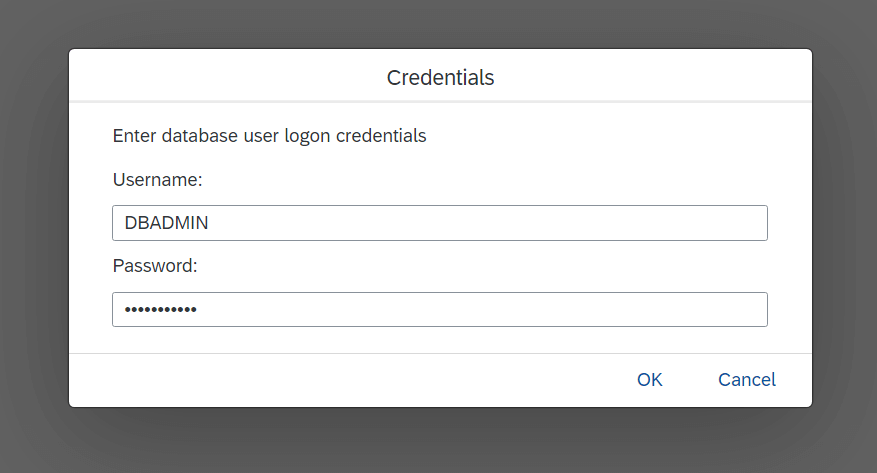
19. Enter the Credentials
Username: DBADMIN
Password: “use the password which was created at Step 11”.
![](https://i0.wp.com/www.erpqna.com/wp-content/uploads/2024/05/sap-hana-database-creation-from-sap-btp-19.png?resize=730%2C394&ssl=1)
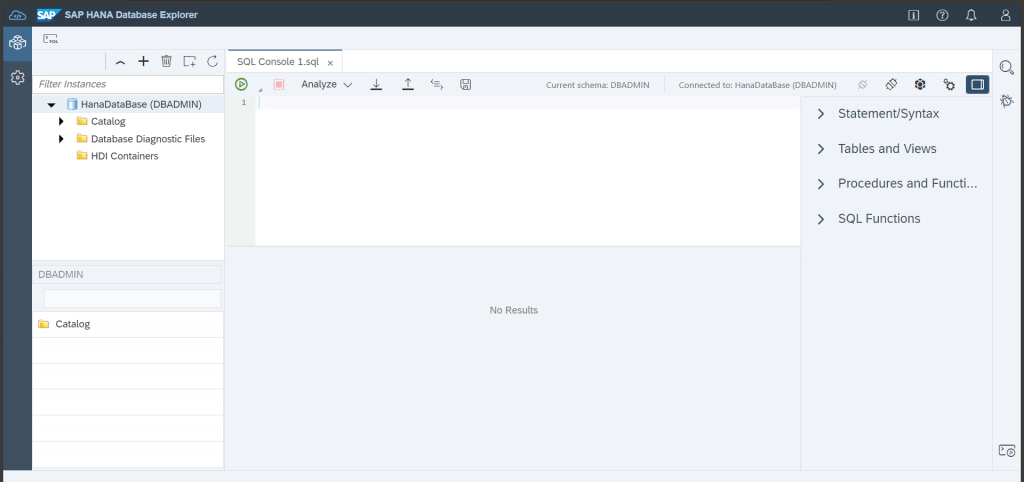
20. Click on SQL Console Icon at the top left.
Now the SAP HANA Database is ready to use.
![](https://i0.wp.com/www.erpqna.com/wp-content/uploads/2024/05/sap-hana-database-creation-from-sap-btp-20.png?resize=730%2C344&ssl=1)