My Inbox – Purchase Order Approval App
When you need to create any Fiori App, what do you need to consider?
The first duty is to search in the Fiori Library– it is the Bible/Warehouse of Fiori Apps.
My requirement is to create the Purchase Order Approval App, so –
- I first need to check it in the Fiori library. Lucky, if I get it.
- Make sure the Release Strategy works as expected in Backend Server.
1. Search for the App in the Fiori Library
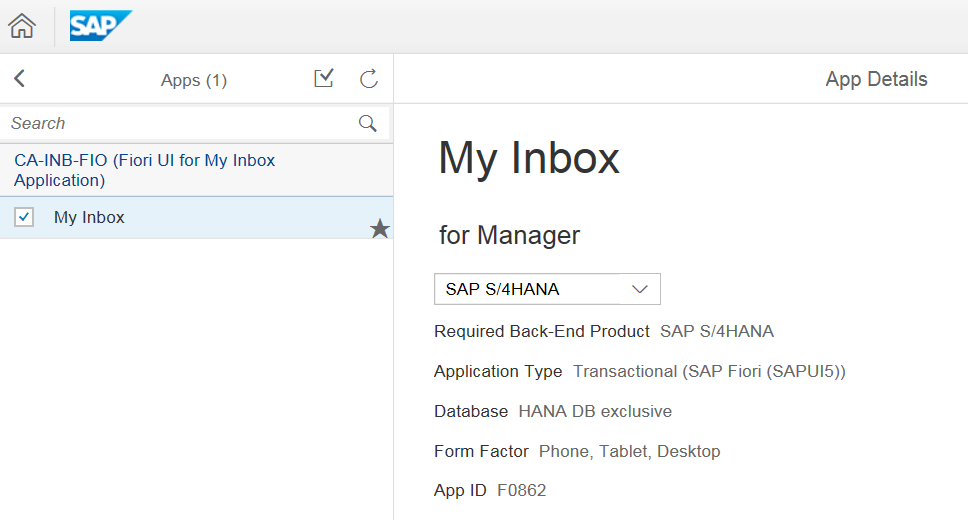
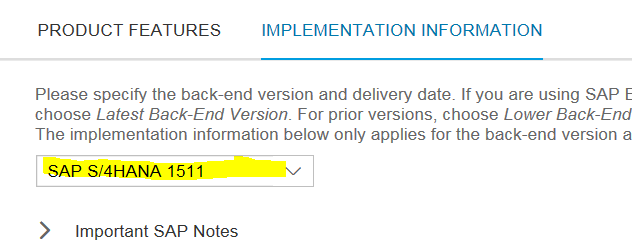
2. In Implement Information – check the version of your system, for which you need to create the app for.
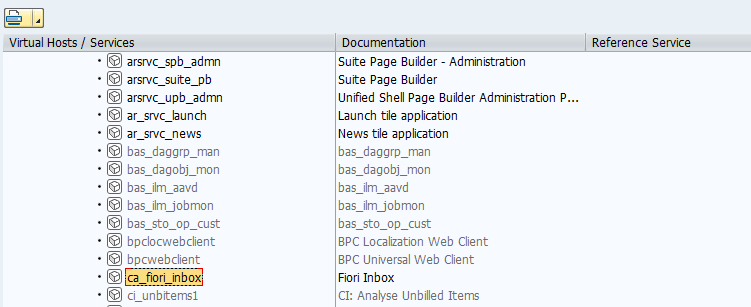
3. In Configuration – make note of the SAPUI5 Application, note the technical name: CA_FIORI_INBOX
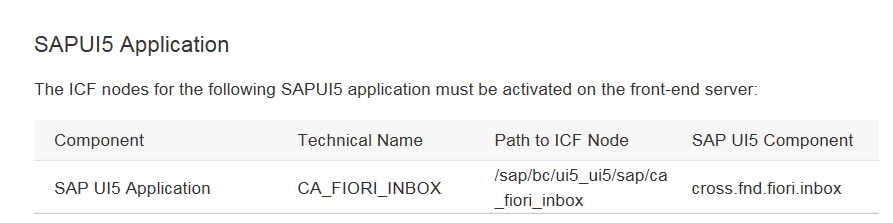
Let’s check what to do in these front end and backend servers.
Go to front end server and activate the sicf service : sicf->default_host->sap->bc->ui5_ui5->sap->ca_fiori_inbox->activate
4. In configuration – note the OData Service

That’s it. We have both the frontend and backend service names. Now go to the front end server and activate the odata services using the Tcode: /IWFND/MAINT_SERVICE. Please make sure of the System Aliases while activating the services

Check the system Alias. System Alias should be IW_PGW (very important).
5. The connection between the gateway server and the back-end server – should be connected via an RFC Connection.
6. Back-end Server: Now the main role has to be played by my Workflow.
Like any approval process, PO Approval also needs the workflow to be up and running. If it is not in place nothing will work, forget about the App.
So let’s play with workflow!
SAP Netweaver->Gateway Service Enablement->Content->Workflow Settings->Enable Task Filter->Deactivate
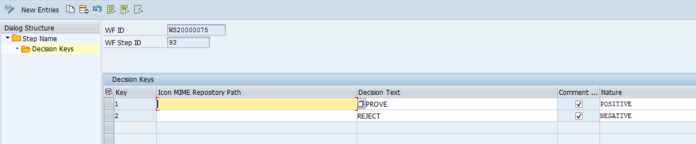
SAP Netweaver->Gateway Serivce Enablement->Content->Workflow Settings->Maintain Task Names and Decision Options

Click on Decision Keys ->define the Decisions i.e Approve and Reject buttons
7. Gateway Server: Define Workflow scenario in your gateway system
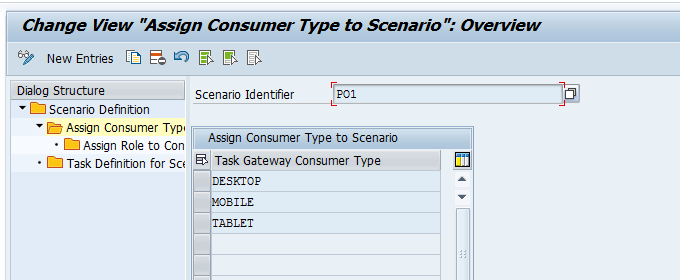
SAP NetWeaver, choose Gateway Service Enablement->Content->Task Gateway Service->Scenario Definition.

Assign consumer type.
Select an entry and Assign a Role to Consumer.

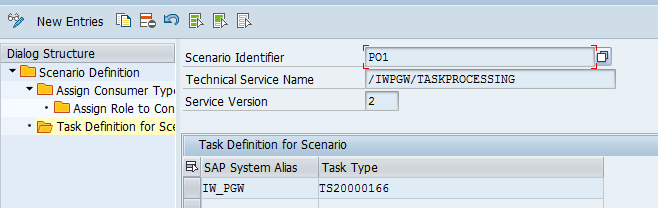
Go To Task Definitions and Assign a Task to SAP System Alias
The important steps are done. The workflow settings are in place and my services are activated.
But still there is way to go!!
8. Authorizations: in Front End Server
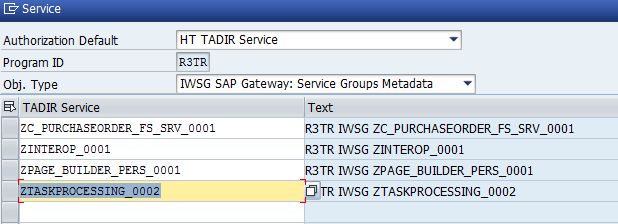
Go To PFCG: create a zrole, go to authorization default
Program ID : R3TR
Obj. Type : IWSG
Services: as shown below: and copy. The user should have access to all these Odata Services
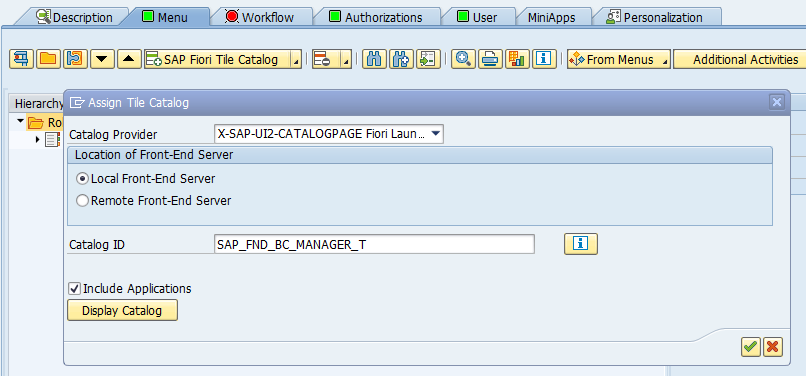
9. In PFCG Assign Catalog to the Role
The manager should also have access to the standard catalogue. Check the standard catalogue role from Fiori Library.

10. The backend and frontend servers are in place along with Workflow, Services, and Roles.
For Fiori Launchpad, please make sure following things are in place.
In the Fiori Library, look for the standard catalog.
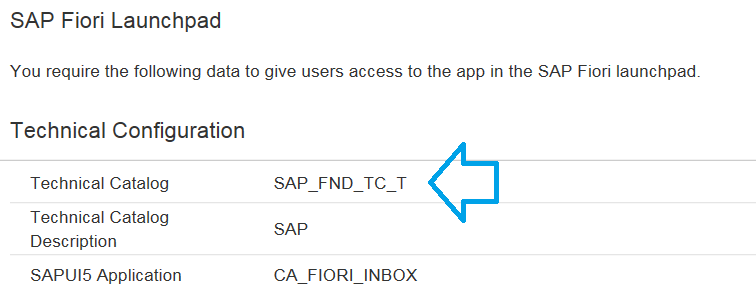
11. Using Tcode /n/UI2/FLPD_CUST at Frontend Server, Find the Catalogue name
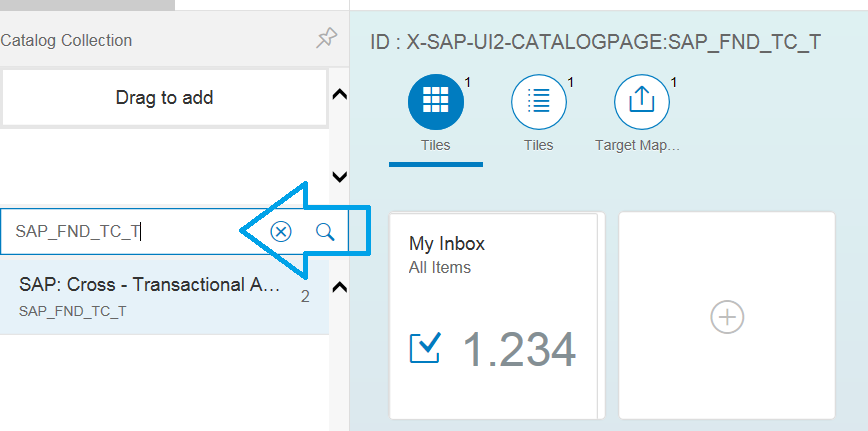
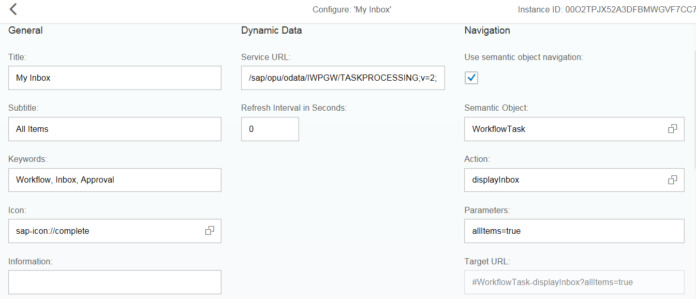
In the Tiles, make note of all parameters that standard has already provided!
Fiori Launchpad: /UI2/FLP – Fiori Launchpad Designer
You are all set to view your own App

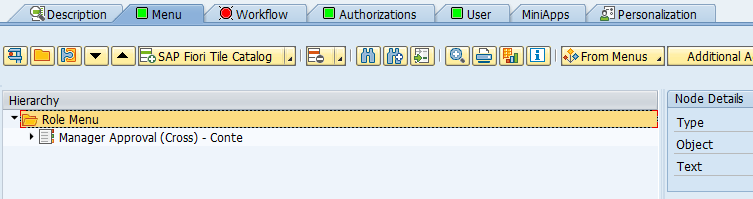
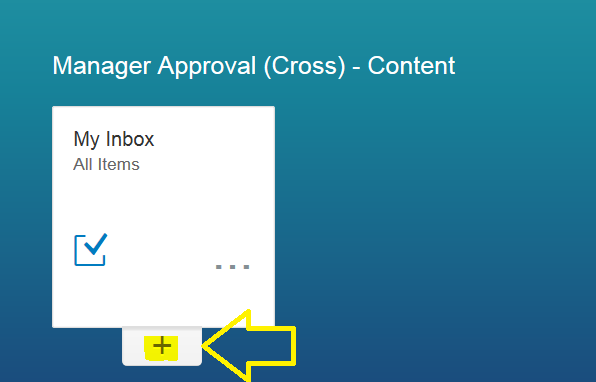
Click the plus button to configure your catalogue. Select Manager Approver(Cross) – Content
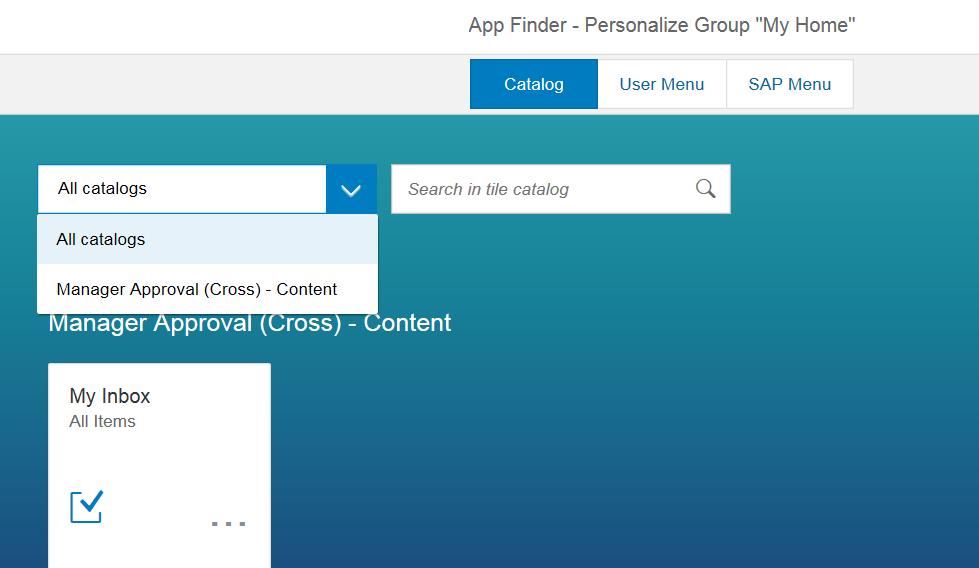
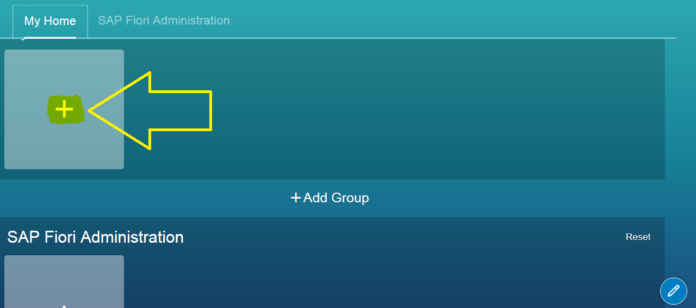
Click on + button.
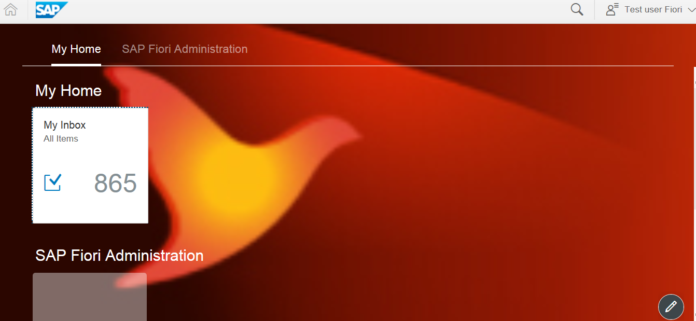
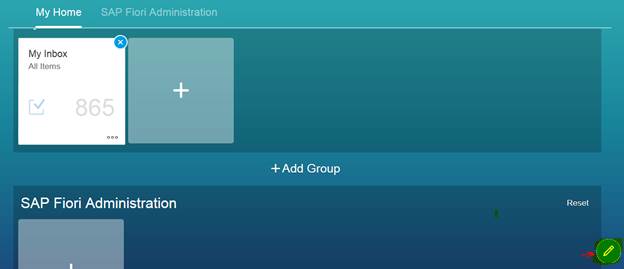
Your App Launcher will be added to Group Home: click on Pencil button
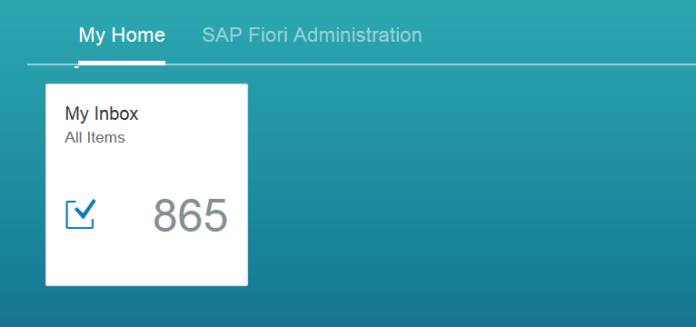
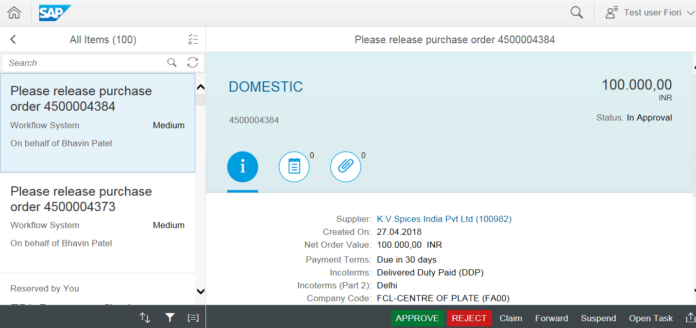
Click on My Inbox – here you go! You have completed all the configurations and settings. You My Inbox App to approve the Purchase Order is ready. Managers with the right Roles would be able to see POs in their queues.
The technical steps for configuration, activation of services and steps to handle workflow is complete. But, if you want to beautify your flower (fiori) even more, please check the additional information below.
These are not must have requirements, but Good to Have. Afterall, there should be some difference between you and others.
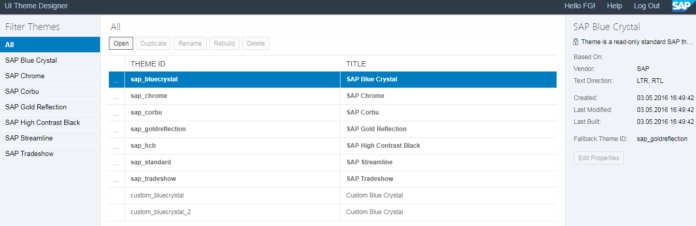
13. Theme Designer: To decorate your App
Call Tcode /ui5/theme_designer from the frontend server. Once you log on, you will get the following screen.
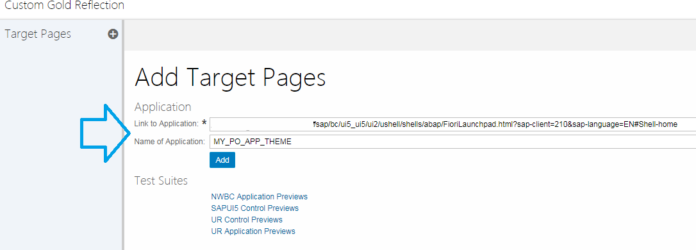
Double click on SAP_Bluecrystal. In the Link to Application, paste the Fiori Launchpad link. Provide a name to the application and click Add.
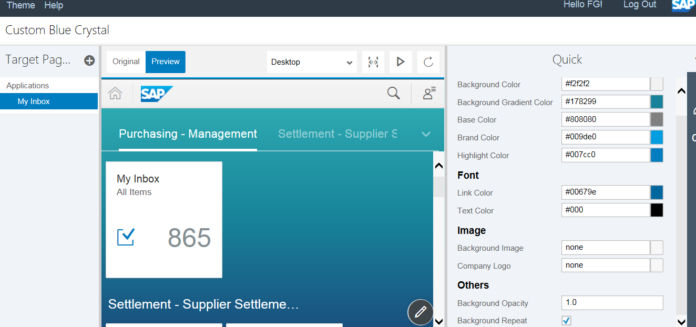
In the right panel, you can add the background color and background images.
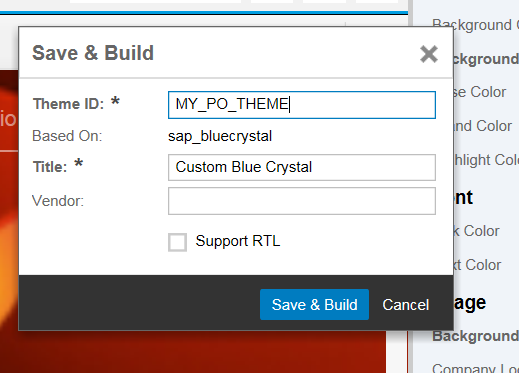
Once the decoration and customization are done. Go to Theme->Save and Build
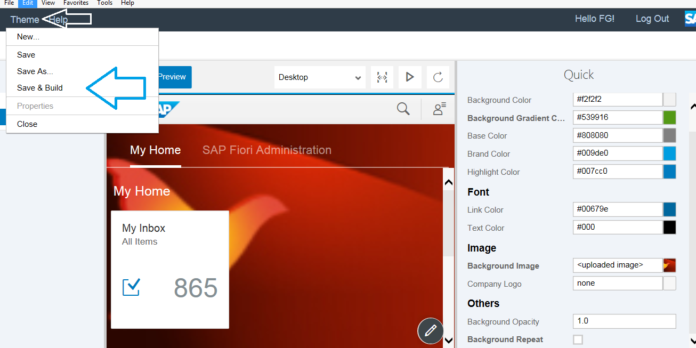
Provide the necessary parameters and click on save and build
Our Fiori App would be linked to the new Theme. In front end server; go to tcode/n/ui5/ theme_tool and click on info.
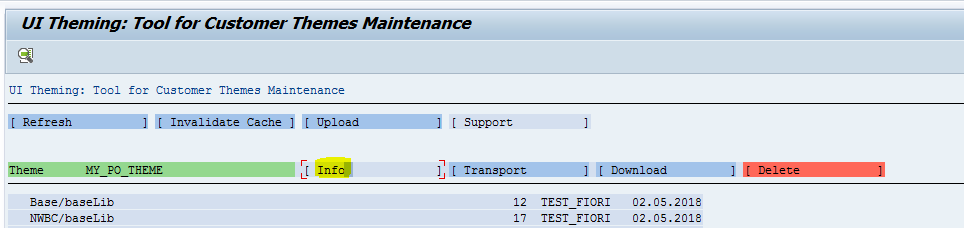
Copy the URL. Your link should be like this.

Check it out!!