In this article, we’ll take a look at one of the new features of SAP Datasphere which is New Replication Flow.
Background:
We already know replication capability is available in SAP Datasphere with Smart Data Integration (SDI) and SAP is not going to remove it. With the “New Replication Flow”, SAP Basically bring in a new cloud-based replication tool. This cloud-based data replication tool is designed to simplify data integration processes by eliminating the need for additional on-premises components. This means that it does not rely on DP-Server/DP-Agent technology which requires installation and Maintenace but instead uses the Data Intelligence Embedded environment and Data Intelligence Connectors to connect to remote sources.
User Interface:
When it comes to the user experience, it also has been integrated and inbuilt into the existing data builder and the same comes with the monitoring features, the replication flow monitoring into the existing data integration monitor where users already find as of today the monitoring for the data flows.
When to use replication flow?
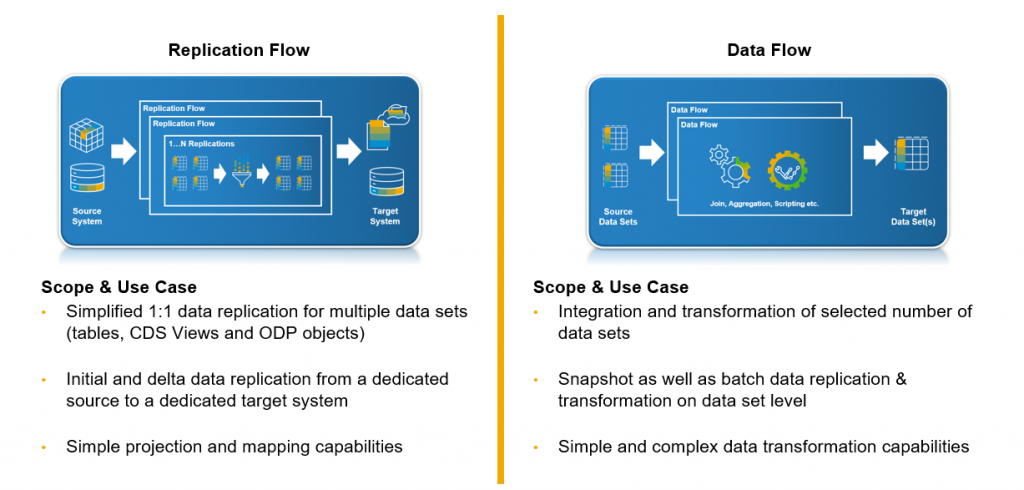
If you want to copy multiple data assets from the same source to the same target in a fast and easy way and do not require complex projections.
One thing we need to keep in mind is that replication flows will copy only certain source objects which are mentioned below.
- CDS views (in ABAP-based SAP systems) that are enabled for extraction.
- Tables that have a unique key (primary key)
- Objects from ODP providers, such as extractors or SAP BW artifacts
The New Replication Flow also supports Delta load along with the initial load, for the initial release the delta duration is fixed to 60 minutes that means the delta load is happening every 60 minutes and capturing the replicating changes from the source to the target that has been selected and these would be further extended. (Ex: kind of a scheduled batch delta replication in future)
Use case and overview comparison:
Overview of Connectivity: SAP HELP – Connection Types Overview
On the source system side
- SAP S4HANA Cloud or S4HANA on-premises, where we mainly talk about CDS Views extraction.
- SAP ECC or Business Suite systems that we connect via SLT for mainly table-based extraction and the DMIS add-on will be installed (DMIS add-on is kind of a requirement that we need that brings in all the prerequisites into the SAP system that we need as a framework or a foundation to be able to use the replication flows).
- SAP BW and BW/4HANA integration (We have different data assets that can be exposed via ODP, like ADSOs, DSOs and so on)
- SAP HANA Cloud as well as HANA on-premises.
- Non-SAP source which is Azure Microsoft SQL database that we can use as a source.
On the Target system side
- SAP Datasphere.
- Standalone HANA on-premises and Standalone HANA cloud.
- HANA Data Lake Files.
With that lets jump into the scenario…
In this scenario, I am going to use SAP HANA Cloud system as a source.
Let’s see the connection creation with the source system.
- Go the dedicated Datasphere space and click on “Go to connections”.
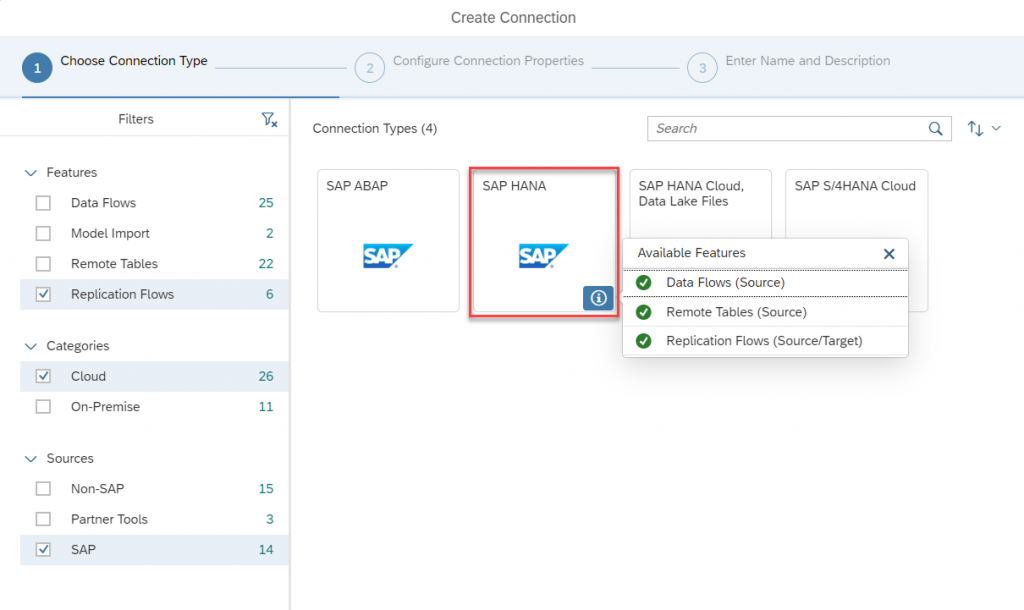
- Click on Create connection and you can see the list of connection types.
- Click on information icon of SAP HANA Cloud connection, there you go… it supports Replication Flows
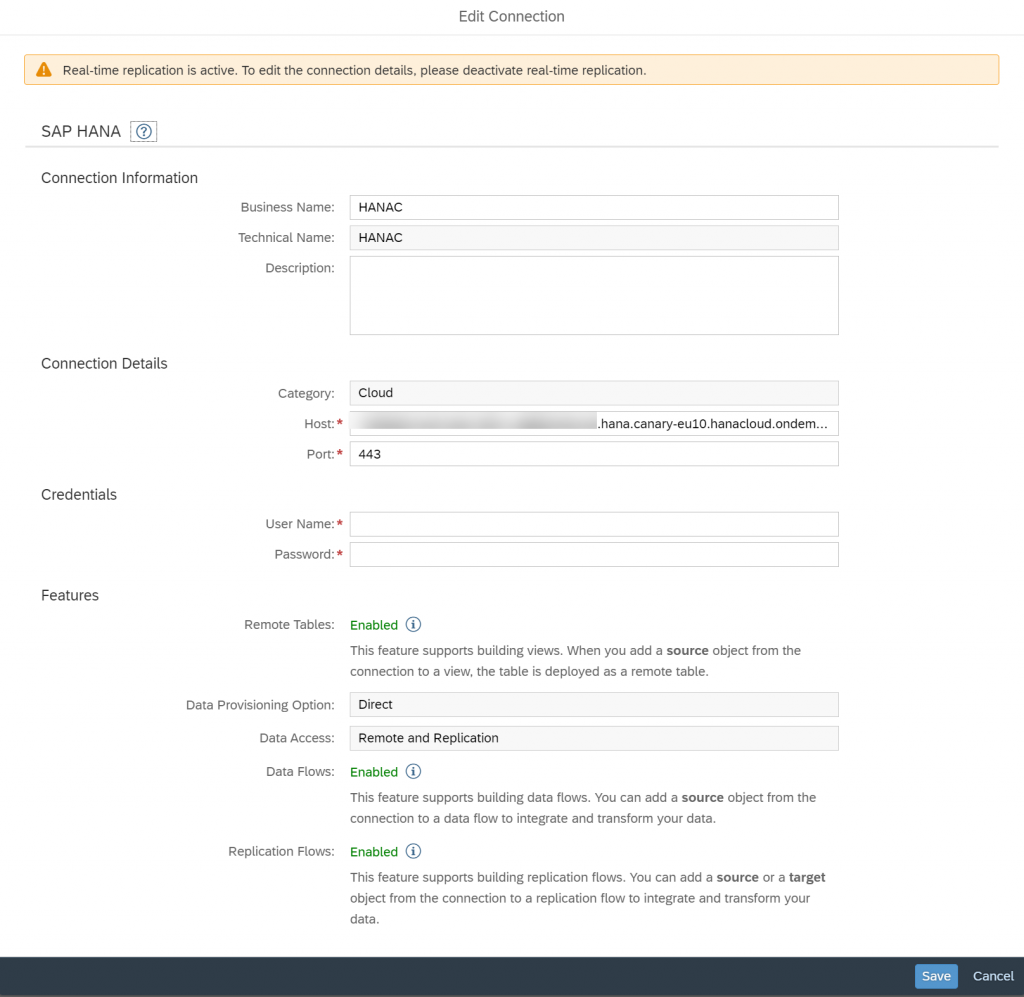
- Select the connection and provide the information about the source system you have, that’s it. You are good to go…
Now, we will see how to create a Replication Flow in SAP Datasphere.
- Jump into the Data Builder and click on New Replication Flow.
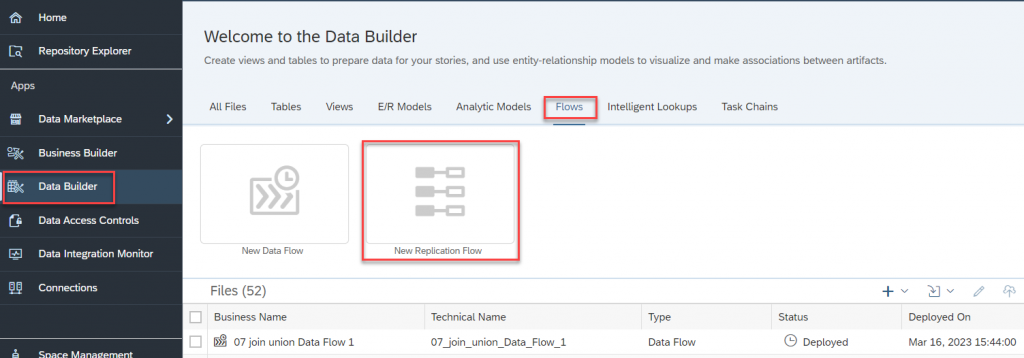
Note: If you don’t find the “New Replication flow”, Please Check whether you have “SAP Datasphere Integrator” role assigned to your user.
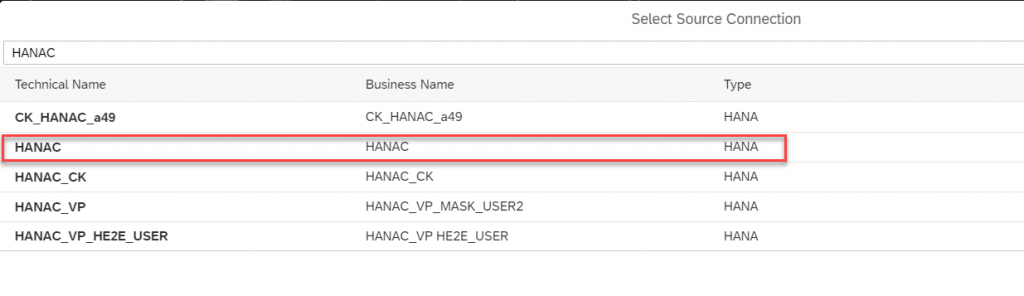
- To choose the source for replication click on the “Select Source Connection” which indeed shows the connections created in your Datasphere space.
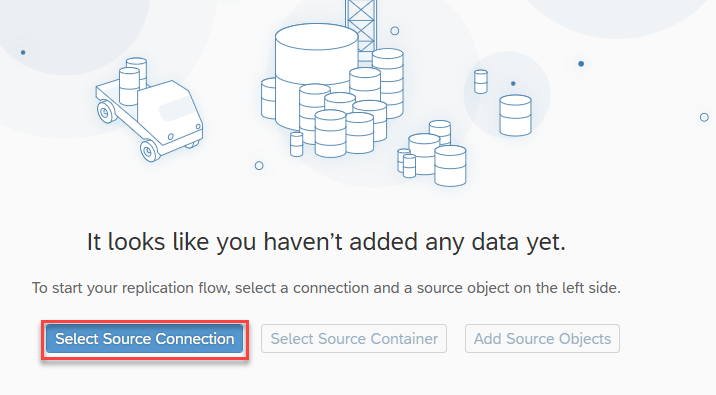
- Here, I am going to connect to a HANA Cloud system from where I am going to consume tables. So, select the connection and continue.
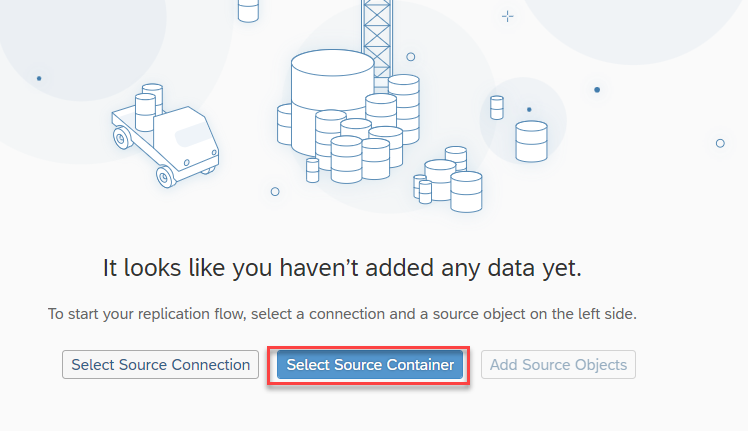
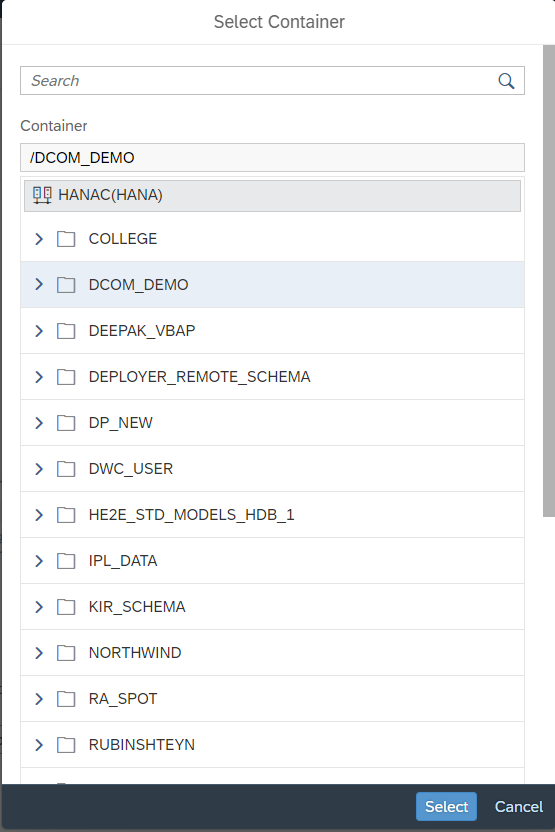
- The next thing is you need to choose “Source container“. Container is like a root path of target file. (For example: In case of a database, it’s the database schema)
- Here, I am selecting the container so that it will show the list of tables within the system.
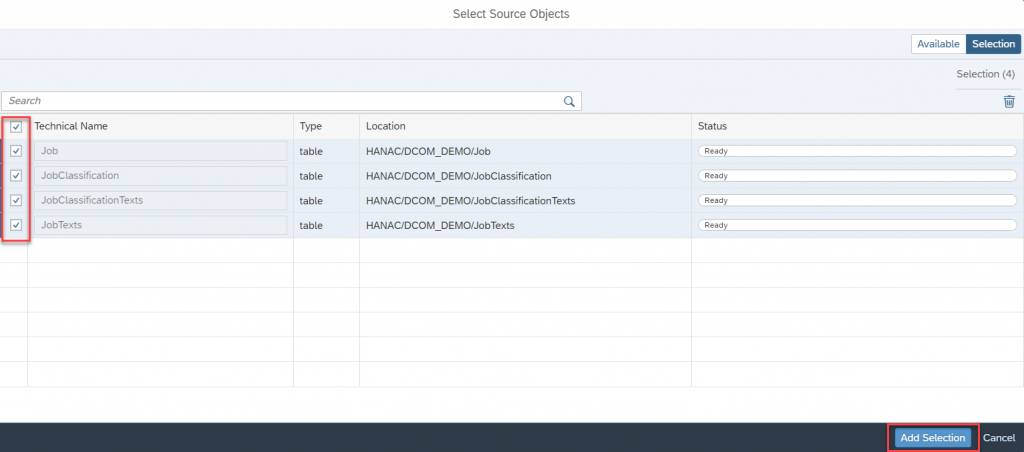
- The final thing in setting up the source system is we need to select the source objects from the path we provided in the previous step for that click on the “Add Source Objects” and choose the tables that you want and click on Next.
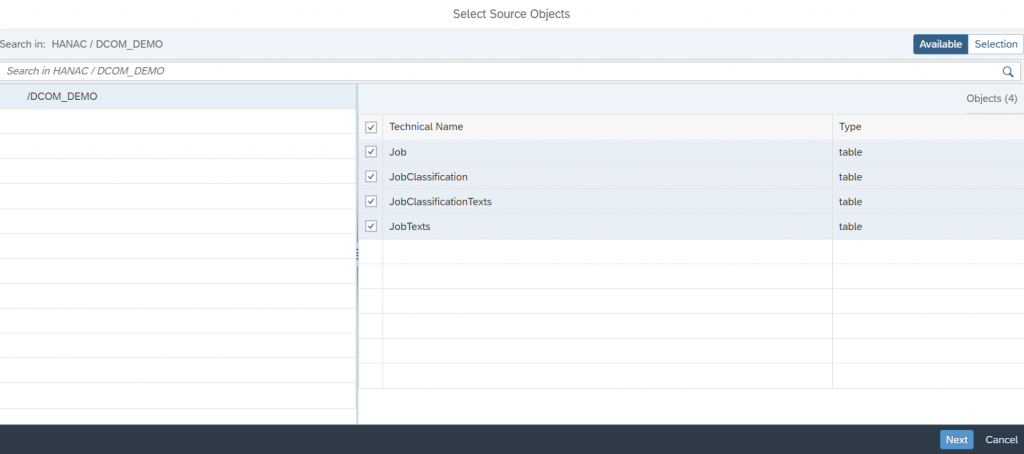
- In the next screen, select all the objects and “Add Selection.”
- Next, configure the target “Select Target Connection”.
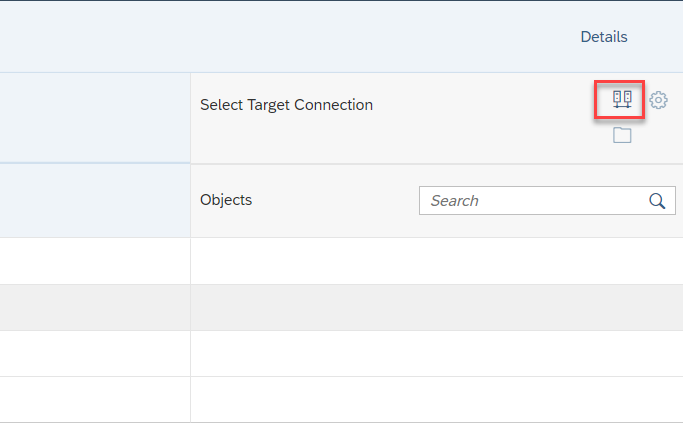
- Make sure you should choose “SAP Datasphere” as your target when you want to replicate data from SAP HANA Cloud into it.

Note: You can also have the option to select other targets as well… it depends on the connections you created with in Datasphere space. If you have Standalone HANA on-premises, Standalone HANA cloud and HANA Data Lake connections then those things will also show in the target.
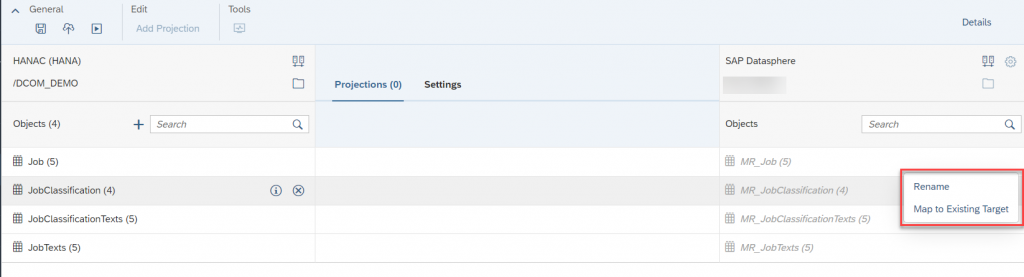
- Let’s change the name of the replicated tables in SAP Datasphere. If you have existing tables with similar structure, you can add those tables in place of auto generated tables.
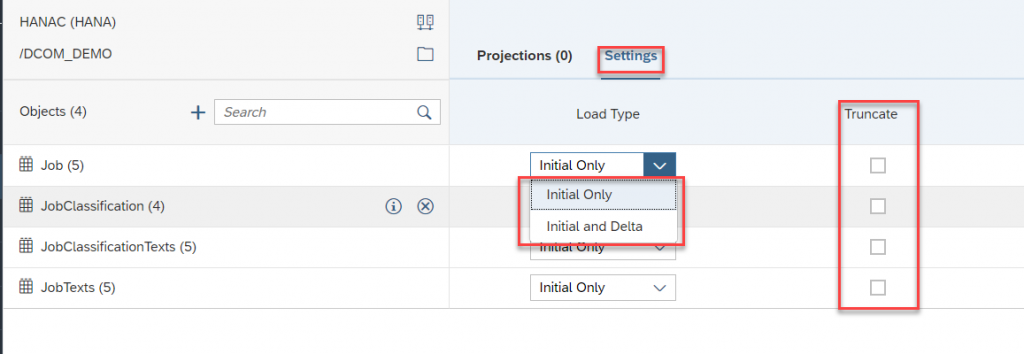
- Click on Settings to set the replication behavior, as I mentioned earlier the replication flow also supports Delta extraction. Additionally, you can one more option called “Truncate” on enabling that it will delete the data in the target structure.
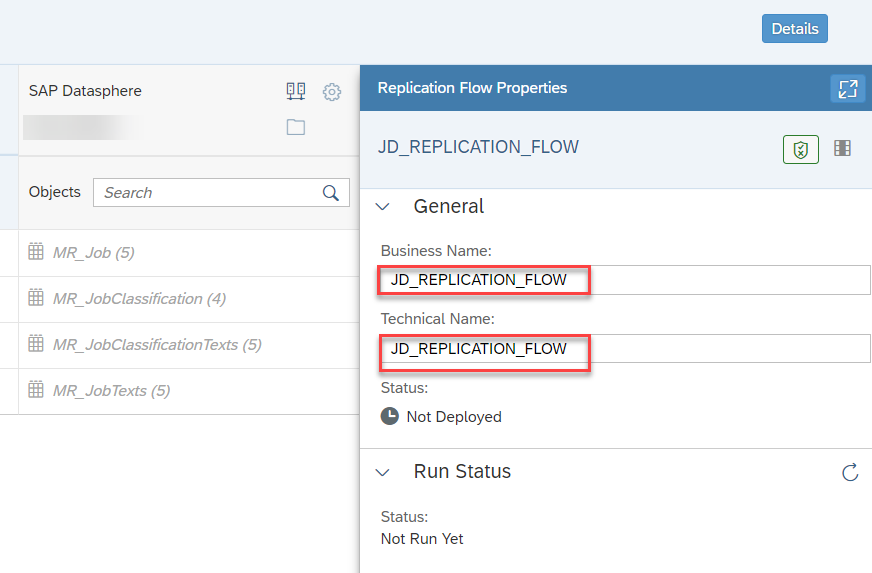
- Provide the Technical/Business name of the Replication flow and save it.
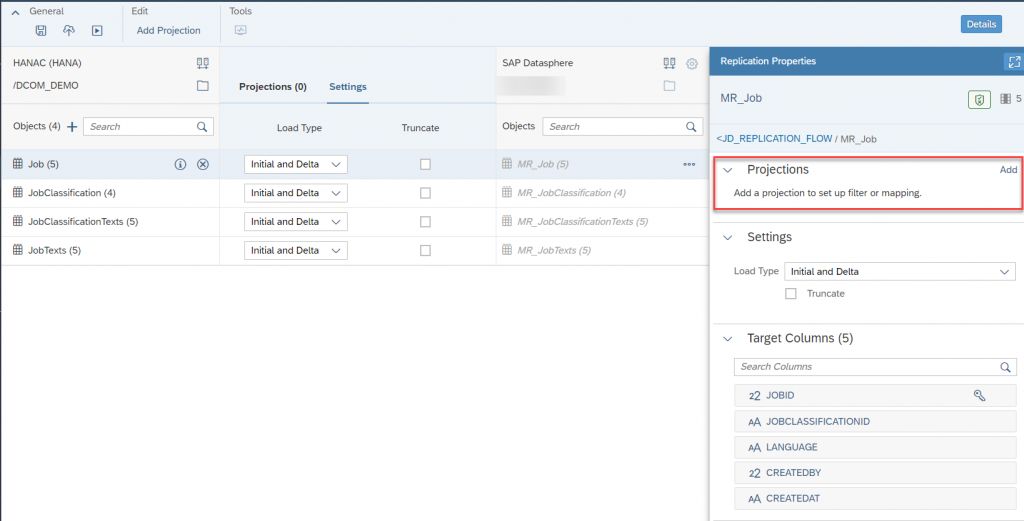
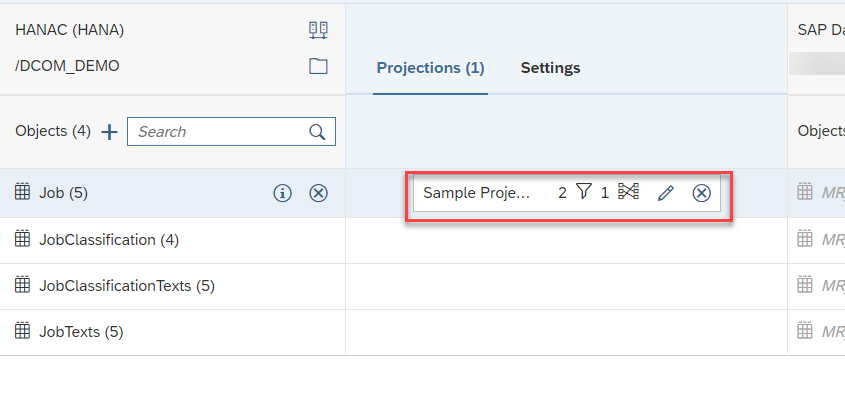
- Select any of the row you can see the replication properties from there you can add some projections.
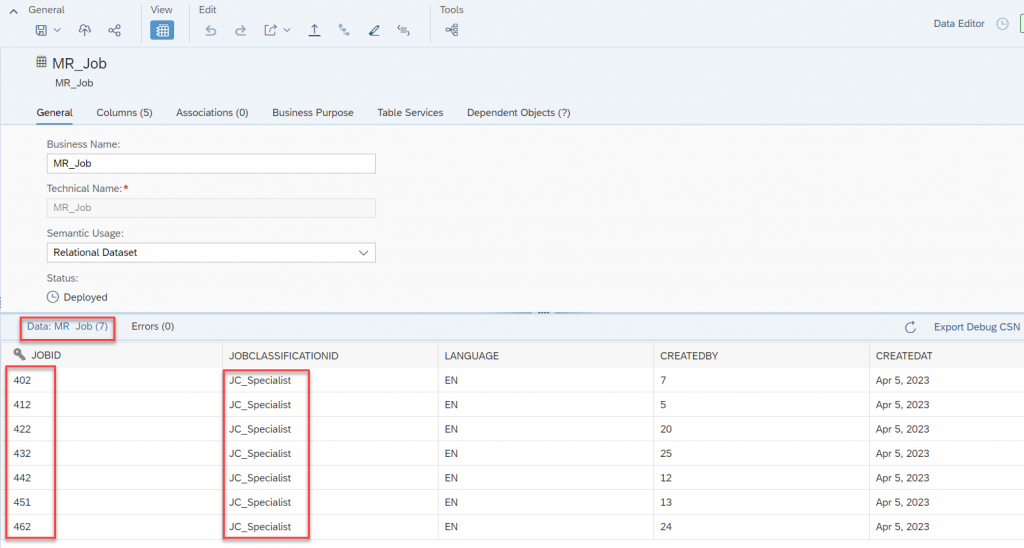
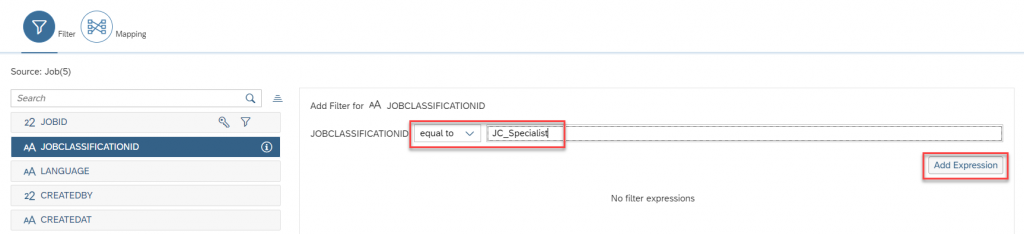
- Here, I want to provide some simple filters say I want to restrict JOBID and at the same time Job classification. How we can do that, here we go…
Select the JOBID section as Between and provide the low value and High value, once you are done with that click on Add expression. Now, Select Job Classification and provide some valid input and click on Add expression.


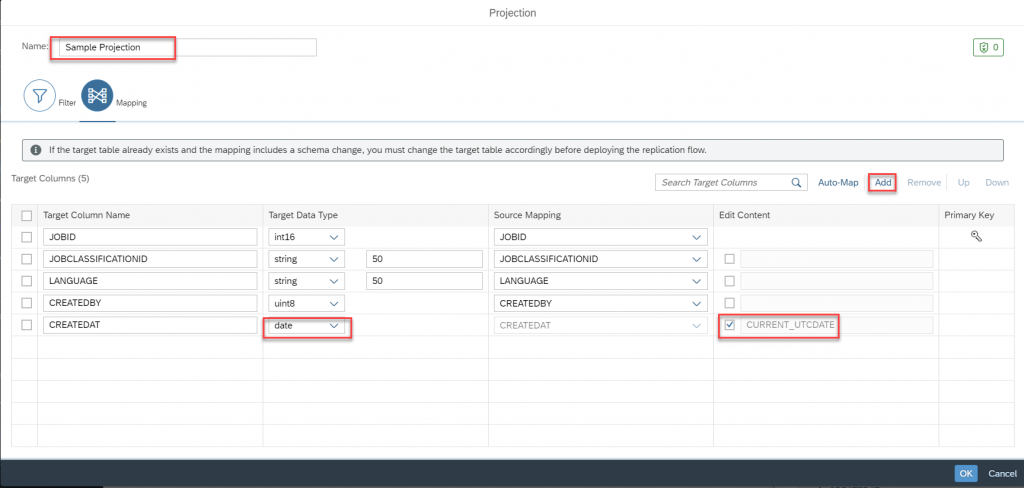
- There is one more option called Mapping where you can change the exiting mappings as well as the data types which system has proposed by default and also you can add new columns to the target table. That’s it, once you are done provide the name for the projection and click on OK.
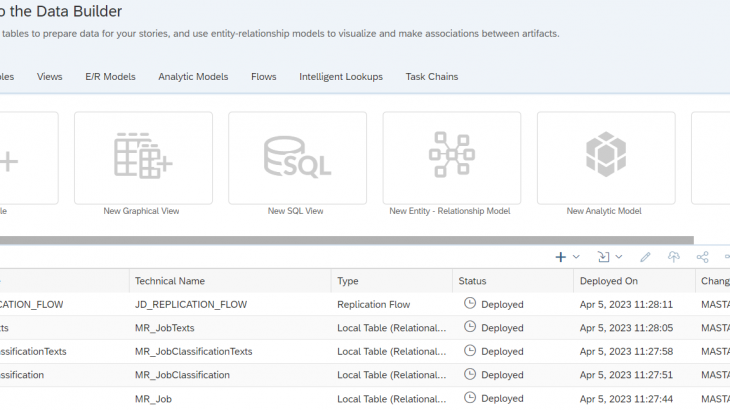
- The projections which we added is listed in the replication flow…with that we completed the creation of replication flow. Let’s deploy it.
- We can see all the tables and Replication flow got deployed…

- Now run the Replication flow, you can see a “Run” button.

- With that a background job started running, you can check the detail of the background running job by clicking on the Data Integration monitor from tools section.

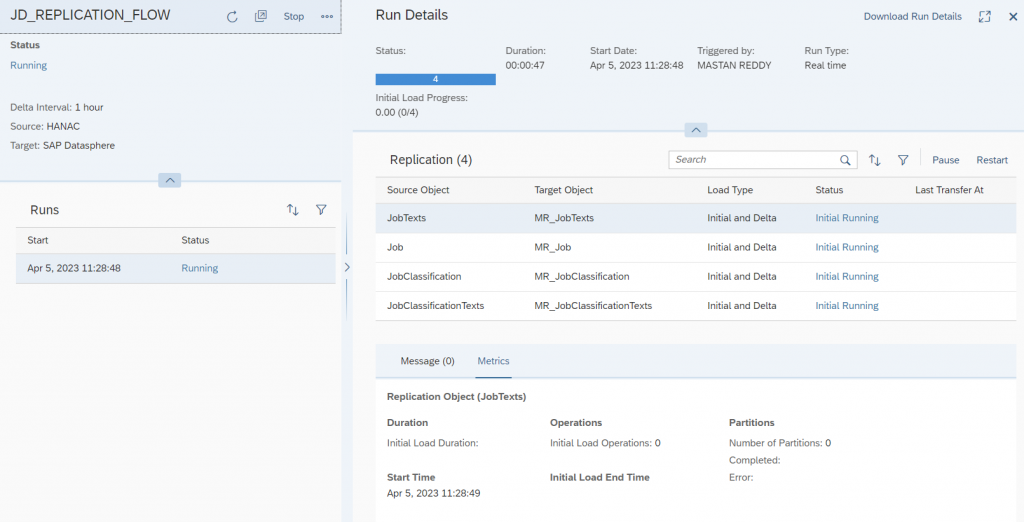
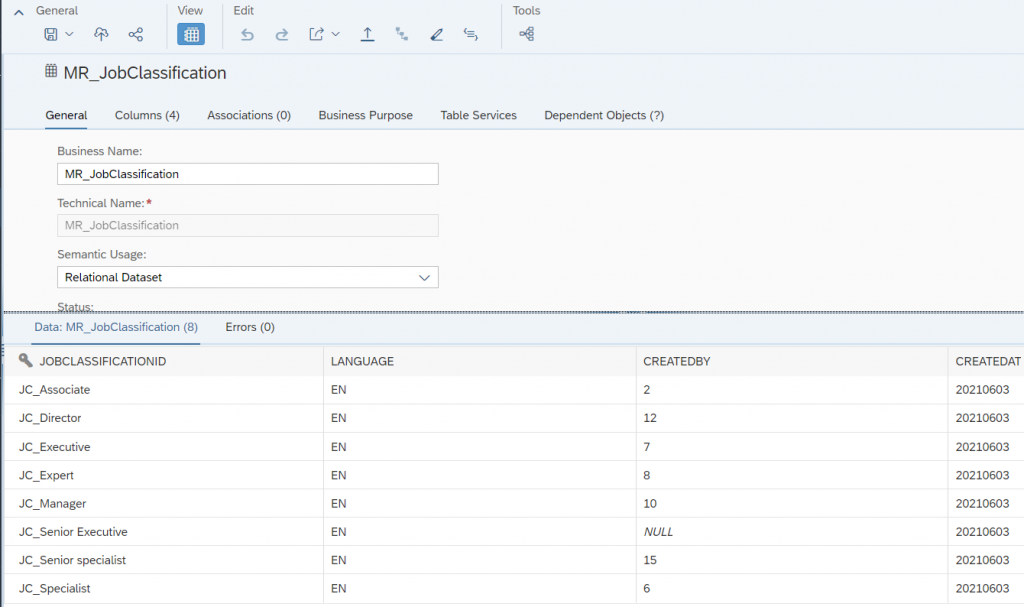
- Once the run is complete, it will Show a message in the integration monitor. Now, let’s take a look at the tables and see if we can spot some data.