In this session, I am going to discuss about the SSO implementation for SAP analytics cloud with BW live connection with IdP (In our case it is Azure AD).
In most of the implementation project when you develop SAC stories for business users, your mail goal is to make popular your dashboards and stories which has been developed and published. But if SSO is not implemented then customer has to login twice (once when log into SAC and another time when opening story) before he can see a report and lose interest on Stories.
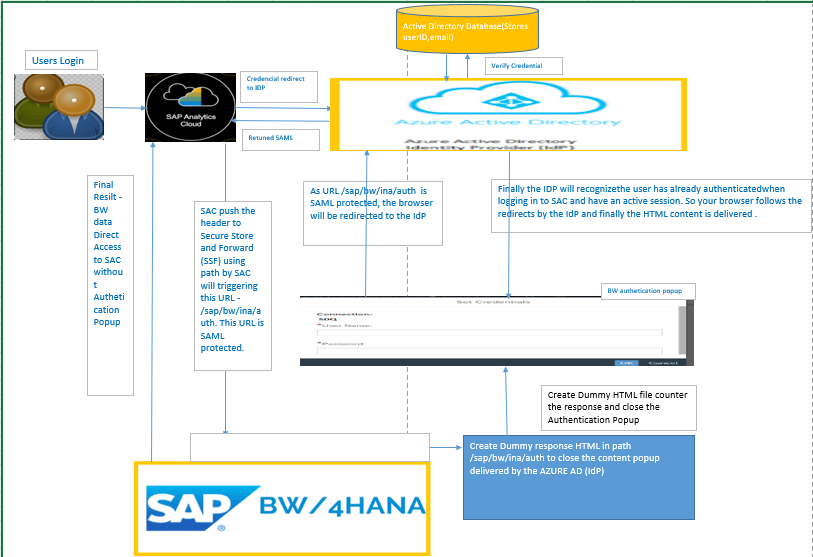
Before we go to the step by step for SSO set up, lets see the architecture for SAC and BW and BW/4 HANA with Azure AD as IdP while implementing SSO –
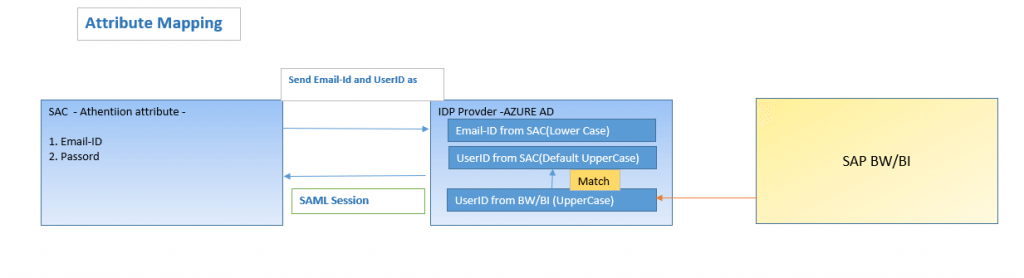
Note : IDP provide metadata is case sensitive. In our Case we need to use User ID from SAC as Capital letter to map to SAB BW or BW/4HANA. To avoid any mismatch we will use below practice.
- Create user with email ID in lowercase only( Not do any uppercase lower case mixing).
- As User ID field Is always in CAPS by default by SAC.
- Choose Custom SAML User Mapping to allows you to enter case sensitive attributes (In our case).
Steps Summary:
1. Configure the BW4HANA system for AZURE AD. ( This need to be done when creating CORS live connection)
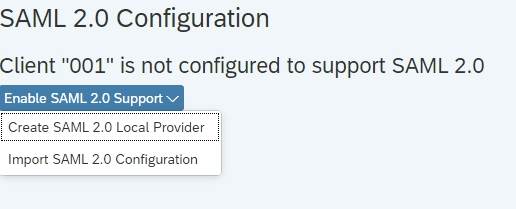
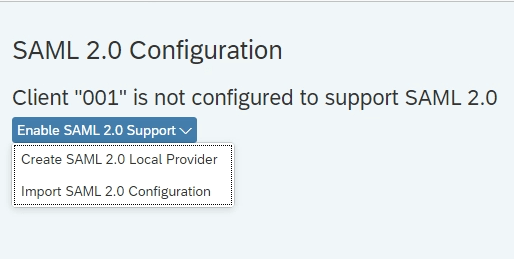
- Enable SAML2.0 by creating SAML 2.0 Local provider.
- Configure Azure Active Directory as an Identity Provider for BW/4 HANA server.
- Configure CORS Live connection.
- Enable SSO by creating Dummy HTML in BW4HANA Side.
- SAC side IDP configuration.
- Browser Configuration.
Details Steps:
Configure the BW4HANA system for AZURE AD :
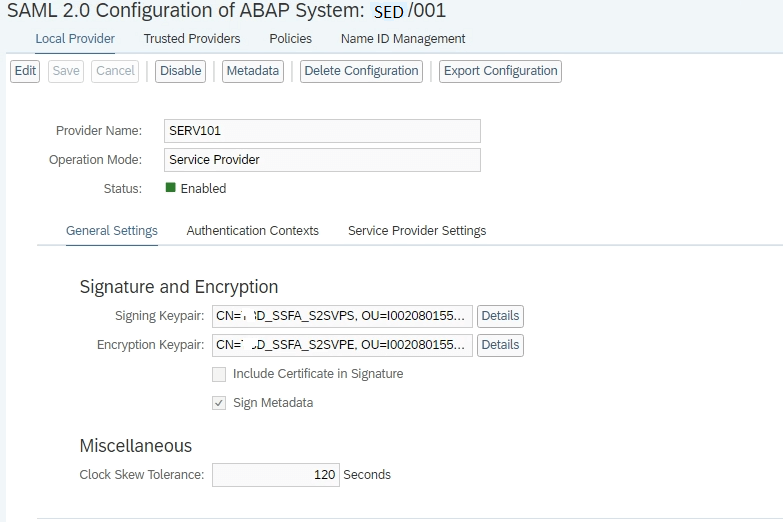
A. Enable SAML2.0 by creating SAML 2.0 Local provider : In this scenario BW/4HANA will act as a service provider and inside it we need to enable Enable SAML2.0 using Tcode SAML2 –
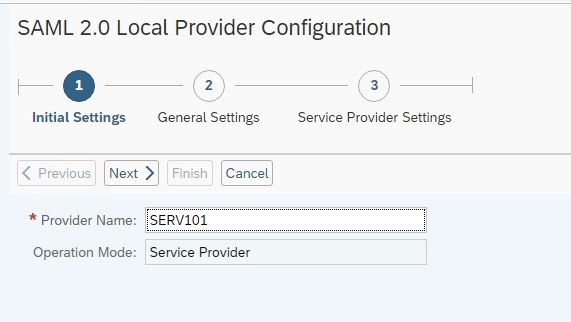
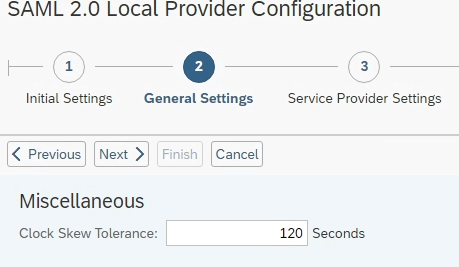
1. Execute Tcode SAML2 within BW/4HANA System and enable the SAM2.0 by creating a SAML2.0 Local provider. This will convert the BW/4HANA system as Local provide. It will create two Secure Store and Forward (SSF) applications and associates Personal Security Environment (PSE) files with them.
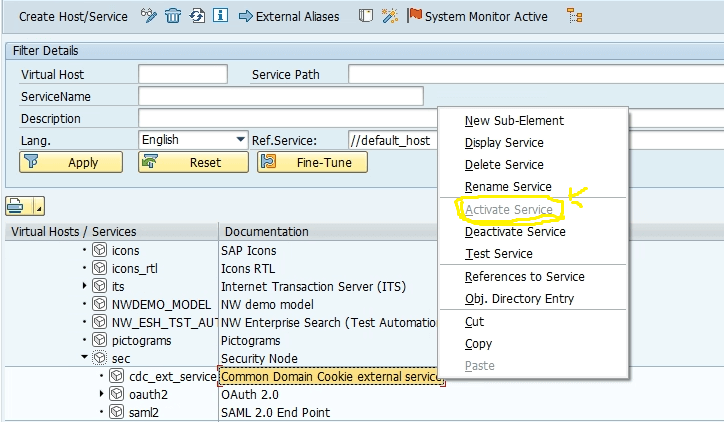
2. Execute the SICF transaction and activate the following services in the location /sap/public/bc/sec –
/default_host/sap/public/bc/sec/saml2
/default_host/sap/public/bc/sec/cdc_ext_service
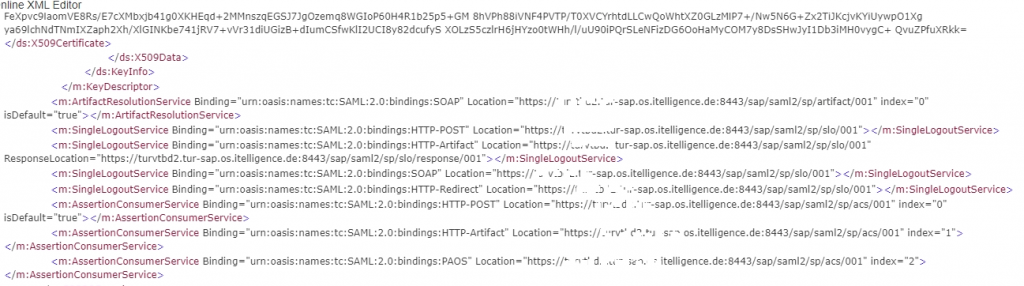
3. Download the Metadata :
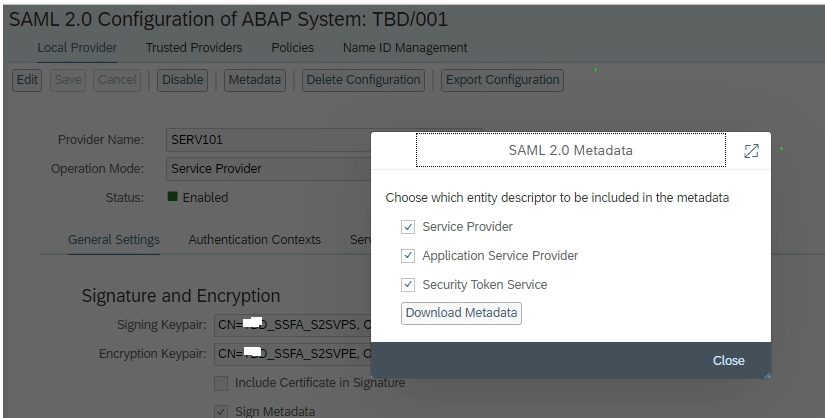
- The metadata will look like below –
B. Configure Azure Active Directory as an Identity Provider for BW/4 HANA server :
1. Log into the IDP provider URL i.e. for our case it is AZURE in the below link –
https://portal.azure.com/
2. select Azure Active Directory Service and put Enterprise Applications Click Apply –

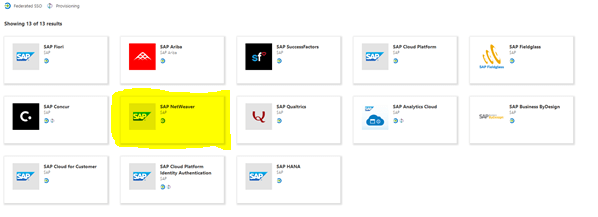
3. Click on New application and search for SAP NetWeaver.
4. Select the system name(SED1000 and create the application).
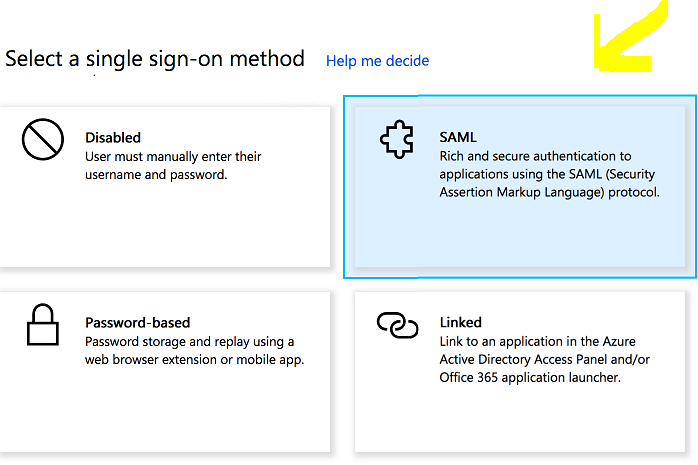
5. Inside the application click on the “Setup Single sign on” Box and SAML single sign on method.
6. In the next screen upload the metadata file which we generated enable SAML configuration in Step A.
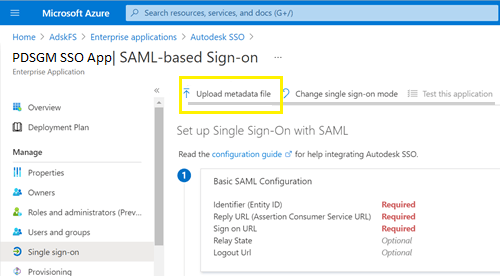
7. All the fields will be populated except “Sign On URL” field. Please follow the below and update the URL file –
https://<your company instance of SAP BW>
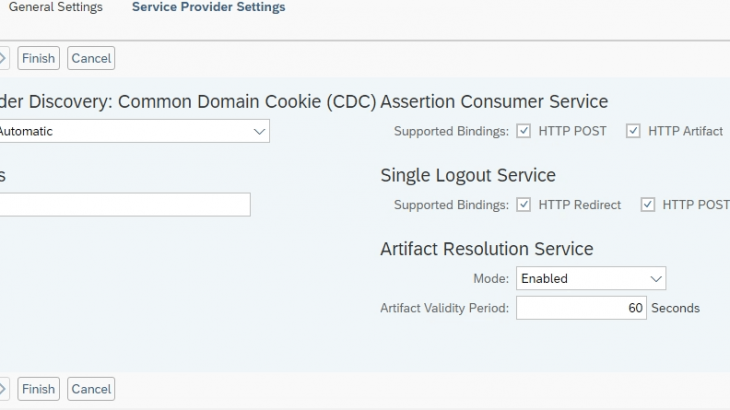
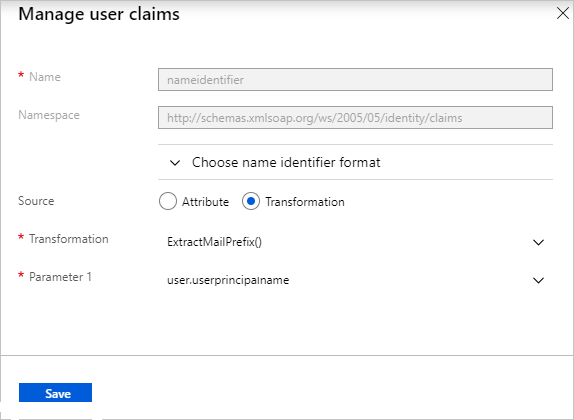
- Edit Set up Single Sign-On with SAML pane by clicking Edit to User Attributes as a part of SAML assertion –
First From the Transformation list, select ExtractMailPrefix() and in the Parameter 1 list, select user.userprincipalname.
save it.
9. In SAML Signing Certificate section, find Federation Metadata XML and select Download and download it.
- You can an Azure AD test user to test it but it is optional.
Next Step is is…….
Configure CORS Live connection for BW/4HANA:
How to Configure CORS Live connection it very clearly defiled in the SAP Help Portal in the below URL –
https://help.sap.com/docs/SAP_ANALYTICS_CLOUD/00f68c2e08b941f081002fd3691d86a7/2f61936f350b423ca6b813da1d5a102f.htmlEnable SSO by creating Dummy HTML in BW4HANA Side:
Dummy HTML creation in BW/4HANA is required because the Dummy HTML file counter the response and close the Authentication Popup when your browser follows the redirects by the IdP and finally the HTML content is generated. Steps
1. Log into BW/4 HANA system and execute the transaction code SICF and put service path /sap/bw/ina and click –
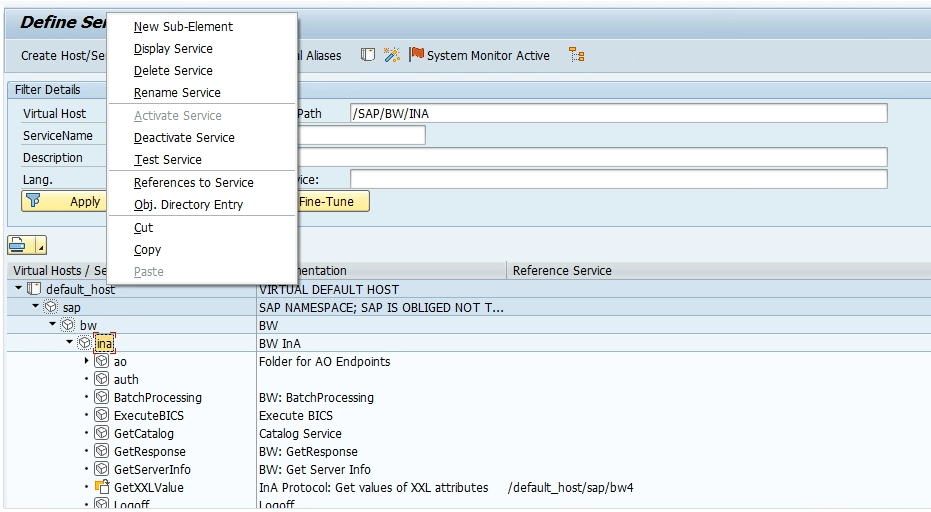
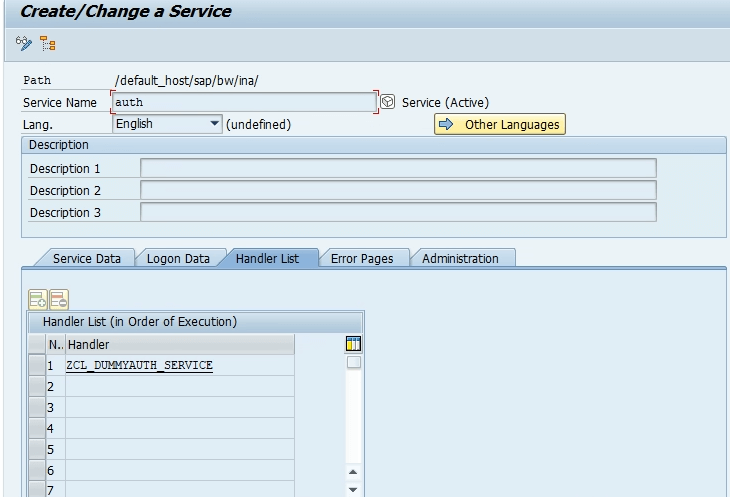
2. Go Inside default_host > sap > bw, right click on ina, then choose New Sub-Element. In Service Name, enter auth. add a description and open the “Handler List” tab, put ZCL_DUMMYAUTH_SERVICE and save.
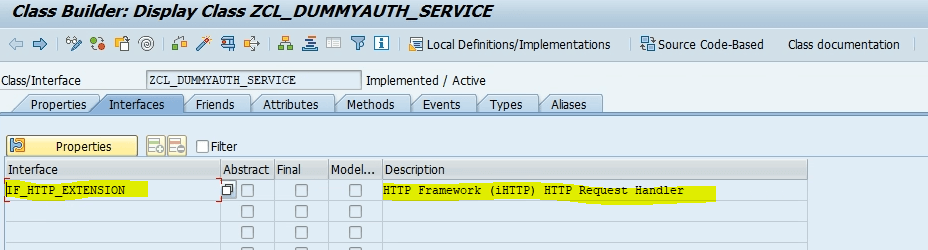
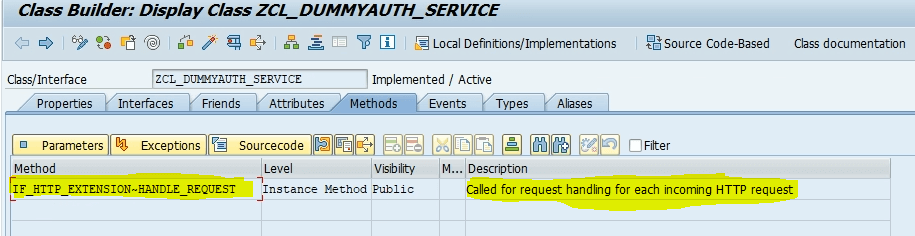
3. From main menu execute transaction code SE24 the Object Type: ZCL_DUMMYAUTH_SERVICE, select Create, and then select Save.

4. Next in the Interfaces tab, and add IF_HTTP_EXTENSION, plus a description then in
Methods tab, and add the following information and save it.
i. Method: IF_HTTP_EXTENSION~HANDLE_REQUEST
ii. Level: Instance Method
iii. Visibility: Public
iv. Description: Add a description.
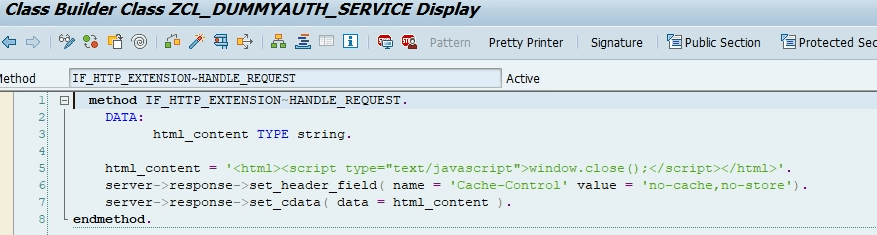
5. Go inside the method and put the following code which will used to close the authentication popup. Save and activate.
We have completed this step. Next step is below –
SAP Analytics Side side IDP i.e. Azure AD configuration :
Download the XML Metadata from Service Provider which is SAP analytics cloud in our case:
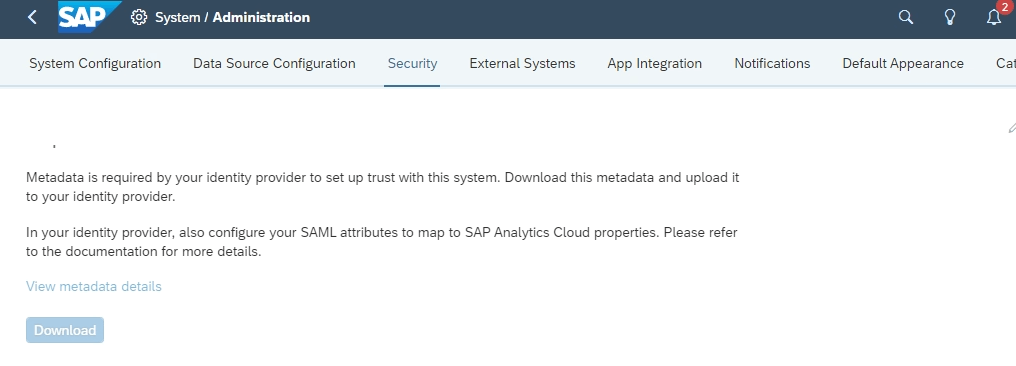
1. You need to download the XML metadata for your SAC tenant.
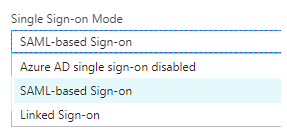
- After logging on to your SAP Analytics Cloud tenant using System Owner account, go to the menu System > Administration > Security. Click the pencil icon to edit. Select SAML Single Sign-On (SSO). Click the Download button that appears in the menu. Download SAC XML metadata.
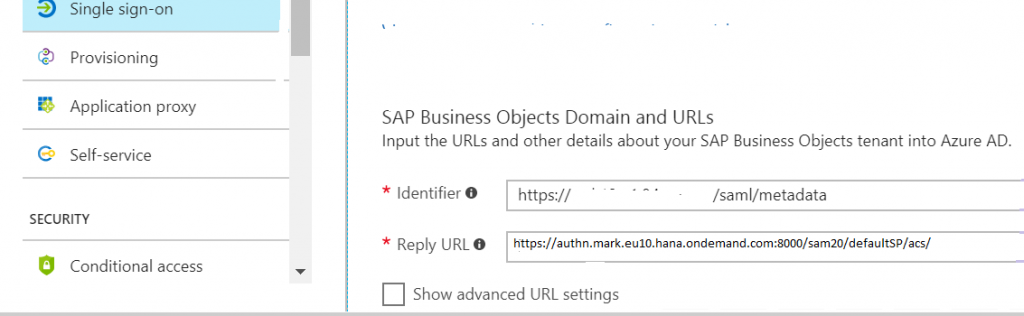
- Open the downloaded metadata XML file, search for entity tag and copy the value for later use. Example: Look for tag AssertionConsumerService and Copy the link https://authn.xxx.hana.ondemand.com/saml2/sp/acs/xxxxxx/xxxxxx after Location for later use. In the Azure portal, on the Basic SAML Configuration dialog, We need to paste the value in the Identifier box. For our case it is – https://authn.mark.eu10.hana.ondemand.com:8000/sam20/defaultSP/acs/ and located after location.
<ns5: AssertionConsumerService index="0" isDefault="true" Binding="urn:oasis:names:tc:SAML:2.0:bindings:HTTP-POST" Locations="https://authn.mark.eu10.hana.ondemand.com:8000/sam20/defaultSP/acs/" />
2. Similar way we did for BW/4 HANA system IDP configuration we need to do it for SAC Also.
Logon to the Azure Portal. Select Enterprise Applications and search for SAP and select SAP Analytics Cloud from the list, and then select Add.

3. Set up Azure AD single sign-on. Click Single sign-on.
4. Check Show advanced URL Settings and in the field Reply URL put the location URL i.e. “https://authn.mark.eu10.hana.ondemand.com:8000/sam20/defaultSP/acs/” which we copied from previous step 1.
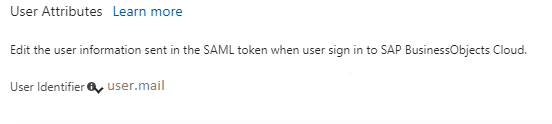
5. Select user. Mail for User Identifier –
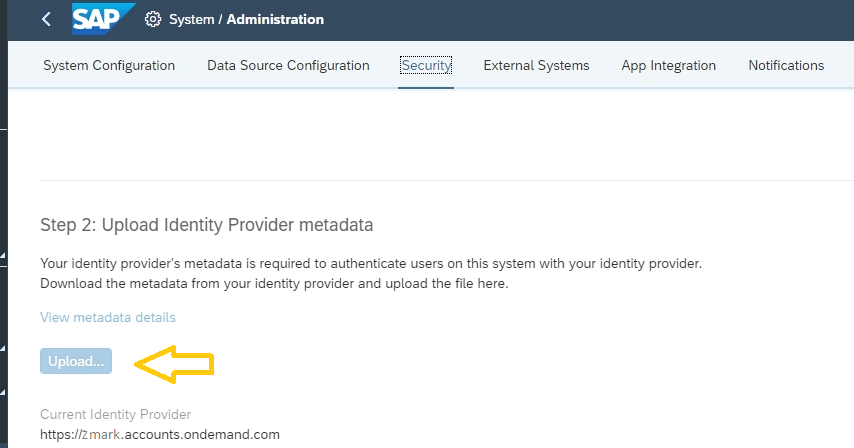
6. Down load the IDP metadata.
7. Log into SAC again and load the IDP metadata.
8. Create a user to test configuration.
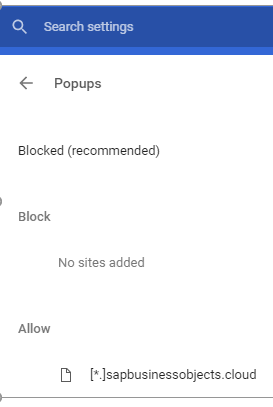
Browser configuration :
In the security setting for the browser add the below site for allow popup.
[*]sapbusinessobjects.cloud
[*]sapanalytics.cloud