
I have spend a lot time with SAPUI5 but one thing I always stuck was with Attachments be it JPEG or PDF.
I wanted to create an application which will upload a file to hana table using xsodata.
Also Read: What is SAP Fiori System Administration Certification?
After browsing through various blog post and website I tried to manage a complete end to end code that will help with to upload and manage a file to HANA TABLE using SAPUI5 Application
Prerequisite that I took before creating this project:
- I am using Database “demodb” in SAP Cloud Platform Cockpit
- I have logged SAP HANA Web-Based Development Workbench with user other than ADMIN
- I have logged using “DEMOUSER” as my other user
- I have set destination to connect HANA DB to SAPUI5 application
- I have SAP WEBIDE TRIAL ACCOUNT
So, let’s get started…..
First part is to create a Table in HANA.
Create a HANA TABLE ATTACHMENT with Columns:
(ATTACHMENTID, ATTACHMENTNAME & ATTACHMENTCONTENT)
SCHEMA: DEMOUSER
TABLE NAME: ATTACHMENT
Goto CATALOG –> DEMOUSER(My SCHEMA) –> TABLE (right click) –> Open SQL Console
Type in below SQL and press F8
CREATE COLUMN TABLE "DEMOUSER"."ATTACHMENT"(
	"ATTACHMENTID" INTEGER CS_INT,
	"ATTACHMENTNAME" NVARCHAR(100),
	"ATTACHMENTCONTENT" CLOB MEMORY THRESHOLD 1000000,
	PRIMARY KEY (
		"ATTACHMENTID"
	)
) UNLOAD PRIORITY 5 AUTO MERGE;
HANA Table should look like below
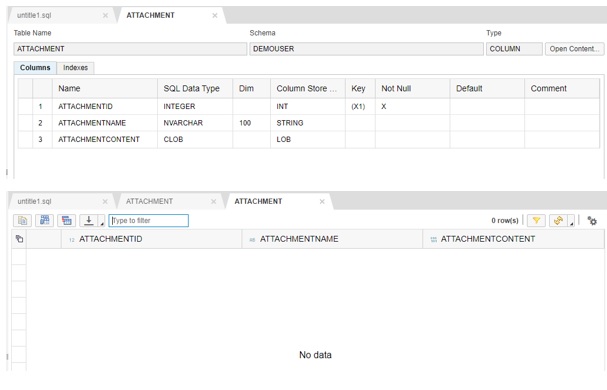
Note: Attachment content datatype is CLOB which is Character Long Object as we are going to push BASE64 data.
We need to expose this table using XSODATA
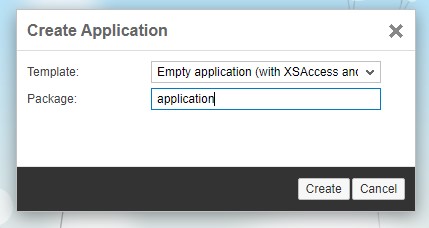
- GOTO EDITOR

- Right click on content and Create Application “attachment”
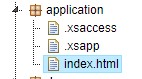
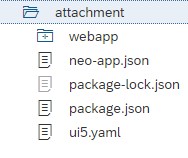
Below is my initial folder structure
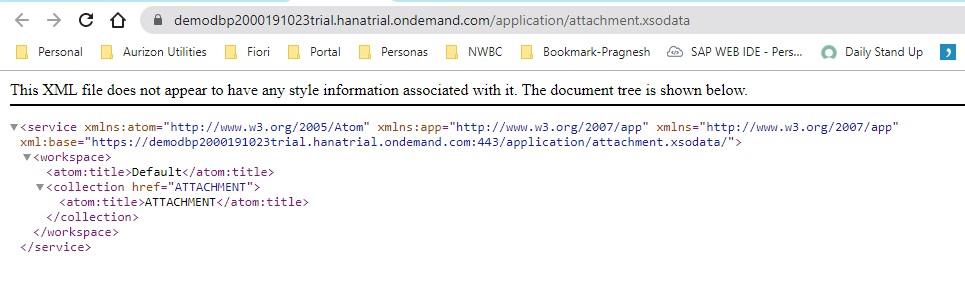
Create new File “attachment.xsodata”
service namespace "application"
{
    "DEMOUSER"."ATTACHMENT" as "ATTACHMENT";

}
Run this file to check weather your XSODATA file is working or not(Click F8 after saving the XSODATA file)
Create a new file “ATTACHMENT.hdbschema”
schema_name="DEMOUSER";We now need to provide privileges to perform CRUD on the HANA TABLE
Create new file “attachment.hdbrole”
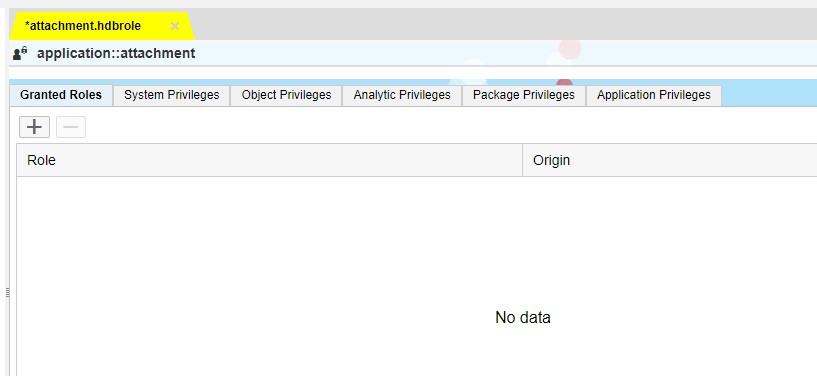
Under Object Privileges. Click on Plus Sign
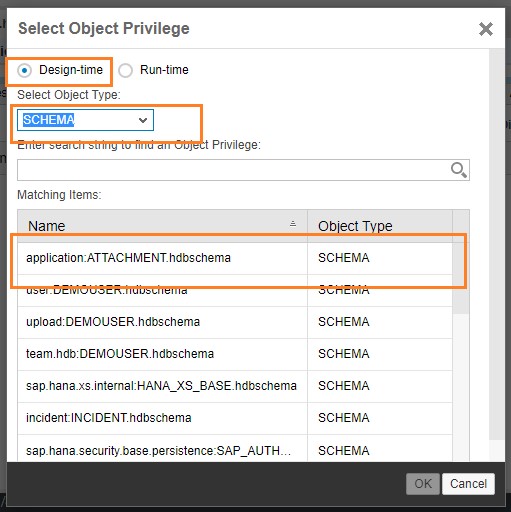
Provide privileges as below
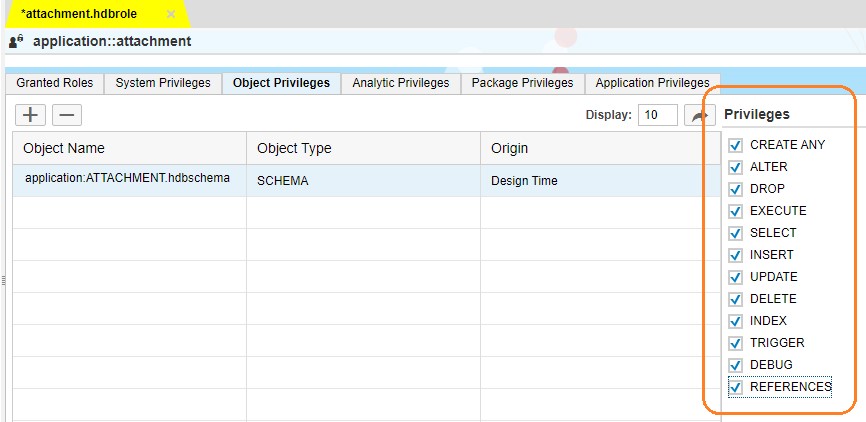
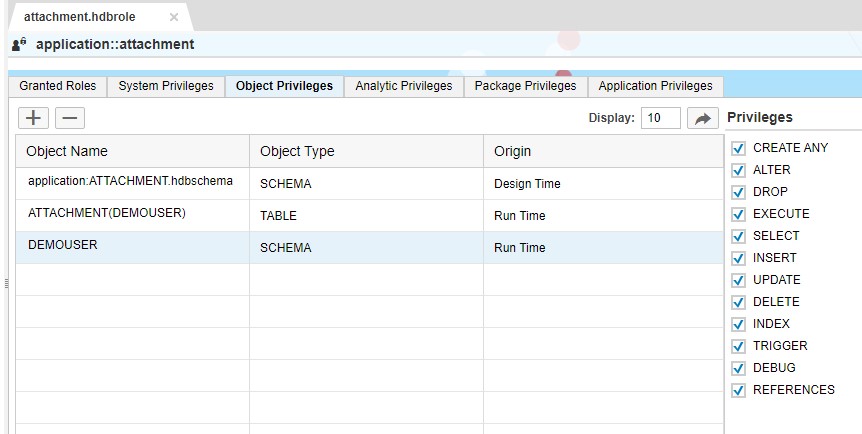
Similarly perform privileges for Table and Schema
Upon saving file, it might give you some error (ignore theme)
Modify .xsaccess file as below
{
    "exposed": true,
    "authentication": [{
        "method": "Basic"
    }],
    "force_ssl": false,
    "enable_etags": true,
    "prevent_xsrf": false,
    "anonymous_connection": null,
    "cors": [{
        "enabled": false
    }],
    "cache_control": "no-cache, no-store"
}
We have successfully completed our first task. Let’s go to main UI where we need to upload a file.
SAPUI5 Application
Create a new SAPUI5 Application from Template
Create a Simple Form with File Uploader and Submit Button
Find below the controller code View1.controller.js
sap.ui.define([
	"sap/ui/core/mvc/Controller"
], function (Controller) {
	"use strict";

	return Controller.extend("attachment.attachment.controller.View1", {
		onInit: function () {
			var oStorage = jQuery.sap.storage(jQuery.sap.storage.Type.local);
			oStorage.clear();
		},
		seePreview: function (oEvent) {
			var oStorage = jQuery.sap.storage(jQuery.sap.storage.Type.local);
			if (oStorage.get("oAttachment") !== null) {
				this.getView().byId("img").setSrc(oStorage.get("oAttachment").ATTACHMENTCONTENT);
			} else {
				sap.m.MessageToast.show("Kindly Upload the Attachment First");
			}

		},
		handleUploadPress: function (oEvent) {
			var fileUploader = this.getView().byId("fileUploader");
			var id = this.getView().byId("input").getValue();
			var attachid = parseInt(id);
			var fileStore = jQuery.sap.domById(fileUploader.getId() + "-fu").files[0];
			this.upload(fileStore, fileStore.name,attachid);
		},
		upload: function (fileStore, docName,attachid) {
			this.attach = {};

			if (fileStore) {
				var fileReader = new FileReader();
				var selectedFile = fileStore;
				fileReader.onload = function (oEvent) {
					var base64 = oEvent.target.result;
					var oStorage = jQuery.sap.storage(jQuery.sap.storage.Type.local);
					var attachment = {
						"ATTACHMENTID": attachid,
						"ATTACHMENTNAME": docName,
						"ATTACHMENTCONTENT": base64
					};
					this.attach = attachment;
					oStorage.put("oAttachment", attachment);
				};
				fileReader.readAsDataURL(selectedFile);
				sap.m.MessageToast.show("File upload successfully");

			} else {
				sap.m.MessageToast.show("File upload has been failed");
			}

		},
		onSubmit: function () {
			var oModel = this.getView().getModel();
			var oStorage = jQuery.sap.storage(jQuery.sap.storage.Type.local);
			var attachment = oStorage.get("oAttachment");
			oModel.create("/ATTACHMENT", attachment, {
				success: function (oData, response) {
					sap.m.MessageToast.show("Attacment Uploaded Successfully to XS Backend");
				},
				error: function (oError) {
					sap.m.MessageToast.show("Upload to backend Failed");
				}
			});
		}

	});
});
We are now done with the second part
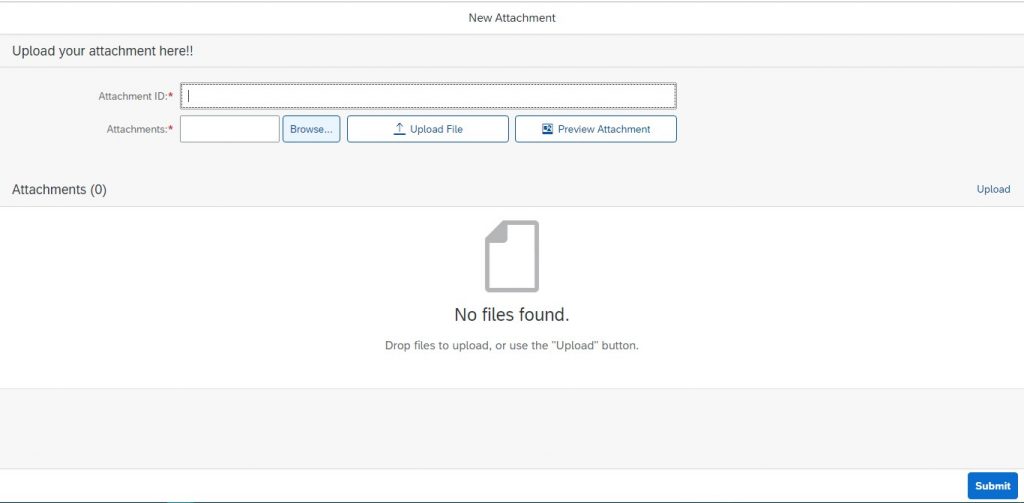
Last part is testing out our application:
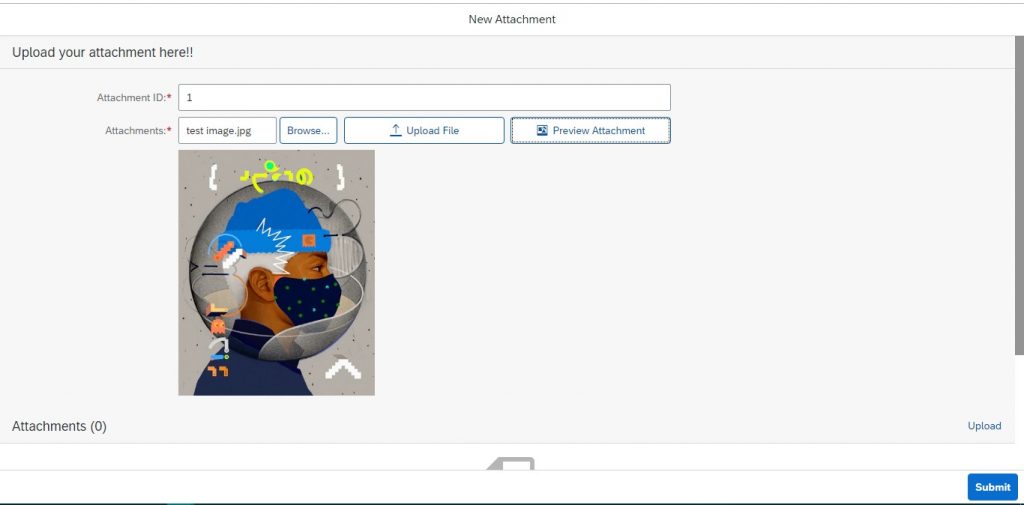
Give Attachment ID: 1, Browse a photo from your drive, and click on upload.
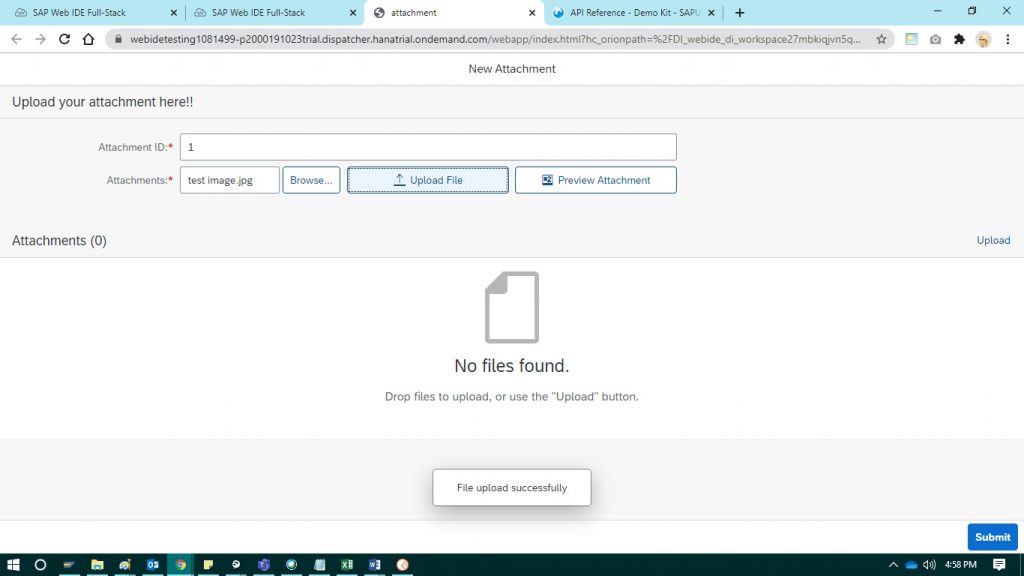
On clicking Upload, file data is now stored in an array.
To check if the correct file is uploaded, click on preview attachment.
Click on Submit to send image to backend:
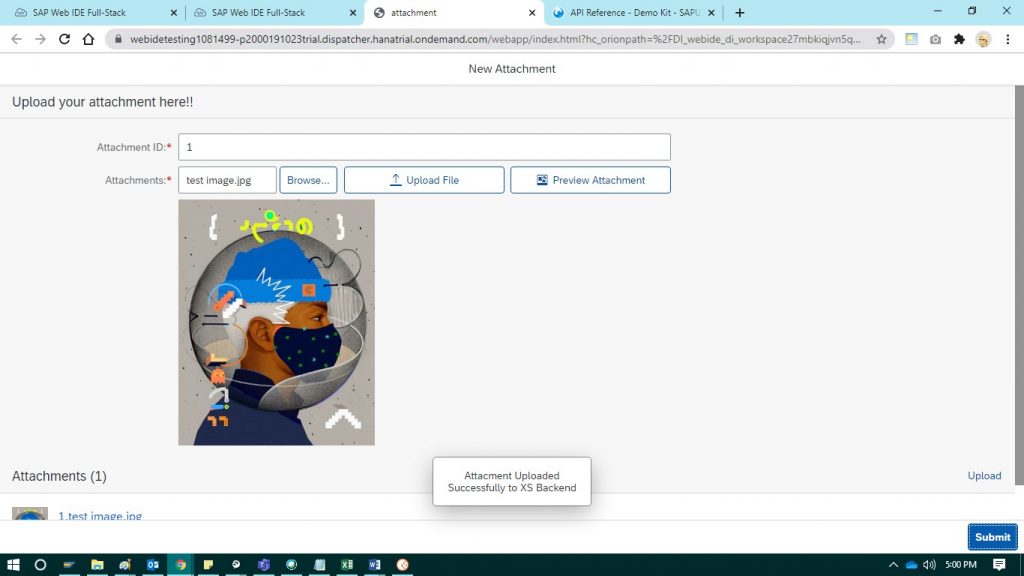
We can now see an attachment in Upload Collection


