Description
As the trend is moving towards Cloud Foundry, it becomes necessary for us to move existing NEO applications into SAP Cloud Foundry (CF) or develop new applications in it. While doing so, we come across many scenarios where we need to fetch the logged-in user details.
In SAP NEO Environment, we can use UserInfo service to get the details of the logged-in user, which is well documented in other blogs. When it comes to SAP CF, we need to use few microservices to get the details.
Also Read: What is SAP Fiori Application Developer Certification?
In this blog post, I will be explaining the step by step process as to how we can fetch logged-in user email into SAPUI5 app using SAP Web IDE in the CF environment.
Prerequisites
You should know about:
- SAP Cloud Foundry Environment – what an Org, Space, Sub Account is.
- Basic understanding of how Node works
- Concept of App Router, XSUAA Service.
You need to have:
- A valid SAP Cloud Platform Account.
- SAP Web IDE to develop the application
Web Flow for application
The application uses the following sequence to authenticate.
- A user accesses the web application using a browser.
- The browser connects to the deployed application and verifies if the user is logged-in. If not, then App Router implements the OAuth flow to log in.
- The request goes to the OAuth using XSUAA Service. It authenticates the user with their credentials and issues JWT token after successful validation, which holds additional information about the session.
- The XSSEC (Passport) library manages the token and executes the authentication flow to receive the JWT and OAuth token when a request has been made. If it is present, it parses the JWT and adds the fields to the incoming request object to facilitate the code consumption of the token.
- Node module receives the logged-in user details and redirects to HTML5 module using namespace.
Coding
Here we go:
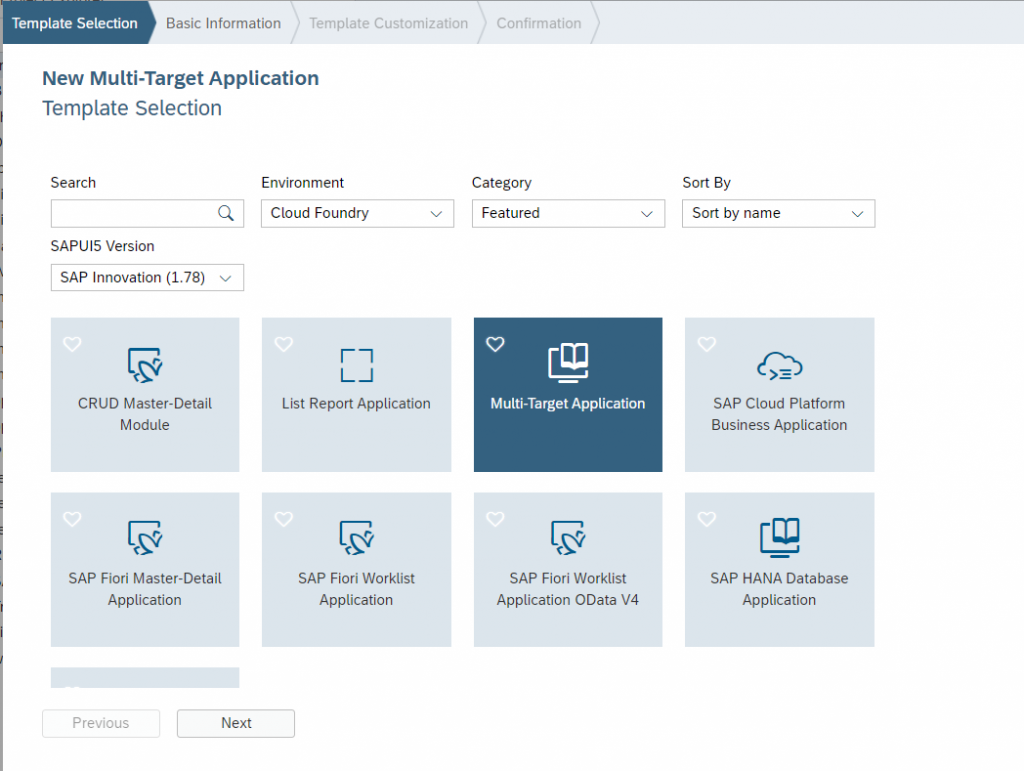
1. Log in to your SAP Web IDE and create a Multi-Target Application in CF Environment.
2. In the next screen, Provide your project name, Version and Description. Select the checkbox for the HTML5 Application Repository. Click Finish.
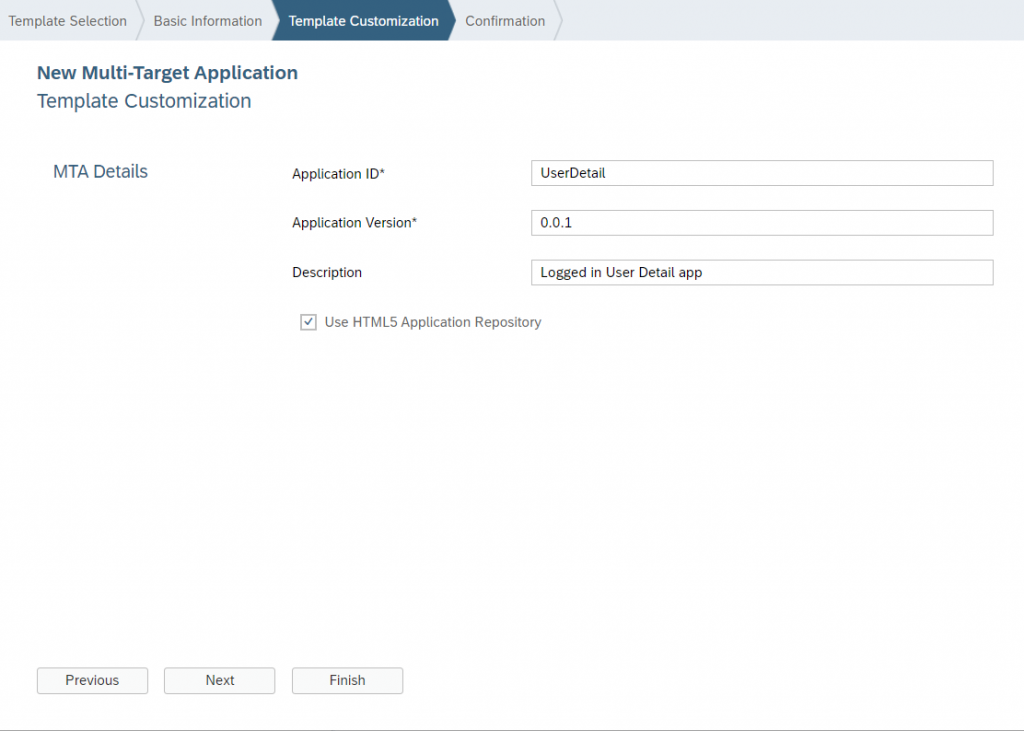
It creates App Router, App Deployer and mta.yaml file in your workspace.
App router – For any application, it’s the central entry point to talk to any services available on CF. It’s a Node JS library that can either support static content or link to the web app. During runtime, it is responsible for interacting with applications and services.
UI Deployer – It is responsible for uploading HTML5 module content to the HTML5 Application Repository.
Mta.yaml – it is a Development Descriptor file used by Web IDE and MTA Archive Builder tool.
3. Right-click on your project and select New -> Node.js Module. Give a module name.
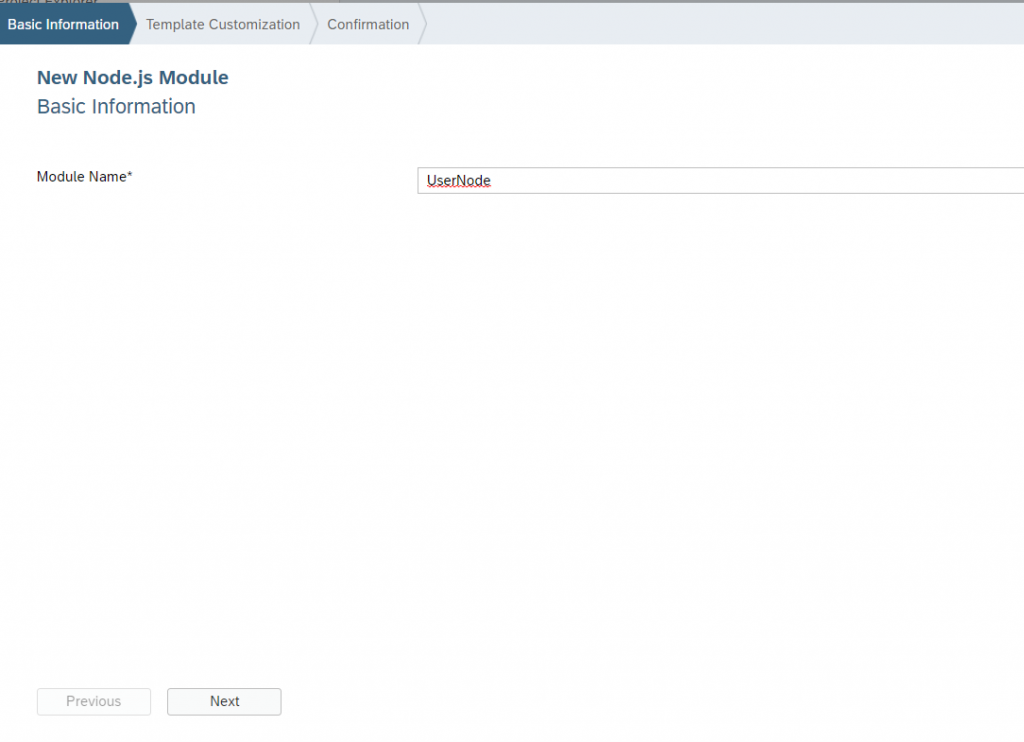
4. Provide a description and name of the Main JS file. Click Finish.
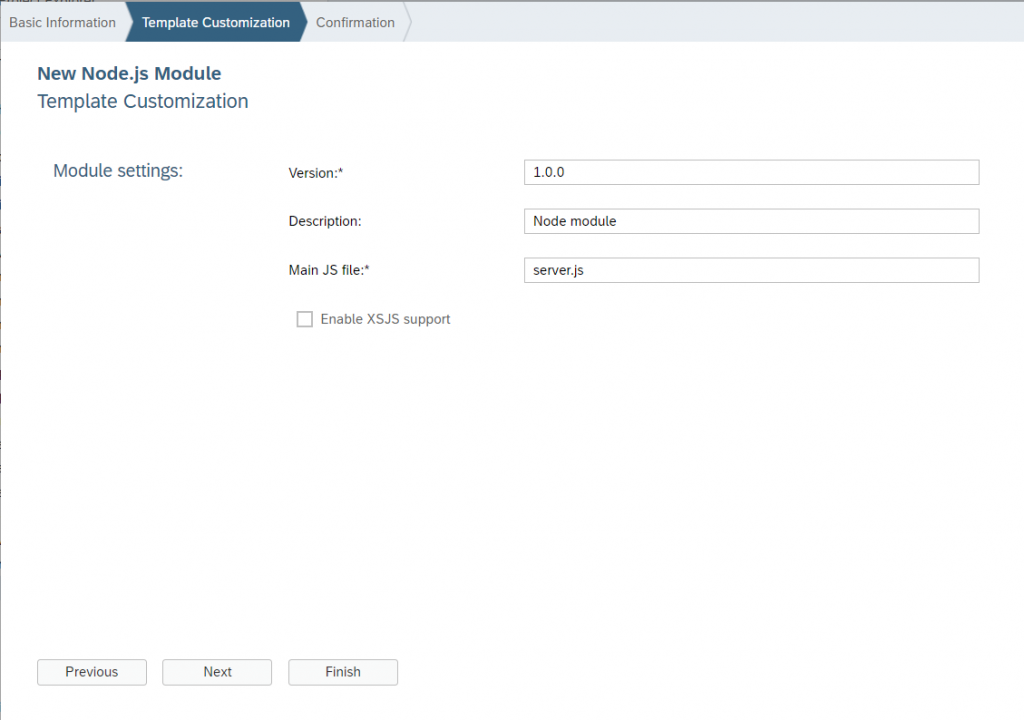
It adds Node module into your project, which is used to authenticate via XSUAA service and receives JWT Token.
We can see that server.js is already added to our node folder, and the reference is given in the package.json file.
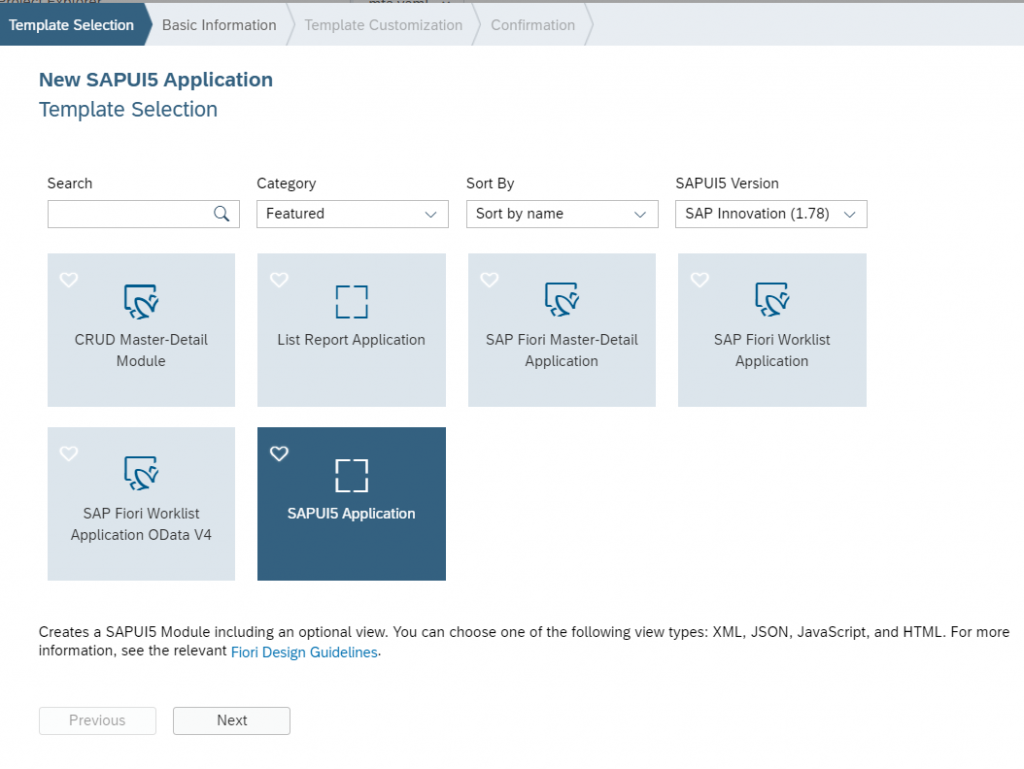
5. Right-click on your project and select New-> HTML5 Module. Select SAPUI5 Application.
6. Click next. Give Module name and namespace to your UI5 app.
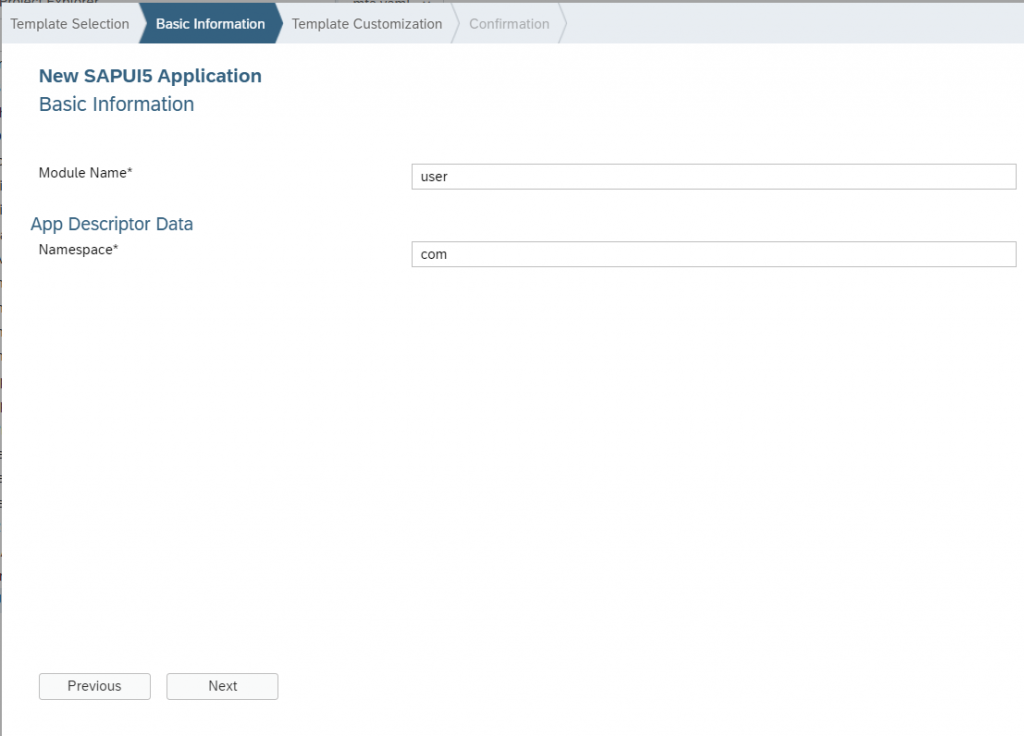
Click next and finish.
I am using UI5 app to display User Email on Web Page.
7. Go to MTA.yaml file. We can see our HTML5 module and node module is automatically added.

Also, XSUAA service is added in the resource path.
XSUAA:
XSUAA service is used for User Account and Authentication. It issues authorization codes and JWT tokens after it successfully authenticates the user.

8. Go to Package.json of your node module (UserNode) and add below dependency.
"@sap/approuter": "6.8.0",
"@sap/xsenv": "^2.2.0",
"@sap/xssec": "^2.2.5",
"body-parser": "^1.19.0",
"express": "^4.17.1",
"passport": "^0.4.1",
"path": "^0.12.7",
"request": "*"
It will look as below :

9. Go to Server.js and add below code.
Server.js file in Node module verifies that the XSUAA service request is authenticated. It checks the JWT token in the request using JWTStrategy provided by the @sap/xssec package.
Express library is used to pass the logged-in user detail into UI5 app using service.
/*eslint no-console: 0*/

"use strict";

const express = require('express');
const passport = require('passport');
const xsenv = require('@sap/xsenv');
const JWTStrategy = require('@sap/xssec').JWTStrategy;
const app = express();
const services = xsenv.getServices({ uaa:'uaa_UserDetail' });

passport.use(new JWTStrategy(services.uaa));

app.use(passport.initialize());
app.use(passport.authenticate('JWT', { session: false }));

app.get('/user', function (req, res, next) {
  var user = req.user;
  res.send(req.user.id);
});

const port = process.env.PORT || 3000;

app.listen(port, function () {
  console.log('app listening on port ' + port);
});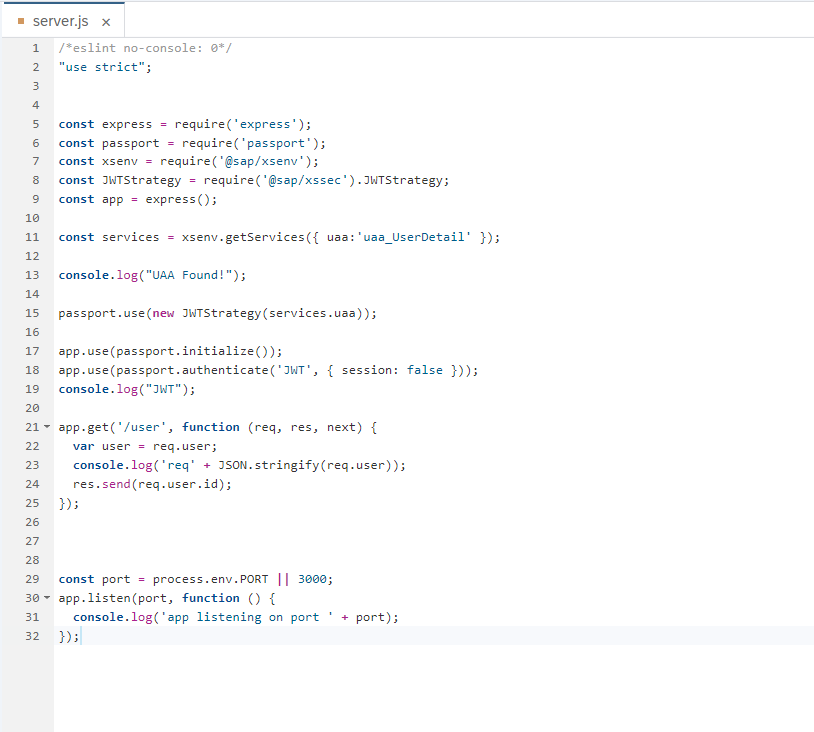
Here, I am just passing email id to UI5 screen. Similarly, we can pass First Name, Last Name and other details.
Using Express library, I am creating (“/user”) API to call from other applications. Which we will use in UI5 app.
10. We need to add node dependency in App Router path. Add the following in mta.yaml file.
modules:

  - name: userdetail-approuter

    type: approuter.nodejs

    path: userdetail-approuter

    parameters:

      disk-quota: 256M

      memory: 256M

    requires:

      - name: UserDetail_html5_repo_runtime

      - name: uaa_UserDetail

      - name: UserNode_api

        group: destinations

        properties:

          name: UserNode_api

          url: '~{url}'

          forwardAuthToken: true
Also, add UAA dependency in node path:
- name: UserNode

    type: nodejs

    path: UserNode

    provides:

      - name: UserNode_api

        properties:

          url: '${default-url}'

    properties:

      UAA_SERVICE_NAME: uaa_UserDetail

    requires:

      - name: uaa_UserDetail
11. As App Router is our main entry page, we need to add routes for the node module.
Go to xs-app.json of App Router folder(userdetail-approuter). Change authentication method to “route” and add routes for node API:
{

  "authenticationMethod": "route",

  "routes": [

    {

      "source": "^/(.*)$",

      "target": "$1",

      "destination": "UserNode_api"

    }]

}
12. So now we should be able to get our Email using “/user” service defined in the node module. Let’s deploy the application and run the code to test.
Right-click on Project Name (UserDetail)->Build->Build with Cloud MTA Build Tool(recommended). It creates mta_archives folder and generates an MTAR file in it.
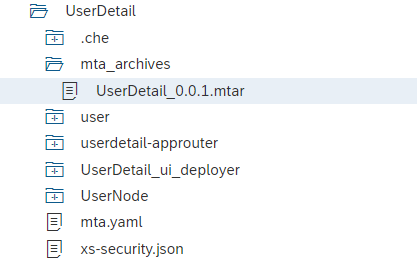
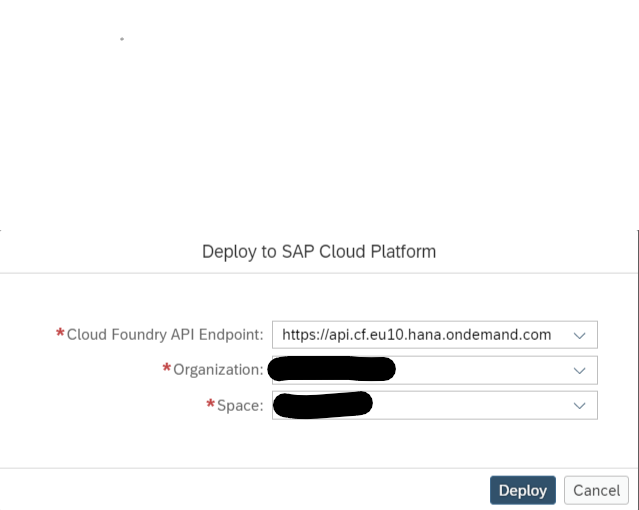
Right-click on generated MTAR file (UserDetail_0.0.1.mtar) and select Deploy->Deploy to SAP Cloud Platform.
It opens one popup where you need to select your Endpoint, Org and Space. Click on Deploy.
After Successful deployment, you can see a notification on the top right corner of Web IDE as well as in the console.
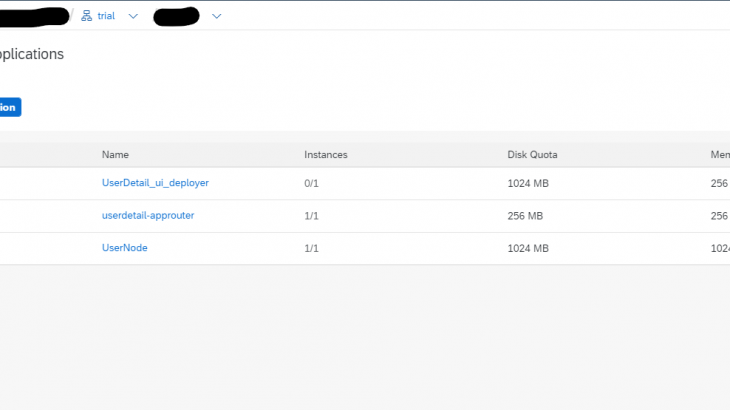
Now go to SAP Cloud Cockpit and navigate to your CF Sub Account-> Space->Applications. You can see 3 applications there.
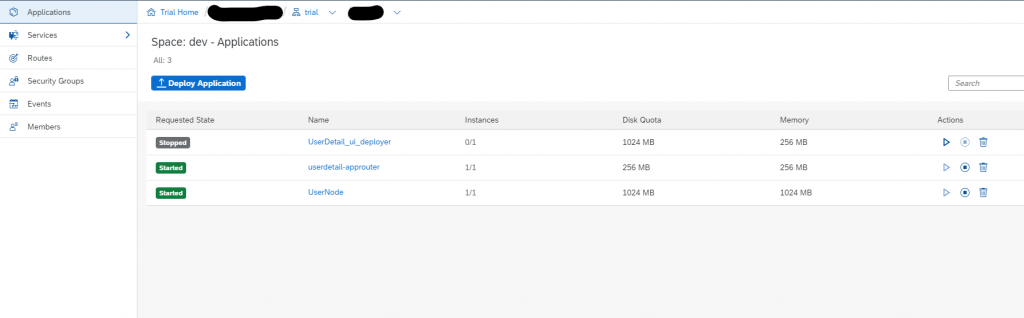
Go to App Router (userdetail-approuter) and Click on Application URL.
It will be generated using “<subaccount>-<space>-<approuter>.cfapps.<region>.hana.ondemand.com”Open that URL in a new window. It may ask for your credentials to log in.
But it gives me an error saying cannot GET /
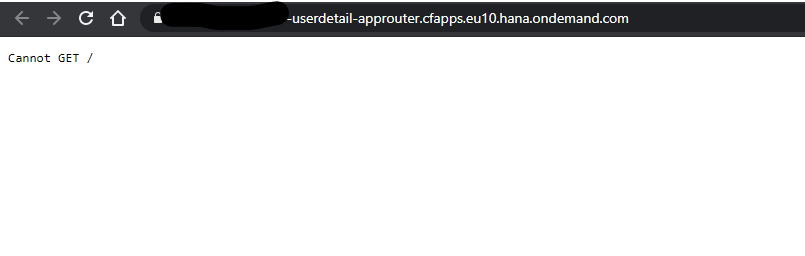
Now, append “/user” after the URL.
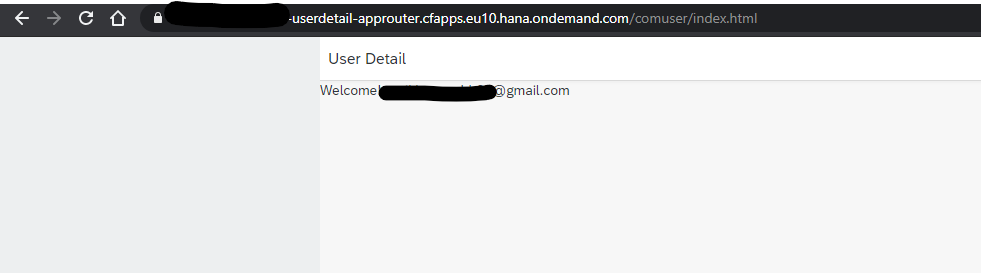
Eg. “<subaccount>-<space>-<approuter>.cfapps.<region>.hana.ondemand.com/user” and Voila!! you can see your email id on the webpage if authentication is successful
So now we need to call our “/user” API in UI5 application.
13. Let’s see the flow of steps for displaying the email id on UI5 screen.
Go to HTML5 module (user) -> webapp -> View1.view.xml
Add VBox in it.
<mvc:View controllerName="com.user.controller.View1" xmlns:mvc="sap.ui.core.mvc" displayBlock="true" xmlns="sap.m">
                <Shell id="shell">
                                <App id="app">
                                               <pages>
                                                               <Page id="page" title="User Detail">
                                                                                <content>
                                                                                               <VBox id="userVBox"/>
                                                                                </content>
                                                                </Page>
                                                </pages>
                                </App>
                </Shell>
</mvc:View>
We need to call “user” API in the controller file. Go to View1.controller.
onAfterRendering: function () {

                var g=this;

                $.ajax({

                                url: "../user"

                }).done(function (data, status, jqxhr) {

                                var user = "Welcome! " + data;

                                var oText = new sap.m.Text({

                                text:user

                                });

                                g.getView().byId("userVBox").addItem(oText);

                }); }
Let us build our application and deploy again.
14. Test the application:
To load our UI5 app, we need to add namespace after the URL.
Open the App Router URL in another tab and append UI5 namespace after removing all the dots.
Eg. “<subaccount>-<space>-<approuter>.cfapps.<region>.hana.ondemand.com/<namespace>”In this application, the namespace is “com.user”. So, it will form the URL like:

And the Output: