Overview
With SAP Business Application Studio, you can develop an HTML5 front-end React application and deploy it to the cloud environment.
In the following blog post, I will show you how to create a simple React application, based on the Material UI framework, run it locally, build and deploy it to Cloud Foundry, and then integrate it into your launchpad.
Environment Setup
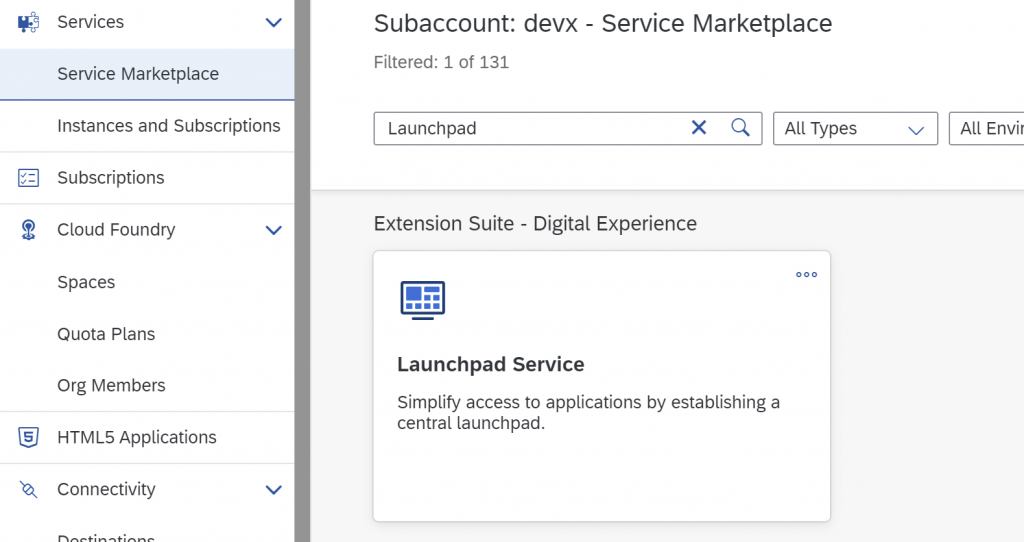
- In your SAP BTP account, ensure that both SAP Business Application Studio and Launchpad Service/Portal are available.
- If you are using a trial account, you can skip this step.
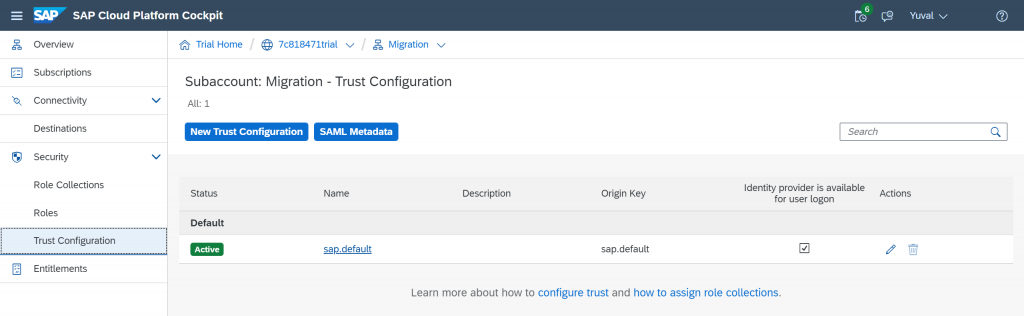
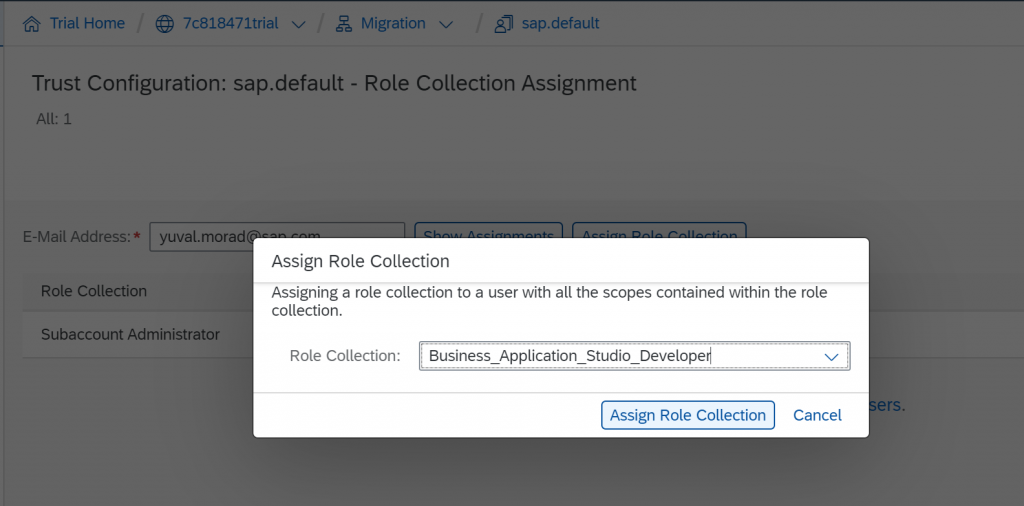
- If you are using a non-trial account, assign yourself to a developer role:
i. Navigate to Security > Trust Configuration.
ii. Click the sap.default link.
iii. Enter your email address.
iv. Click Assign Role Collection.
v. Select “Business_Application_Studio_Developer” from the dialog box.
vi. For managing a Launchpad site, assign the “Launchpad_Admin” role.
vii. Click Assign Role Collection to save the changes.
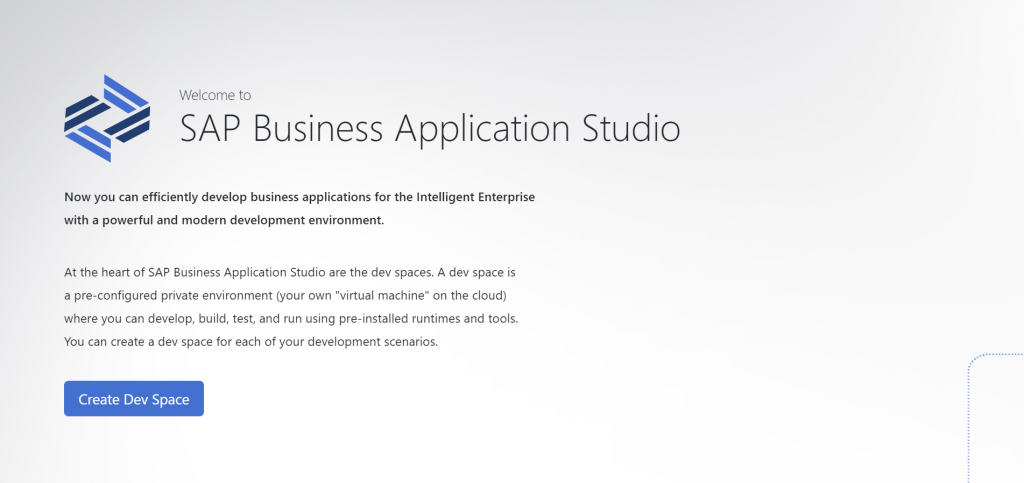
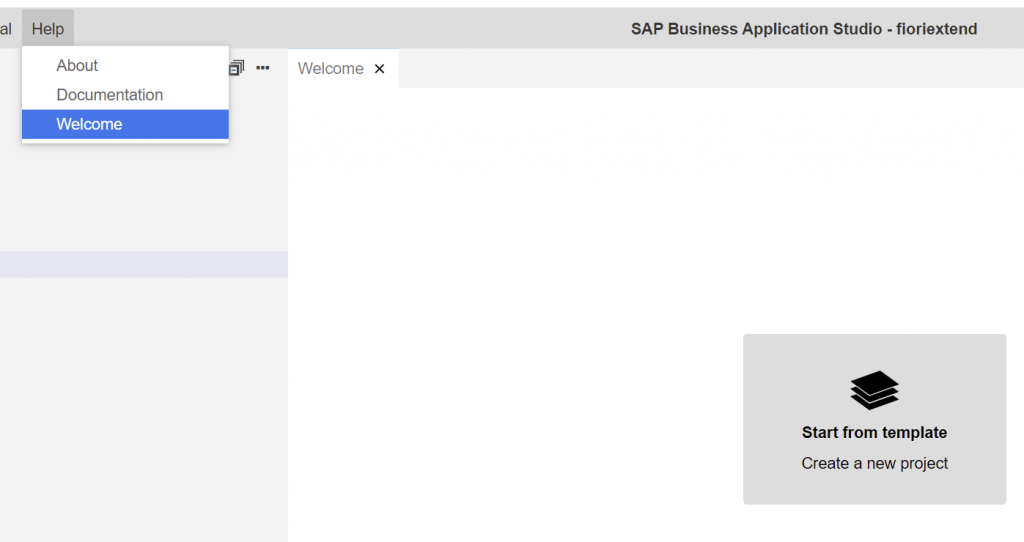
- Open SAP Business Application Studio:
i. Click Go to Application from the SAP Business Application Studio tile.
The SAP Business Application Studio landing page or Dev Space Manager opens.

ii. Click Create Dev Space.
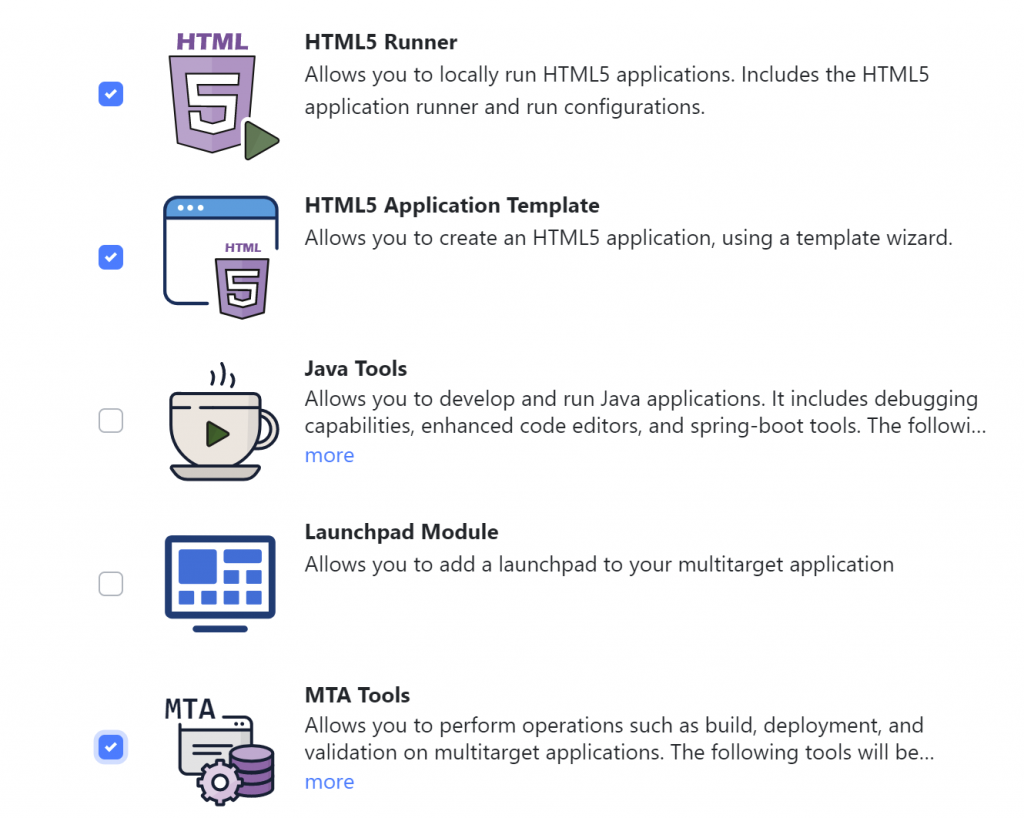
iii. Enter a name for the dev space.
iv. Make sure that these extensions are selected:
- MTA Tools
- HTML5 Runner
- HTML5 Application Template
vi. Open the dev space by clicking on the dev space name.
- Import your destination in the BTP subaccount:
i. Navigate to Connectivity > Destinations in your new subaccount, click Import Destination, and choose the file with the existing destination that you want to import.
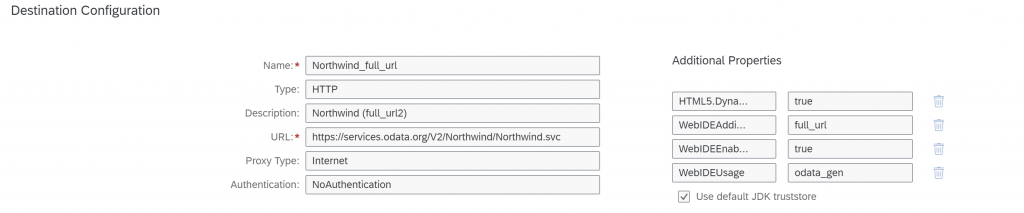
ii. Make sure that the following properties are set in Additional Properties of the destination:
1. HTML5.DynamicDestination = true
2. WebIDEEnabled = true
3. WebIDEUsage = odata_gen for general URL.
iIn addition WebIDEAdditionalData = full_url if the URL refers to an absolute service URL.
4. If your service is an ABAP catalog, set the following property value:WebIDEUsage = odata_abap,dev_abap
Do NOT maintain both odata_abap and odata_gen for WebIDEUsage.
5. HTML5.Timeout = 60000
iii. If the destination refers to an on-premise system, make sure that your subaccount is connected to your on-premise system using a Cloud Connector.
iv. See a sample Northwind destination configuration below.
Create a React Project
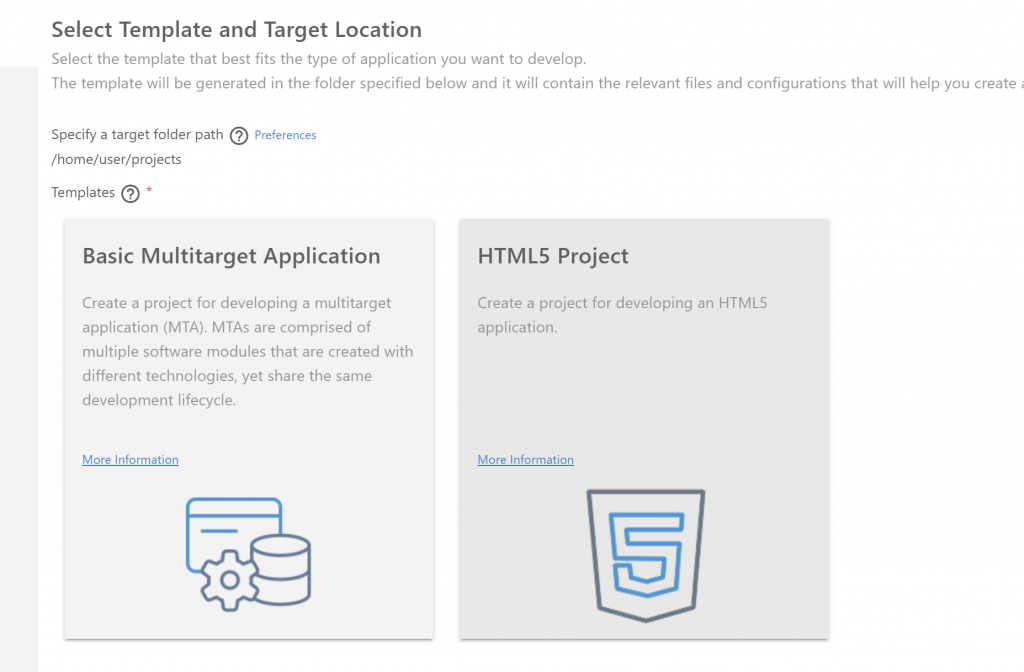
- To create a new React project, you can use the “yo” command from the terminal or you can open the template wizard.
- Select the HTML5 Project.
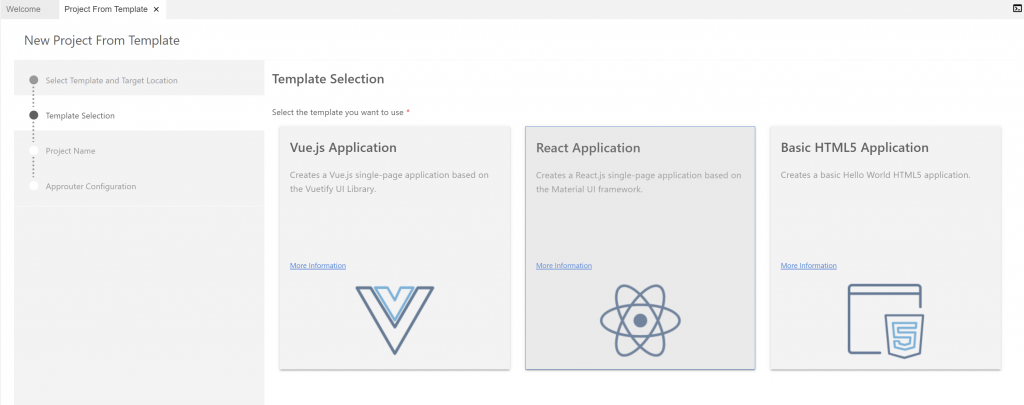
- Select the React Application.
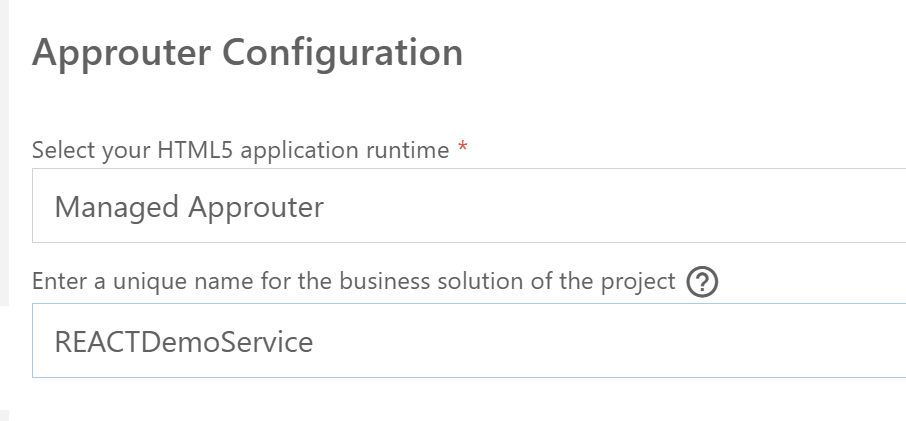
- Fill in the application router configuration to use the Managed Approuter.
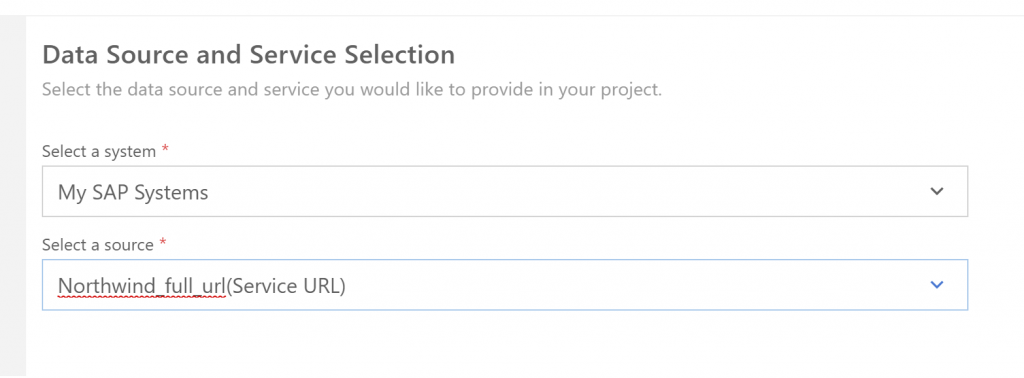
- Select Northwind_full_url as your data source for the application.
- Select the entity and the properties to be displayed in your application.

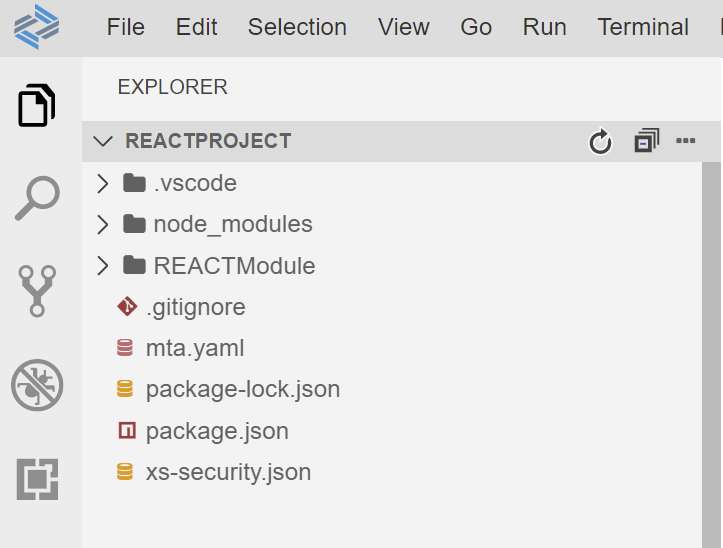
- Your application is created and will open in a new workspace after all of its dependencies are installed. (This may take a few seconds).
Test Your React Application
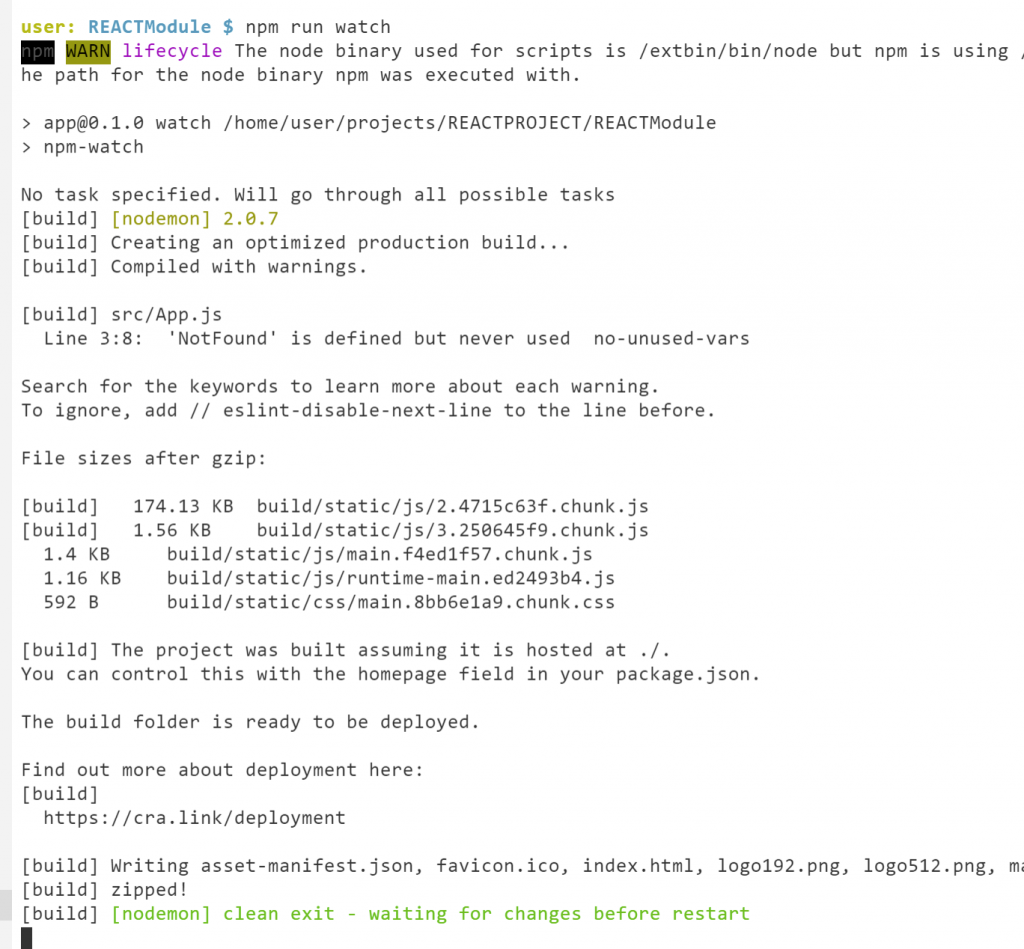
The application runs on build artifacts. Therefore, using the “watch” command ensures that every change in the source code will be built automatically.
- Open the React module (one level below the root project) in the terminal and execute “npm run watch”.
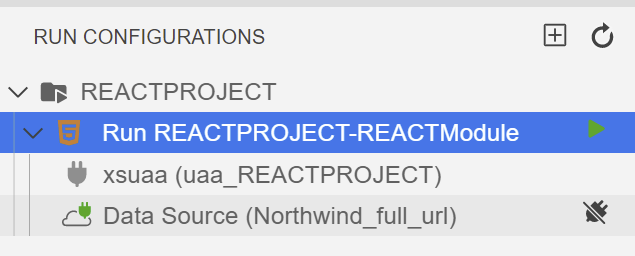
- Open the run configuration panel and create a run configuration
- Press the “+” icon and choose your React module and default name.
- Click the Bind icon of your created configuration and bind the Northwind data source.
- Press the “+” icon and choose your React module and default name.
- Click the Run Module icon to run the application in a separate browser. The run tool installs all dependencies that are missing for run execution and uses a dedicated run port. If you already have a running application using the dedicated port (6004), you must stop the running application first.
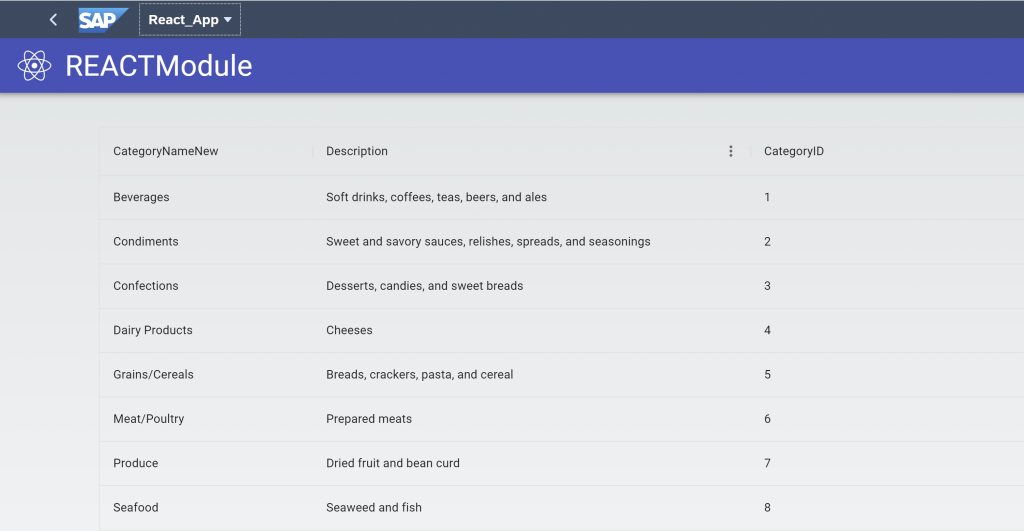
- The React Module UI opens in a new browser.
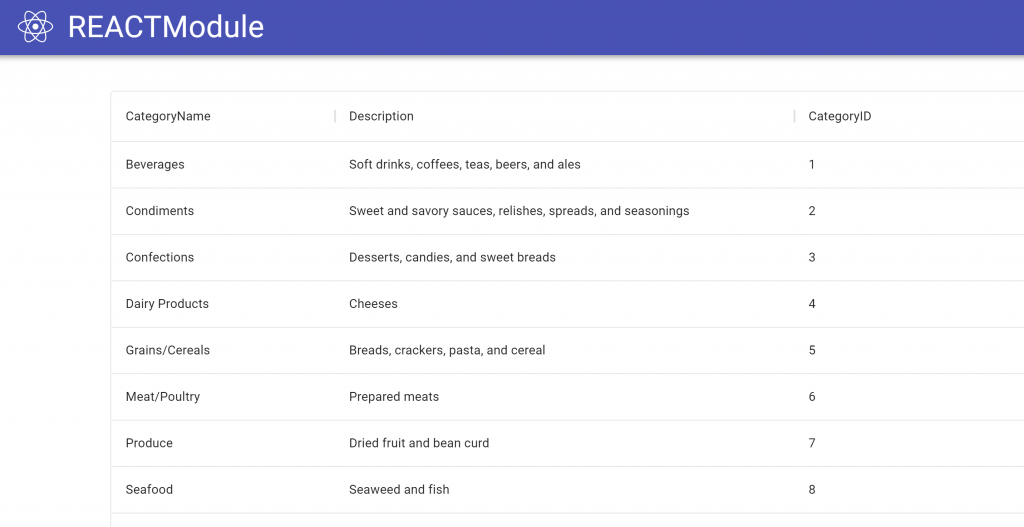
- (Optional) Change your title text and refresh the application browser to see the changes.

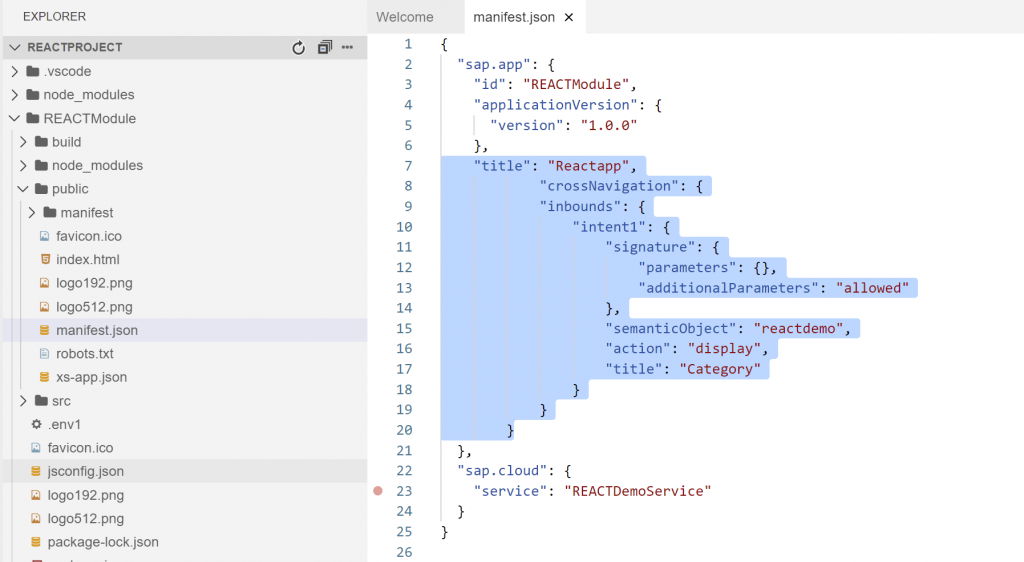
- (Optional) Open the “manifest.json” file and add inbound navigation for future launchpad integration.
Build and Deploy your React Application
To deploy your application to Cloud Foundry, perform these steps:
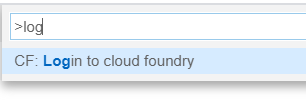
- Log in to the target Cloud Foundry space, where you want to deploy the application.
From the menu, click View > Find Command to open the command palette.
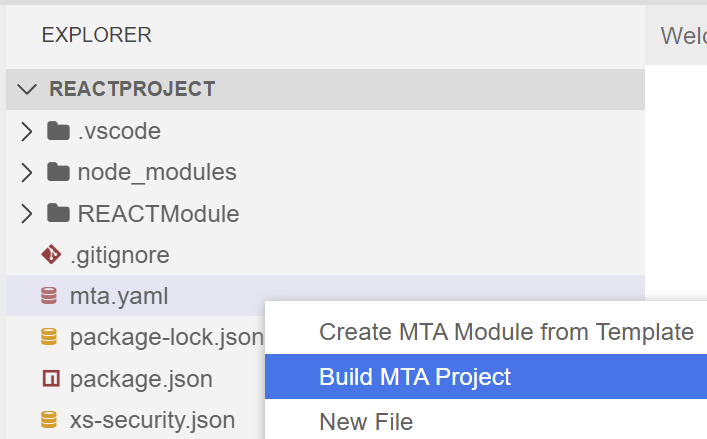
- Enter “MBT build” in the terminal, which generates your MTA archive file, or right-click on the project’s “mta.yaml” file and click Build MTA.
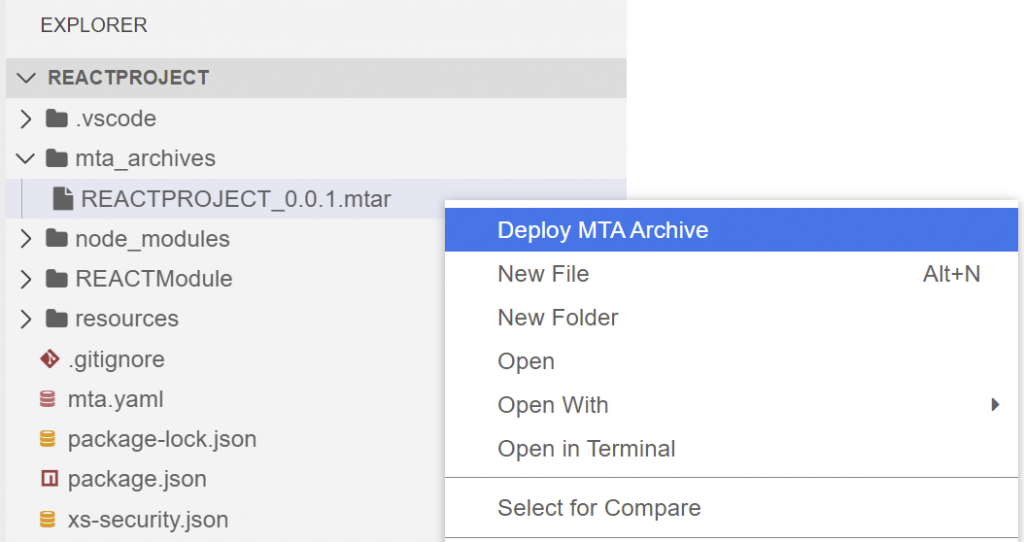
- Enter “CF deploy <mtar file name> ” in the terminal, which deploys your application to the space that you logged into, or right-click on the mtar file and click Deploy MTA Archive.
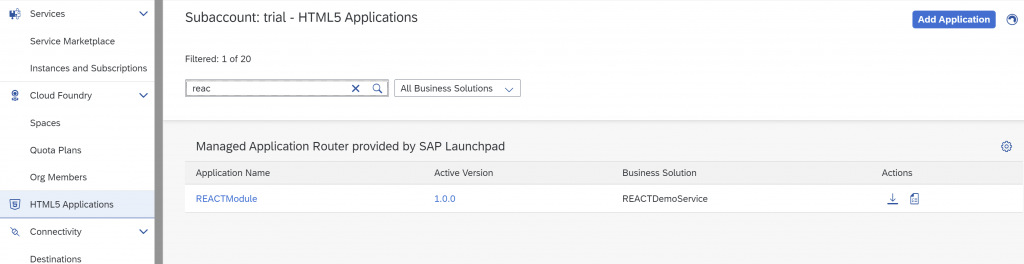
- From the SAP BTP cockpit, navigate to the HTML5 Applications menu and open your deployed React application.
Add your Application to a Launchpad
- From your SAP BTP account, go to the Launchpad application.
- Create a launchpad site (ensure that you have assigned yourself to the Launchpad_Admin role).
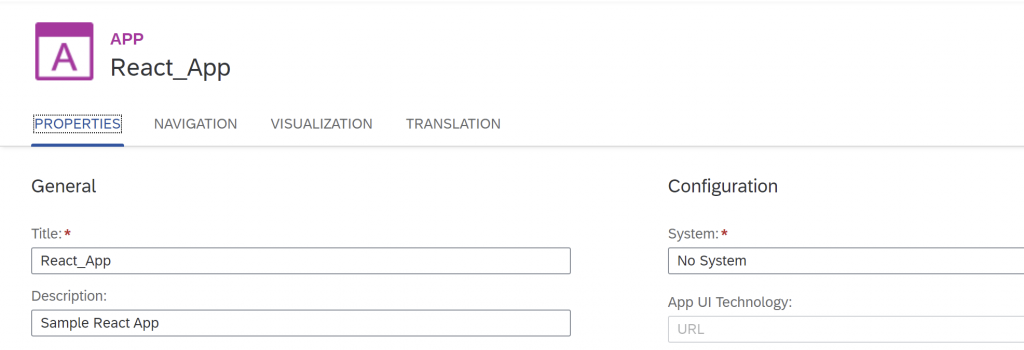
- Create an application and enter the URL of the deployed application. (You can copy the URL from the React application browser).
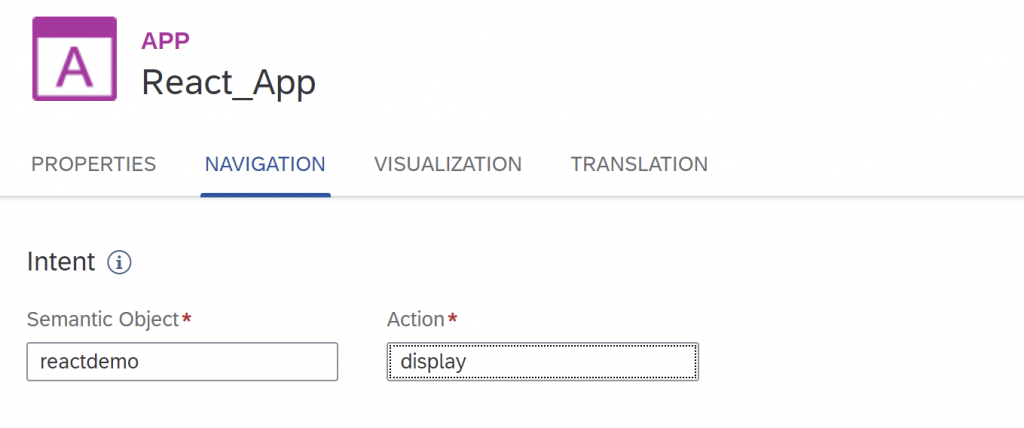
- In the NAVIGATION tab, enter the Semantic Object in accordance with the intent of your “manifest.json” file in the application.
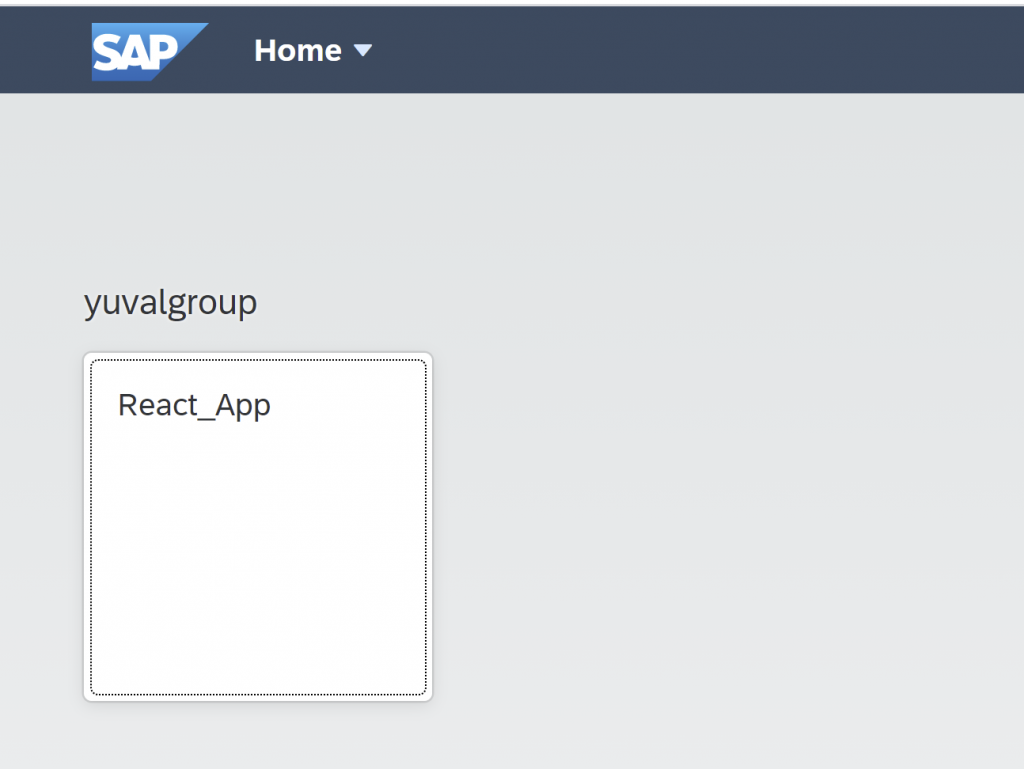
- Create a Group and add your application to it.

- Assign your application to a role.

- Launch your application from your site.