This simple blog post helps you get an understanding of how data from an SAP S/4HANA on-premise system can be referenced in SAP HANA Cloud and subsequently brought inside an SAP HANA HDI container in SAP Business Technology Platform (SAP BTP).
This blog post is for everyone, who –
- Want to get an understanding of SAP HANA Smart Data Integration (SDI)
- Want to move data from an SAP S/4HANA on-premises system to HDI containers.
- Are looking for help on creating multiple SAP HANA database artifacts like Tables, Synonyms, HDB grants, and flowgraphs, etc.
SAP HANA smart data integration
With SAP HANA smart data integration we can load data, in batch or real-time, into an SAP HANA database, on-premises or in the cloud, from a variety of sources using pre-built and custom adapters.
SAP HANA Cloud
SAP HANA Cloud is a fully managed in-memory cloud database as a service (DBaaS). As the cloud-based data foundation for SAP Business Technology Platform, it integrates data from across the enterprise, enabling faster decisions based on live data.
So, Let’s get started…
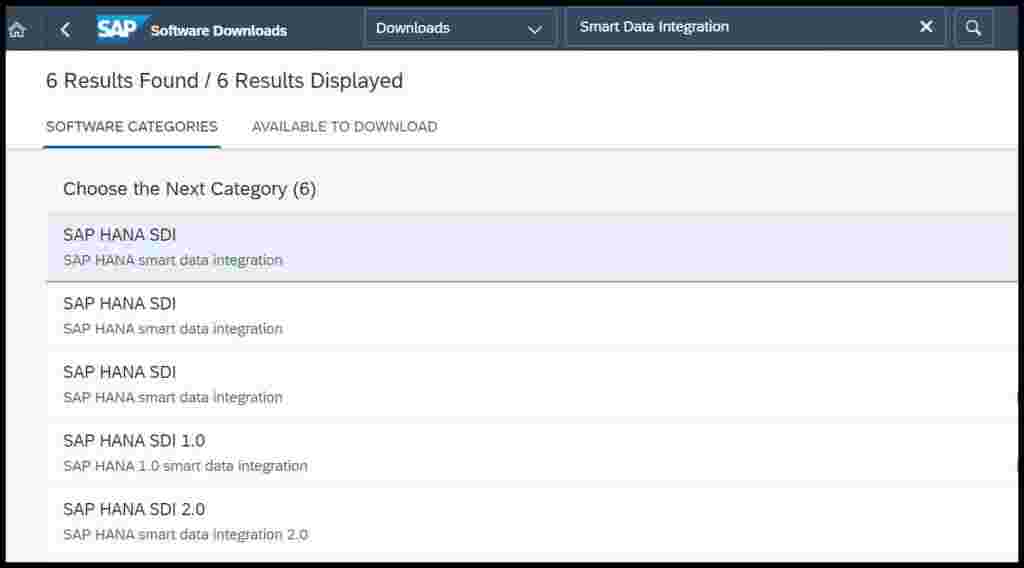
Go to Software Downloads on the SAP ONE Support Portal, search for SAP HANA smart data integration. Download SAP HANA smart data integration Package.
Extract the downloaded file, run the hdbsetup.exe file.
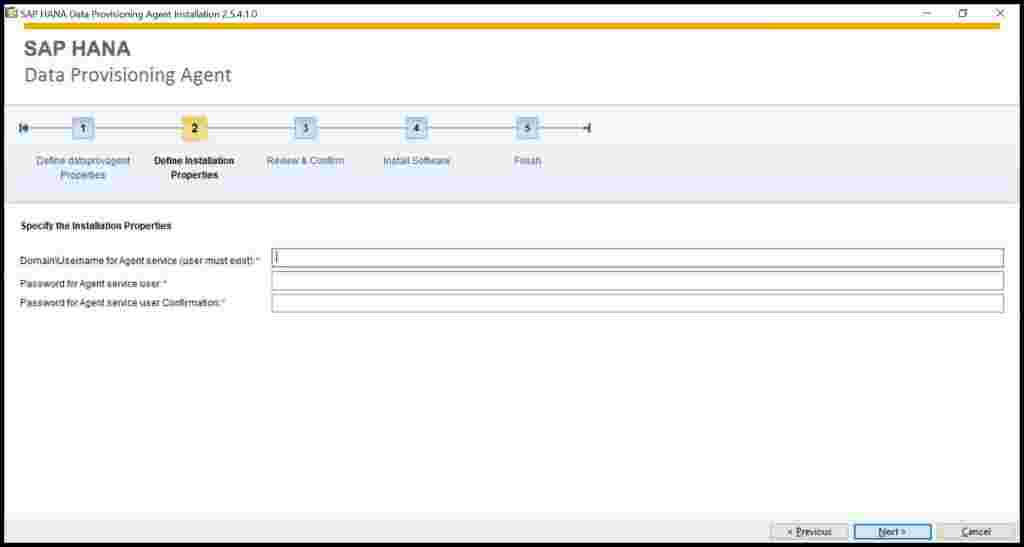
Similarly install the other two components.

Go to the list of services running in your system, you should see that the below service. Ensure that the service is running.

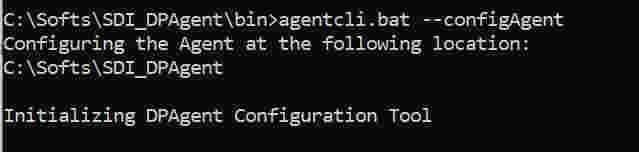
After Installing the Data Provisioning (DP) Agent, in the command prompt, issue the below command.
agentcli.bat --configAgent
This will start the initialization of DPAgent Configuration Tool.
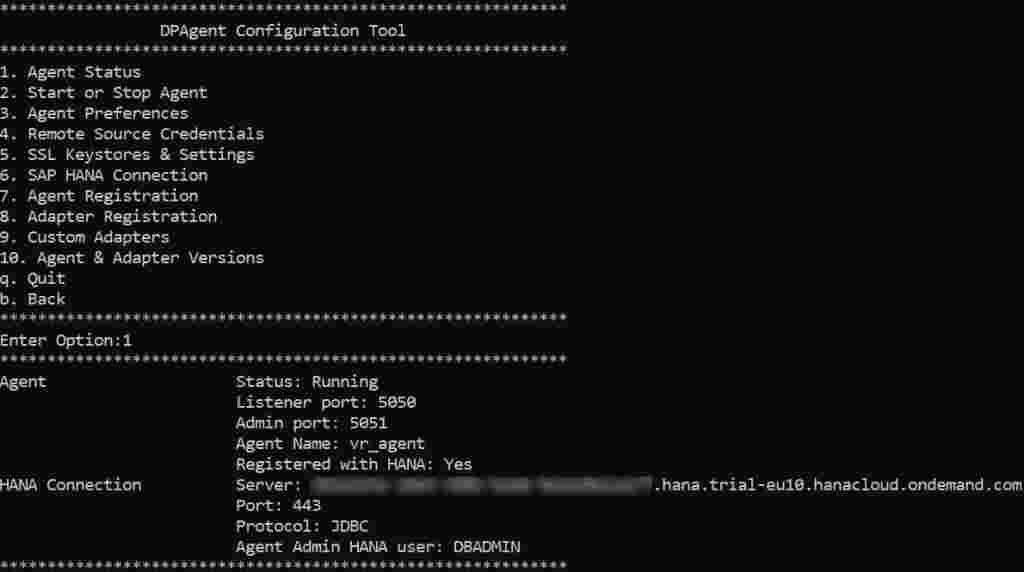
After initialization, the DPAgent Configuration Tool will present the below options.
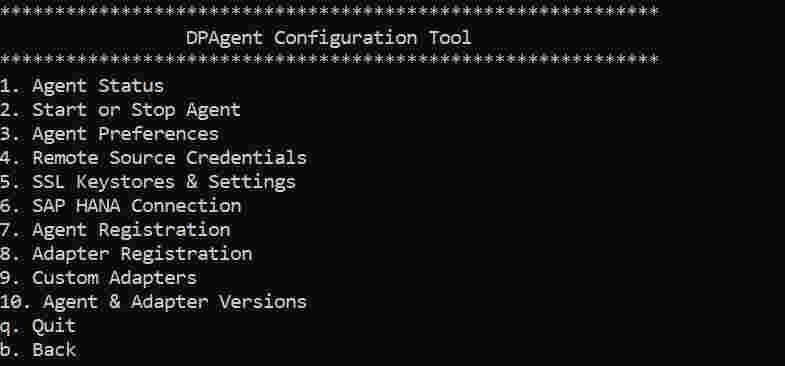
Select Option 6 to start SAP HANA Connection.

Select option 1 here.
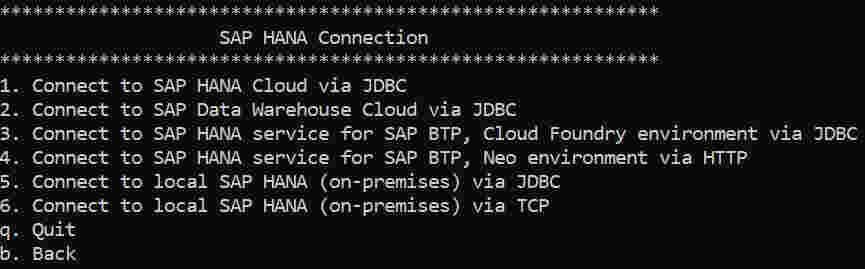
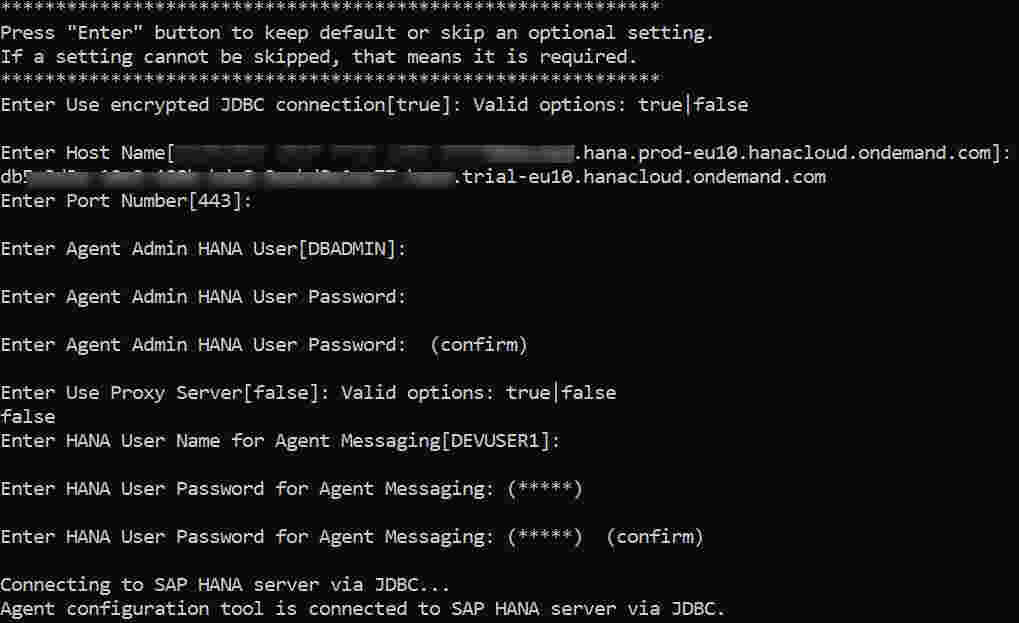
Specify the details to establish connection to your SAP HANA Cloud instance.
Select Option 7 from the above menu for Agent Registration then select option 1 subsequently.
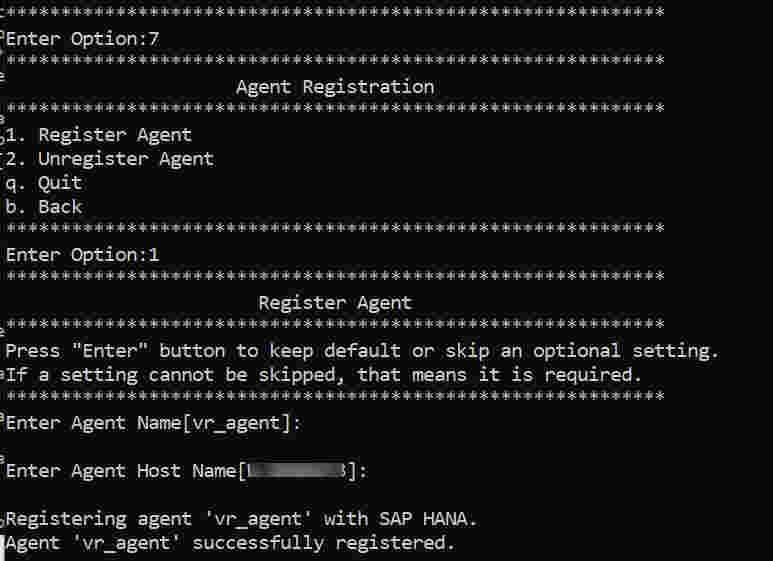
Check the status of the agent just registered.
To connect to SAP S/4HANA system, we will need ABAP Adapter. Register the same using the below options:
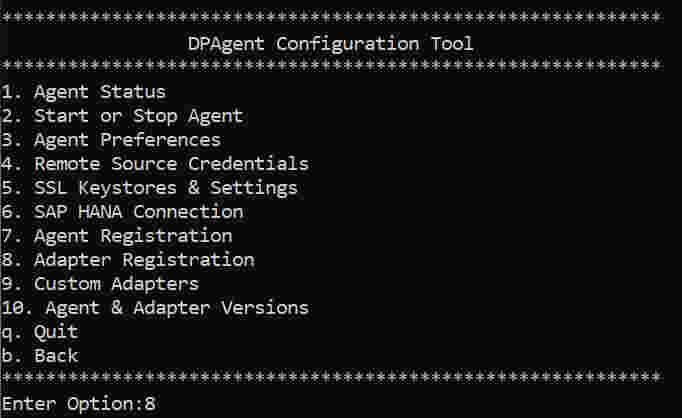
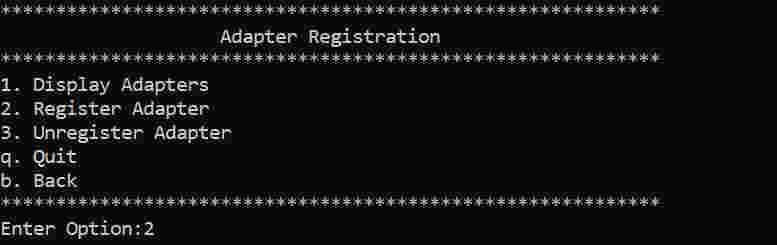
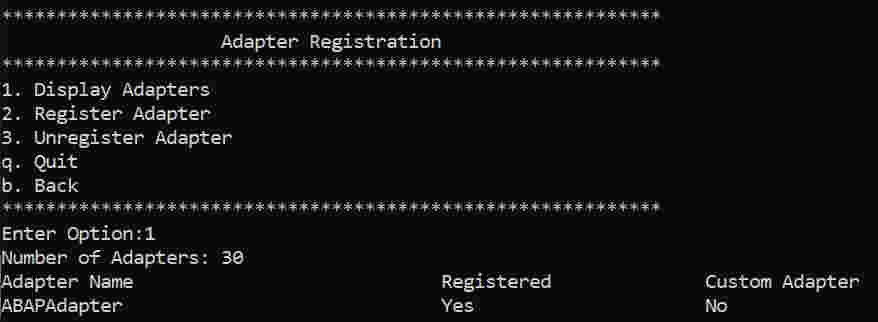
Select option 8 for Adapter Registration, then select option 2 for registering an adapter.
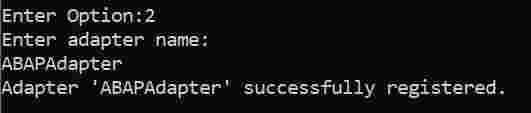
Specify the name as ABAPAdapter to register
Go back to the previous menu and specify option 1 to check the ABAPAdapter registered.
Go to main menu and check the status of the Agent again.
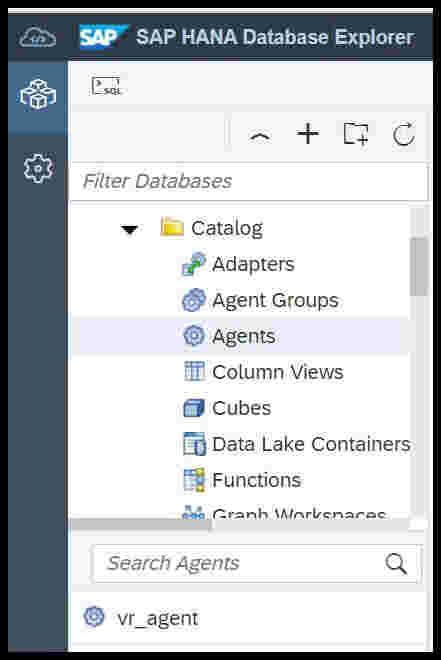
Go to the SAP HANA DB Explorer of your SAP HANA Cloud instance, to observe the agent that was configured.
Open SQL console of your SAP HANA Cloud instance and run the below script:
Create a user in SAP HANA instance.
CREATE USER hduser PASSWORD Password1 NO FORCE_FIRST_PASSWORD_CHANGE SET USERGROUP DEFAULT;
Create the below roles in the SAP HANA instance:
CREATE ROLE "myschema::external_access_g";

CREATE ROLE "myschema::external_access";
Assign the roles to the created user:
GRANT "myschema::external_access_g", "myschema::external_access" TO hduser WITH ADMIN OPTION;
Create a schema:
create schema myschema;
Grant the select and select metadata privileges to the roles we have created:
GRANT SELECT, SELECT METADATA ON SCHEMA myschema TO "myschema::external_access_g" WITH GRANT OPTION;
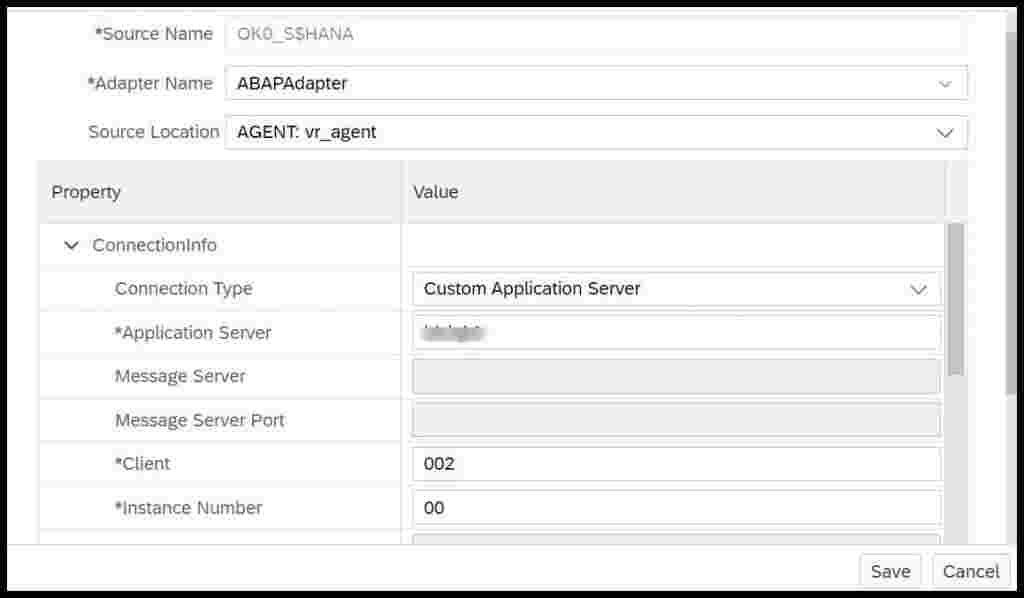
GRANT SELECT, SELECT METADATA ON SCHEMA myschema TO "myschema::external_access";Go to remote sources tab, in the SAP HANA Cloud instance, right click and select the option new remote source.
Give the source a name and fill the details of your SAP S/4HANA system.
After successfully setting up the remote source, create virtual objects for the tables that are needed.
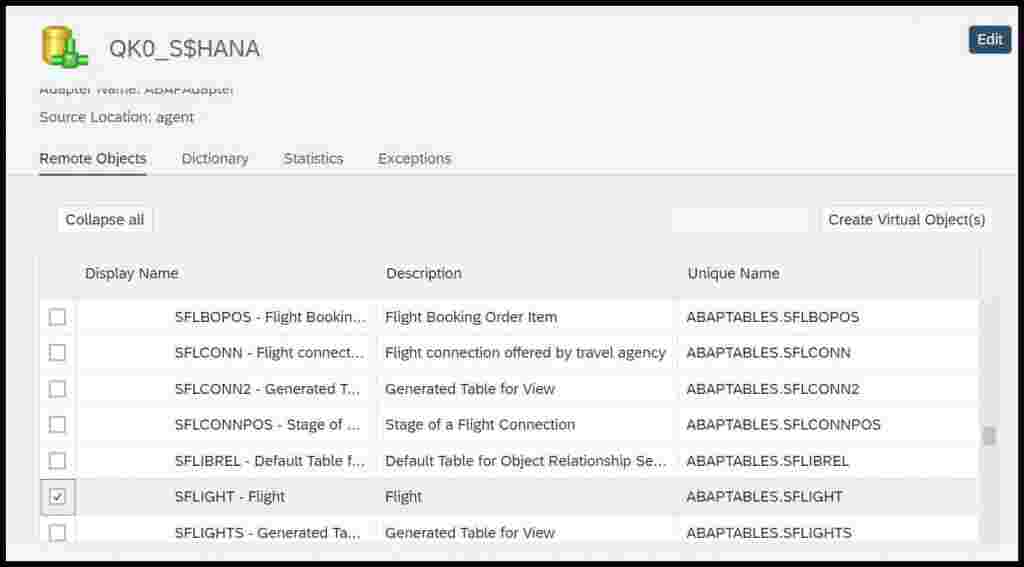
Specify the schema into which you would want to import these objects.
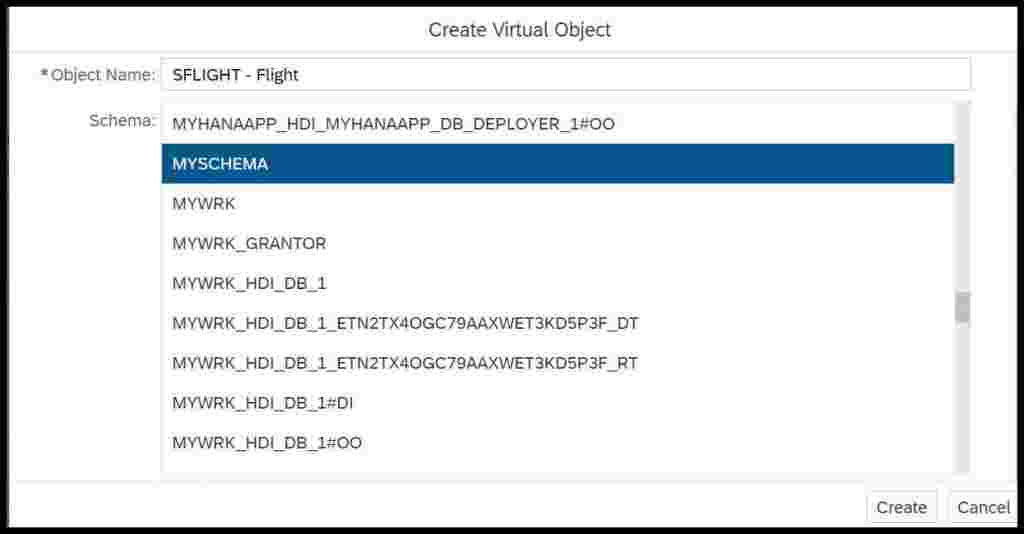
Create virtual objects for the table SFLIGHT.
Go to the schema, to verify the objects that got generated.

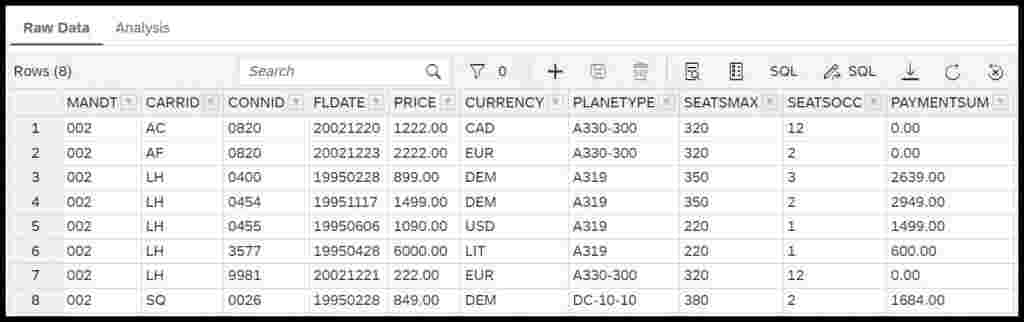
View the data from the virtual object that got generated.
Similarly, create a virtual object for SCARR table.
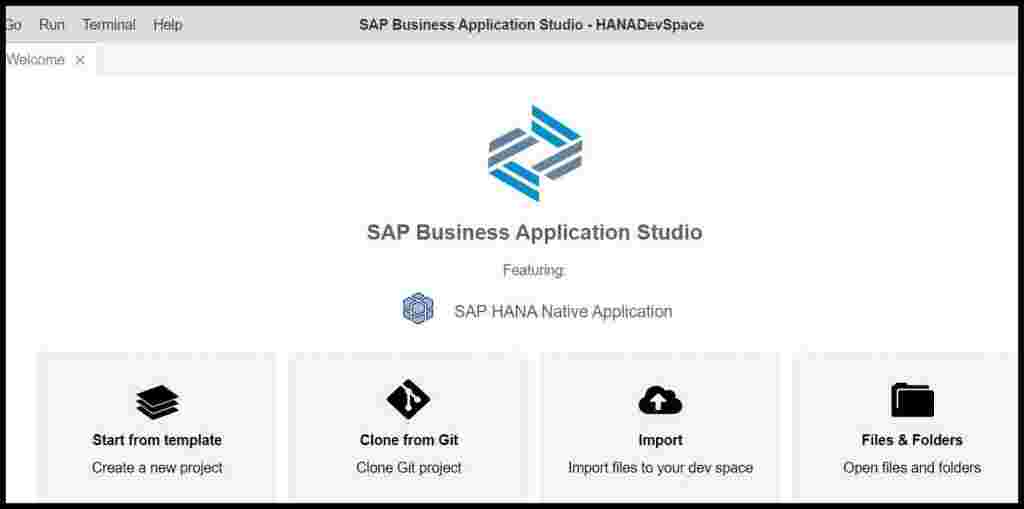
Go to SAP Business Application Studio, and select SAP HANA Dev Space
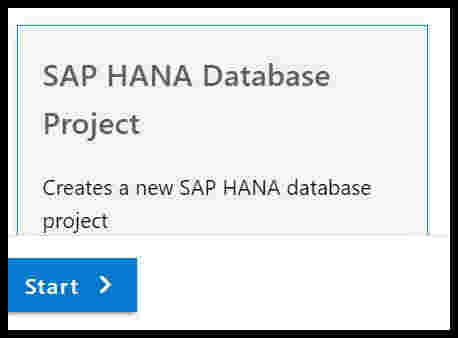
Create a SAP HANA Database Project.
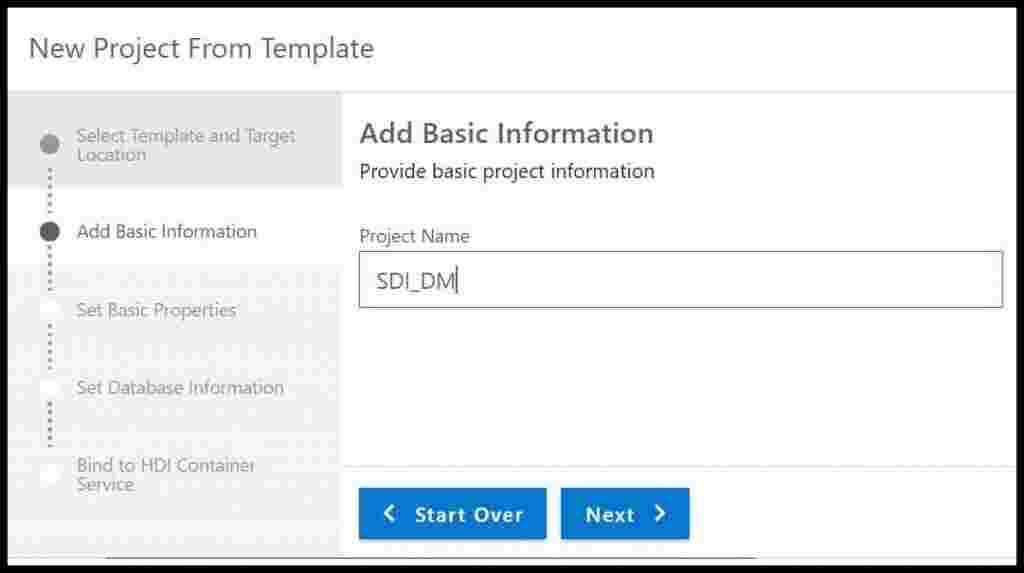
Specify a name
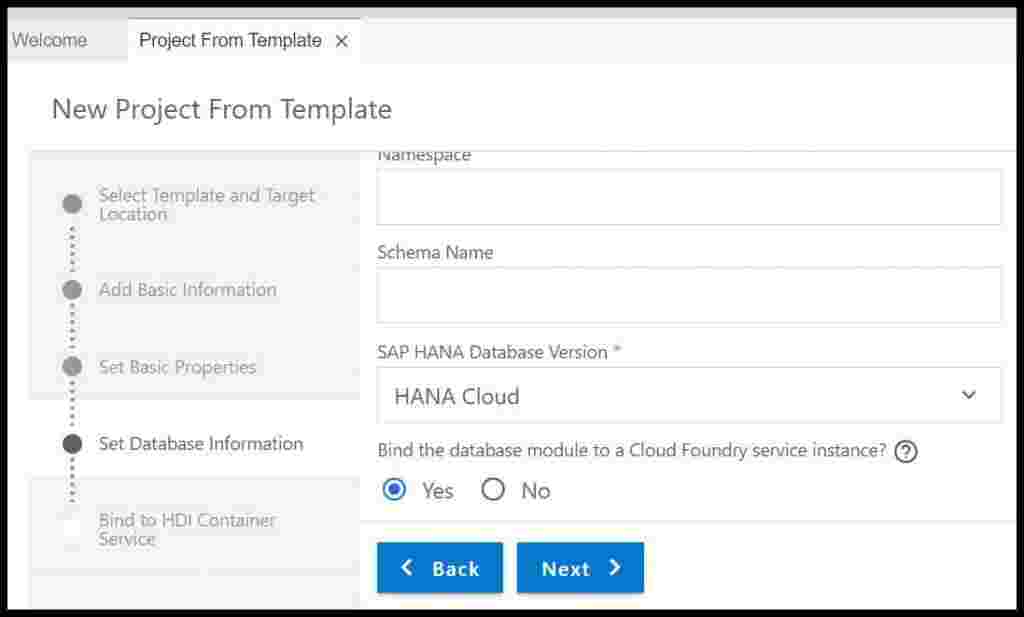
Provide other details as indicated below:
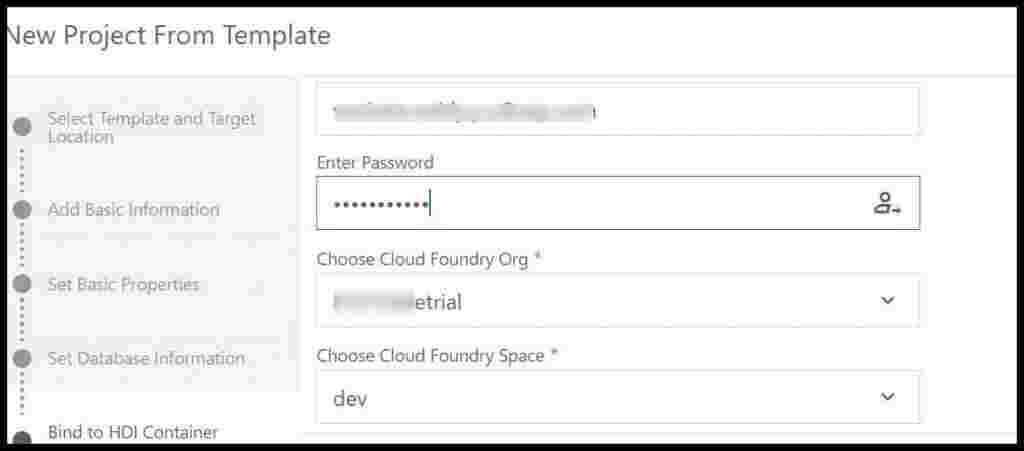
Specify your cloud foundry account details.
Select the other settings as given below:
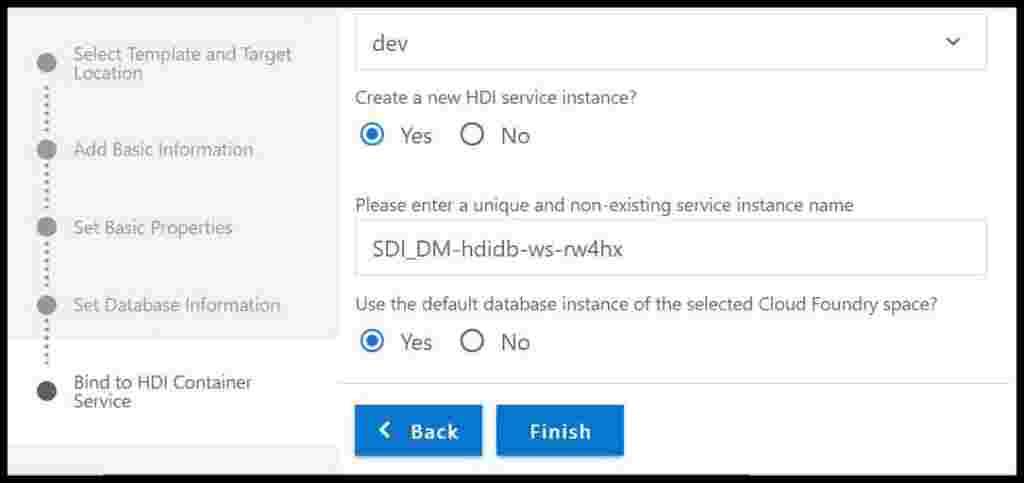
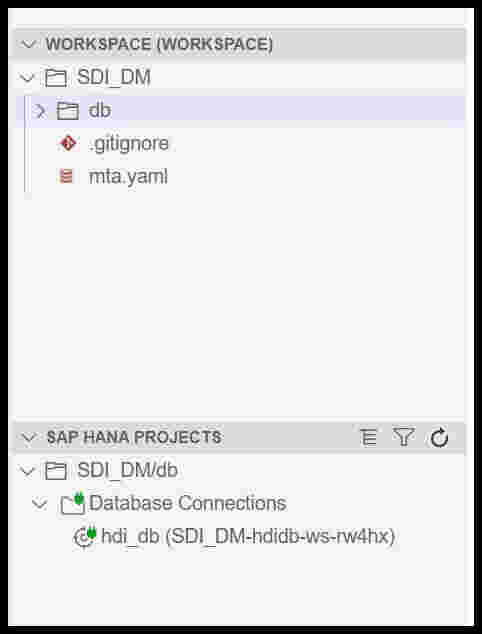
Upon clicking on finish, your project will get created as below:
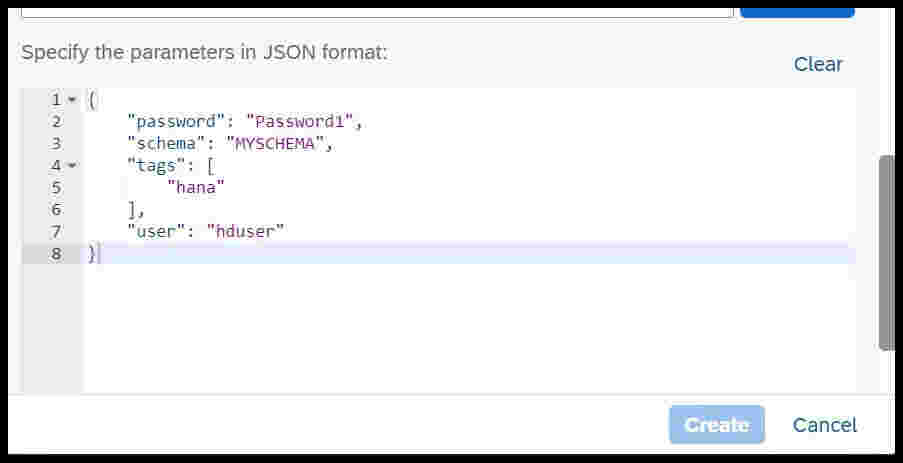
Go to your Business Technology Platform trial, enter into your DEV space. Click on create and then select create a user defined service.

Provide the name as myschema and provide the below details in JSON format.
Open your mta.yaml file. The mta.yaml file is populated with the below details initially.
_schema-version: "2.1"
ID: SDI_DM
version: 0.0.1
modules:
- name: db
  type: hdb
  path: db
  requires:
  - name: hdi_db
    properties:
      TARGET_CONTAINER: ~{hdi-container-name}

resources:
- name: hdi_db
  type: com.sap.xs.hdi-container
  properties:
    hdi-container-name: ${service-name}
Now, we will link the SAP HANA schema that we have created initially to the HDI container that is getting created as part of this project with the help of the user defined service MYSCHEMA. To accomplish this, open your mta.yaml file in the project and add the below in the resources section.
- name: myschema
  type: org.cloudfoundry.existing-service
  parameters:
    service-name: myschema
Add the below code in the requires section of mta.yaml
requires:
  - name: myschema
Finally, your mta.yaml should look like this.
ID: SDI_DM
version: 0.0.1
modules:
- name: db
  type: hdb
  path: db
  requires:
  - name: myschema
  - name: hdi_db
    properties:
      TARGET_CONTAINER: ~{hdi-container-name}

resources:
- name: hdi_db
  type: com.sap.xs.hdi-container
  properties:
    hdi-container-name: ${service-name}
- name: myschema
  type: org.cloudfoundry.existing-service
  parameters:
    service-name: myschema
Now the project workspace should look like this –
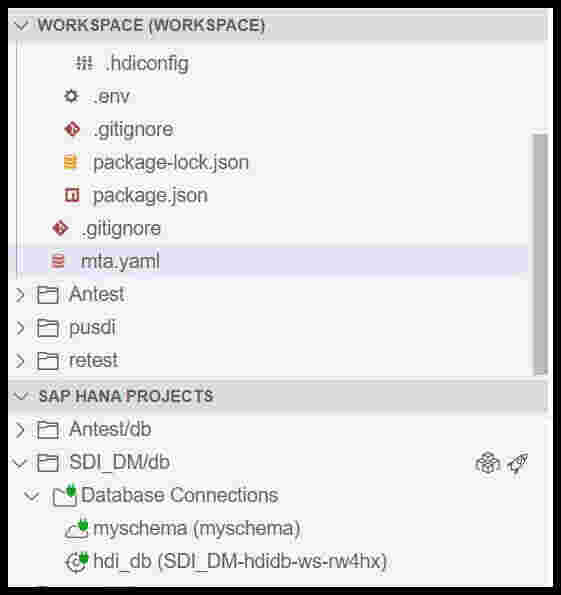
Bind the user defined service to the project.
Navigate to your project, go to the db folder and then select src folder inside that create a hdb grants. Specify a name to it. I have named it as mygrants.hdbgrants.
Populate the below code into the mygrants.hdbgrants file.
{
    "myschema": {
        "object_owner": {
            "roles": [
                "myschema::external_access_g"
            ]
        },
        "application_user": {
            "roles": [
                "myschema::external_access"
            ]
        }
    }
}
Deploy the file by clicking on the deploy button present in the top right corner.
Navigate to your project, select the db folder and then select src and create a hdb synonym. Specify a name to it. I have named it as mysynonym.hdbsynonym.
Open the synonym in code editor and populate the below code into the synonym.
{
    "myhana.db::SFLIGHT": {
        "target": {
            "object": "SFLIGHT - Flight",
            "schema": "MYSCHEMA"
        }
    },
    "myhana.db::SCARR": {
        "target": {
            "object": "SCARR - Airline",
            "schema": "MYSCHEMA"
        }
    }
}
Deploy the Synonyms file by clicking on the deploy button present in the top right corner.
Go to the SAP HANA database explorer and select the HDI container.
We can see the synonyms created in the HDI container.

We can see the data in the tables using the synonyms created.
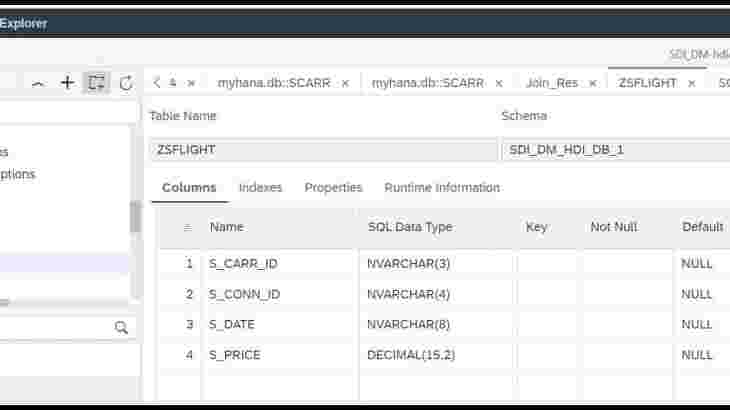
Navigate to your project, select the db folder and then select src folder inside that create a file. Specify a name to it. I have named it as ZSFLIGHT.hdbtable.
Populate the below code into the file and then save it.
column table ZSFLIGHT (
S_CARR_ID varchar(3),
S_CONN_ID varchar(4),
S_DATE varchar(8),
S_PRICE decimal(15,2)
);
Navigate to your project, select the db folder and then select src folder inside that create a file. Specify a name to it. I have named it as ZSCARR.hdbtable.
Populate the below code into the file and then save it.
column table ZSCARR
(
S_CARR_ID varchar(3),
S_CARRNAME varchar(20),
S_CURRCODE varchar(5),
S_CARRURL varchar(255)
);
Navigate to your project, select the db folder and then select src folder inside that right click and add a new file. Specify a name to it. I have named it as myflowgraph.hdbflowgraph.
Right click on the file myflowgraph.hdbflowgraph, select open with and select flowgraph editor.
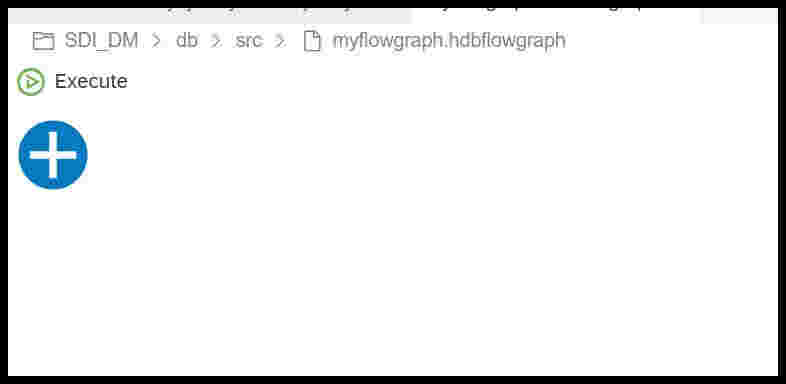
Click on the + icon.
It opens up the options given below.
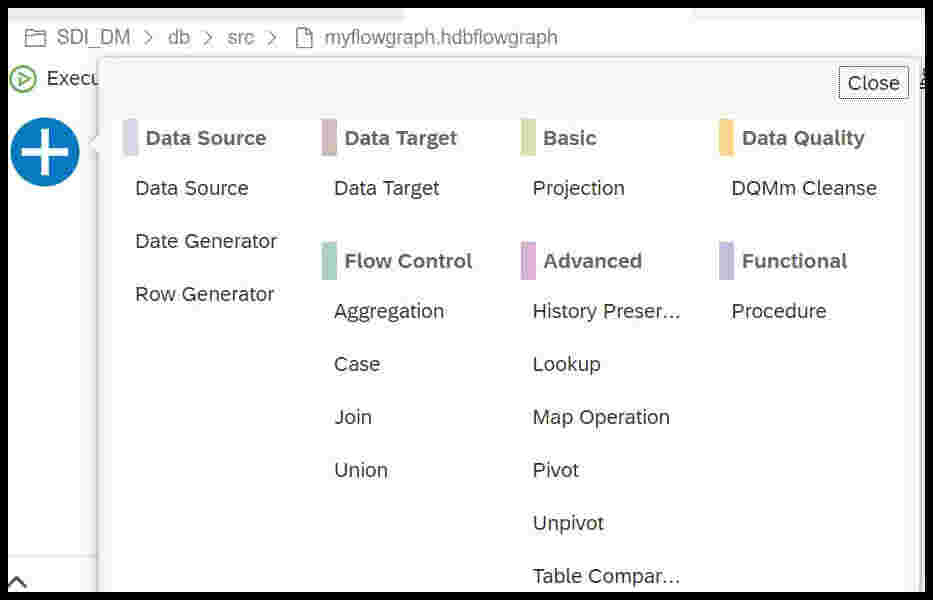
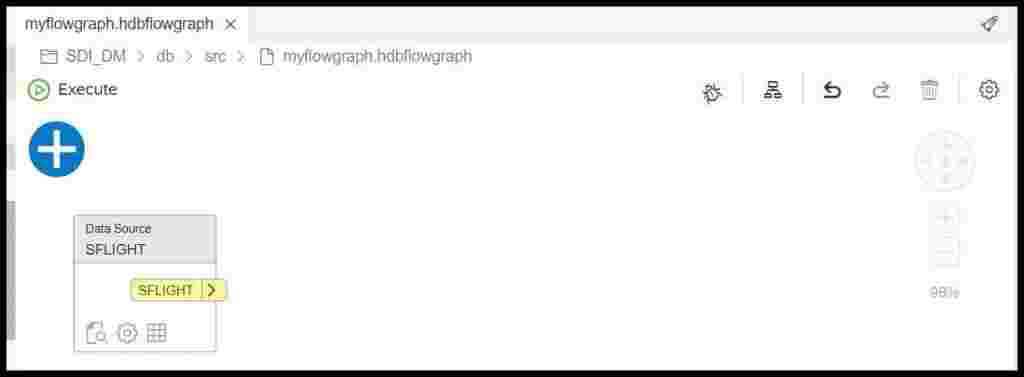
Select Data Source and drop it in the canvas.
We will see the data source added into the canvas.
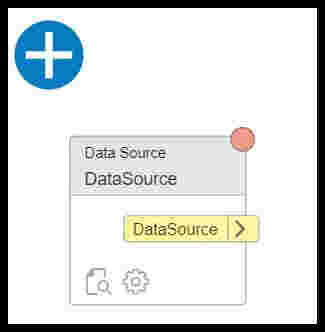
Click on the settings icon in the data source.

Click on the SAP HANA Object button and select the SFLIGHT Synonym that we have created previously and click finish.
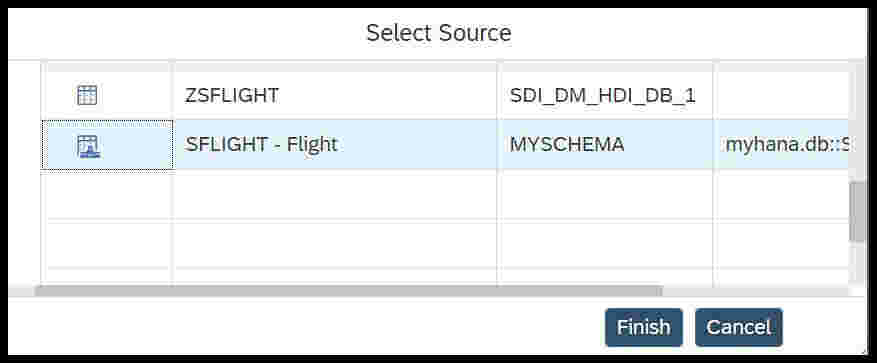
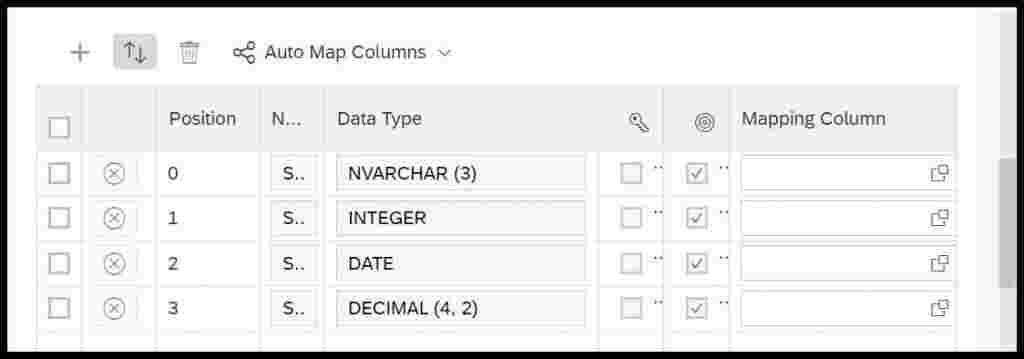
This will open up the below options.
Select the required columns from the synonym.
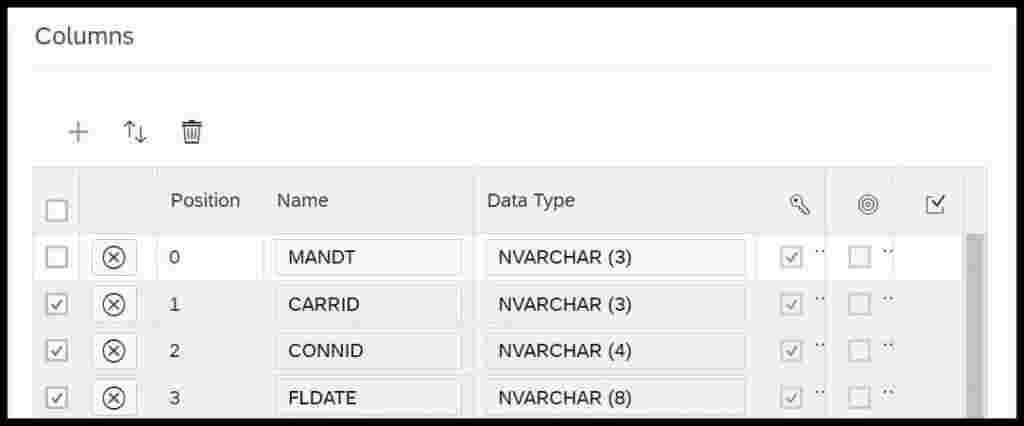
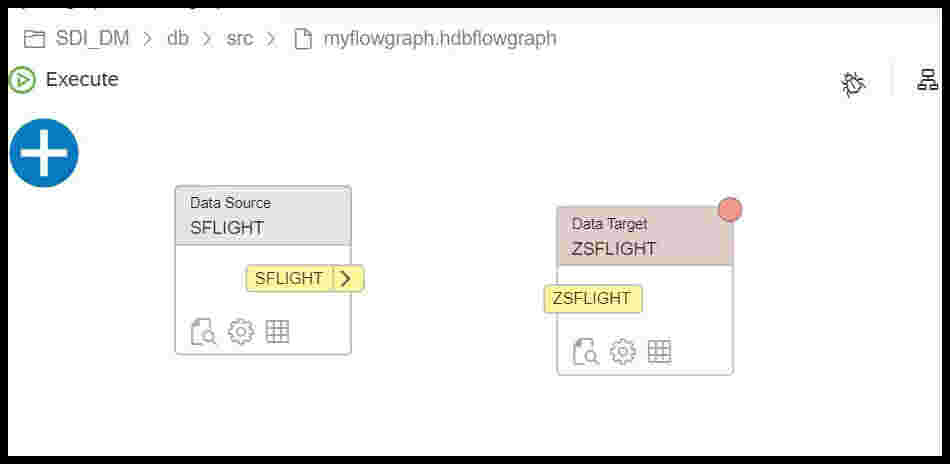
Then click apply. This will be shown as the Data Source of the flowgraph.
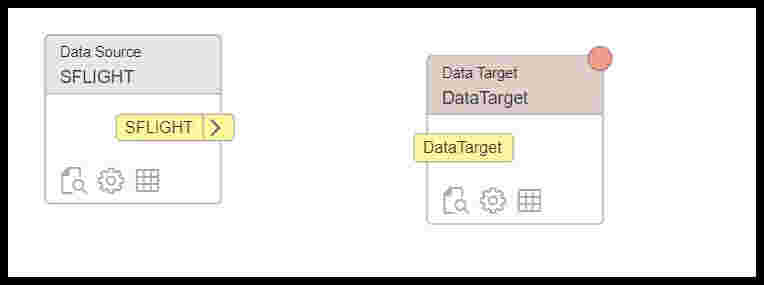
Again click on the + icon on the flow graph and then select Data target. This will add a data target into the canvas.
Click on the settings icon in the data target.

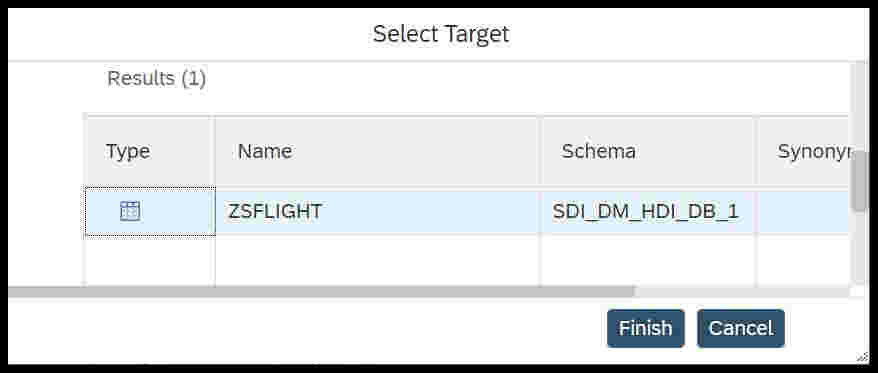
Select SAP HANA Object button and select the ZSFLIGHT table we have created earlier and click finish.
This will show the columns the target table as below.
Click apply.
This will show both source and target in the flowgraph.
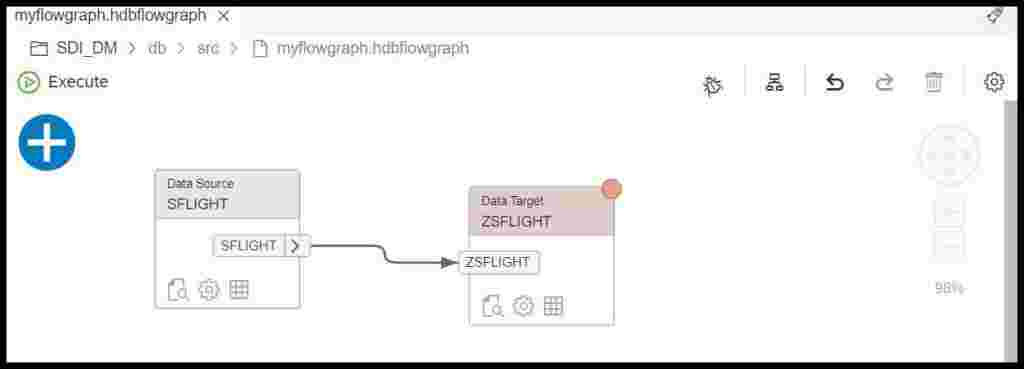
Link source to the target.
Click on the settings icon in the data target. Define the source to target column mapping.
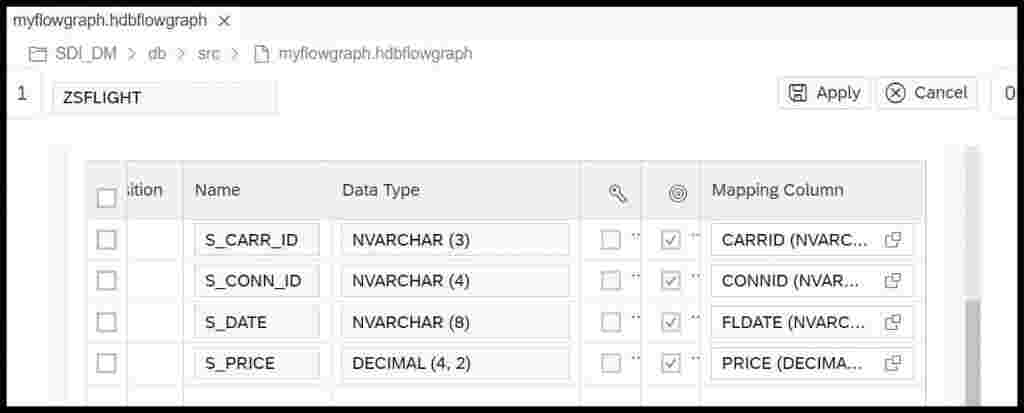
Click apply.
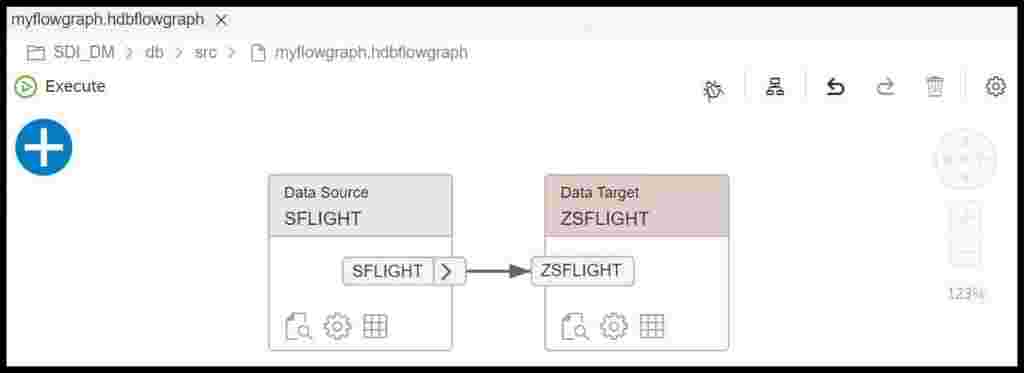
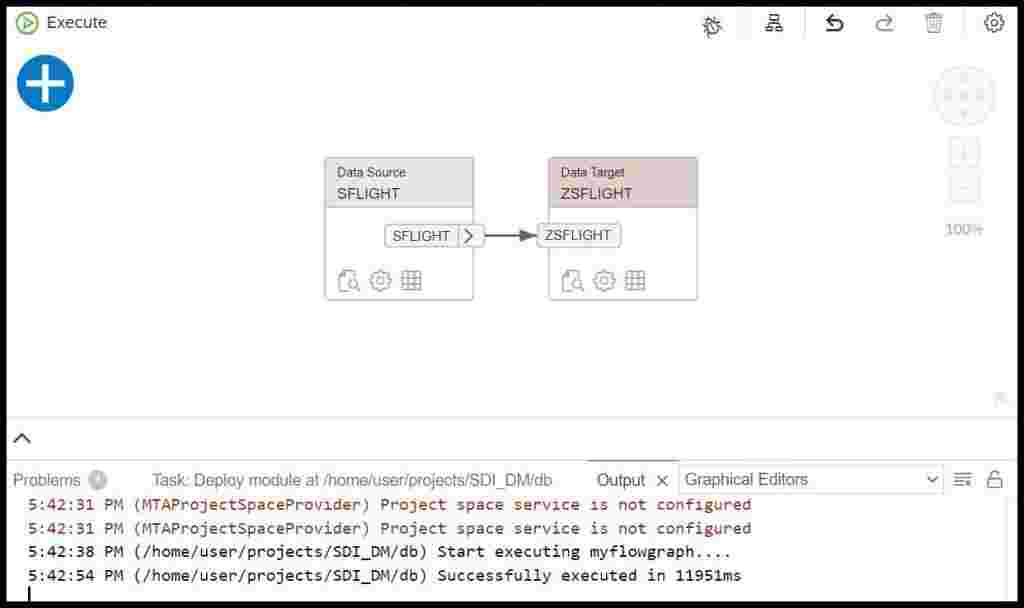
Deploy the flow graph by clicking on the deploy icon present in the top right corner.
Click execute to move the data from source to target.
Similarly create another SAP HANA flowgraph to move the data into ZSCARR table from the SCARR synonym.
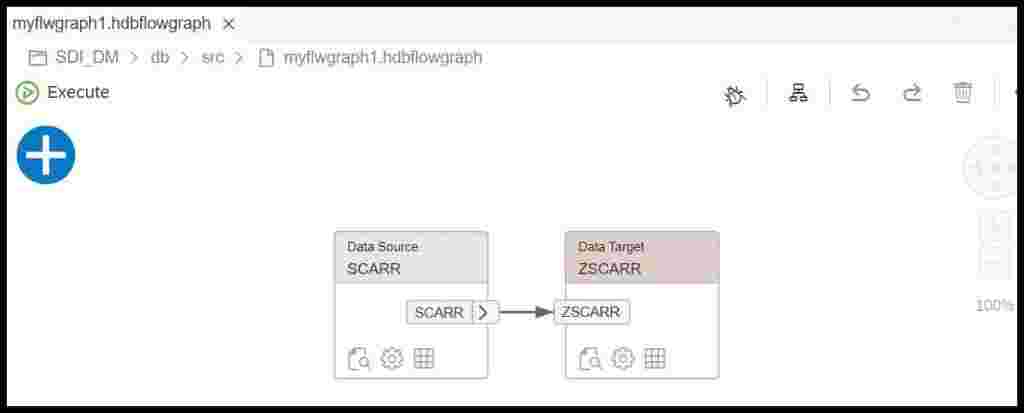
Deploy and execute the second flowgraph also.
Navigate to SAP HANA Database explorer, you will be able to locate the tables ZSFLIGHT and ZSCARR.
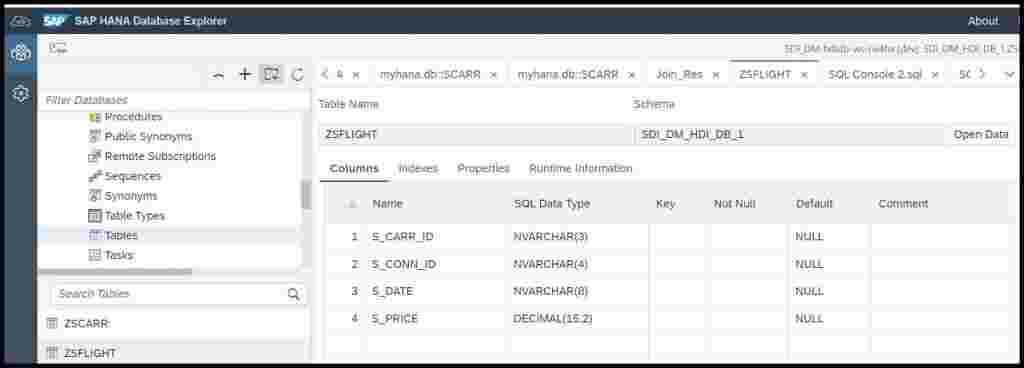
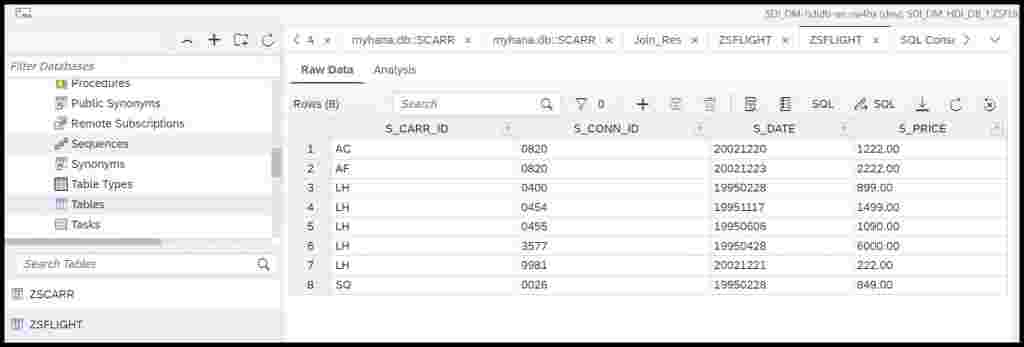
Display the data from ZSFLIGHT table.
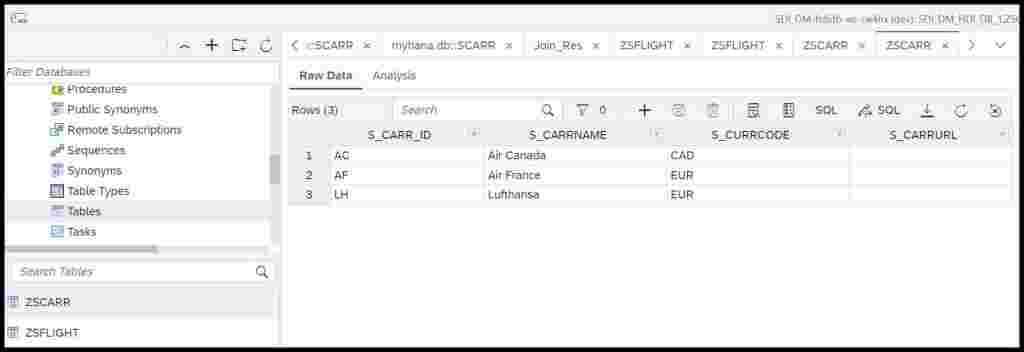
Display the data from ZSCARR table.
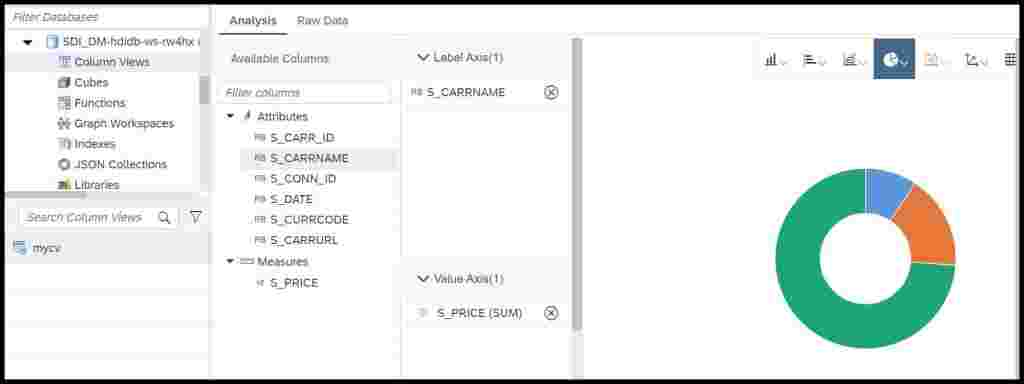
You can create an SAP HANA calculation view on top of the tables ZSFLIGHT and ZSCARR tables and consume the same in SAP Analytics Cloud using SAP HANA Live Connection.
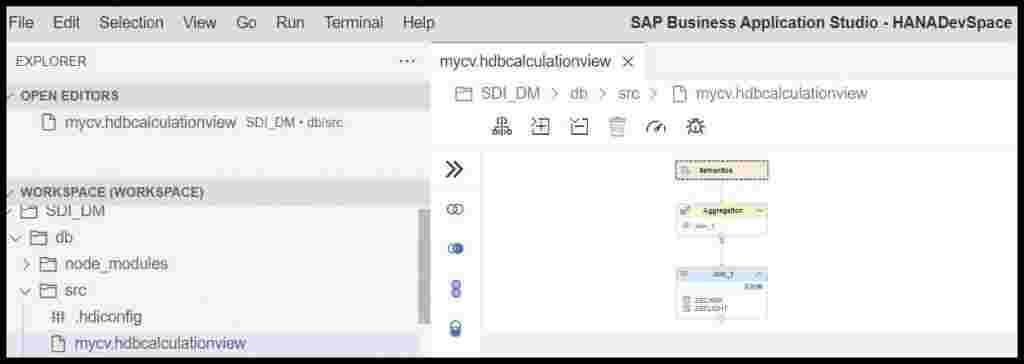
View the data from the calculation view by going to the SAP HANA database explorer and select the calculation view inside the HDI container.