As you have learned, a CAPM project consist of 3 major components. The first and foremost one is the database. The second one is the service and last the last one is UI5 application(not mandatory).
Each of the above components can be created as a separate project, is the way to achieve modularization in CAPM. Now you may ask why to perform this activity.
Consider the example of VBAK/VBAP table in SAP. This table can be accessed from multiple programs/application. What if we need to do modification/enhancement to this table?. Apply the same concept here. If all the three components are in the same project, it is hard to do modification. Once you do the modification to the database, all the dependent services/UI5 application might crash/stop. We need to further look into the issues for each of them and need to rectify accordingly.
In order to achieve this, let’s now create a “HANA Database Project”. use the template wizard to perform this activity.
Follow the below steps to create an application.
- Provide Project Name : here i am giving “hcm_employee_cntrl” and press “Next”.
- You are now requested to add the basic information. BAS will automatically filled with default module Name as “db”. You can either use the same or rename it. Here i am keeping the same. Click on Next to continue.
- Further set the basic properties for your application. Here i am keeping my Namespace as blank as I will be reusing this database in multiple application. However, there won’t be any problem if you provide namespace here.
- You can provide a schema name. Here i am using “DB_EC”
- Choose HANA Database version as “HANA Cloud”
- Select “yes” for “Bind the database module to a run-time environment service instance?” and click on Next .
- Select “No” for “Create a new HDI service instance?”
- Choose your Cloud Foundry Service from the drop down. Here i am selecting “dev_hdi_container_shared”. Click Finish.
- BAS will create your SAP HANA project in few seconds.
We can further create a “db” as we have done earlier. You may be note that the naming conventions(extensions) are different here. You can create database table, View, Roles etc as part of your SAP HANA Native application project.
- Create a new folder “tables” under the generated folder “db/src”. This is again for the modularization purpose. You can even directly create your database table under “db/src” folder.
- Once you create the “tables” folder, create a new file with name “EMPLOYEES.hdbtable”. Here “.hdbtable” defines it as a HANA Database table.
- This file is responsible to generate the database table in SAP HANA database. As you are aware, we can create Colum or Row based table in SAP HANA database. Here we will be suing a Column based table.
- Copy the below code inside your file “EMPLOYEES.hdbtable”
COLUMN TABLE "EMP_DBTABLE.EMPLOYEES"(
  ID                    NVARCHAR(36),
  EMP_ID_EXT            NVARCHAR(20),
  NAME                  NVARCHAR(255),
  EMAIL_ID              NVARCHAR(128),
  DEPARTMENT_ID         NVARCHAR(36),
  createdAt             TIMESTAMP,
  createdBy             NVARCHAR(50),
  modifiedAt            TIMESTAMP,
  modifiedBy            NVARCHAR(50),
    PRIMARY key(ID)
)- As per the SAP security guidelines, we should never expose the database directly. Instead, we need to create a V1 view to expose the data. In order to achieve this, create a new folder “views” under the folder “db/src”.
- Once you create the “views” folder, create a new file with name “EMPLOYEES.hdbview”. Here “.hdbview” defines it as a HANA Database view.
- Copy the below code inside your file “EMPLOYEE.hdbview”
VIEW "EMP_DBVIEWS.V.V1.EMPLOYEES" AS
SELECT ID,
  EMP_ID_EXT,
  NAME,
  EMAIL_ID,
  DEPARTMENT_ID,
  createdAt,
  createdBy,
  modifiedAt,
  modifiedBy
FROM "EMP_DBTABLE.EMPLOYEES";- However, we need to create the respective role to access this artifacts outside.
- Create another older “roles” under “db/src”.
- Further create a new file “EmployeeReadOnly.hdbrole”. This role we are creating for the ready only purpose, which means, once this role is assigned, that application can only read the information from the underlaying database table.
- Add the below code in your file “EmployeeReadOnly.hdbrole”
{
    "role": {
        "name": "DB_EC::ReadOnly",
        "object_privileges": [
            {
                "name": "EMP_DBVIEWS.V.V1.EMPLOYEES",
                "type": "TABLE",
                "privileges": ["SELECT"]
            }
        ]
    }
}- As I mentioned above, we are not exposing the database directly instead we will be exposing the”V1″ view created.
- Now create another role with file name “EmployeeModify.hdbrole”.
- Add the below code inside the file.
{
    "role": {
        "name": "DB_EC::ReadOnly",
        "object_privileges": [
            {
                "name": "EMP_DBVIEWS.V.V1.EMPLOYEES",
                "type": "TABLE",
                "privileges": ["SELECT", "INSERT", "UPDATE","DELETE"]
            }
        ]
    }
}- There are other role concepts like Privilege and privileges with grand options as well. We are not really discussing that much in detail. Below is the sample code to create the role. You ca explore the same. To consume this database view in another application, we must create the below roles as well. Here the “#” at the end of the role name is must, identify the role as a role with additional privileges.
{
    "role": {
        "name": "DB_EC::ReadOnly#",
        "object_privileges": [
            {
                "name": "EMP_DBVIEWS.V.V1.EMPLOYEES",
                "type": "TABLE",
                "privileges_with_grant_option":["SELECT"]
            }
        ]
    }
}- The above sample code is for read only with grant option.
{
    "role": {
        "name": "DB_EC::Modify#",
        "object_privileges": [
            {
                "name": "EMP_DBVIEWS.V.V1.EMPLOYEES",
                "type": "TABLE",
                "privileges_with_grant_option": ["SELECT", "INSERT", "UPDATE","DELETE"]
            }
        ]
    }
}- The above sample code is for non-read only with grant option.
Your application is now ready to deploy. As we have done in the previous blogs, follow the same steps.
- Right click on the “mta.yaml” file and choose “Build MTA Project” option.
- An “mta_archives” will be generated automatically.
- Lets do the deployment by log into Cloud Foundry endpoint.
- Open a new Integrated terminal by right click on the project
- Use command “cf login”. Follow the instructions form the screen.
- Once logged in, right click on the generated mta archive file and choose option “Deploy MTA Archive”.
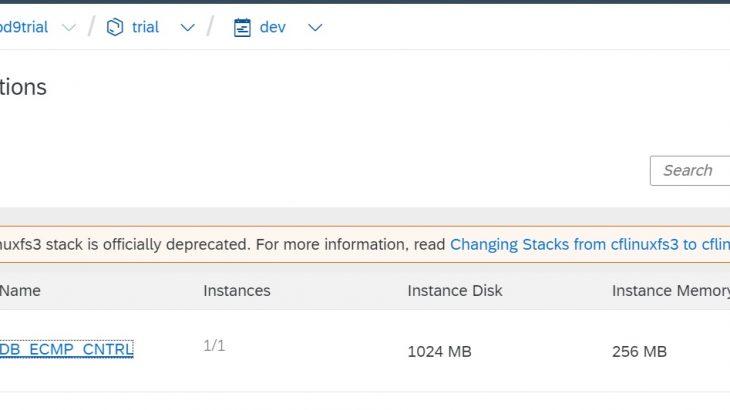
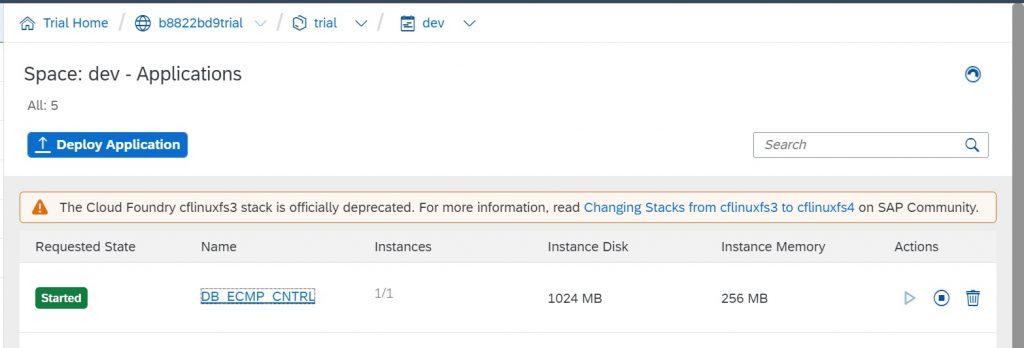
- Once the deployment is success, you can see the application deployed in CF as shown below. By default, it will be in “stopped” status. You can turn it to “Start” when required.
At this moment, you have completed the DB artifacts creation and deployment. As I mentioned above, we need to use this in an application. In order to consume the DB artifacts in other application, we need to understand “SINONYMS”
Create another CAP project to consume the above DB.
- Use command “cds init EMP_CENTRAL”
- Create a data model under “db” folder with name “data-model.cds”
namespace hcm.empcntrl;

using {
    cuid,
    managed
} from '@sap/cds/common';

entity EMPCNTRL : cuid, managed {
    EMP_ID_EXT    : String(20);
    NAME          : String(255);
    EMAIL_ID      : String(128);
    DEPARTMENT_ID : String(36)
}- to expose, create a file “EMPCNTRL-service.cds” under “srv” folde and add the below code.
using hcm.empcntrl as ec from '../db/data-model';

service EMPCNTRLService {
    entity empcntrl as select from ec.EMPCNTRL;


}- Use the command “cds add mta” to include the MTA file which is needed to specify the remote source to connect with our CAP application.
- Create a “Run Configuration”, follow the steps in the previous blogs.
- Open “Package.json” to add HANA dependency or use command “cds add hana”. You can manually add it using the below code.
"cds": {
    "requires": {
      "db": "hana"
    }
}- Click on “db-hana” to execute the Run configuration.
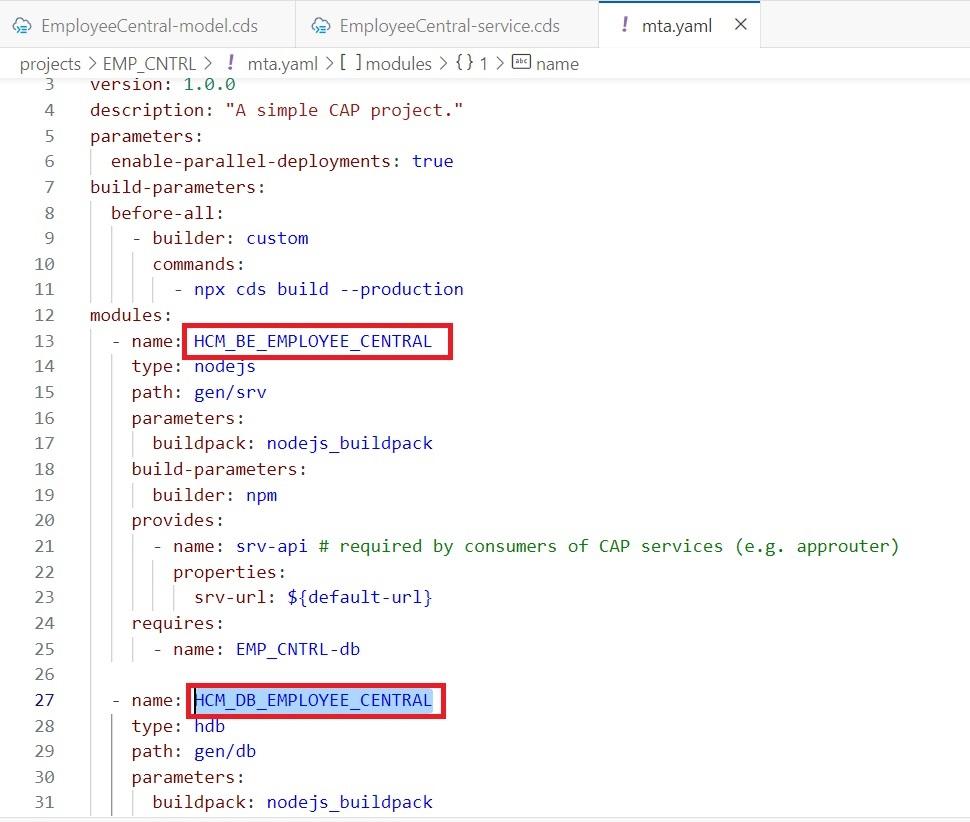
- After the execution of Run Configuration, open the “MTA.yaml” file. Here i am doing some corrections
- Under “module”, the name i am changing to “HCM_BE_EMPLOYEE_CENTRAL” to a more meaningful name
- Similarly, i am changing the db name as well to “HCM_DB_EMPLOYEE_CENTRAL”. Please find the below screen shot.
- Now we are about to discuss about the main point, which to consume the remote service
- Add the below code in the “MTA.yaml” file under the resource section.
resources:
  - name: EMP_CNTRL-db
    type: com.sap.xs.hdi-container
    parameters:
      service: hana
      service-plan: hdi-shared
    properties:
      hdi-container-name: ${service-name}
  - name: cross-containerservice-empcntrl
    type: org.cloudfoundry.existing-service
    parameters:
      service-name: hdi_Employee_Central #Cross container name must be used here
      properties:
the-service-name: ${service-name}- Now mention the “hdi-container-name” in the module as well, refer the last 2 lines.
modules:
  - name: HCM_BE_EMPLOYEE_CENTRAL
    type: nodejs
    path: gen/srv
    parameters:
      buildpack: nodejs_buildpack
    build-parameters:
      builder: npm
    provides:
      - name: srv-api # required by consumers of CAP services (e.g. approuter)
        properties:
          srv-url: ${default-url}
    requires:
      - name: EMP_CNTRL-db

  - name: HCM_DB_EMPLOYEE_CENTRAL
    type: hdb
    path: gen/db
    parameters:
      buildpack: nodejs_buildpack
    requires:
      - name: EMP_CNTRL-db
        properties:
TARGET_CONTAINER: ~{hdi-container-name}- The default container is not sufficient. We need one more resource to run the DB module.
- name: cross-containerservice-empcntrl
        properties:
          key: db-ec
          service: {the-service-name}
group: SERVICE_REPLACEMENTS- Add the above code as part of the “module” section of “MTA.yaml”
- Make sure your “tab indent” is correct, otherwise it will be an error.
- Now we need to add a “SYNONYM”.under “srv” folder
- Create a file “.hdbsynonym” file. Here, i will be using the name “ec.hdbsynonym”. Add below code inside the new file.
{
    "HCM_EMPCNTRL_EMPCNTRL": {
        "target": {
            "object": "HCM_EMP_DB.V_V1_RA_EMP",
            "schema": "HCM_RA_EMP"
        }
    }
}- Create another file with “ec.hdbgrants” to grant the necessary authorization for the consuming application. Add the below code in it.
{
    "db-ec" : {
        "object_owner": {
            "container_roles" :["RA_EMP_Modify#"]
        },
        "application_user": {
            "container_roles" :["RA_EMP_Modify"]
        }
    }
}- One final change, to do in the “.cds” file in order to specify that the database must not create, instead it has to be derived from the existing database. Refer the sample code below. Here “@cds.persistence.exists” does that job
namespace hcm.empcntrl;

using { cuid, managed } from '@sap/cds/common';
@cds.persistence.exists
entity EMPCNTRL : cuid, managed {
    EMP_ID_EXT    : String(20);
    NAME          : String(255);
    EMAIL_ID      : String(255);
    DEPARTMENT_ID : String(36);
}- Lets deploy now. Before, do not forget to run “npm install” to add all the dependent components.
- If required, you can add the code to convert the API output to OData V2 as well by adding the proxy….
- Right click on “MTA.yaml” and choose “Build MTA Project”.
- Wait until the build completes. Once the MTA Archive is ready, right click on the Archive file and choose “Deploy MTA Archive”.
- Wait until the deployment complete and application status turn to “started”. as this is a lengthy process.
- Once the deployment is success, pls check the HANA Database Explorer to validate the SINONYMS. Instead of creating a new Database, the application create a relationship with the SAP HANA native application using cross container access.


