Introduction:
This blog will guide you with the steps required for migrating “Routing” master data (with inspection characteristics assigned in each operation) into the SAP S/4HANA Cloud 2208.
First, we will see the basic overview of “Routing” and “SAP S/4 HANA Cloud migration cockpit” and its functionalities:-
Routing:
Routing defines a sequence of activities performed at the work center. Routing plays an important role in calculating production cost, machine time and labor time.
The routing operation will contain the inspection characteristics which are needed to be inspected during the in-process checks
SAP S/4 HANA Cloud Data Migration:
SAP S/4HANA Cloud migration cockpit is a tool designed for customers who have just installed SAP S/4HANA cloud (Rise with SAP) and want to transfer their business data from SAP or non-SAP software systems.
Migration in Sap S/4 HANA Cloud involves the following steps :-
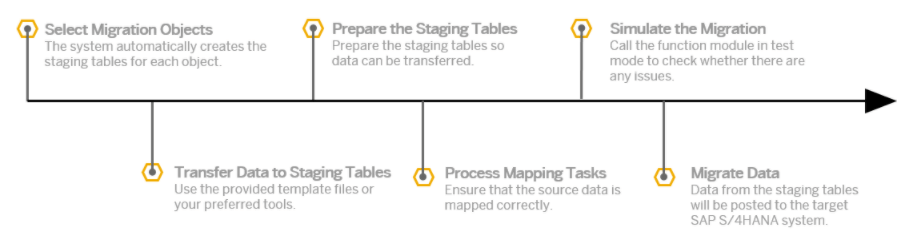

General Procedure for Transferring Data to SAP S/4HANA Cloud Using Staging Tables
Prerequisites:
For routing migration, we will use the work center, master inspection characteristics & sampling procedure which are already created in the system. Similarly, the number range for routing can be external or internal. In our case, we use internal number range.
Required Roles
For SAP S/4HANA Cloud:
- SAP_BR_CONFIG_EXPERT_DATA_MIG
Steps for Migration of “Routing” Master data in Cloud System
STEP 1:
Select “Migrate Your Data Migration Cockpit tile”.
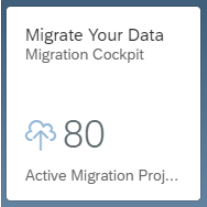
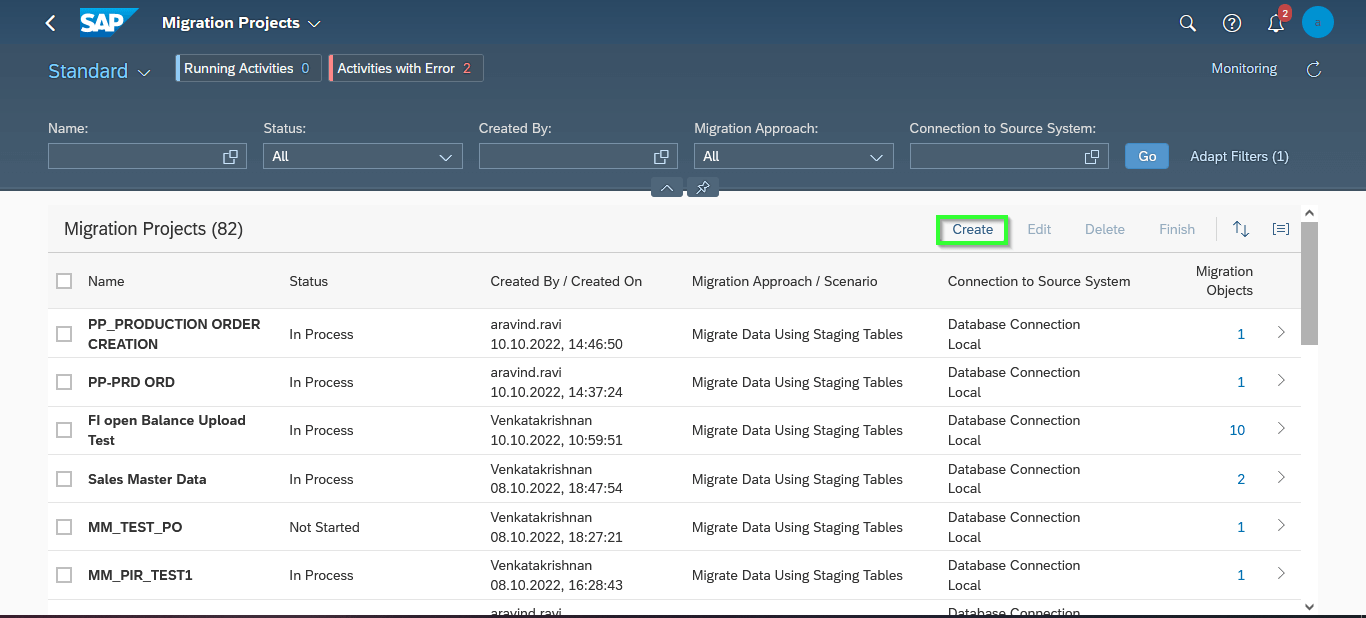
First step is to create a project. In order to create a project, Click “Create” icon.
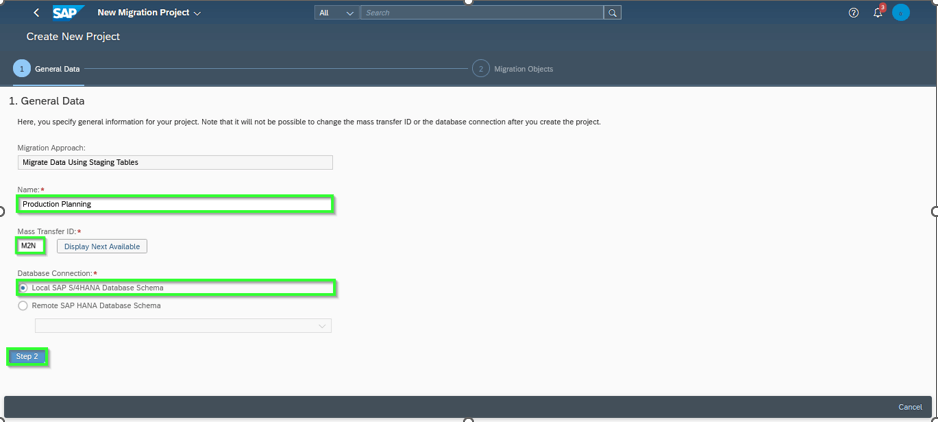
In the initial screen,
1) Enter the project name (Example :- Production Planning),
2) Mass transfer ID & Data retention time (When a new project is created in the system, a Mass Transfer ID is automatically generated for that project files. To distinguish between projects across systems, this ID is used.) and
3) Ensure that “Local SAP S/4 hana database schema” is enabled.
Then, click Step 2 in order to proceed further.
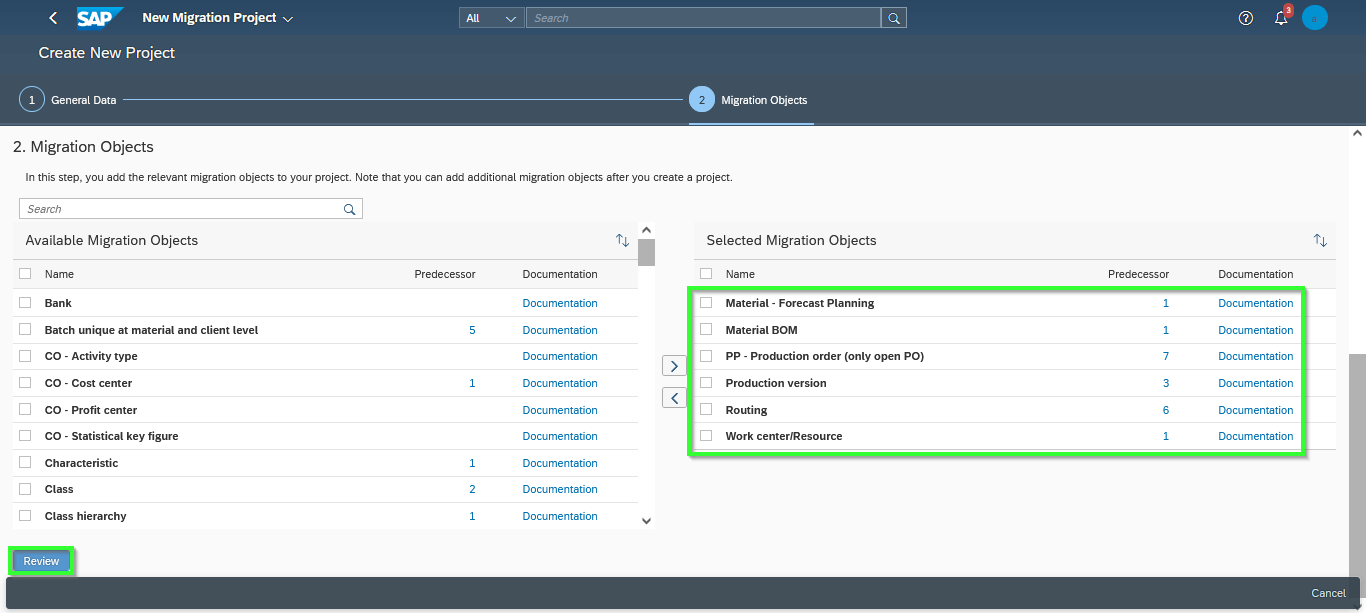
In this screen, we will be adding the migration objects which are required for our project. In our case, we need to add the objects which are relevant to Production Planning.
Enter the object name “Routing” and click search icon.
System will populate the relevant objects. Select the required object and select “Move to Selected Migration Objects” icon to include it to our project. The system moves the object to the Selected Migration Objects area.
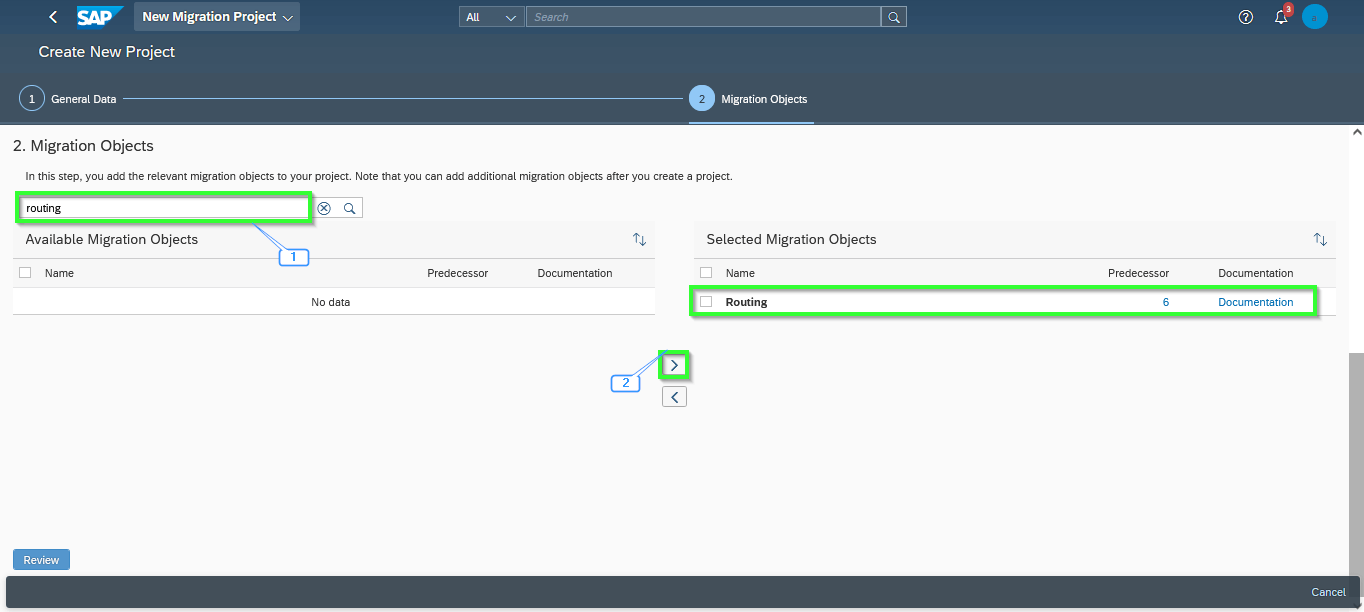
Similarly, add all the objects required for Production Planning and click “Review”.
Note: To remove objects from the Selected Migration Objects area, select the migration objects you want to remove and choose the button “Move” to Available Migration Objects.
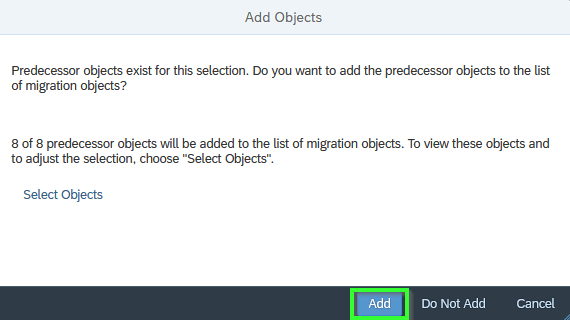
Now, the system will suggest the Predecessor objects which are existing for our selection. Depending upon the requirement, select the options. In our case, we will proceed by Clicking “Add” button.
Now Click “Create project”.
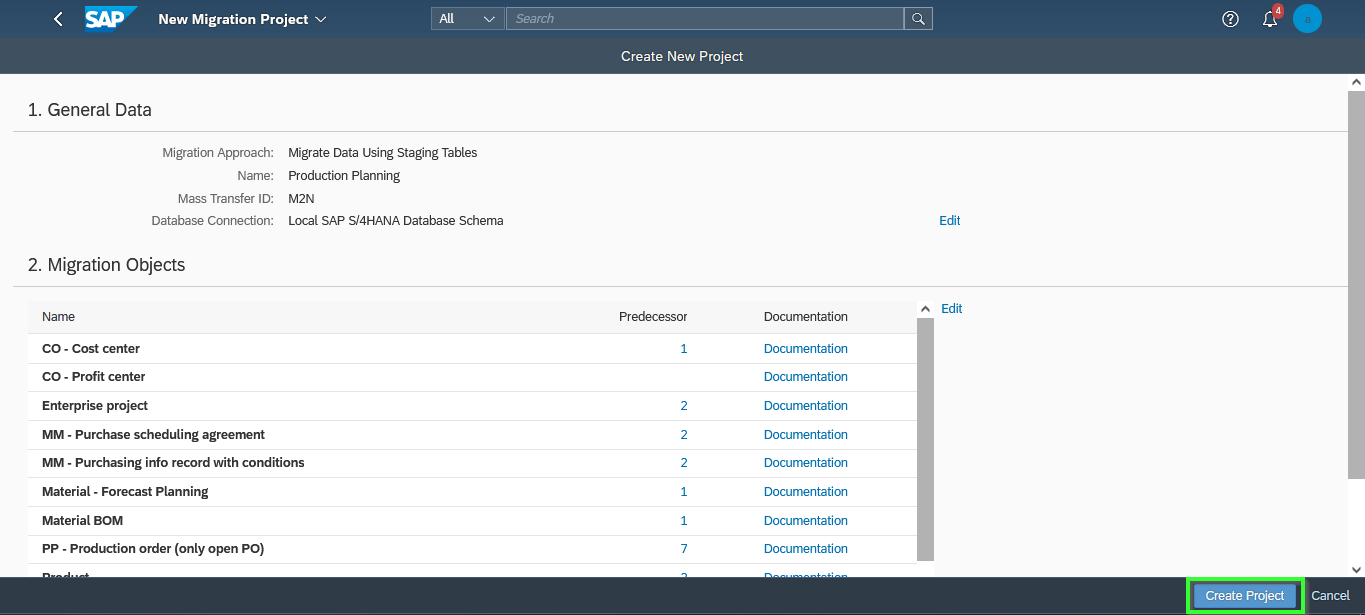
Our Project “Production Planning“ is created.
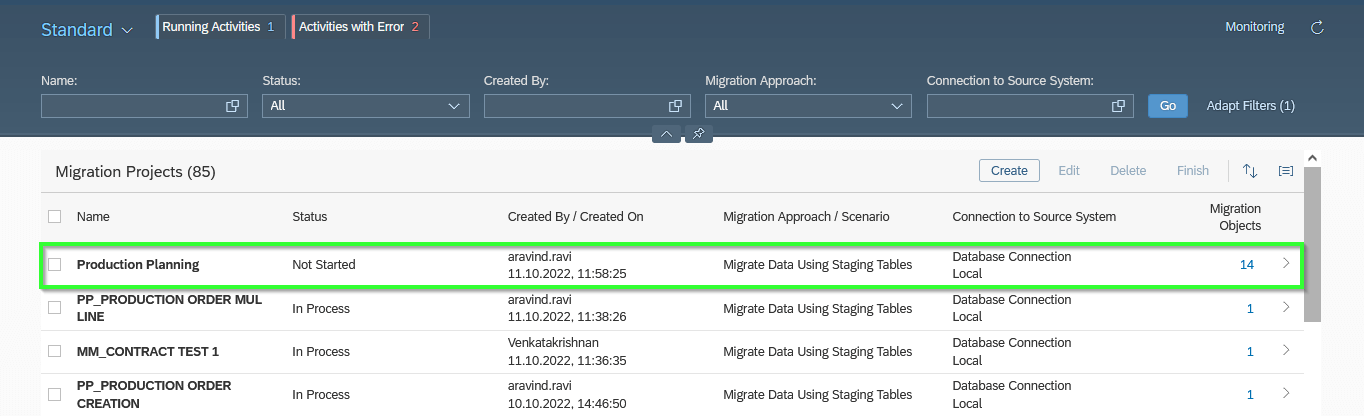
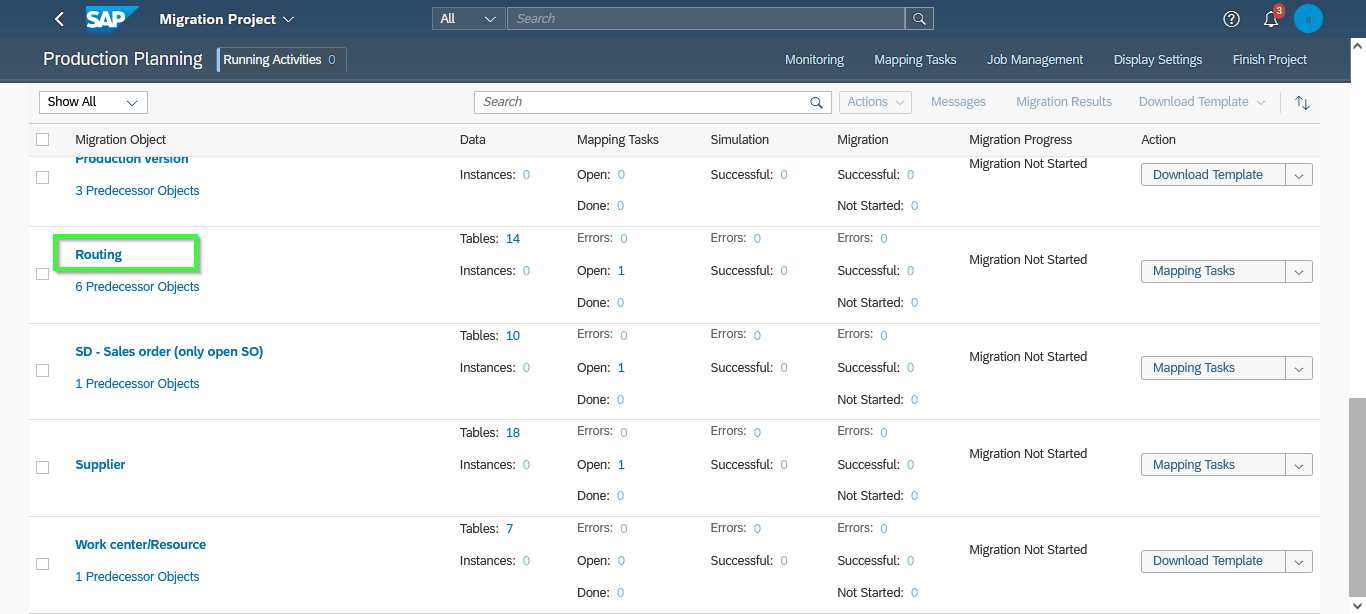
On the Migration Project screen, we can view the migration objects which were previously selected.
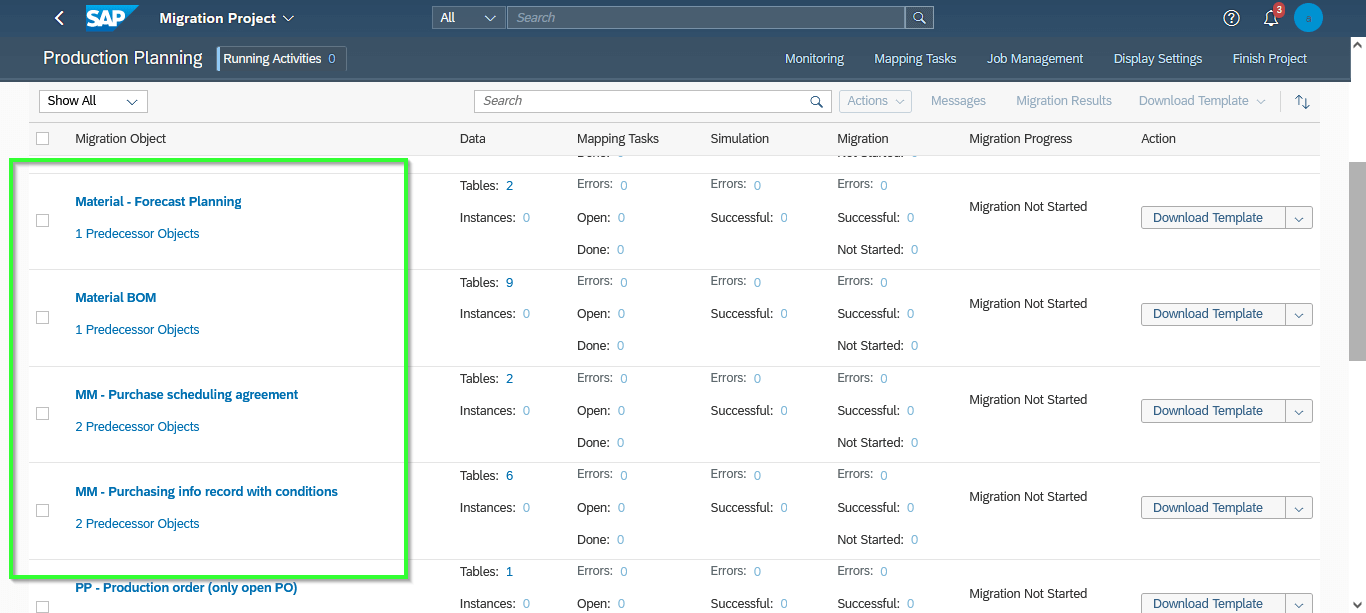
To get detailed information about a migration object, choose the migration object name ”Routing” in the Migration Object column.
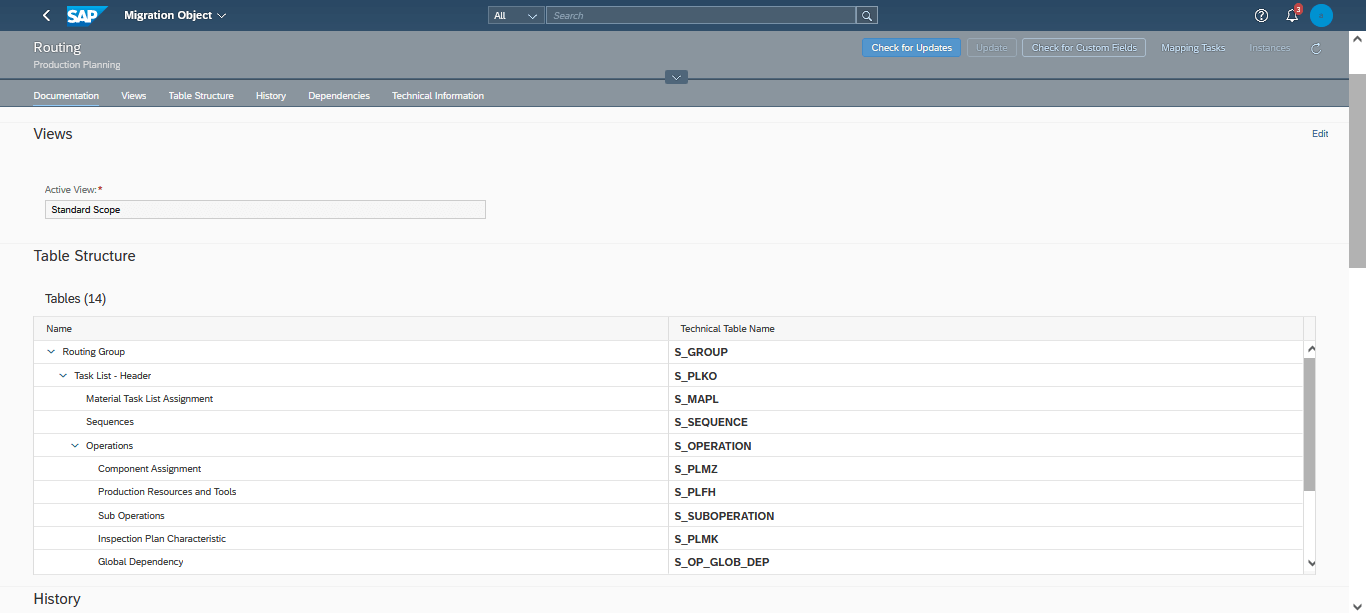
The system displays the Migration Object screen, where you can view information about the table structure, views, history, technical information and the migration object´s documentation and dependencies.
STEP 2:
Next step is to download the required migration Template. To download the data template for migration object , select the relevant object and click Download Template.
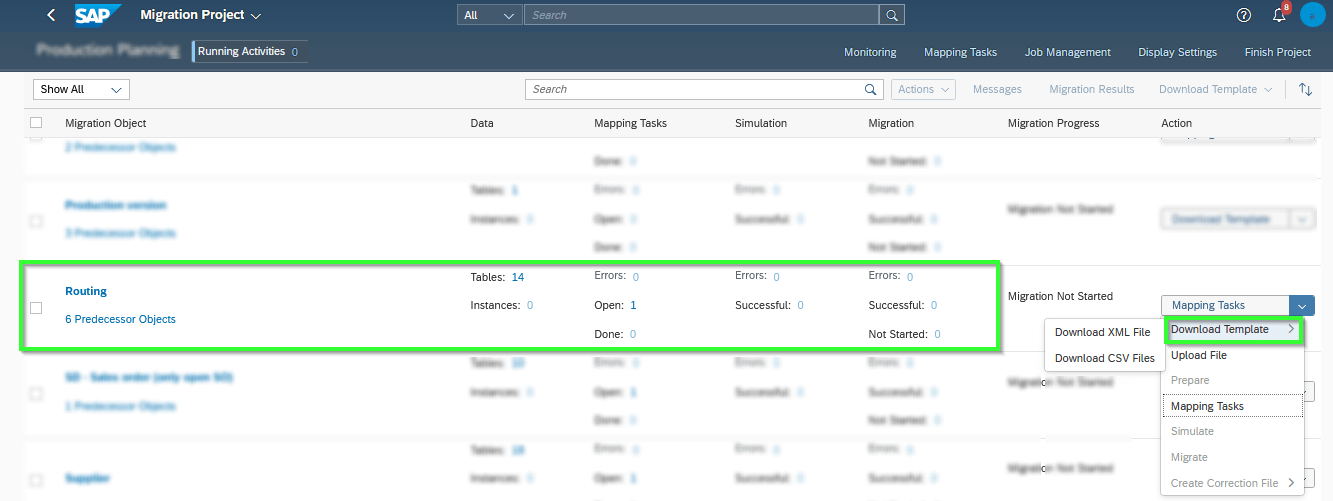
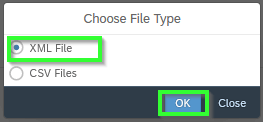
By default, system will suggest XML and CSV file format. Select the required file format and click ok.
An Excel XML. file for the source data of the migration object opens.
In the Introduction sheet we can see the overview about the migration template. For each migration template, you need to specify data for the mandatory sheets, and for the optional sheets that are relevant for your project:
- Mandatory sheets (orange) – Mandatory sheets represent the minimum set of data you must provide for data migration. Fill in all mandatory fields.
- Optional sheets (blue)
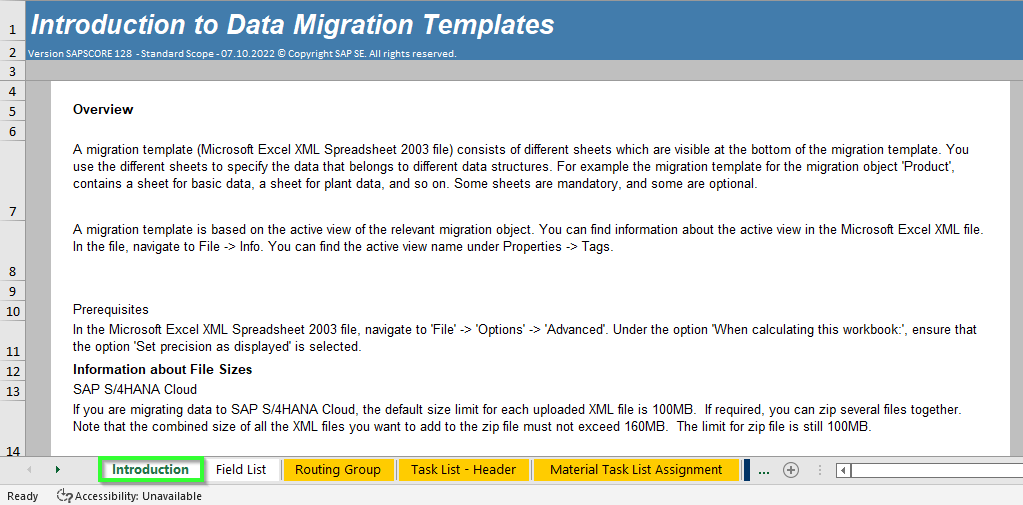
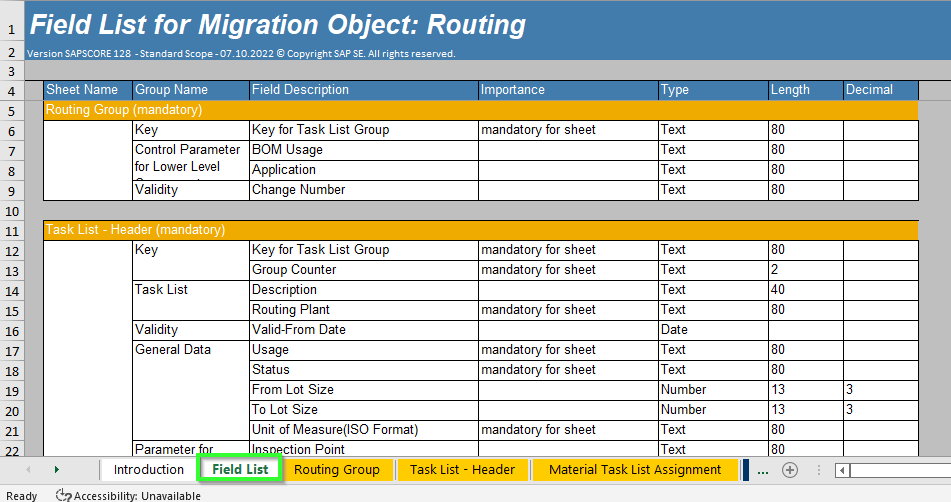
In that file, the “Field List” spreadsheet displays the description and the metadata of the Routing master data fields.
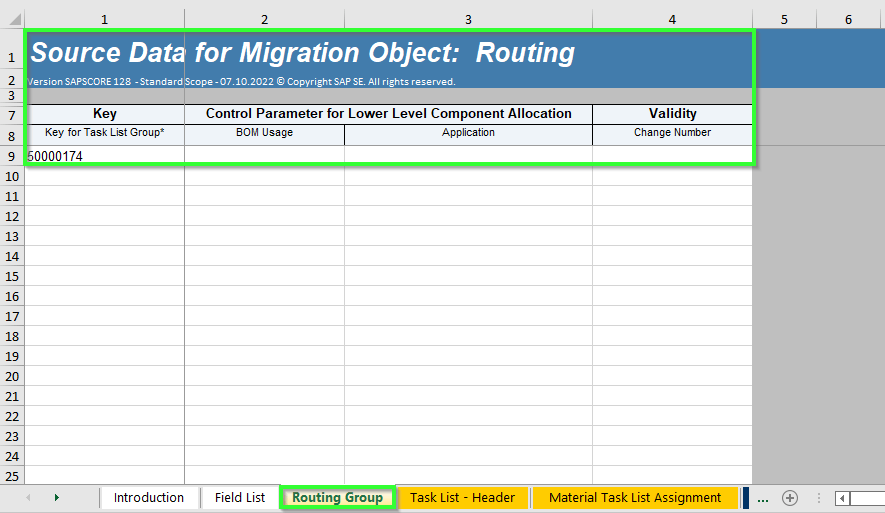
To specify the source data for migration, choose the “Routing Group” spreadsheet.
In the Routing Group spreadsheet, we can enter the source data for the migration object. In our case, the source data for one routing is entered. In routing group, we have entered all the required data.
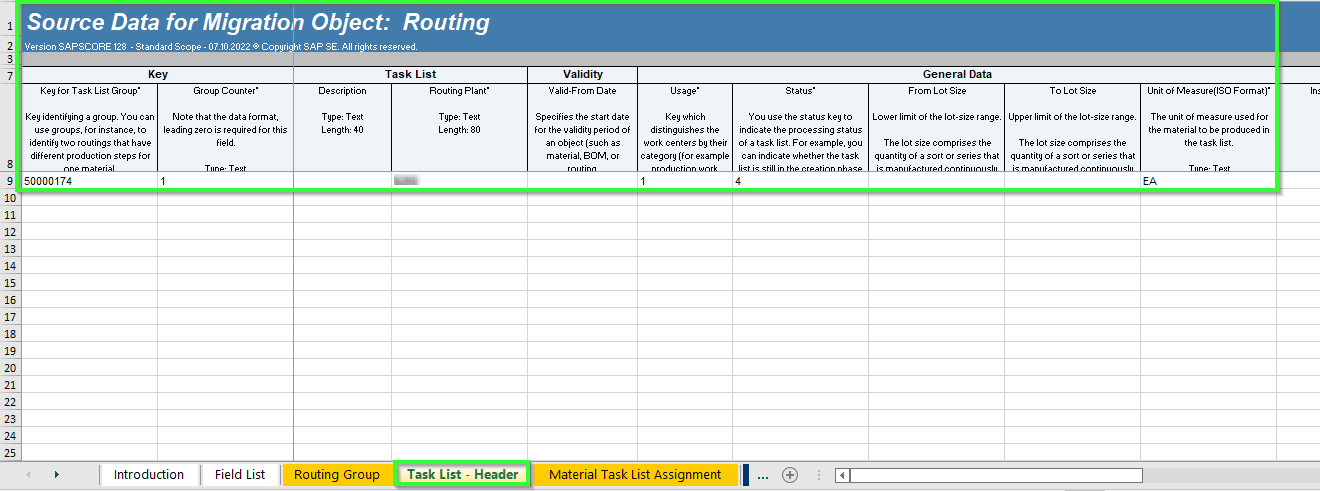
In Task list Header sheet, the data for the fields: Task list group, Group counter, Plant, Usage, Status & UOM were entered.
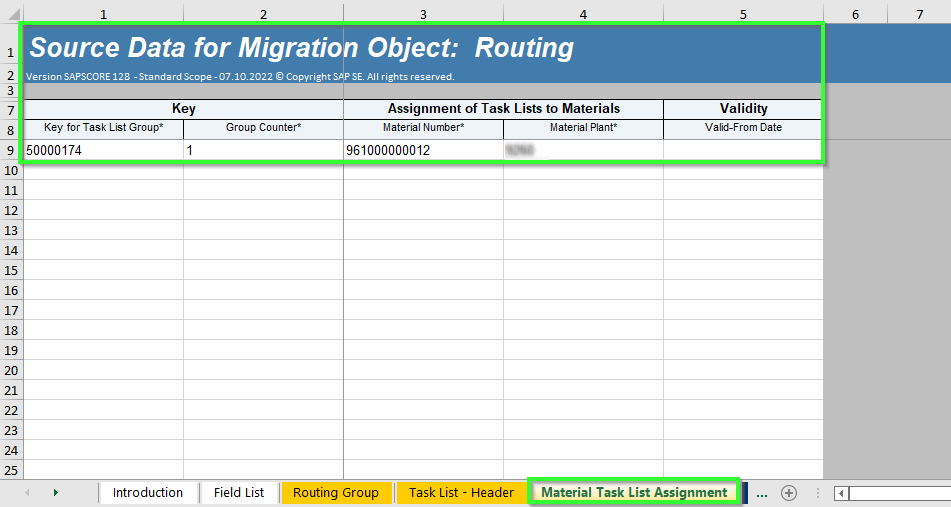
In “Material Task list assignment” sheet, Task list group, Counter, Material Number and Plant details were entered
In “operations” sheet, all the required data were filled.
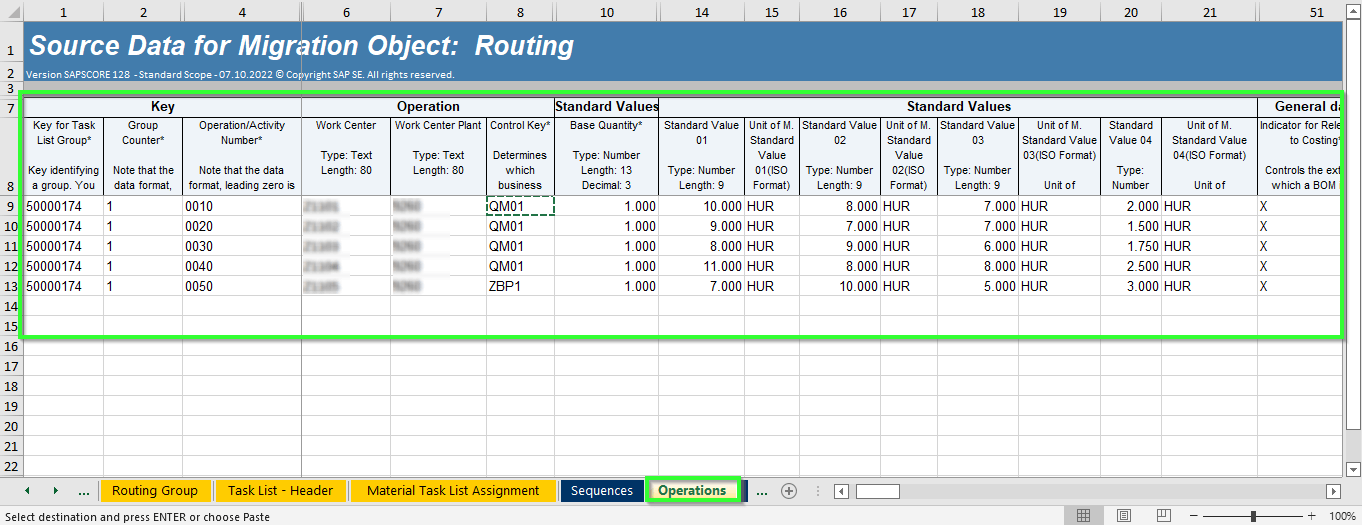
Note: For better understanding, I have entered only the required field and hidden the remaining fields which are not mandatory.
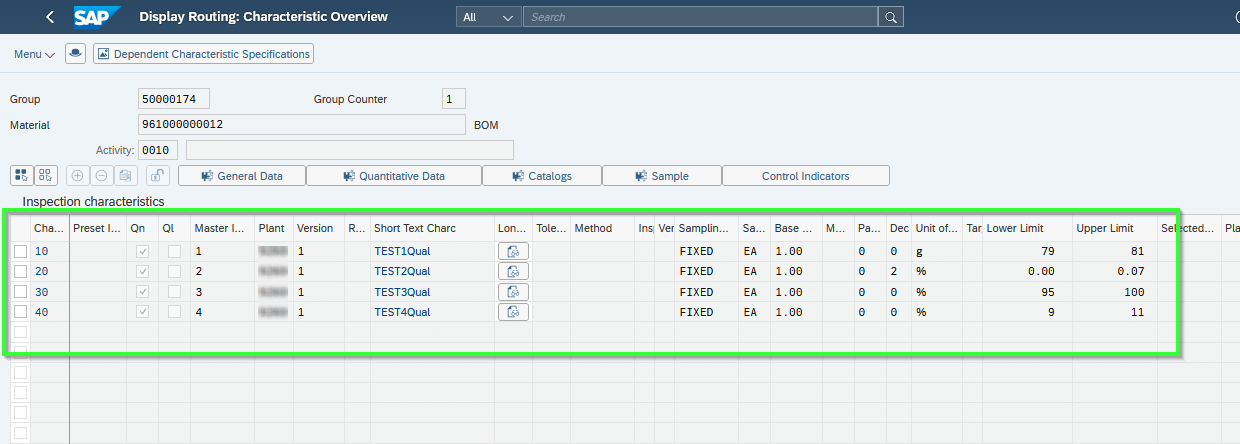
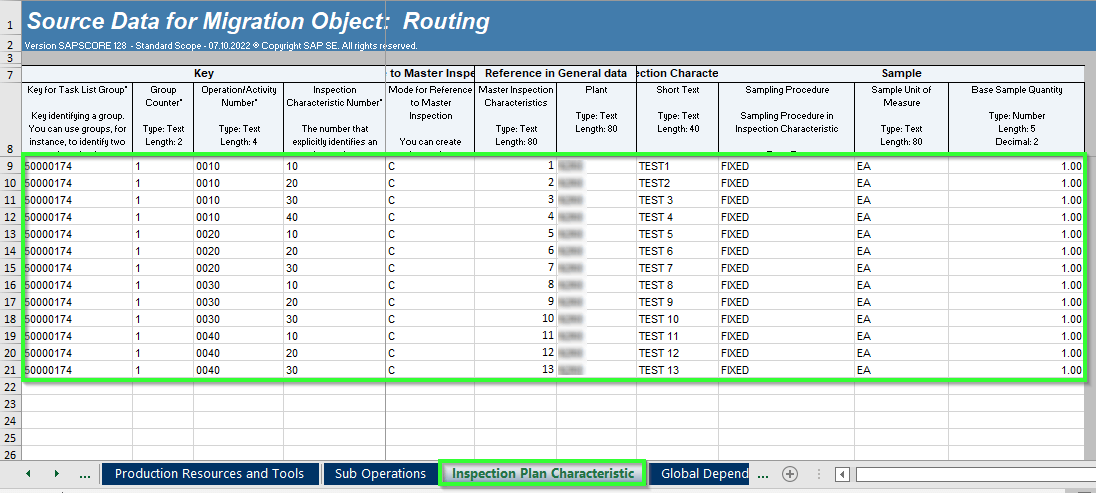
In our scenario, as we require inspection for each operation, Master inspection characteristics and sampling procedure for each operation were entered along with the required data in the inspection characteristics sheet.
After entering all the details “Save” the file.
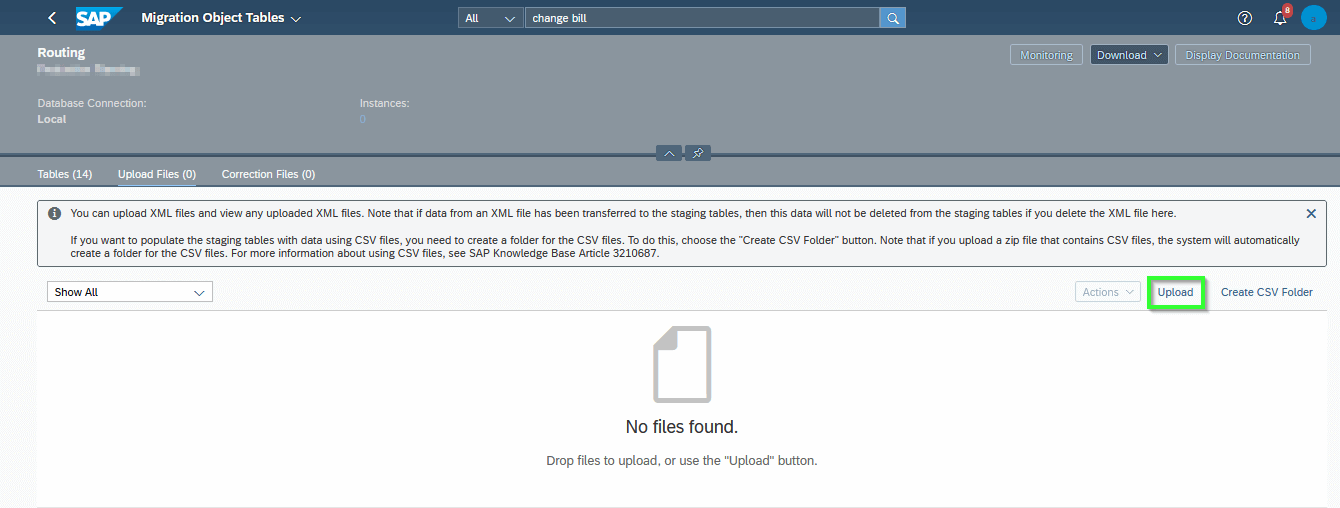
Now, to upload the source data, select “Upload File” for the desired migration object.

Upload the “Routing” template.
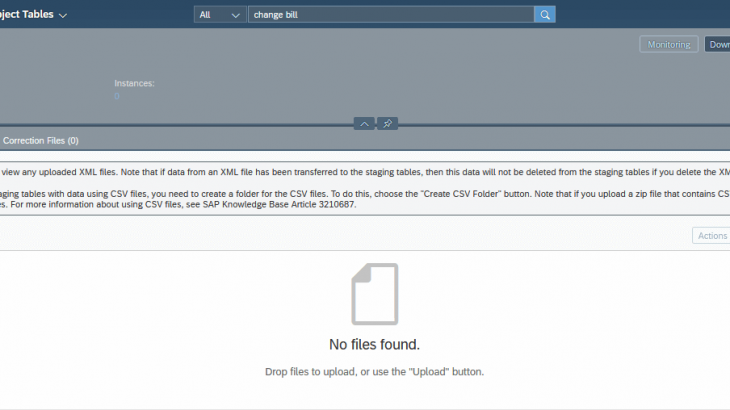
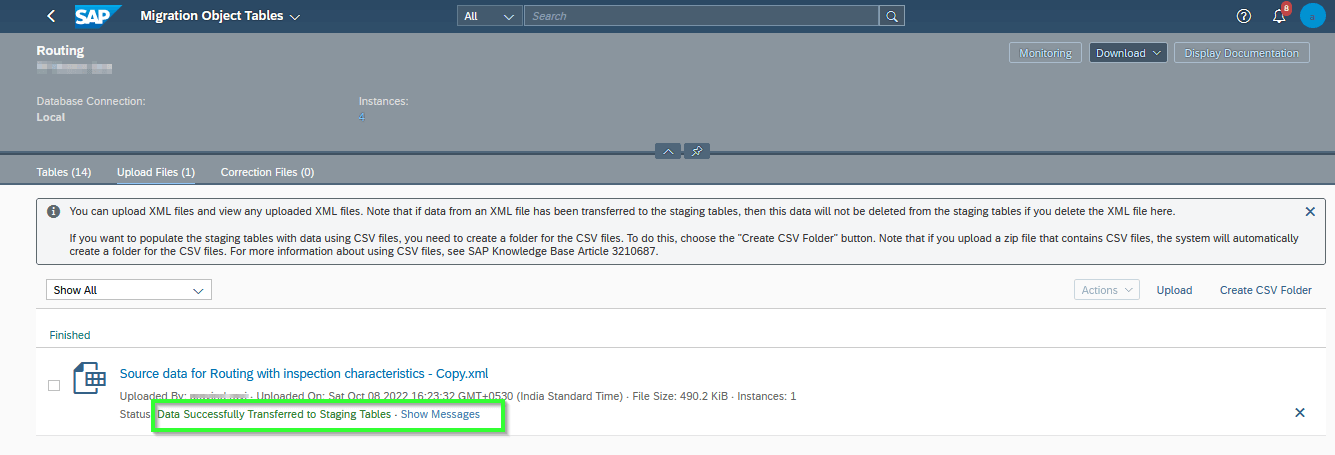
Data gets successfully transferred to staging tables without any errors. You can view the relevant
messages for the file by choosing Show Messages.
STEP 3:
In the Action column, system proposes the next action which has to be performed.
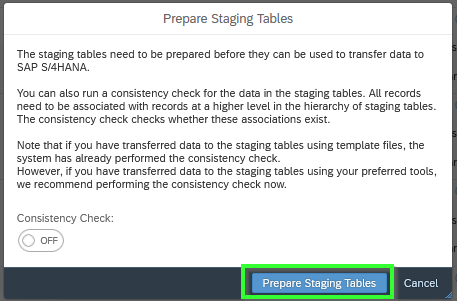
In this column for migration object, select Prepare to trigger this action.

Click “Prepare staging table”.
STEP 4:
After the preparation of staging table, we need to process any open Mapping Tasks for the migration object.

On the Mapping Tasks screen, we can view both the open tasks (To be Confirmed) and confirmed tasks. We can correct and confirm the mapping between the source file data values and the target system field values.

STEP 5:
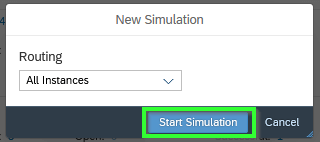
Next Select “Simulate”.

Choose “Start Simulation”.
The system simulates the migration, for all migration object instances, in the staging tables for the migration object.
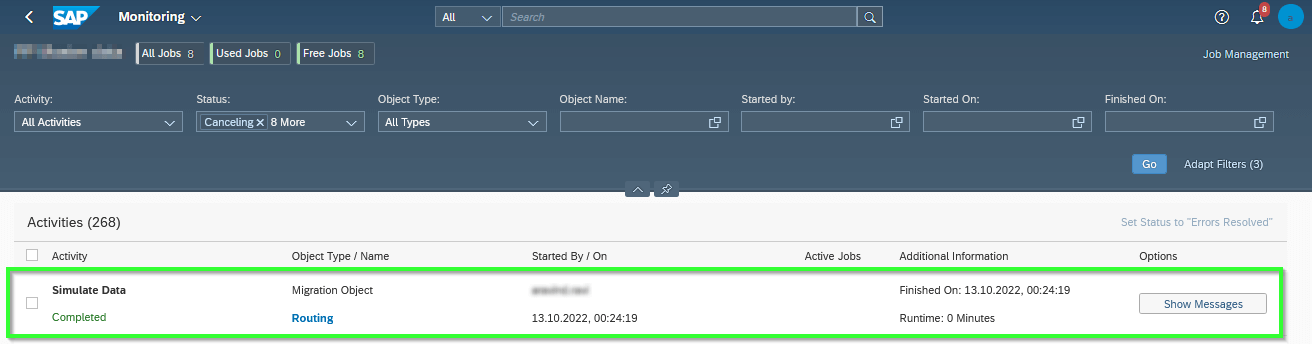
To monitor the Simulation, select the required object and choose Monitoring.
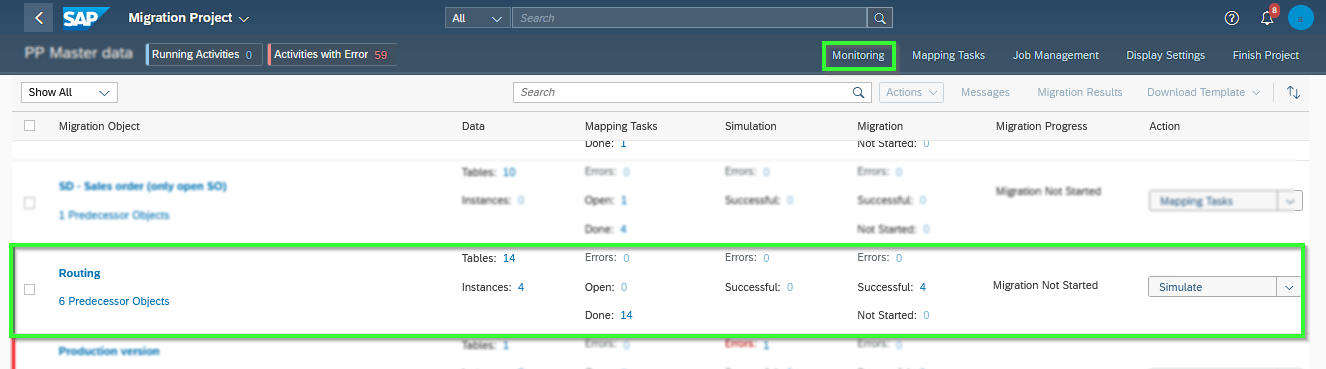
Here, we can see the status of stimulation. Once stimulation gets completed successfully without any errors, go Back.
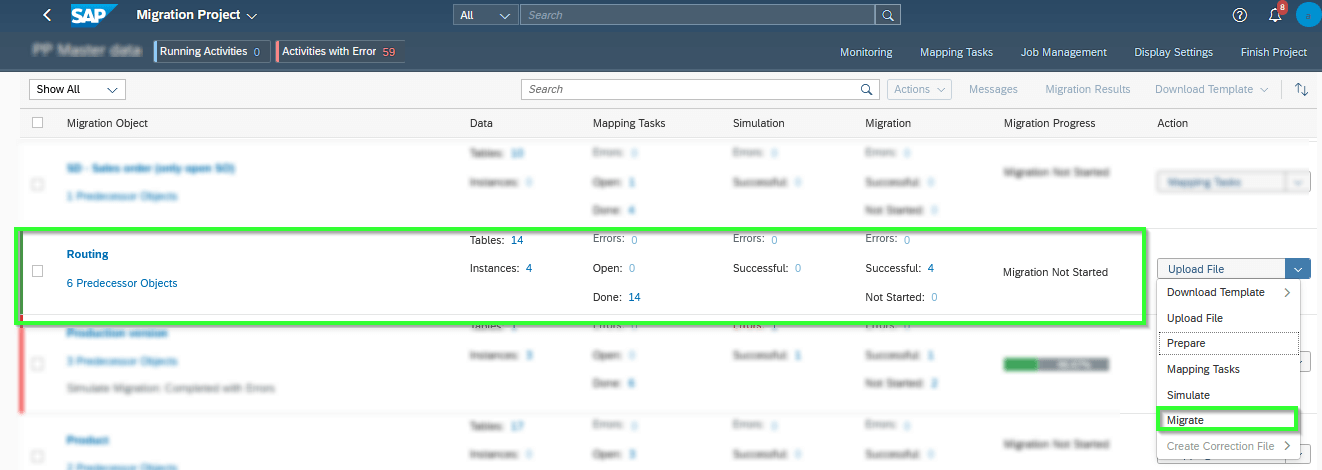
STEP 6:
Once we have prepared the staging tables and processed open tasks for a migration object, we can transfer data to the target SAP S/4HANA Cloud system.
On the Migration Project screen, select “Migrate”.
Choose “Start Migration”.

In the next screen, Choose OK.
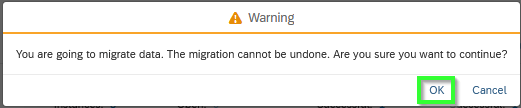
The system will migrate the migration object instances in the staging tables for the migration object.

Note: Any instances that have already been migrated will not be migrated again.
RESULT:
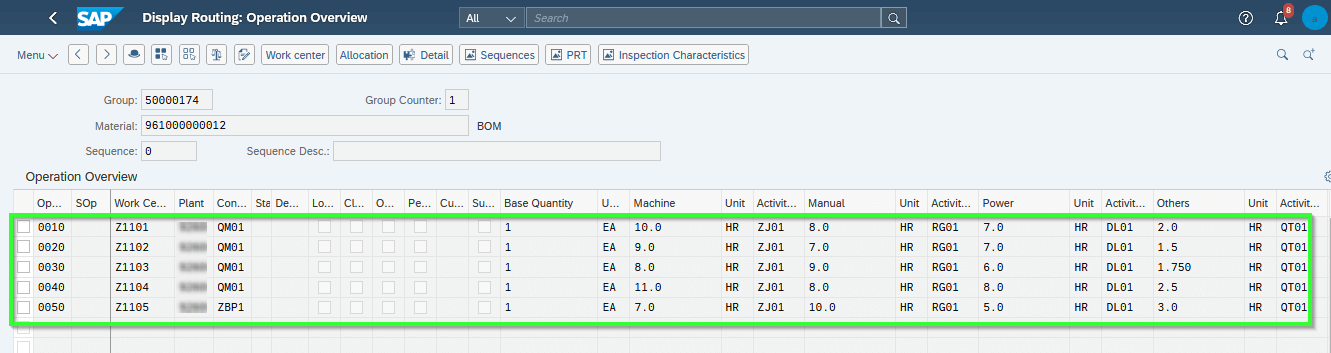
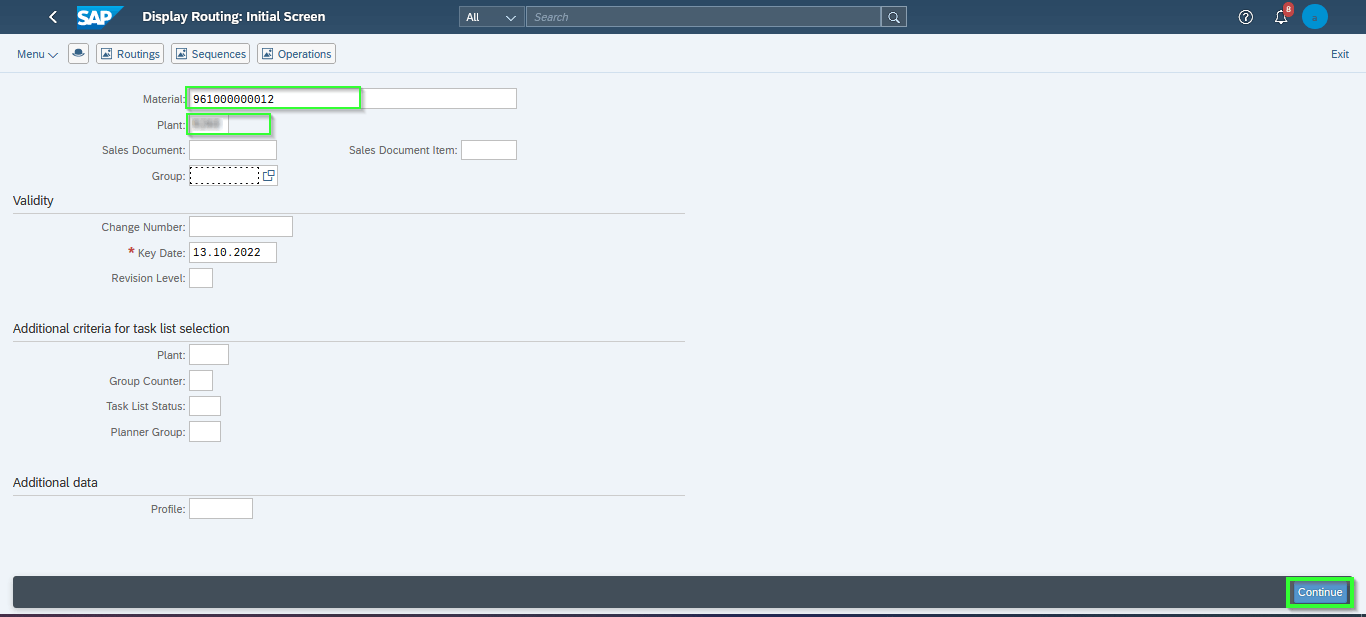
Now, we have successfully migrated the “Routing master data with Inspection characteristics” to the SAP S4/HANA Cloud system. In order to see the migrated data in the system, select the “Display routing tile”
Enter the Input details-Material Number & Plant and click “continue”.
Now, we can see that, all the data has been migrated to the system. (i.e:. Group, Usage, Overall status, Work center, Inspection characteristics, Sampling procedure, etc)