When switching from one system to another, it’s important to make sure that all data is transferred correctly. We ran into some interesting challenges when migrating our own dangerous goods data.
Unfortunately, due to the fact that these processes are relatively new in S/4HANA only a small amount of information about it could be found online. This inspired us to write this blog post to contribute to the community and help others who are struggling with the same difficulties. Think of it as a step-by-step guide for your own data migration.
Below we explain each step in the process of migrating dangerous goods data.
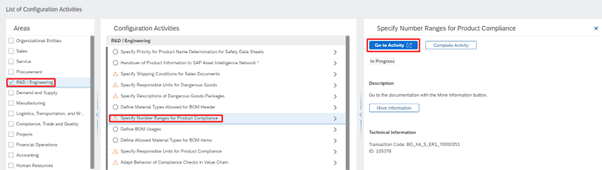
The first step is to create a migration project.
We use the Migrate Your Data app in the Migration Cockpit.
Once you’ve created your migration project and its various migration objects, you can start migrating your dangerous goods data.
Make sure you upload this data in the following order:
- PC – Product compliance info
- DG – Assessment for unpackaged products (content-based)
- DG – Assessment for packaged products
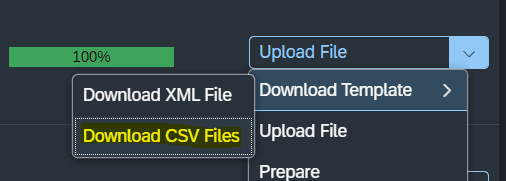
Select your template from the drop-down list for the migration object you want to upload.
Select Download Template -> Download CS Files.
Remark
Make sure the material is compliance-relevant before you start uploading. You can change this setting in the material master data. Open the Manage Product – Master Data app.
Select your material and click Edit. You can now make changes in the Product Compliance tab.
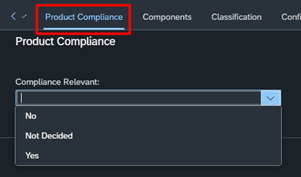
Product compliance Info
The first two tabs (Introduction and Field List) contain useful information about this process, so be sure to read through it carefully. Because this information is so thorough, I won’t discuss it here.
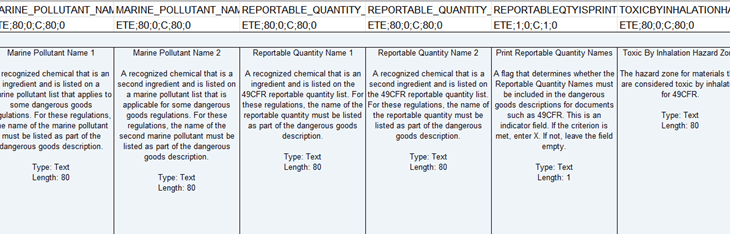
The most important tab in this file is Chemical Compliance View, which contains the following columns.
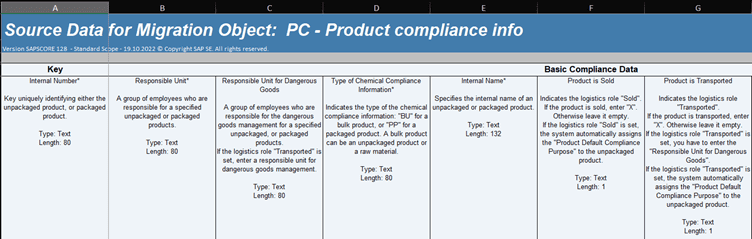
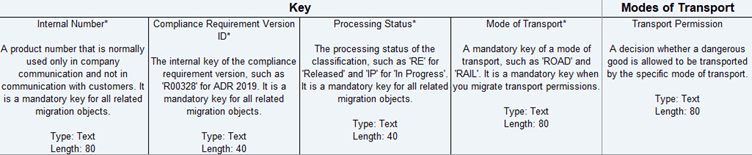
Start by entering the Internal Number. This is a unique code containing letters (A-Z) and up to 80 characters. This number is for internal use only and will not be shared with clients or external parties.
You can enter the number in the following path:
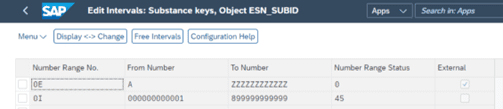
The second column (Responsible Unit) shows the group of employees responsible for the specific packaged or unpackaged product. You can configure this information in the following path:
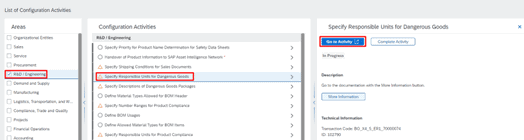

The third column (Responsible Unit for Dangerous Goods) can have the same value as the previous column.
The next tabs (until the Product Master Assignment) can be populated with information about the product itself.
In the tab Product Master Assignment you can link the internal number you just entered to the product number. This product number is a unique code derived from the product master that can be shared with clients.
In the next column you can choose to enter an X or to leave it blank. If you enter an X, it will retrieve the name from the product master linked to the product number.
The next three tabs contain optional information that does not have to be entered for a successful upload process. In the last tab you can assign a ‘goal’ to your product. Enter the unique internal number (A-Z) and link it to a goal. This can be a goal defined in the system.
Once you have double-checked all entered data, save it as an XML file. You can also save it as an XLS file if you want to make changes to it later.
Now you can start the upload process.
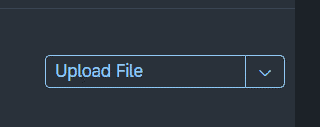
Go to the migration object and click Upload File.
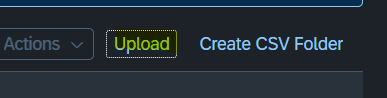
Click Upload.
Select the file you just created.
If you selected the right template, a successful transfer notification will appear.

When you return to the main menu, the system will automatically recommend the next step:
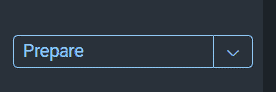
Click on Prepare. The following message will appear:
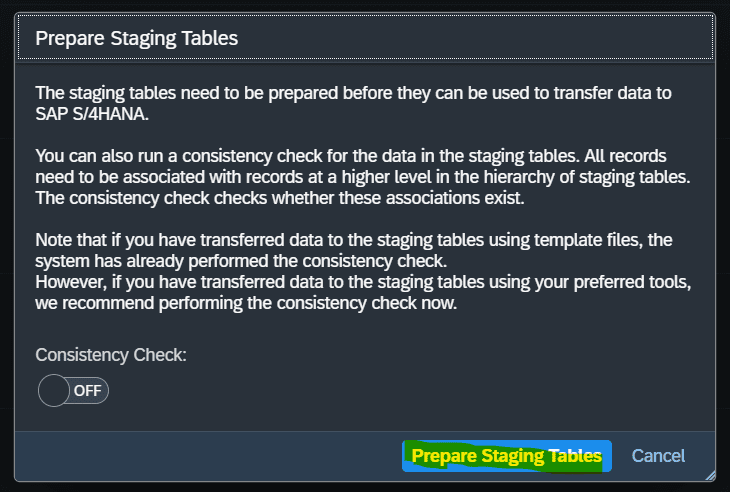
Click on Prepare Staging Tables.
The following message will appear:
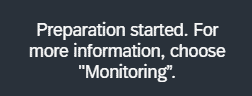
Click on the Monitoring tab to see the status.

If any errors appear, they can be viewed in detail here.
These errors must first be resolved before the process can continue.

If the staging tables were successfully uploaded, the system will suggest the next step:
Click here to confirm any statuses. This is not always necessary.
Once you’ve completed this process, the system will suggest the next step:
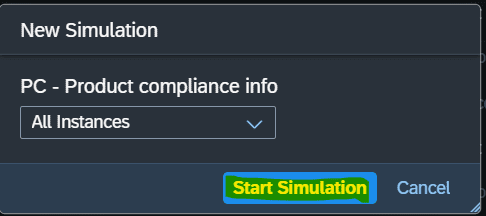
Select Start Simulation.
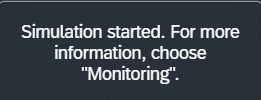
A message will appear when the process has started.
Return to the Monitoring tab to view the status and check for any errors.
If there are no errors, the following notification will appear:
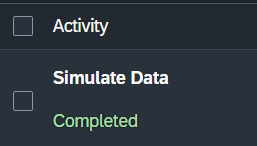
In the Options column, click Show Messages for a detailed overview of the upload process.

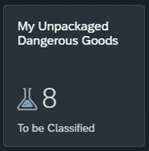
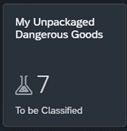
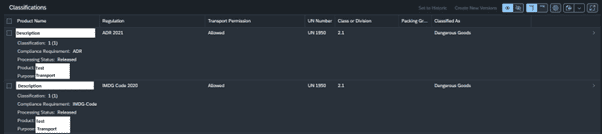
Open the My Unpackaged Dangerous Goods app
and click To Be Classified for an overview of your materials.

Unpackaged product
Once you complete this step, you can continue uploading the next file: Assessment for Unpackaged Products (Content-Based).
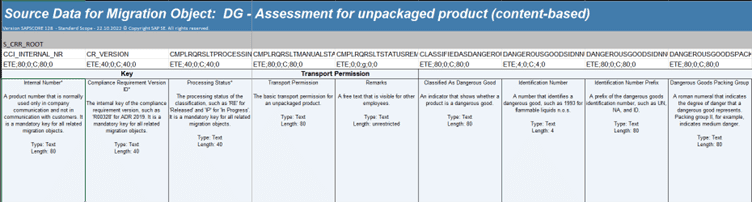
Before the release of SAP S/4HANA 2020, you had to upload the text-based regulation and enter the dangerous goods texts in different languages. The current content-based regulation contains all information for the UN numbers.
Like the previous file, this one also includes an introduction tab. Be sure to read this information carefully.
In the first tab (Product), enter the internal number of the unpackaged product. This is a unique code containing letters (A-Z) and up to 80 characters. This number is for internal use only and will not be shared with clients or external parties. It is the same number as the one in the first tab of the Product Compliance file (Chemical Compliance View). The same number must be entered in the Purpose Management tab.
In the second tab (Basic Classification), enter the same internal number as in the previous tab.
In the second column (Compliance Requirement Version ID), enter an R value for the transport type. For example: R00925 is linked to ADR R00926 with IMDG.
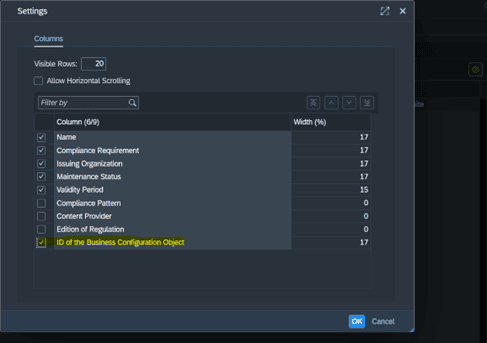
This information can be found in the Manage Compliance Requirements app. The field containing these values is called the ID of the Business Configuration Object. This is hidden by default and can be opened in the Settings tab (see Figure 28).
The third column must be populated according to the process status of the classification. This is a required field with two possible options: RE for ‘released’ and IP for ‘in progress’. In the Transport Permissions column, 01 stands for ‘allowed’ and 02 stands for ‘not allowed’.
The next column concerns whether a product can be classified as a dangerous good. If you enter 01, it will not be classified as a dangerous good. If you enter 02, it will be classified as a dangerous good. The ID is a four-digit number used to identify dangerous substances during transport.
In the next column, enter the prefix that precedes the identification of the dangerous good. This is usually UN, NA or ID.
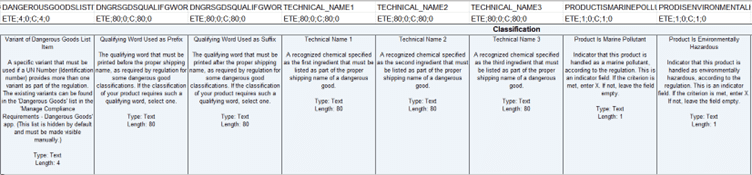
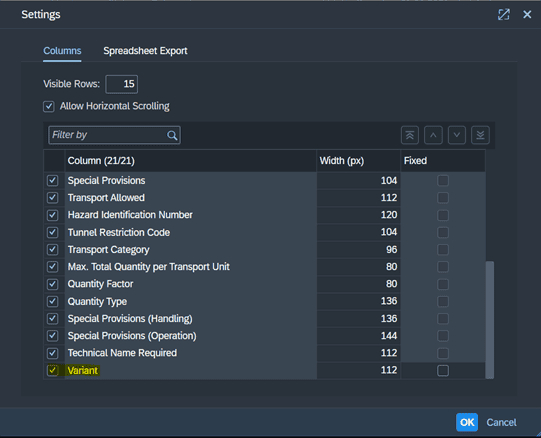
In the Packaging Group field, enter a Roman numeral from the Product Safety Data Sheet. Finally, enter the variant from the Dangerous Goods List. This is only required if a UN number is linked to multiple variants in the regulation (e.g. if a product is transported by road and water, it is subject to two different regulations). You can find this information in the Manage Compliance Requirements – Dangerous Goods app.

Go to the tab Dangerous Goods List. This setting is hidden by default but can be made visible in settings.
Repeat the same migration steps you took for the Product Compliance Info file. Use the migration object DG – Assessment for Unpackaged Product (Content-Based).
The technical product name can also be added. In our example we chose not to do this. This information can be found in the Product Safety Data Sheet.
You can find your material in the My Unpackaged Dangerous Goods app.
Go to the app Analyse Unpackaged Dangerous Goods.
Here you will find your material and the associated data you uploaded.
Packaged product
When this data has been successfully migrated, you can move on to the final step: migrating the packaged product. Just like the previous files, the first tab contains an introduction with a lot of useful background information.
The Product tab contains the following fields:

Enter the internal number here. In the next column you can describe the outer packaging. The column after that displays the total quantity of the outer packaging.
Enter the units of measure in the next table. You can also enter a description of the inner packaging, if applicable. Sometimes, dangerous goods are transported in single-layer packaging, depending on the quantity and the mode of transport.
In this case, there is no need to mention the outer packaging. This information can be found on the Product Safety Data Sheet.
As with the outer packaging, enter the quality and units here, as well as the number of units in a single outer packaging.
Go to the Regulations tab.


In the first column, enter the internal number to create the link. The other columns can be filled in the same way using the information about the unpackaged file.
Go to the Modes of Transport tab.
Create a link to the internal number. Enter the ID number, depending on the transport mode. See the previous sections above to find out where this information can be located.
Complete the other columns as described.
Once you have entered all information, you can start the upload process. Follow the same steps as the previous files. Use the migration object DG – Assessment for Packaged Product.
For results, go to the app My Packaged Dangerous Goods – to Be Classified.

Here you can follow your progress. Once everything has been uploaded correctly, it will be removed from the My Packaged Dangerous Goods – To Be Classified list.


