Prior to the launch of the LMS notification editor, creating customized notifications was often a tedious endeavor that involved creating customized system labels and a knowledge of HTML. With the the new editor, admins can create custom notifications through an easy-to-use interface. Often referred to as What You See Is What You Get (WYSIWYG), this editor allows the admins to make their notifications as if they were making a Word document – they can see the text and syntax they are using, as well as add images, links, and text styles, all while seeing exactly what the end-user will see in their notification. The following is a step-by-step guide to using the notification editor, using the Approval Required notification.
Getting to the Editor
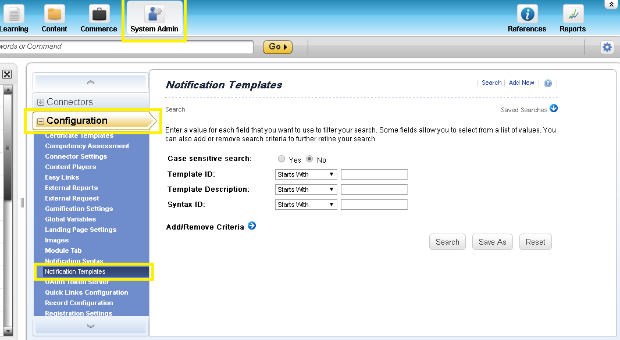
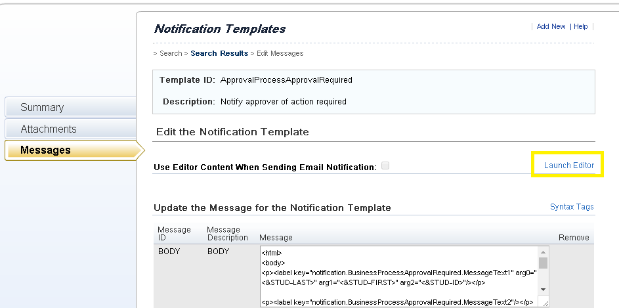
First, go to the notification template you wish to change using the editor. From the LMS admin portal, navigate to System Admin>Configuration>Notification Templates. Use the search boxes to find the notification you wish to edit (in our case, the ApprovalProcessApprovalRequired notification).
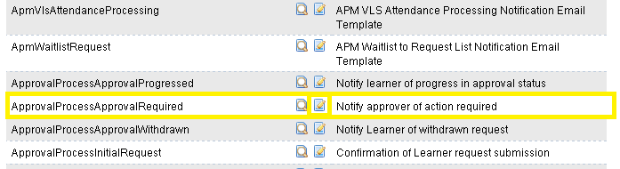
Find the notification you wish to edit and select the “edit” icon.
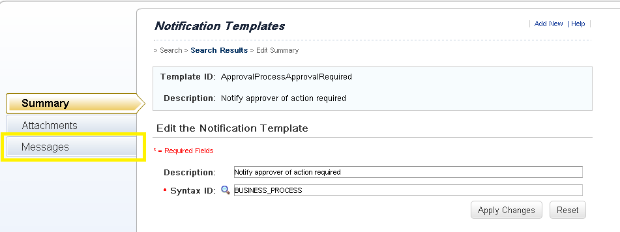
On the next page, select “Messages”.
On the next page, click “Launch Editor”. This will open the editor interface.
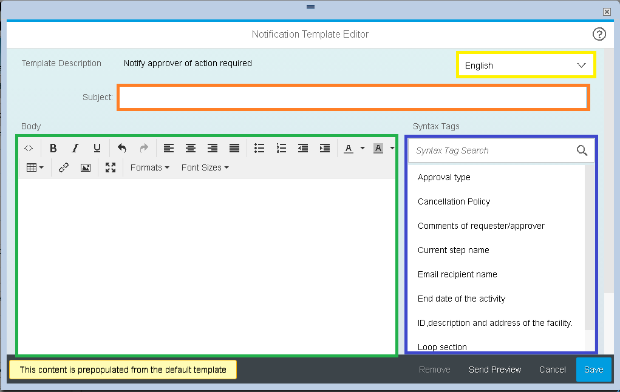
The figure below outlines the different sections of the editor. The YELLOW section selects what locale the template is being configured for. If your client is using multiple locales, the must use the editor to create a version of the notification for each locale they use. The ORANGE section is the subject for the notification that will be seen by end-users. The GREEN section is the body of the notification, where text and syntax is added to the notification. The BLUE section contains all of the available syntax that can be used in the notification.