Installation of JAVA system on SUSE Linux 12.0 with ASE DB
Step 1-OS preparation (Read the master guide for toolset option and service market place and prepare the OS)Make sure that you are using Suse for SAP,OS which is specifically built for SAP
Create the users sidadm, sybsid, daaadm, sapadm (standard users are created) Rest login users can also be created as per their need.
Verify it un cat passwd in /etc from root access
Step 2-Download softwares SWPM & SAPCAR apart from SWPM needed for the installation (The best way for this is as you get the screen of softwares click on the softwares it will take you to the location in service market place. From there you can download and upload) This will be shown in the below steps.
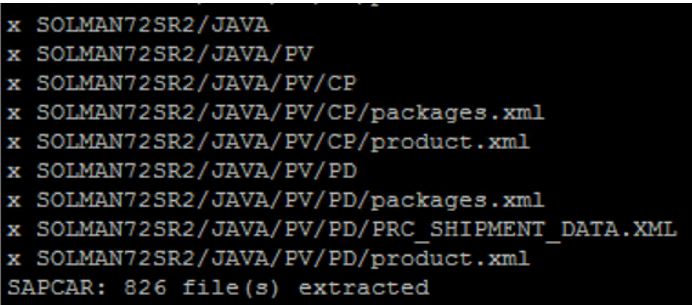
Step 3-Extract SWPM from root
Go to the folder where SWPM & SAPCAR is kept and run the below command
./sapcar –xvf SWPM
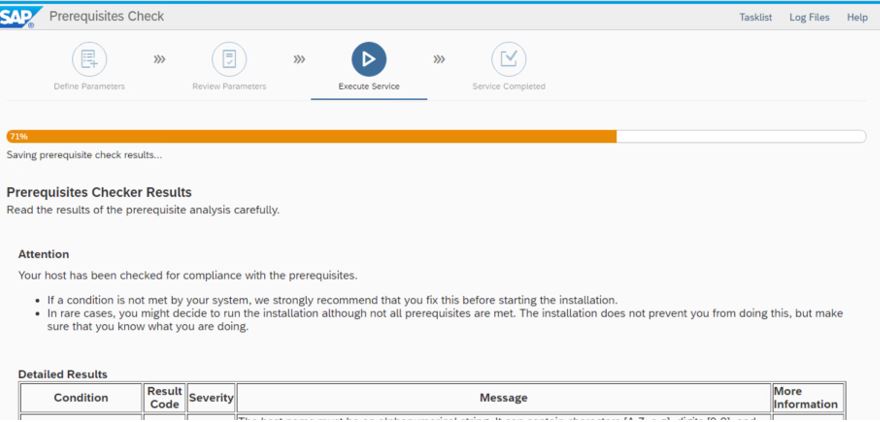
Step 4-Run pre requisite check
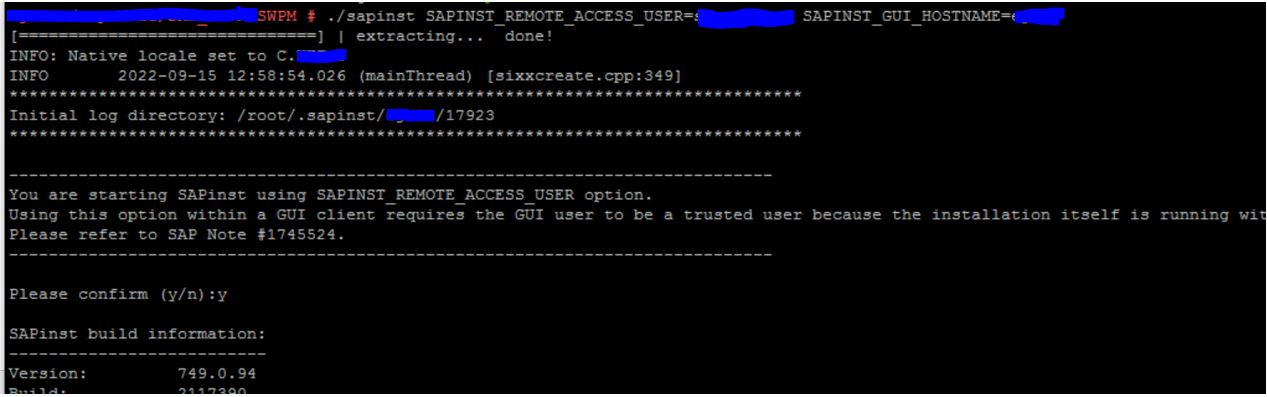
./sapinst SAPINST_REMOTE_ACCESS_USER= SAPINST_GUI_HOSTNAME=
Confirm yes by typing y
Copy the https link and paste it in the browser
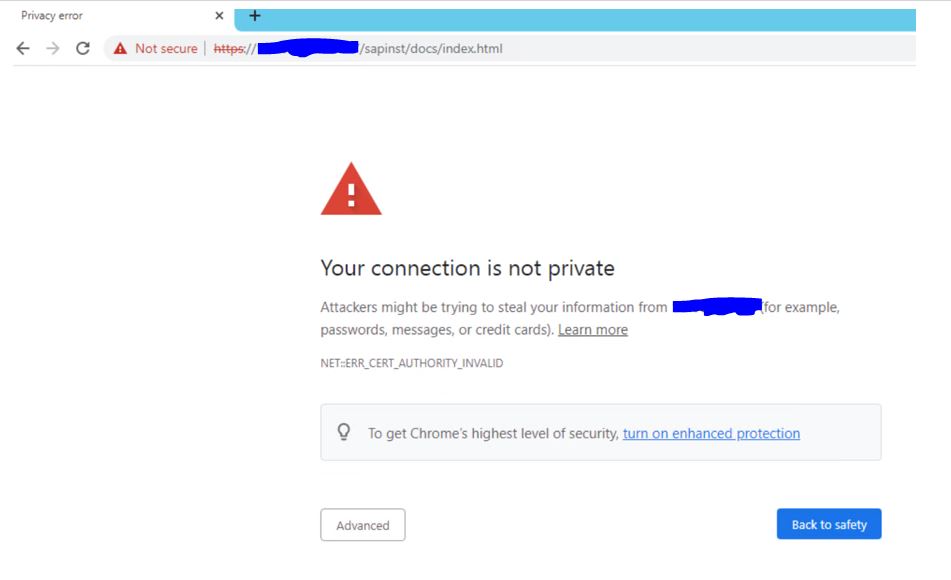
Click on advanced and go
Give user name and password used while running sapinst command given while starting SWPM
Stage 1 – Perform prerequisite check as below
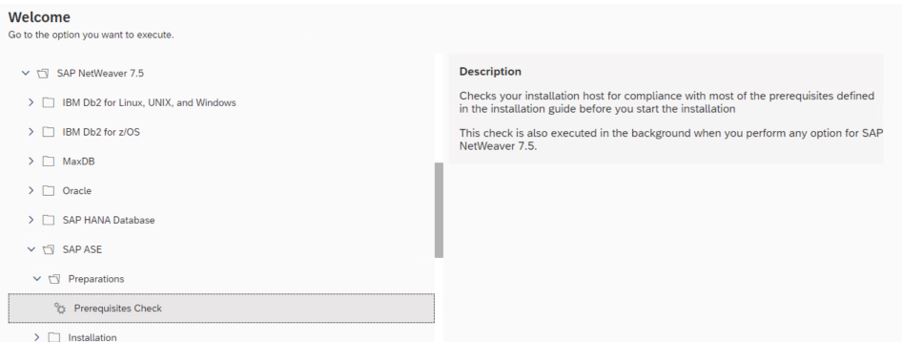
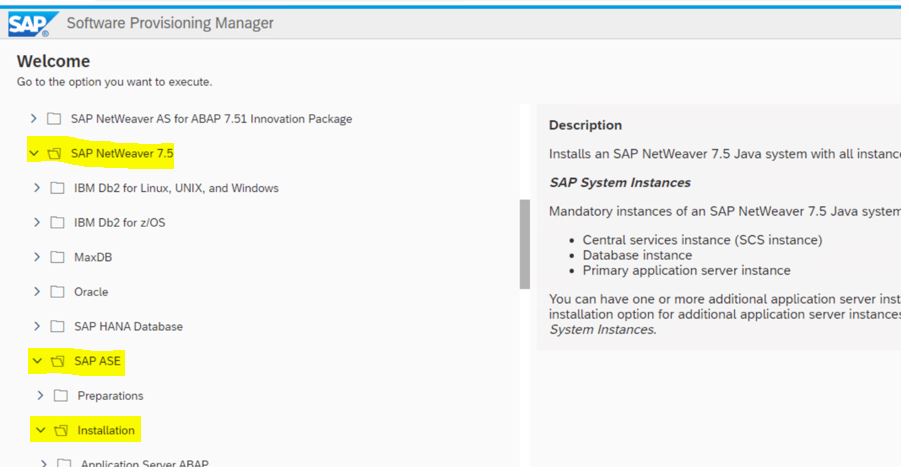
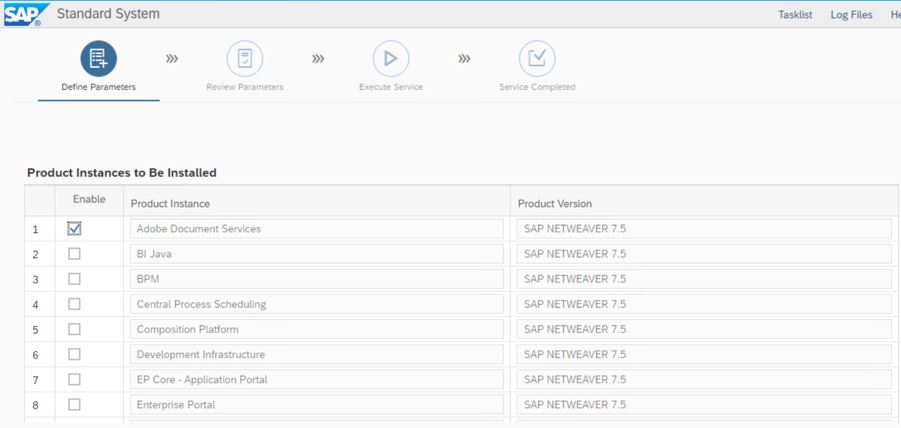
Select the components which you need.Since we are installing JAVA system I am selecting only JAVA components
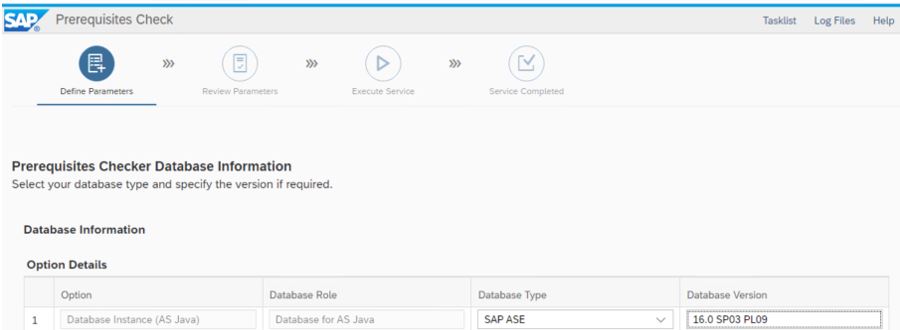
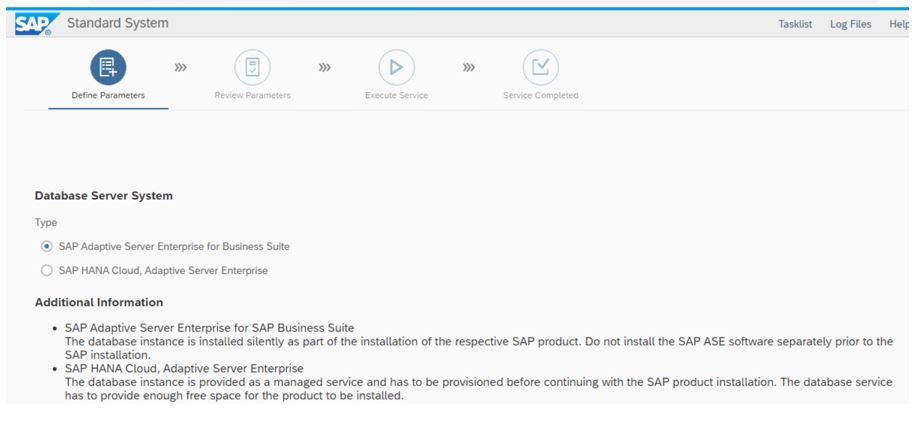
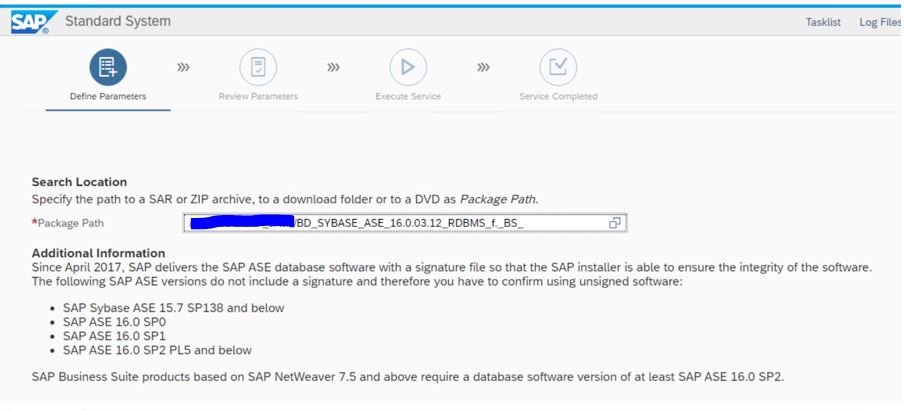
I am using Sybase DB. Select ASE and DB version of the ASE software
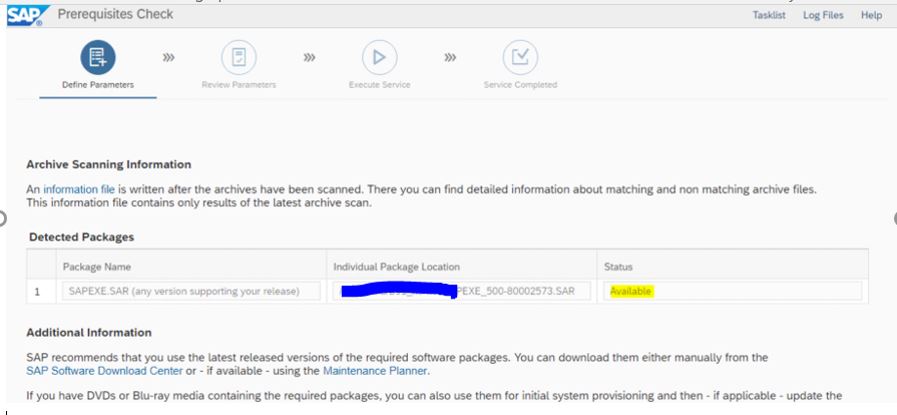
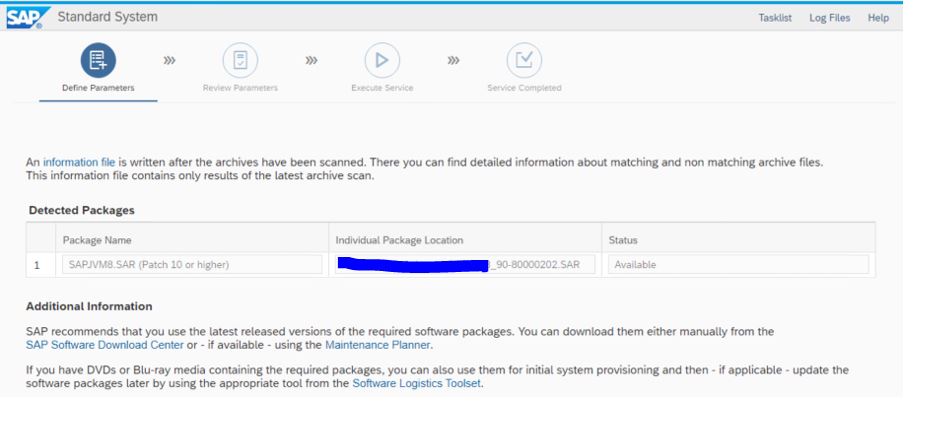
For the above software. Click on SAPEXE.SAR. It will take you the service market place. Download the latest or N-1 software.
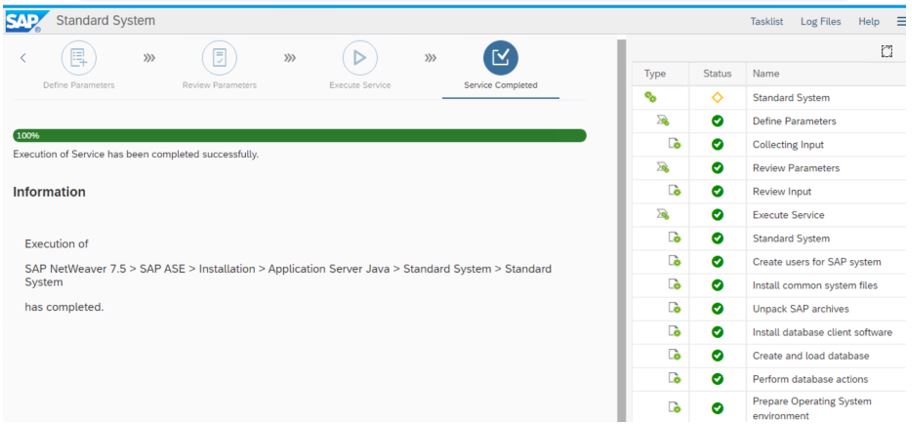
Review the parameters which should be same as that of the above selected softwares and execute
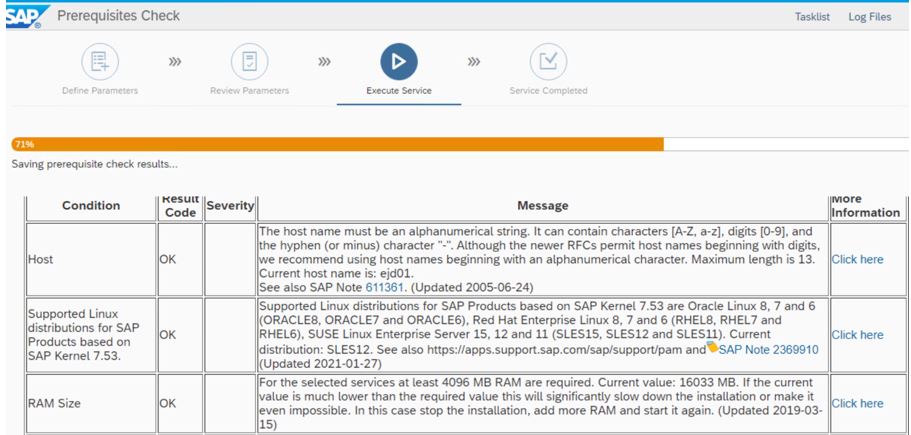
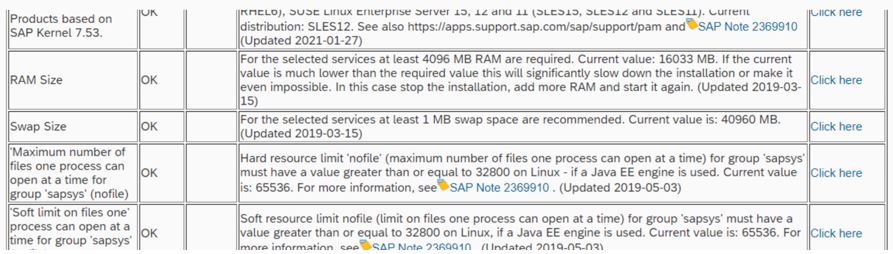
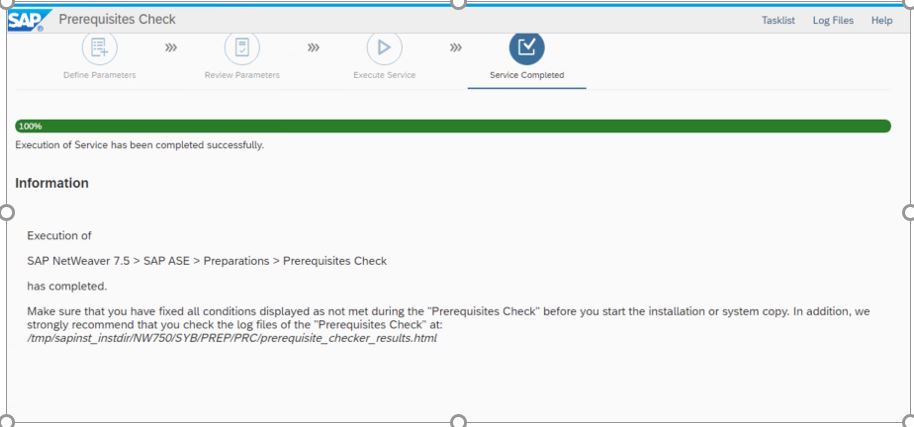
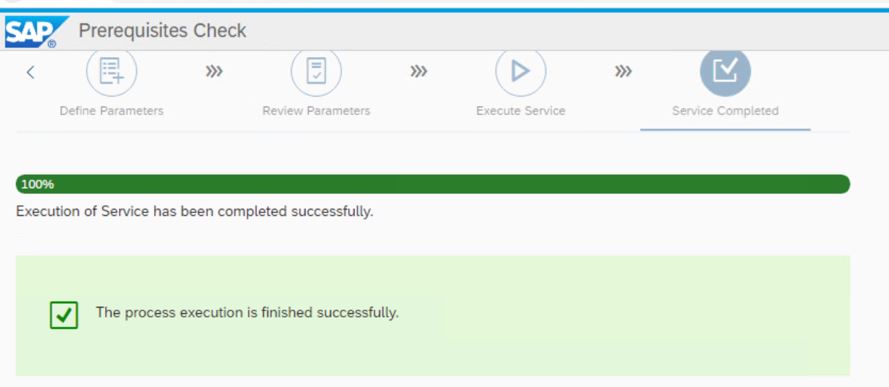
In execute service ALL the conditions should OK. If it is not OK then correct the condition and make it OK.
Installation of Standard JAVA system post running of pre requisite check.
Copy the https link from the SWPM and paste in chrome browser. If SWPM is stopped then run the SWPM and paste the https link as done in the above procedure
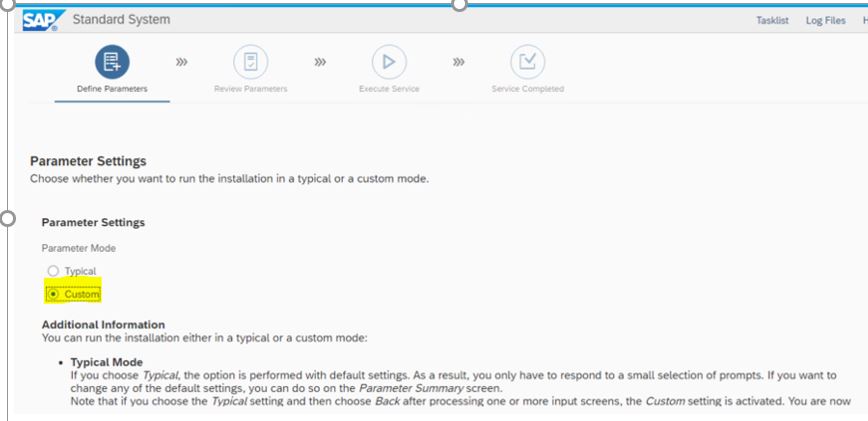
Select custom setting as we will have option to customize our settings. If we use typical then system will use default settings.
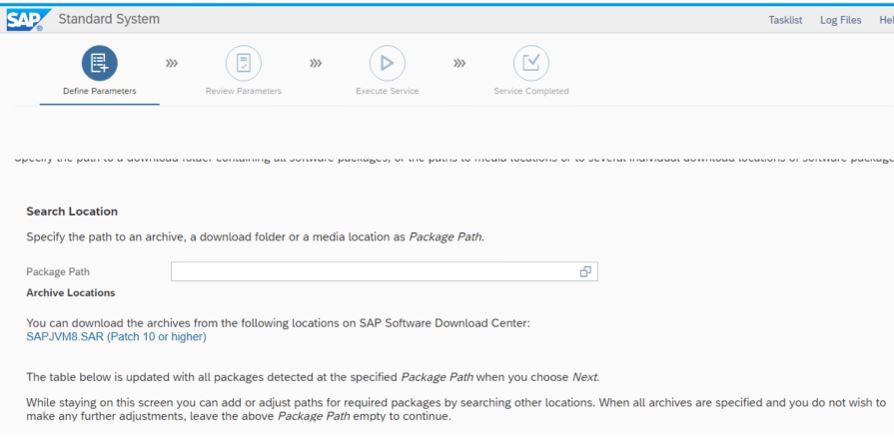
Click on SAPJVM software. It will take you the SAPJVM present in Service market place. Download the relevant version and upload
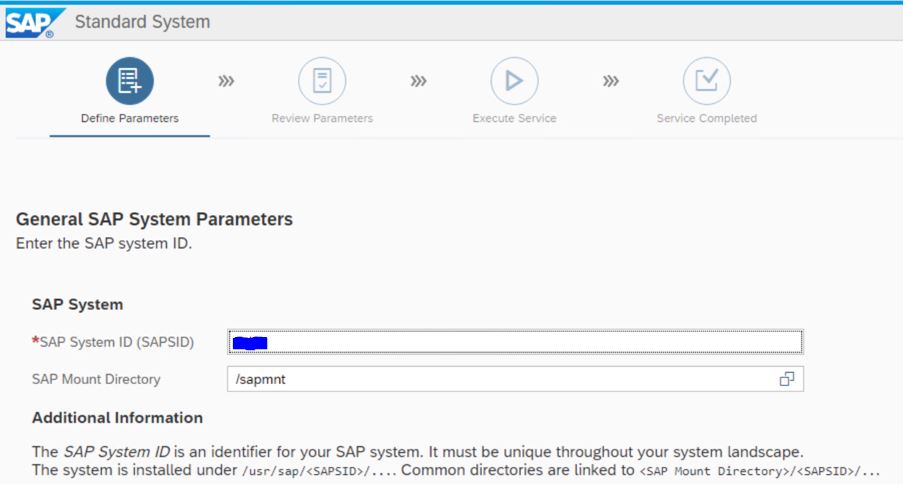
Give the SID and select /sapmnt path(most of the times /sapmnt path is taken as default)
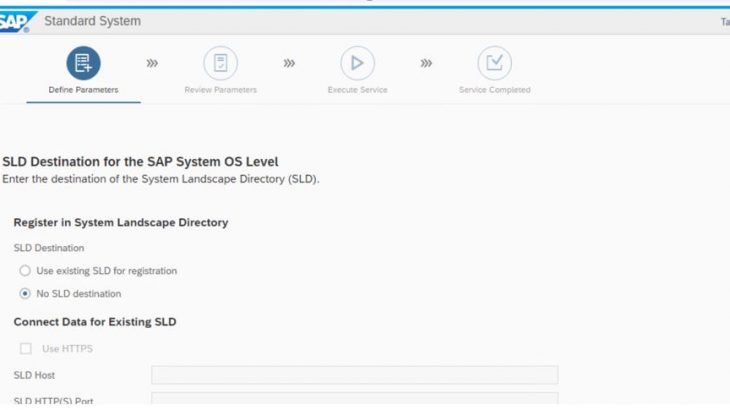
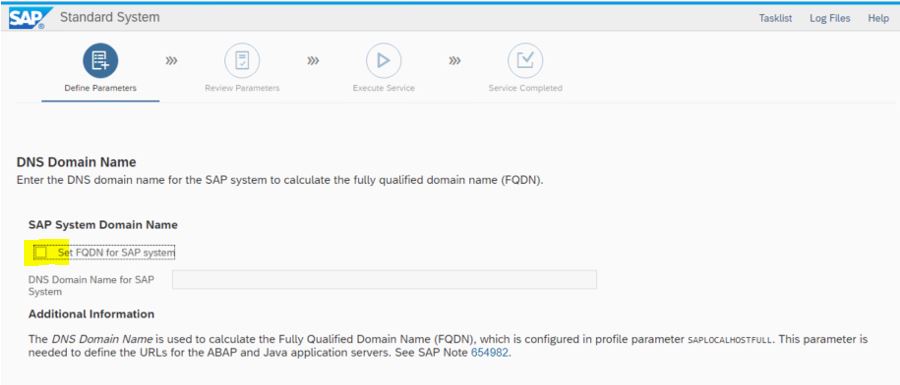
Uncheck FQDN we will be adding it in post installation steps
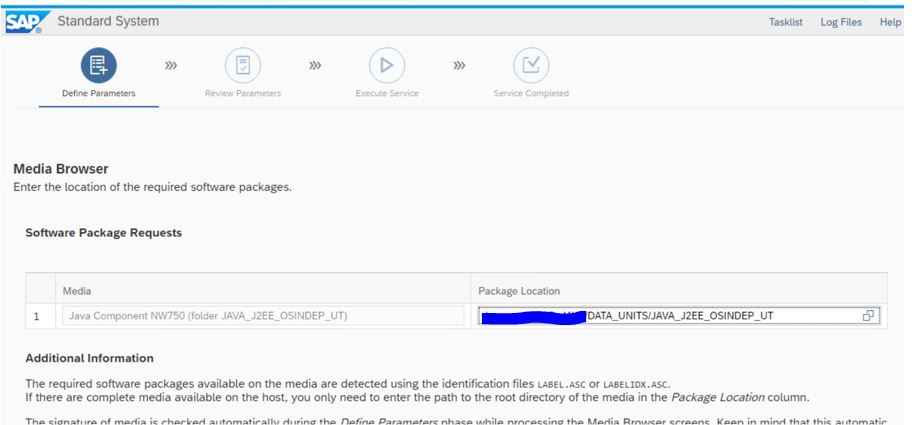
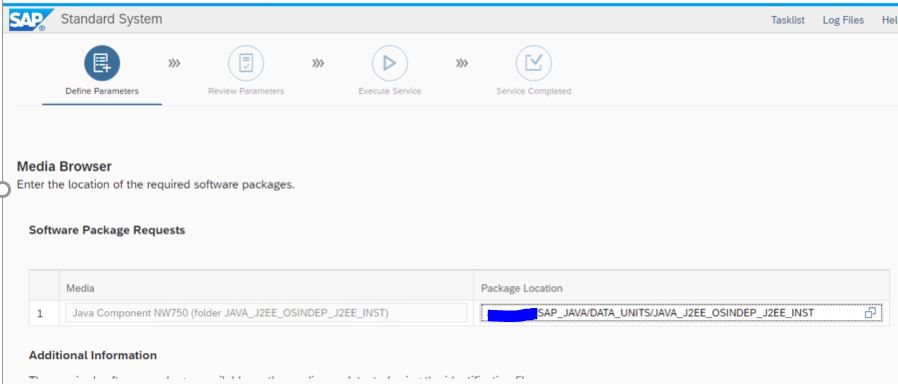
Download the relevant JAVA software and upload
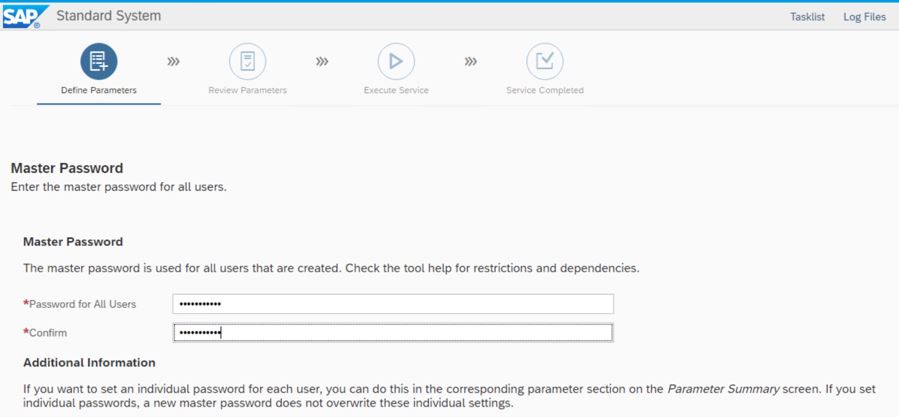
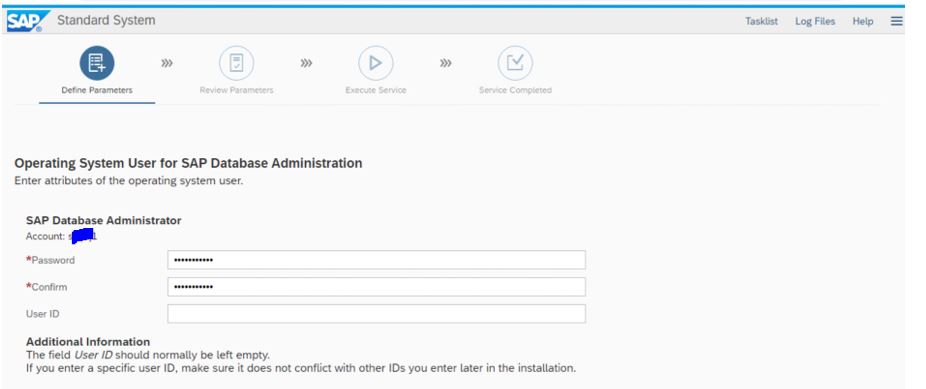
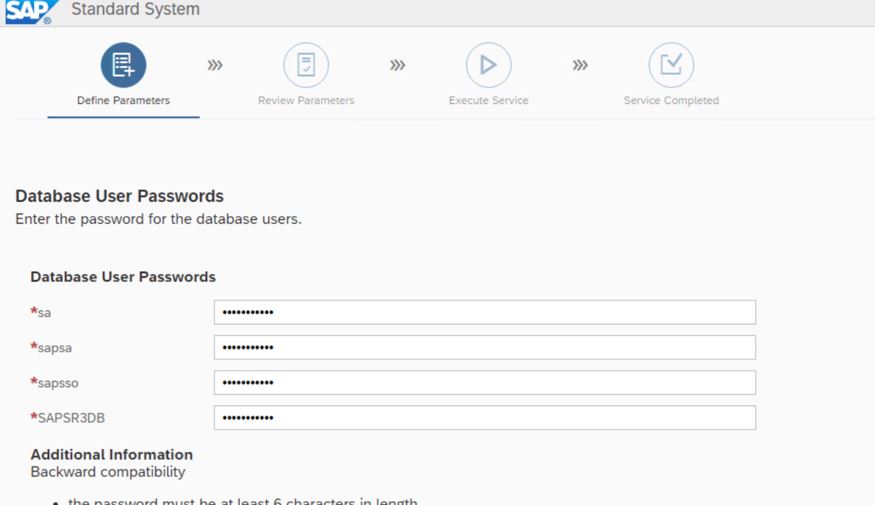
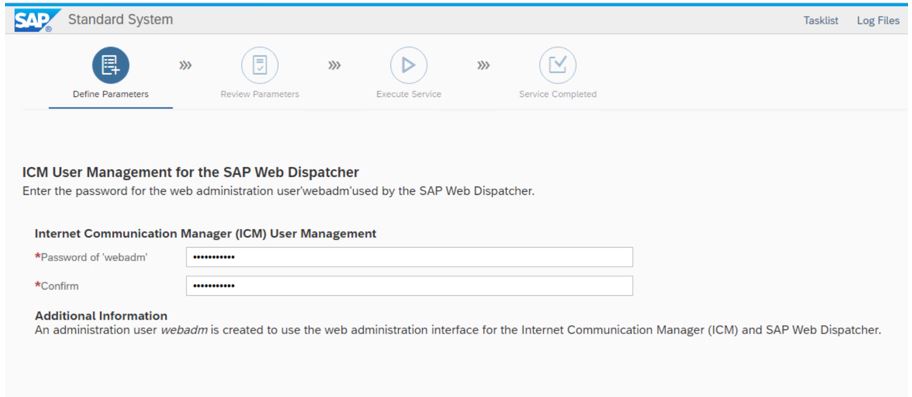
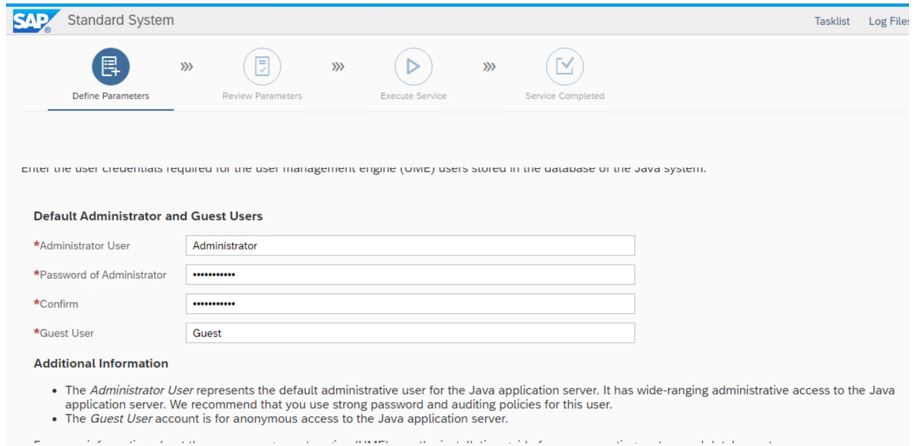
Give the master password (Note that this password will be used as DEFAULT for all the upcoming credentials of SAP)
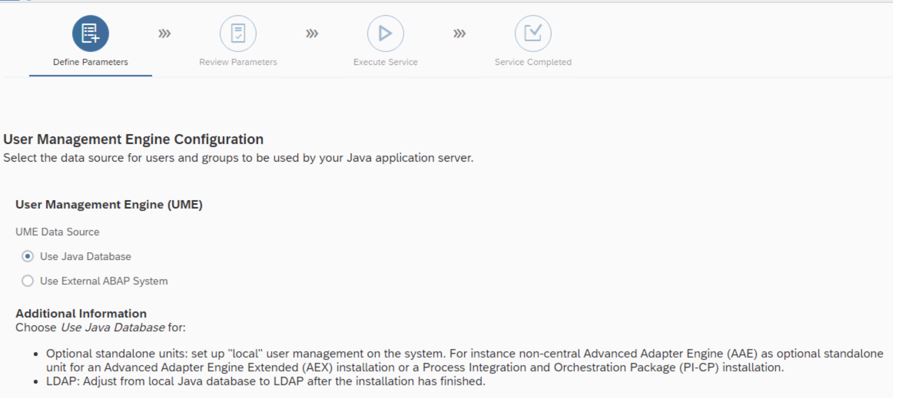
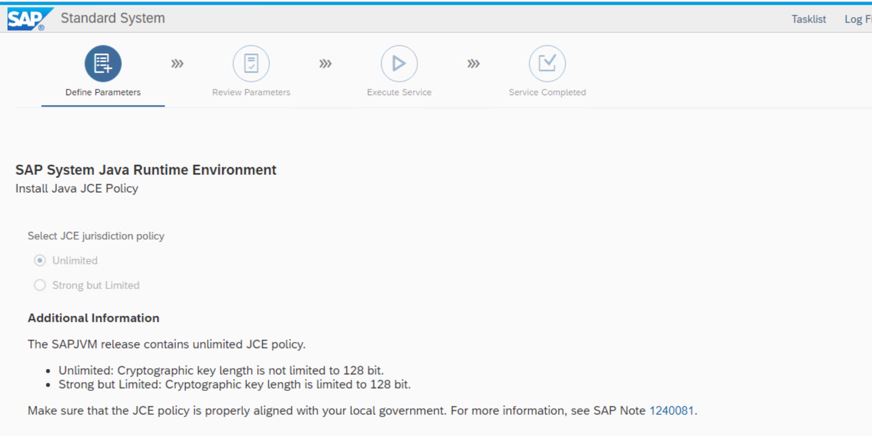
Make no changes in below

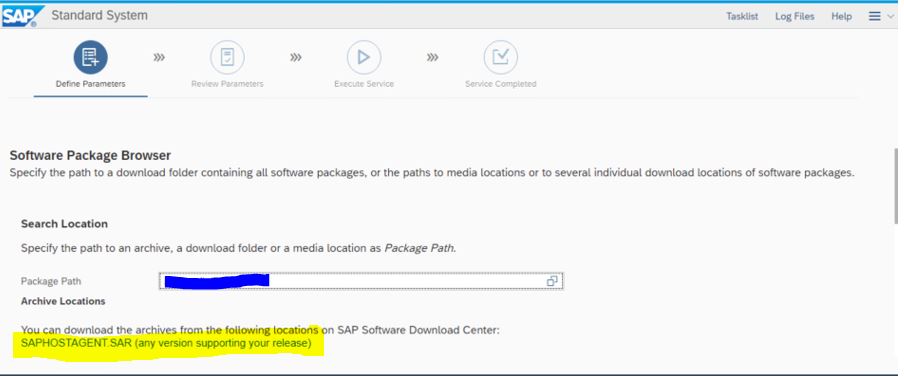
Click on SAPHOSTAGENT and download and upload
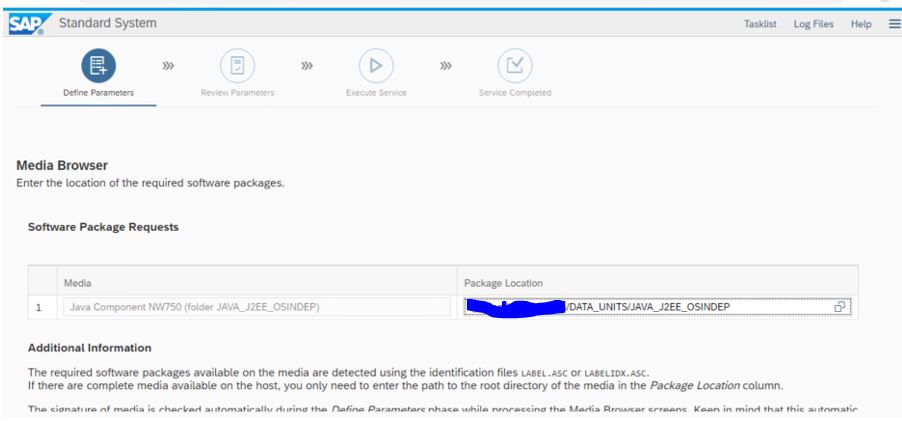
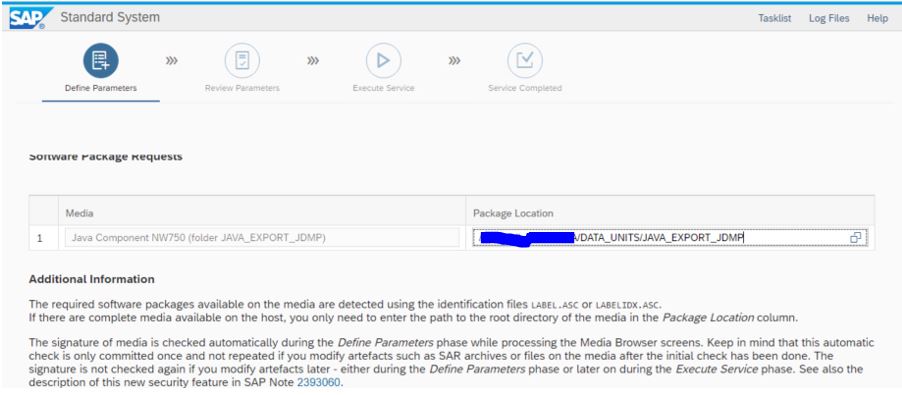
The below Sybase software need to be downloaded from service market place manually as there is no link which will take you to service market place as what we did in the above screesnshot method
Download the JAVA softwares and upload
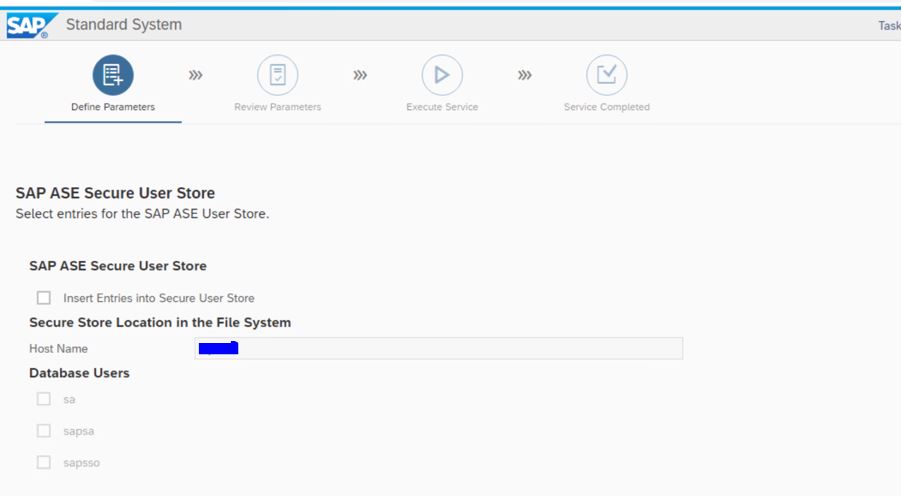
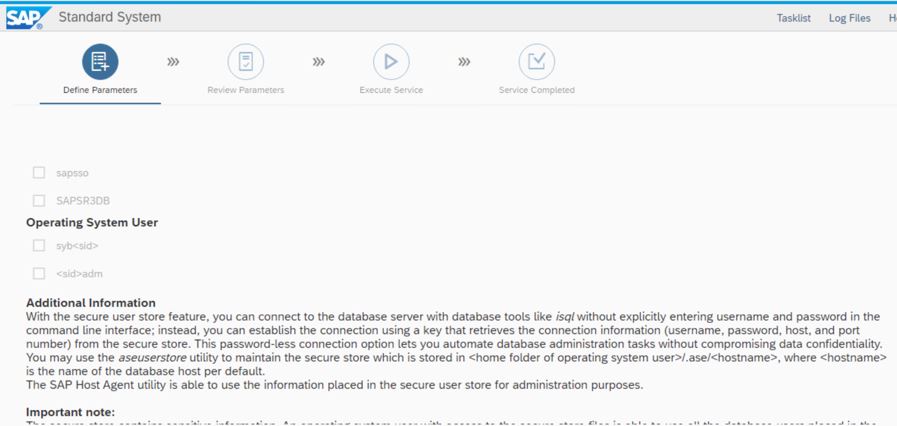
Leave it as it is
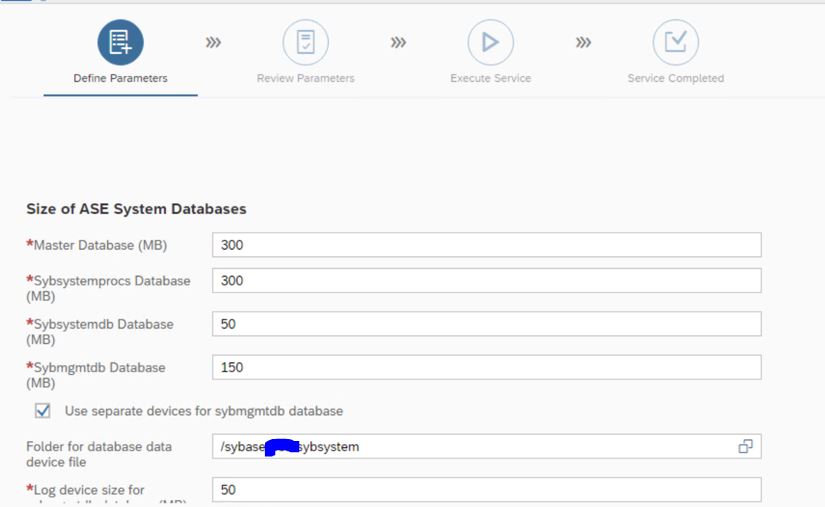

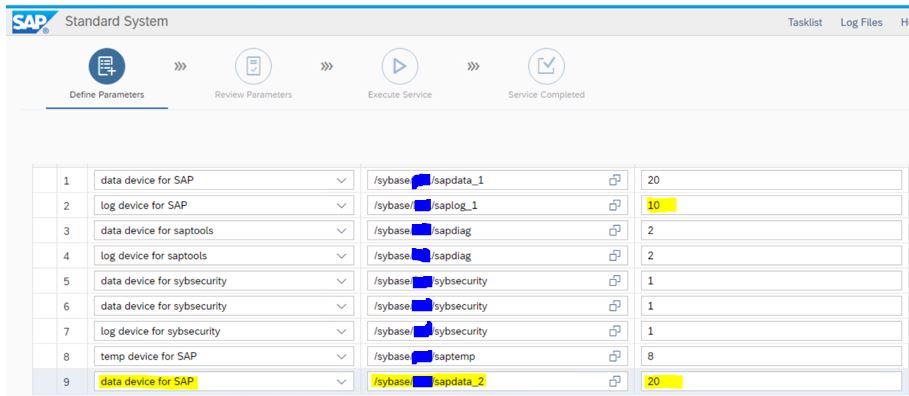
Check the space and define as per your requirements. Usually I recommend to add sapdata_3, sapdata_4, sapdata_5 If your system has larger data. The sizing should be done as per your requirements.I have added sapdata_2 and increase log space as per my requirements
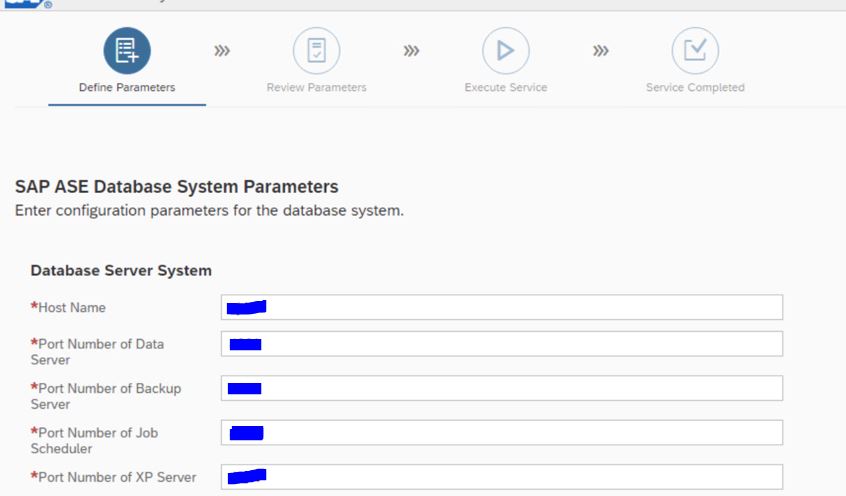
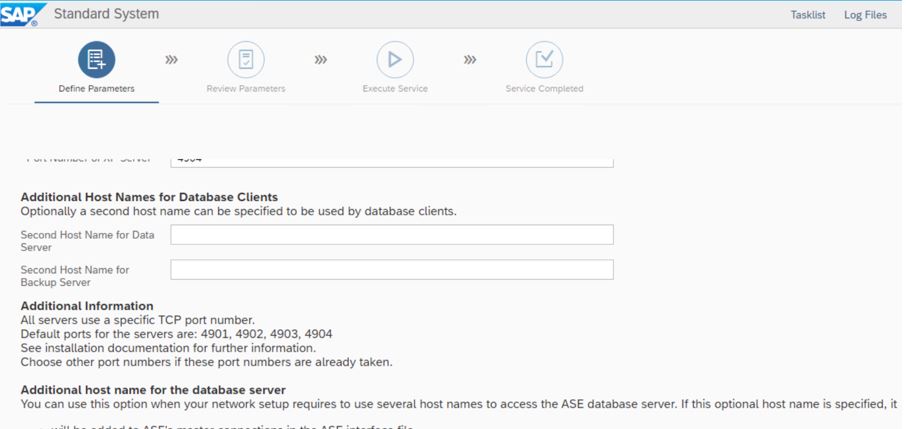
Leave the below screen as default but make sure you are saving this screenshot as the below port numbers will be used for adding system In solman monitoring
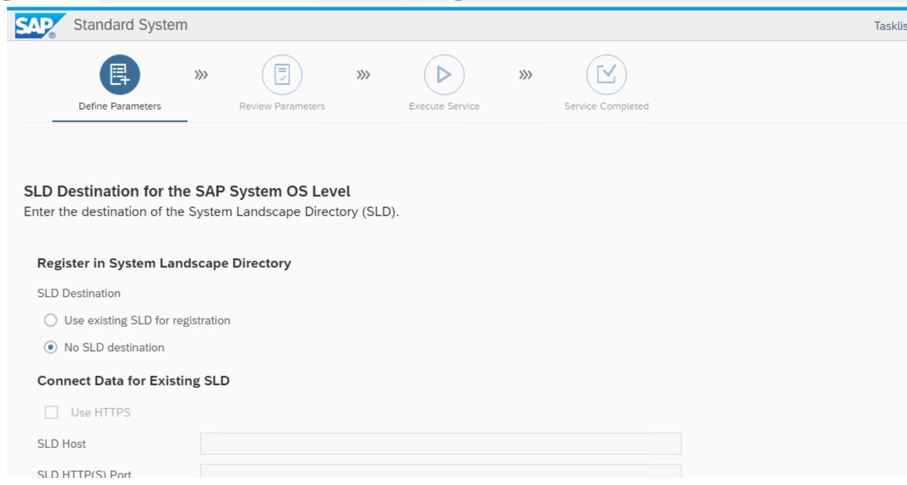
Leave the below screen blank
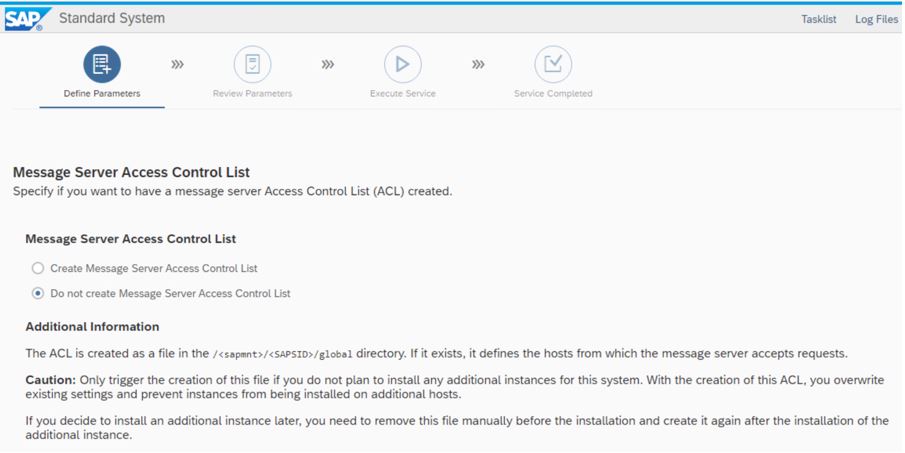
Leave the below screen as it is and move to next screen
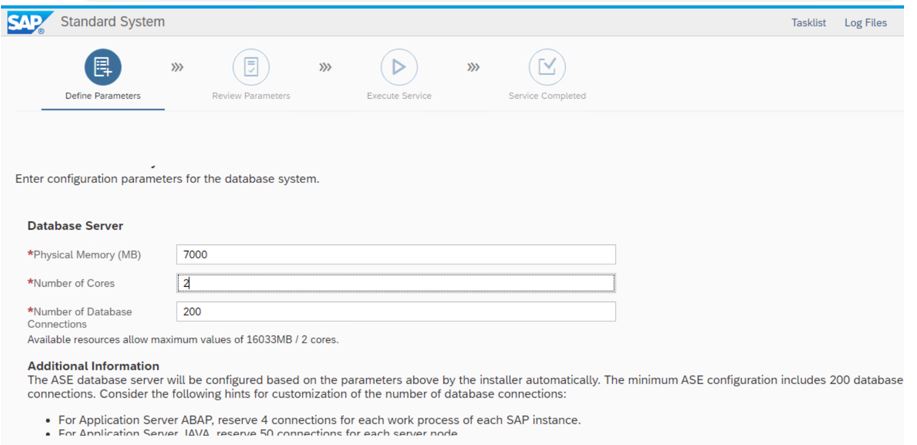
I have left the below screen as it is. Check your resources and define
if you increase number of parallel jobs your speed of execution for installation will increase
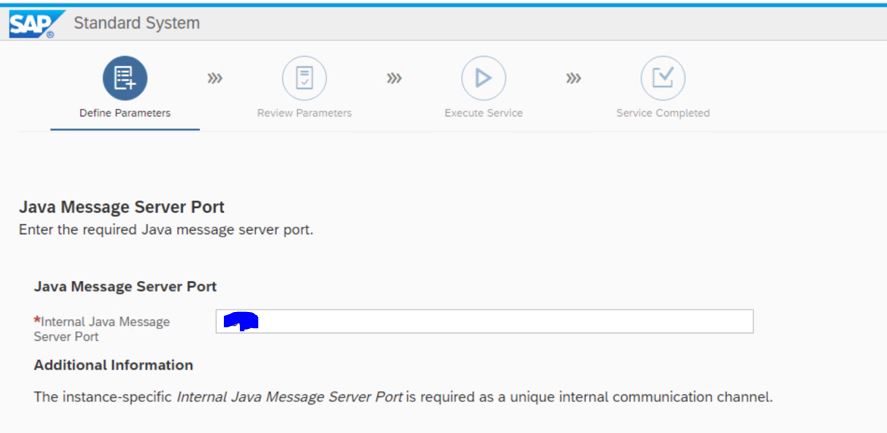
Give the instance numbers of your choice


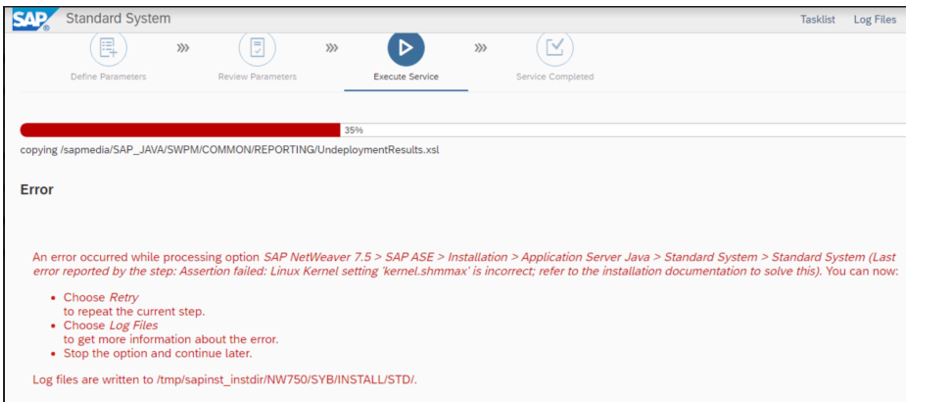
941735 – SAP memory management system for 64-bit Linux systems