This post is a guide to install “ABAP Platform Developer Edition 1909” from a VMWare virtual machine and using the LINUX SUSE distribution.
Requirements
System
- 4 CPUs
- 16GB RAM
- 150GB Disk
Tools
- VMWare: https://www.vmware.com/es/products/workstation-player.html
- Docker Hub account: https://www.docker.com/
- SUSE image: https://www.suse.com/es-es/download/ in my case, https://software.opensuse.org/distributions/leap?locale=es
Environment preparation
Preparing the virtual machine
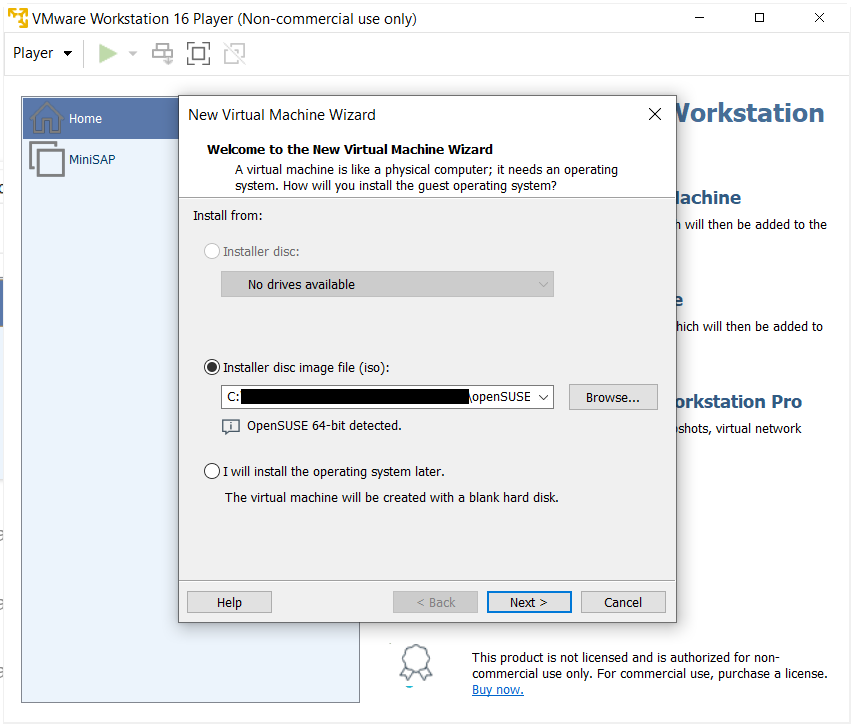
We access the VMWare program and go to the option “Create a new virtual machine”

We select the Linux image that we have downloaded, in my case SUSE
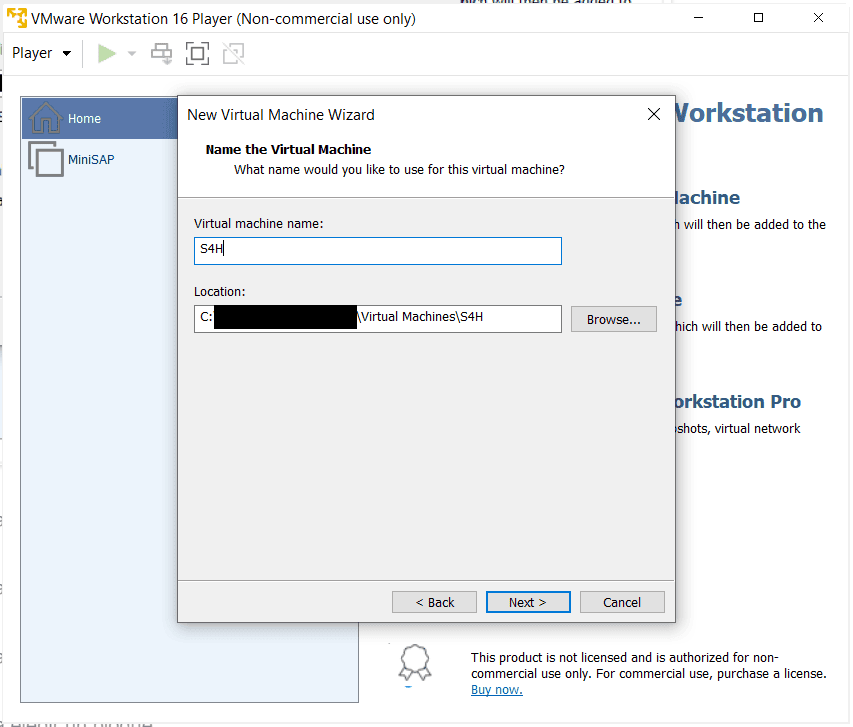
Add name to the virtual machine (free choice)
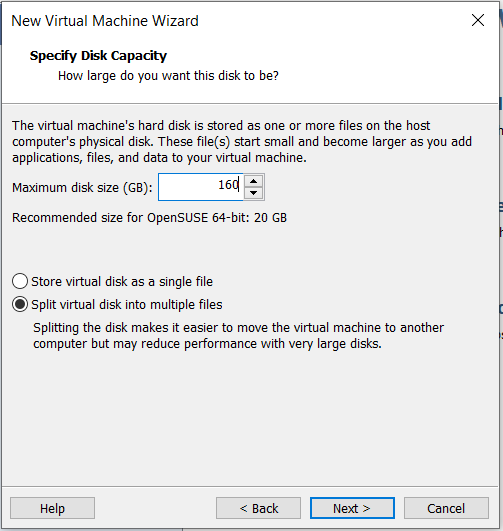
150 GB of free disk is recommended for installation, so we can 160BG to give something to the operating system
In the next step, click on the “Customize Hardware” option to modify the specifications of the machine, these will be the parameters:
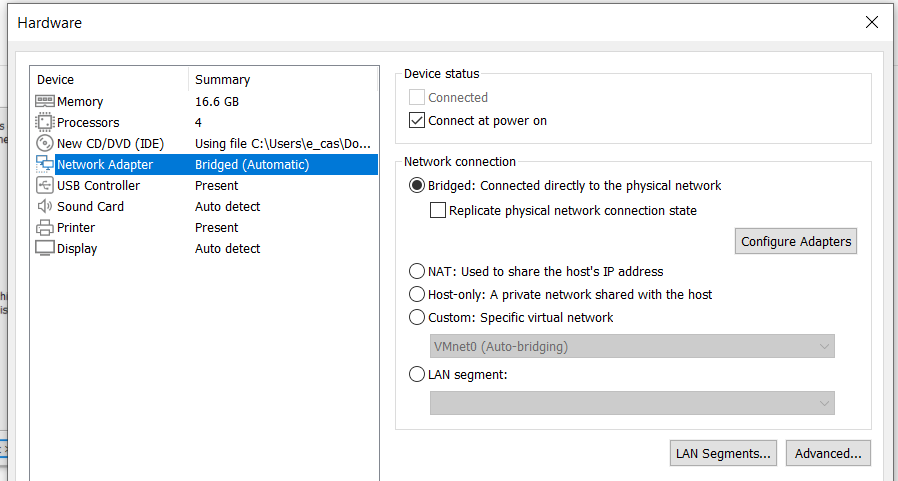
Finally we press “Finish” to start the installation.
Installing SUSE
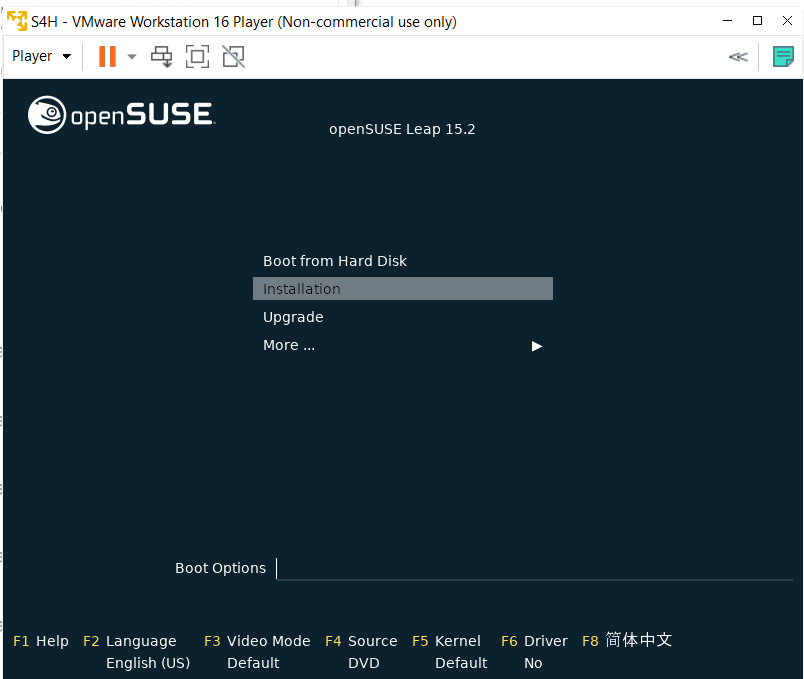
Once the configuration is finished, the SUSE installation will start automatically, the first screen that will appear we will press “Installation”:
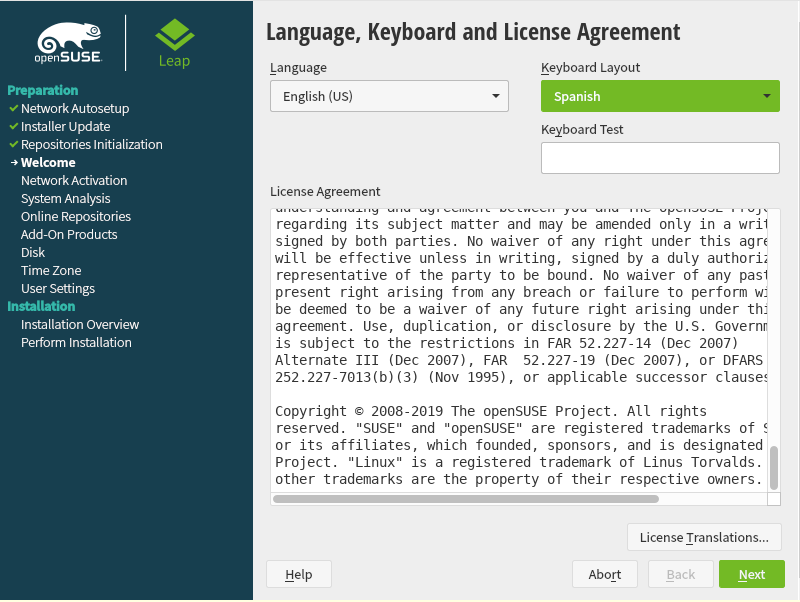
We accept the license and configure the keyboard language:
When pressing “Next” it will ask us if we want to additionally install YaST2, we will mark “yes”:
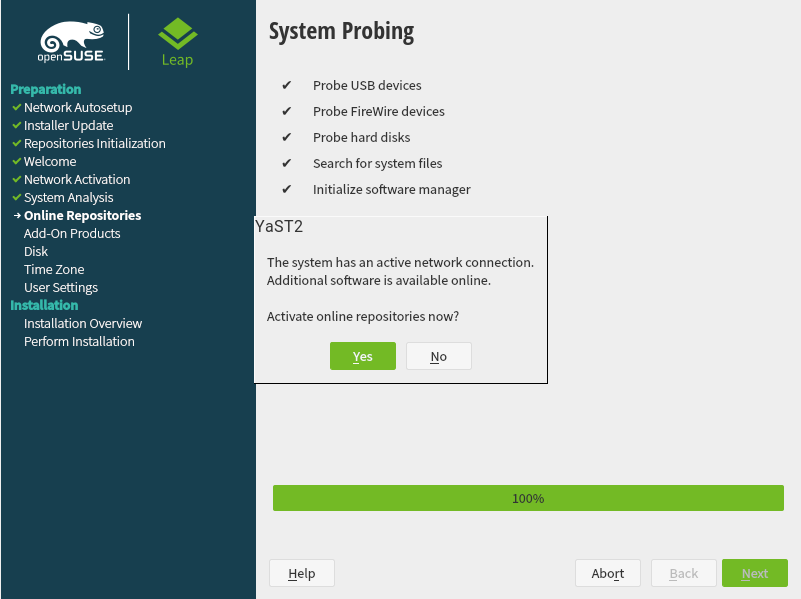
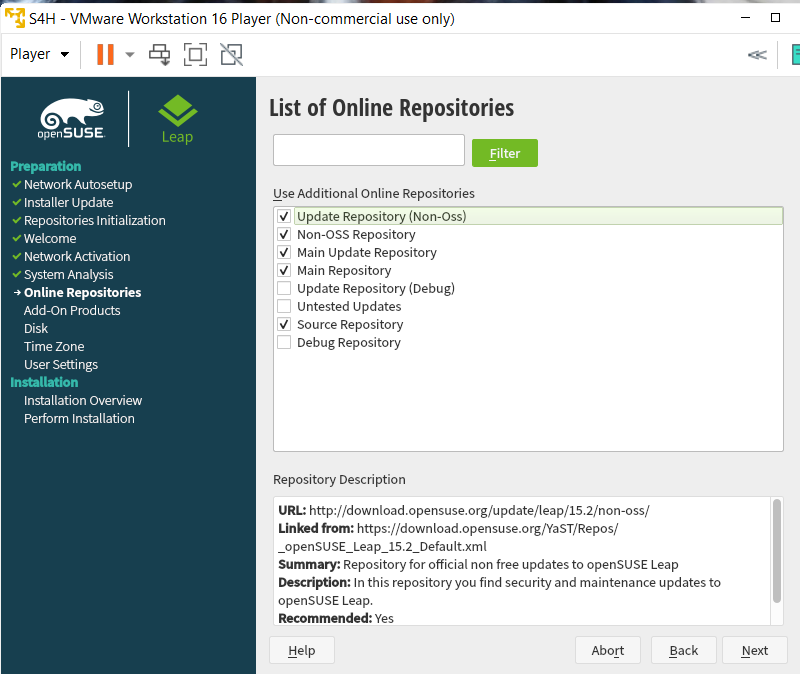
The next step is the configuration of online repositories, in this we will mark the following options and click on next:
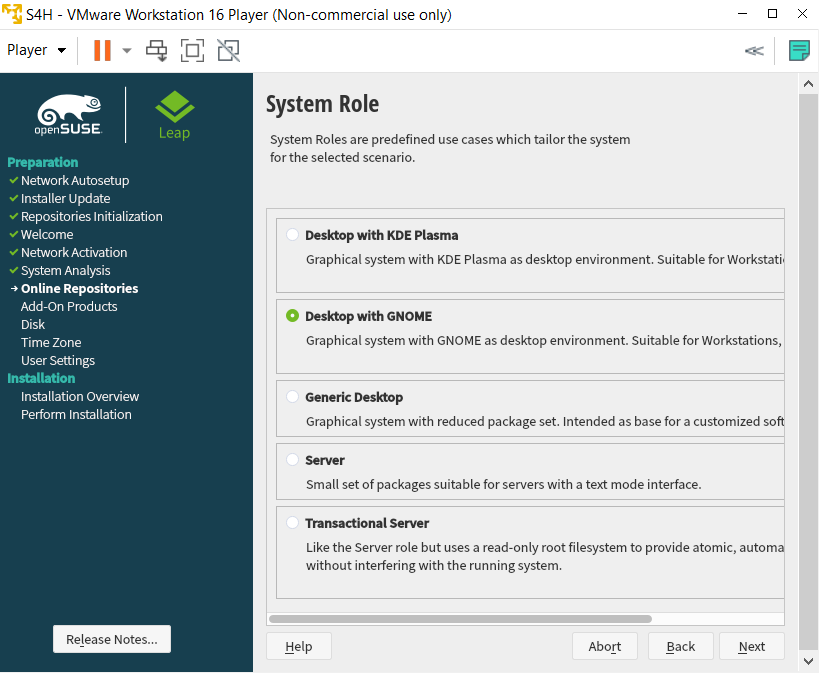
When the next step appears we select the option: “Desktop with GNOME”
We are pressing “Next” until the following screen appears
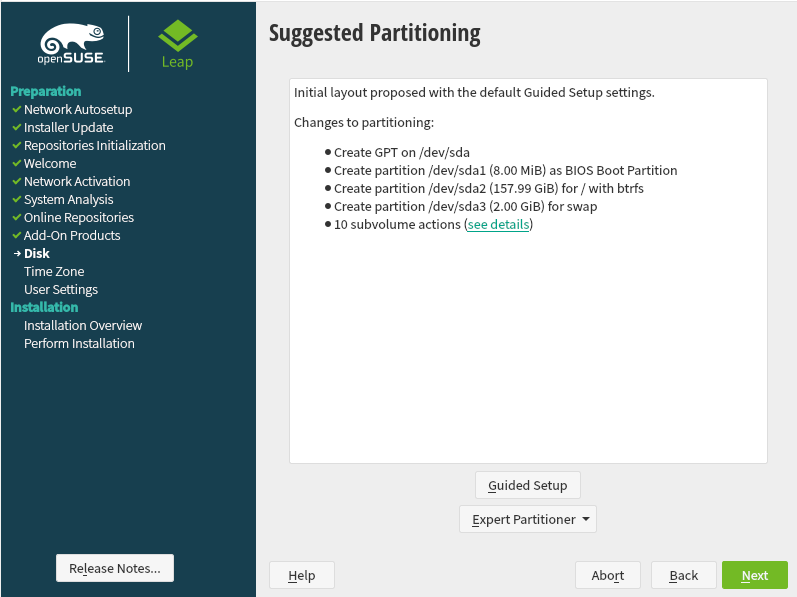
Click on “Guided Setup”, and add these settings:
- In the first screen we do not select anything, only “Next”
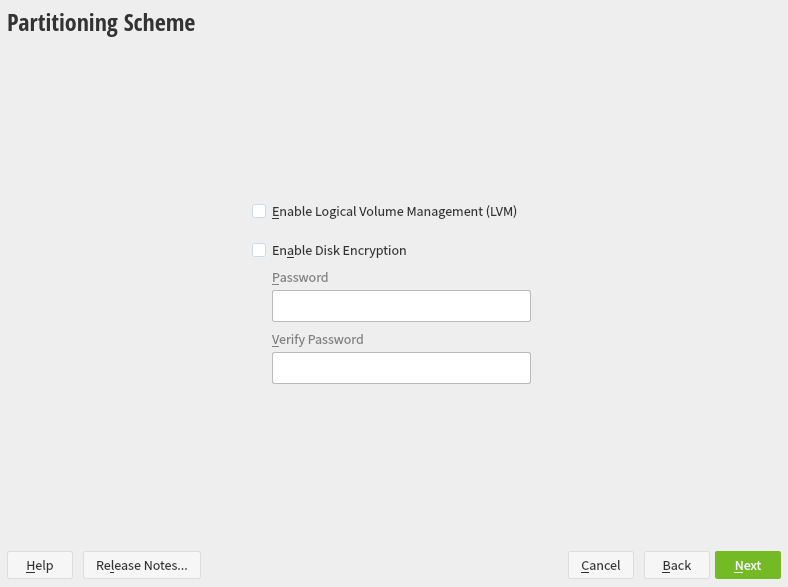
- In “File System Type” we select “Ext4” and “Next”
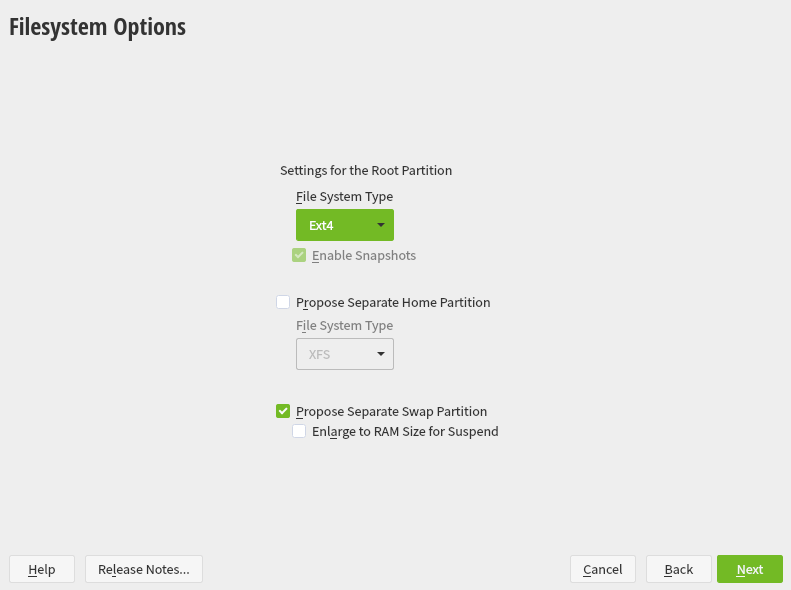
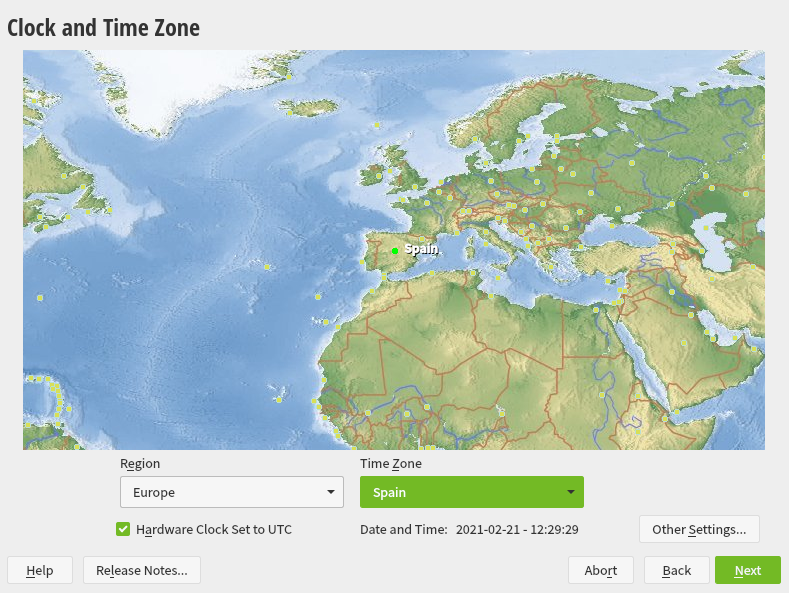
After pressing Next we will return to the “Suggested partitions” screen and we will press Next, we configure the location:
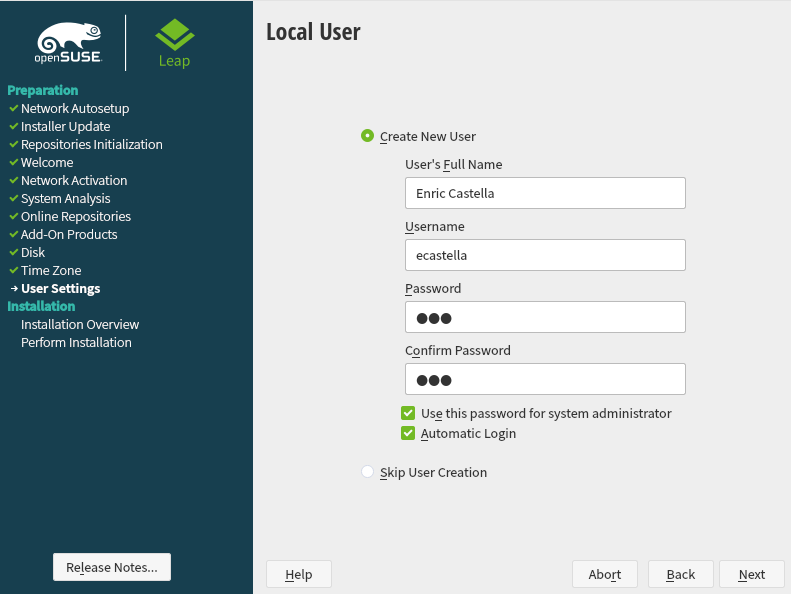
Next step configure our user, we add our name, the user name that we want, and a password:
In the step “Installation Settings” we have to look at these options:
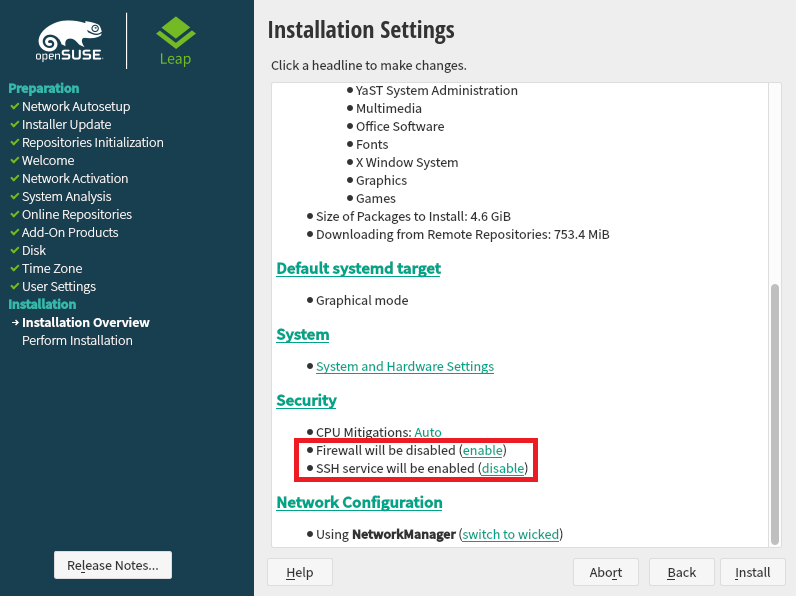
Click “Install” to start the installation, again we need some patience to finish the installation:
Setup Linux
We are going to configure the IP to have a fixed reference. To do this, we go to network settings:
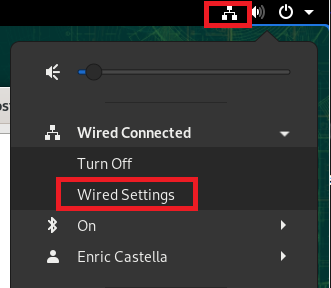
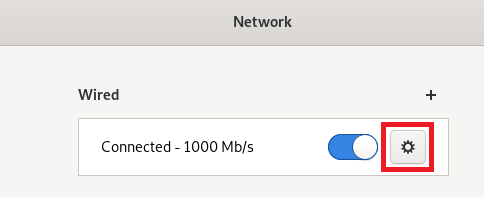
Click on options in the active connection:
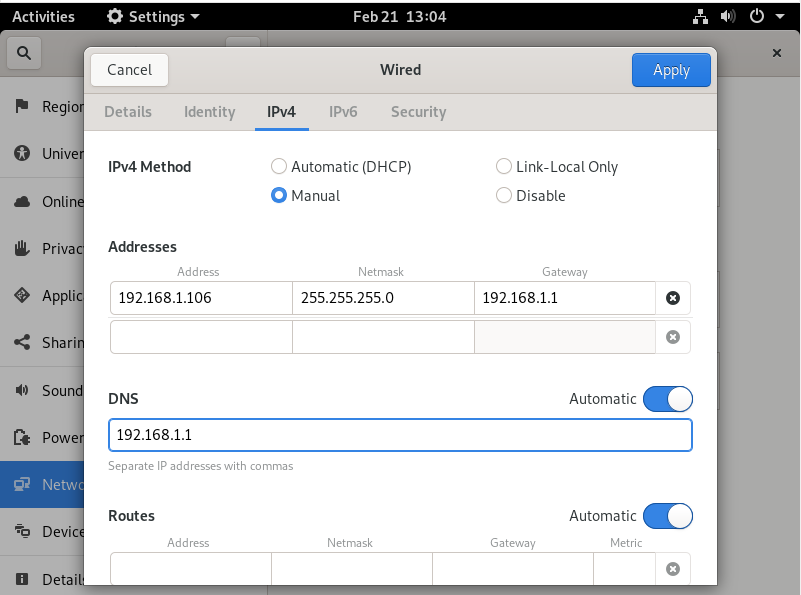
We add the manual method in the IPv4 option, adding this data, or similar ones according to your local network configuration. This will allow us to always use the same IP. Make sure that this IP is not assigned to another device connected to your router
We are going to configure the localhost files, for this we execute the following commands:
sudo nano /etc/hostnameWhere we add the name: vhcala4hci and press Ctrl + O to save and Ctrl + X to exit the editor.

And this second command:
sudo nano /etc/hostsWe will add the following entry:
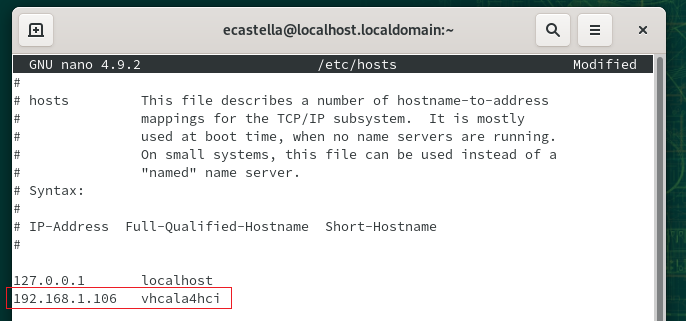
With the IP that we have configured by default and press Ctrl + O to save and Ctrl + X to exit the editor.
Installing Docker
To install Docker it is as easy as running the following commands:
sudo zypper install dockerAnd we can start the service with:
sudo systemctl start docker.serviceIf we also want Docker to start when starting the virtual machine, we can execute:
sudo systemctl enable docker.serviceAs you can see, we have everything ready to install our S4Hana developer edition

Downloading the Docker image
The first thing is to login to the docker server, this is because the image that we are going to use is not available in public mode, but we can only download it in private mode at € 0.0.
sudo docker login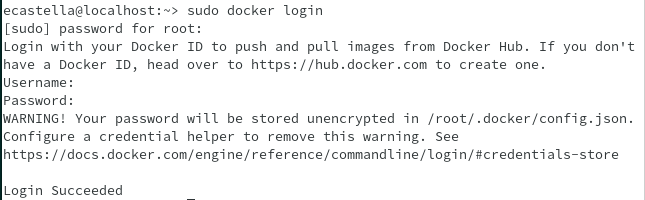
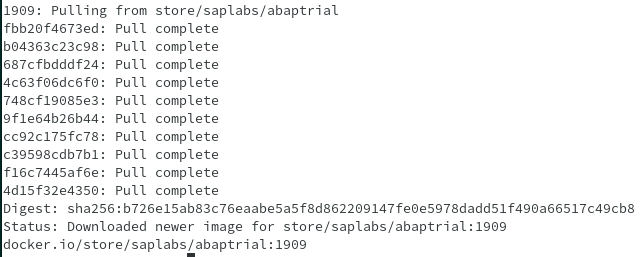
We can proceed with the download with the command:
docker pull store/saplabs/abaptrial:1909Once finished we will see the following message:
Before starting the container, we will add some extra configurations, executing:
sudo sysctl vm.max_map_count=2147483647
sudo sysctl fs.file-max=20000000
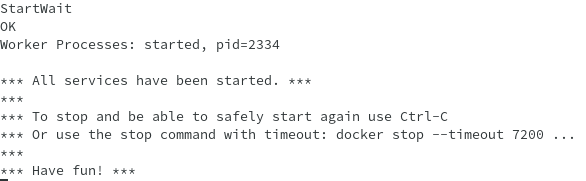
sudo sysctl fs.aio-max-nr=18446744073709551615Once finished we execute the following command to start the container on the host vhcala4hci, we will also use the -p parameter to allow access to the indicated ports from outside the virtual machine:
sudo docker run --stop-timeout 3600 -i --name as4h -h vhcala4hci -p 3200:3200 -p 3300:3300 -p 8443:8443 -p 30213:30213 -p 50000:50000 -p 50001:50001 store/saplabs/abaptrial:1909 -agree-to-sap-license -skip-limits-checkWe will see how the services are activated. Finally we will see this message indicating that we can now use our new SAP.
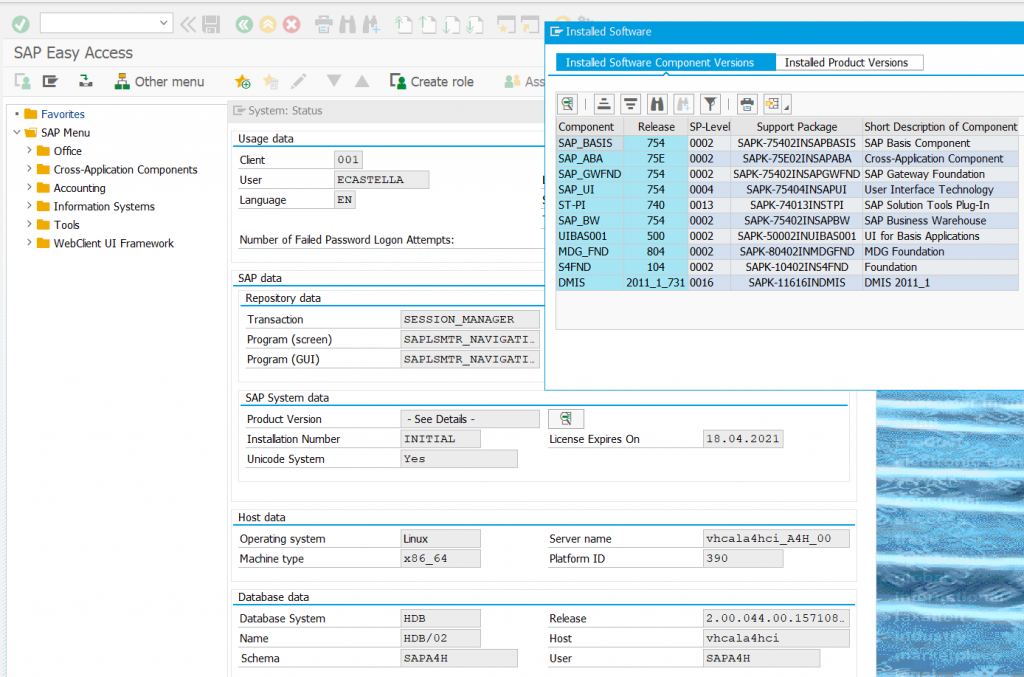
Accessing SAP
These are the data, remember that the IP will depend on the configuration made according to your IP:
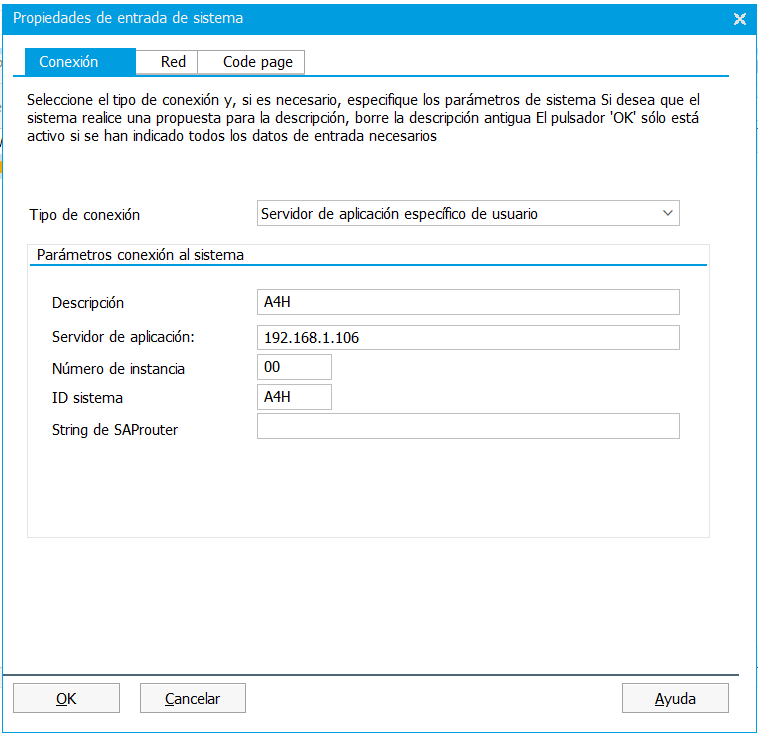
And we can now access. The user to access is: DEVELOPER with password Ldtf5432