In this blog post, we’ll demonstrate how to import an external OData data model from an edmx file to an existing CDS model, and create a relationship to one of the OData entities from this external data model through the CDS Graphical Modeler for Visual Studio Code.
Preparing the External Data Model
First install the CDS Graphical Modeler for VSCODE from the VSCODE Marketplace at https://marketplace.visualstudio.com/items?itemName=SAPSE.vscode-wing-cds-editor-vsc.
After preparing your CDS project at VSCODE, open your cds model through the CDS Graphical Modeler. Then try to create an entity by clicking the “Add Entity” toolbar button:
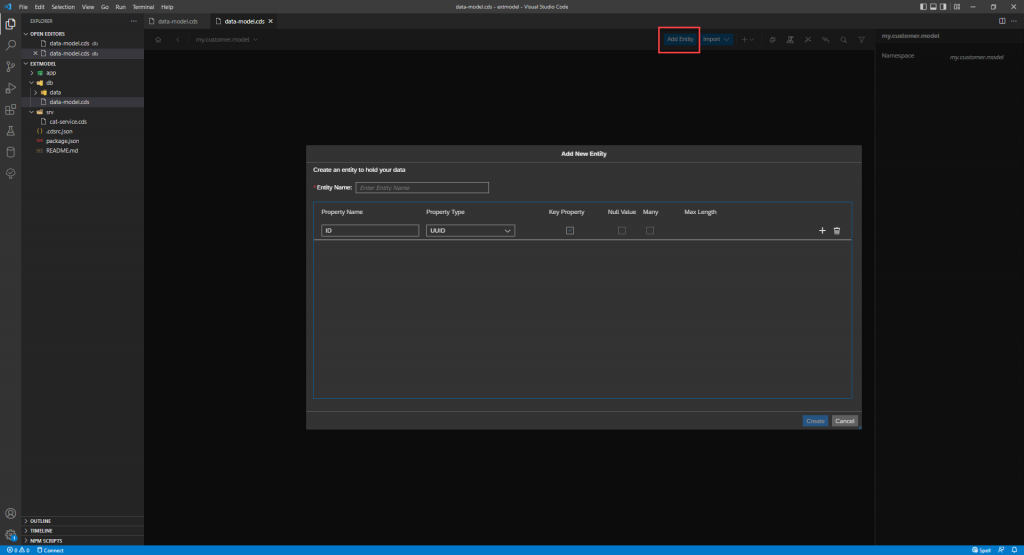
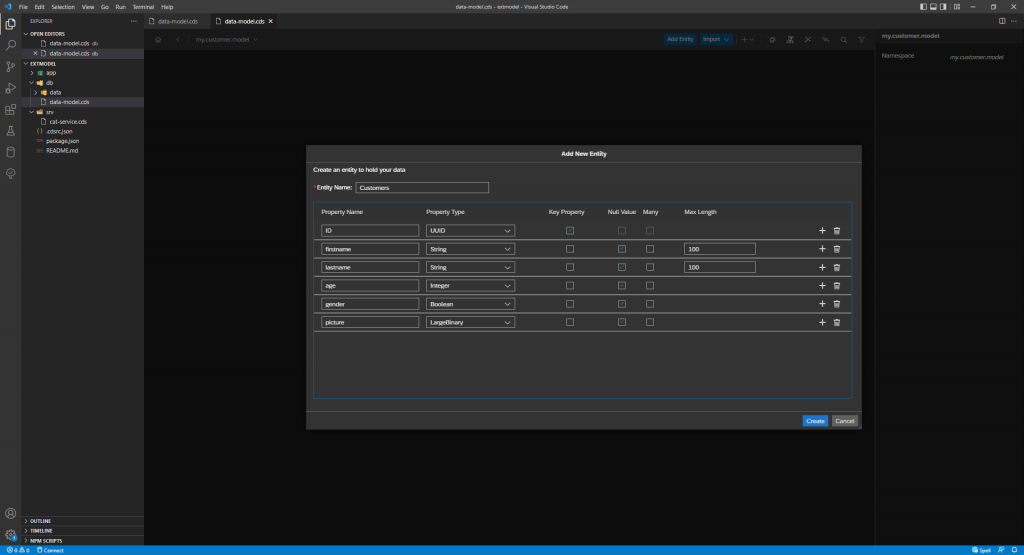
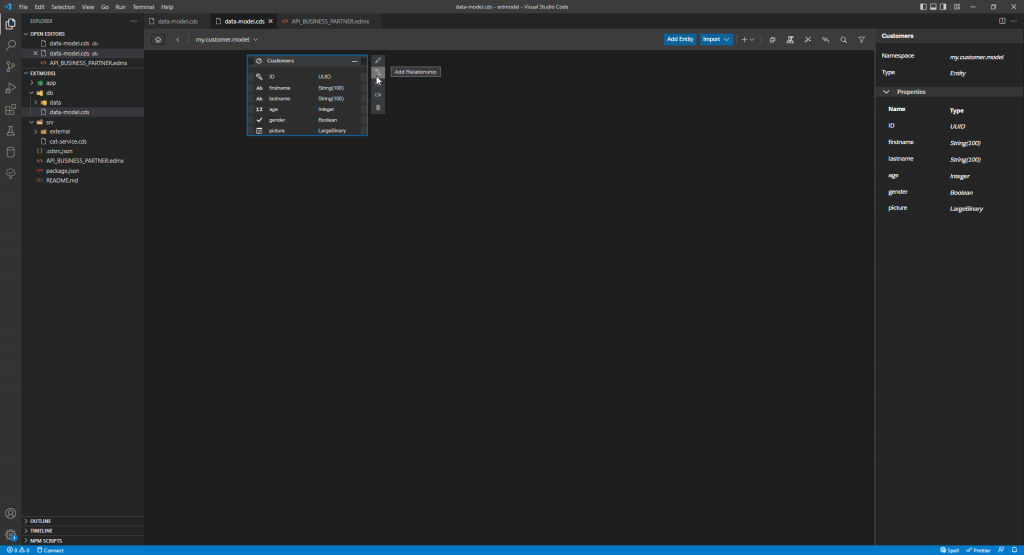
Create a “Customers” entity on the entity dialog in the model:
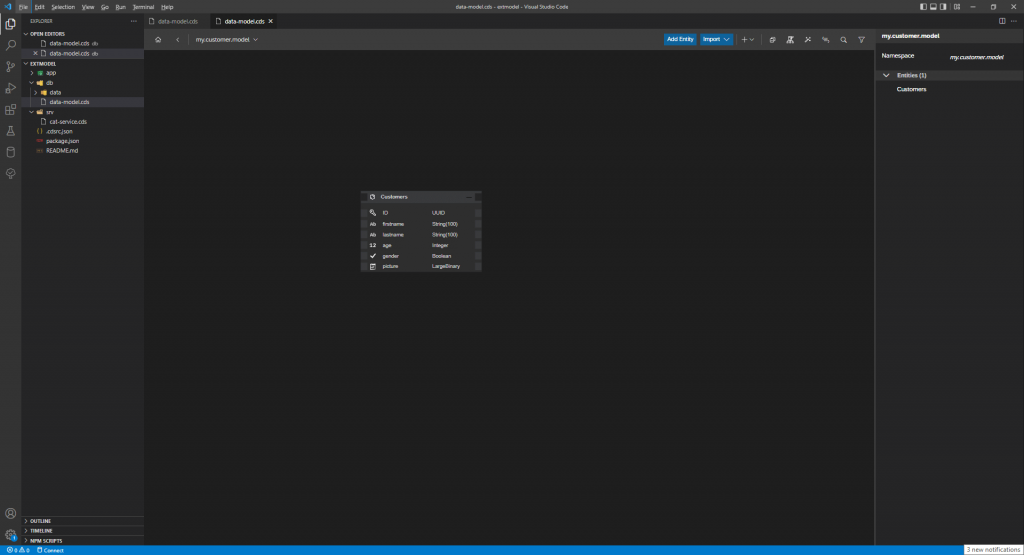
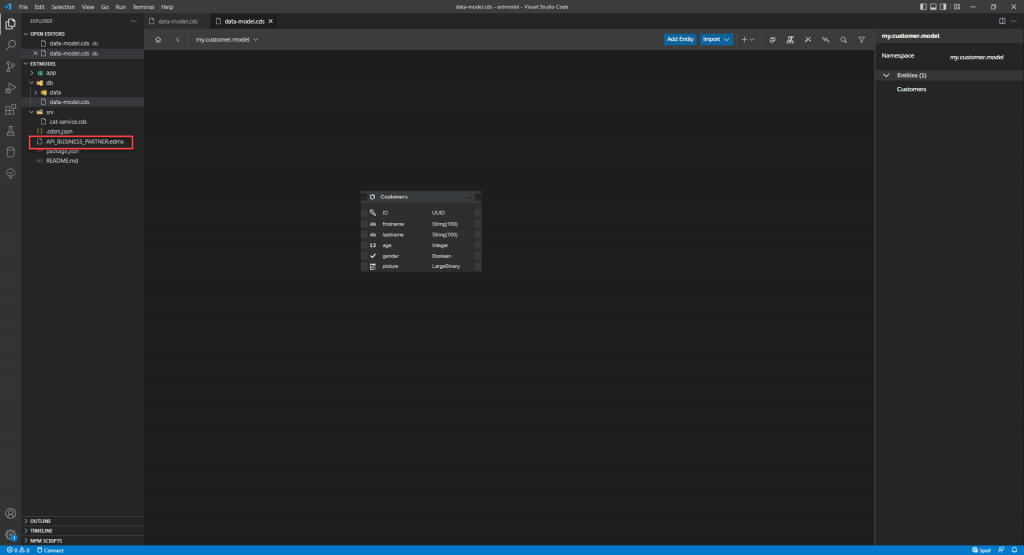
Click “Create” button and close the dialog, and you will see that the new “Customers” entity has been created:
Now before importing the external data model, copy the edmx file that contains the OData model to your project:
You can also look into the OData model through the OData CSDL Modeler which is also a VSCODE extension by installing the tool at https://marketplace.visualstudio.com/items?itemName=SAPSE.vsc-extension-odata-csdl-modeler.
Open the edmx file using the CSDL modeler:
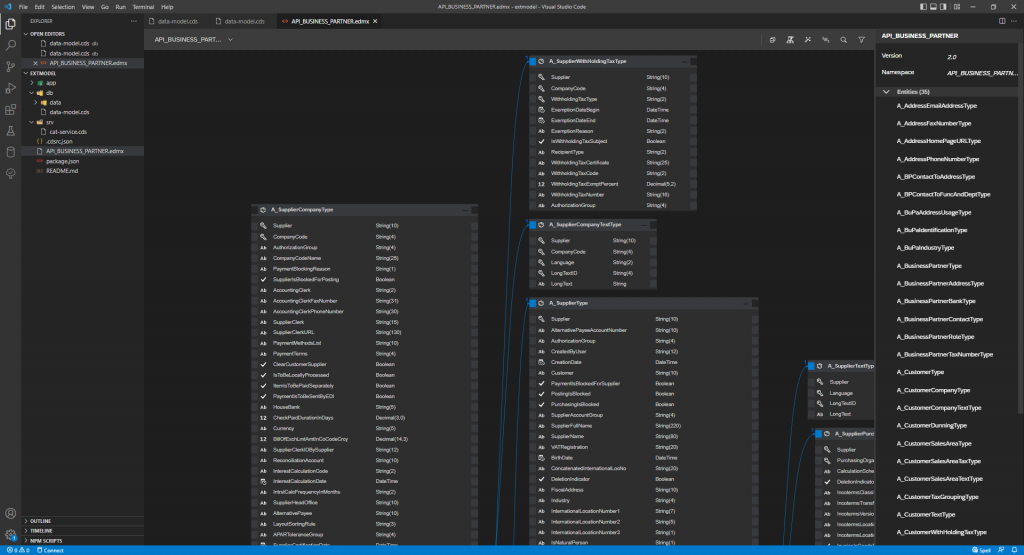
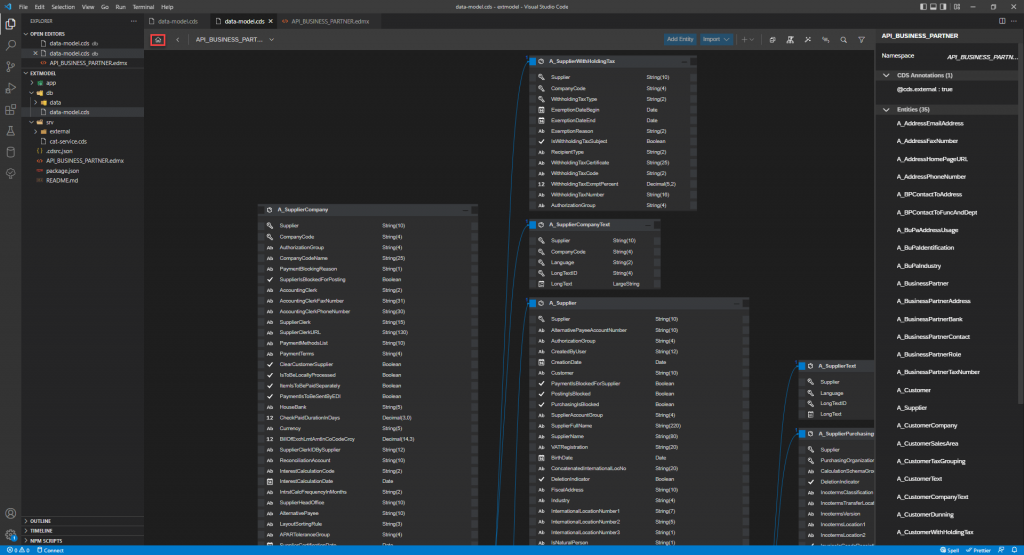
Since the imported edmx file contains a complex OData model, you can locate the external model by clicking the “Search” button from the toolbar that launches the entity search dialog:
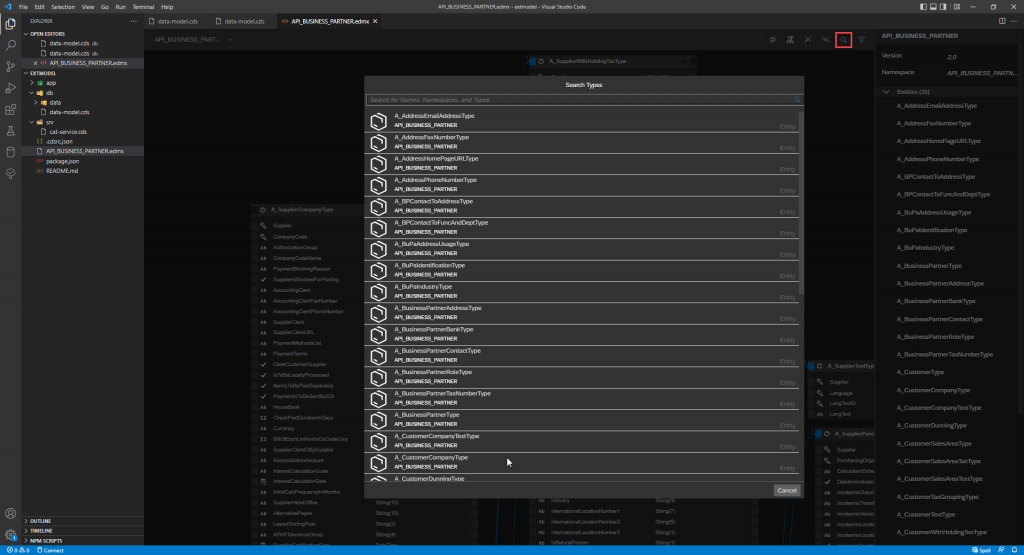
Suppose you’re importing the “BusinessPartner” entity into your CDS model, now type “businesspartner” to locate your entity:
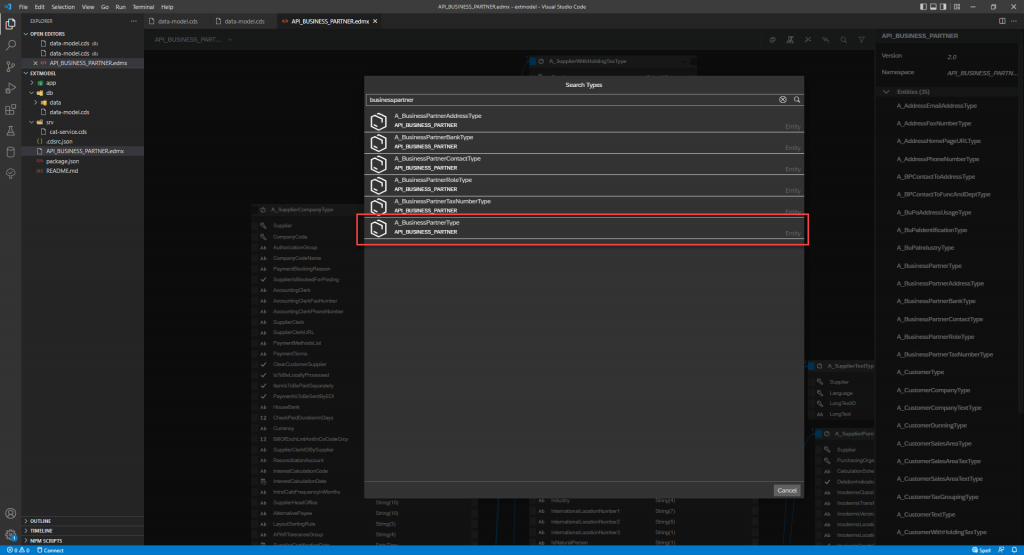
Click the entity type in the list:
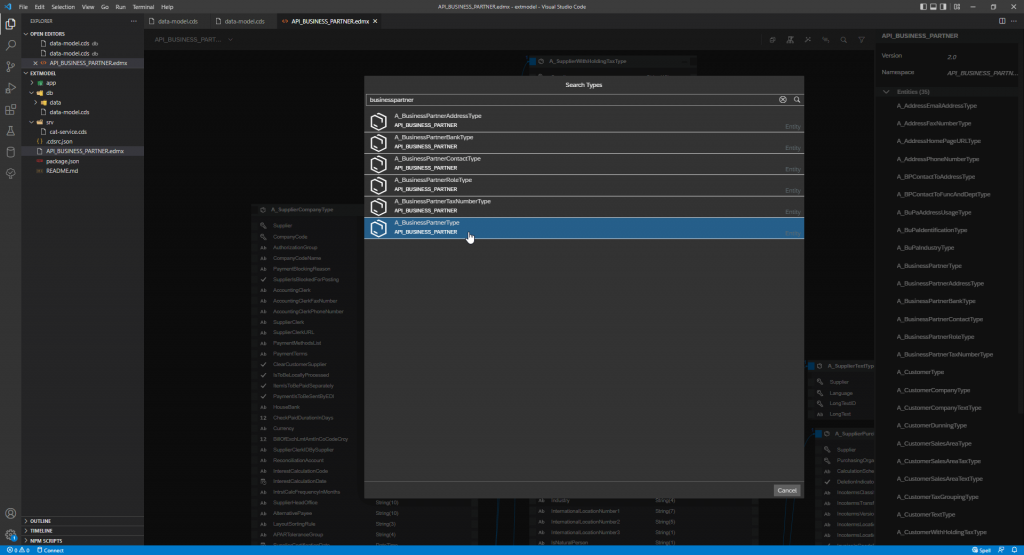
The entity will be shown in the canvas. You can then check the details of this entity from both the canvas as well as the property sheet:

Importing an External Data Model using CDS Graphical Modeler
Let’s go back to the CDS model. Click “Import” button on the model:
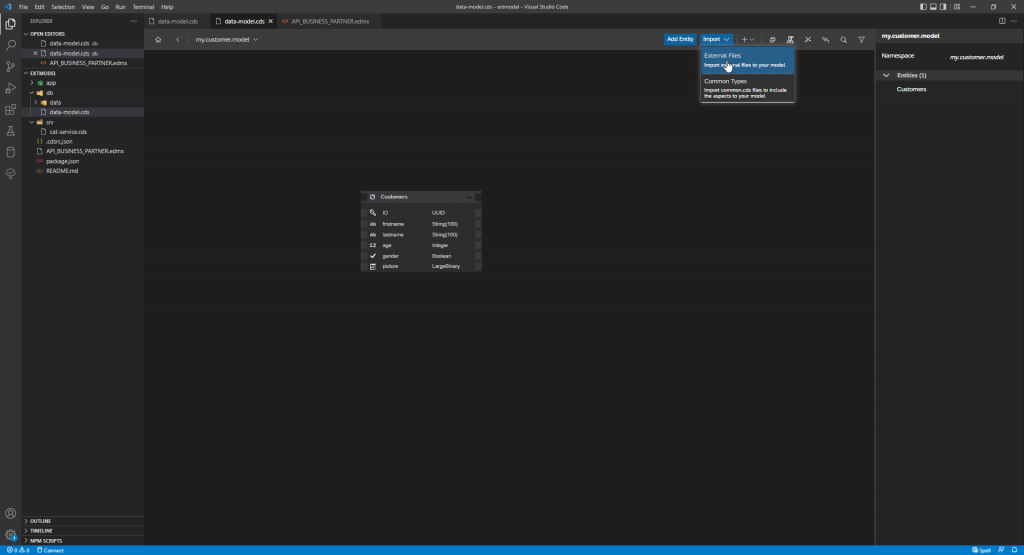
Click “External Files” menu item:
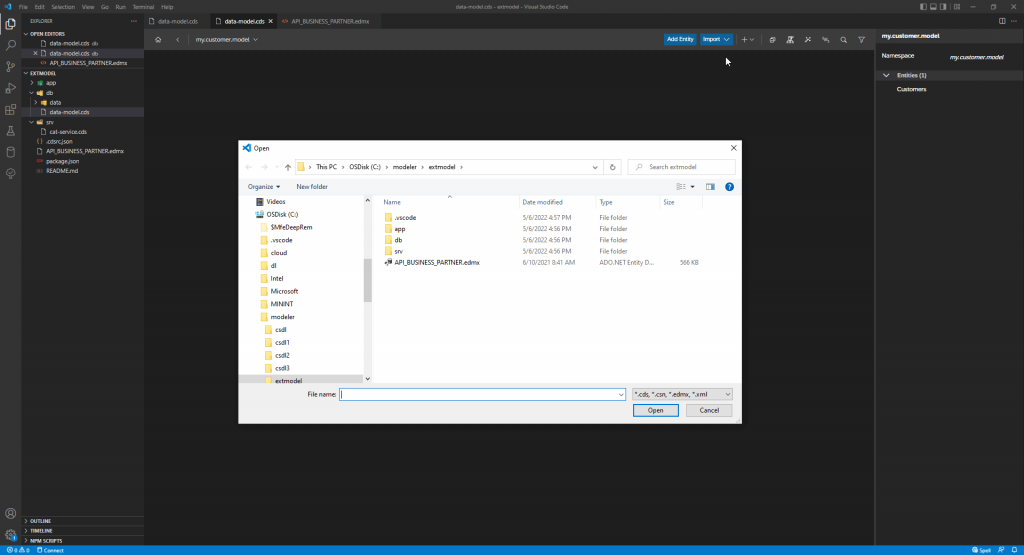
Select the edmx file and click “Open” button to close the dialog:
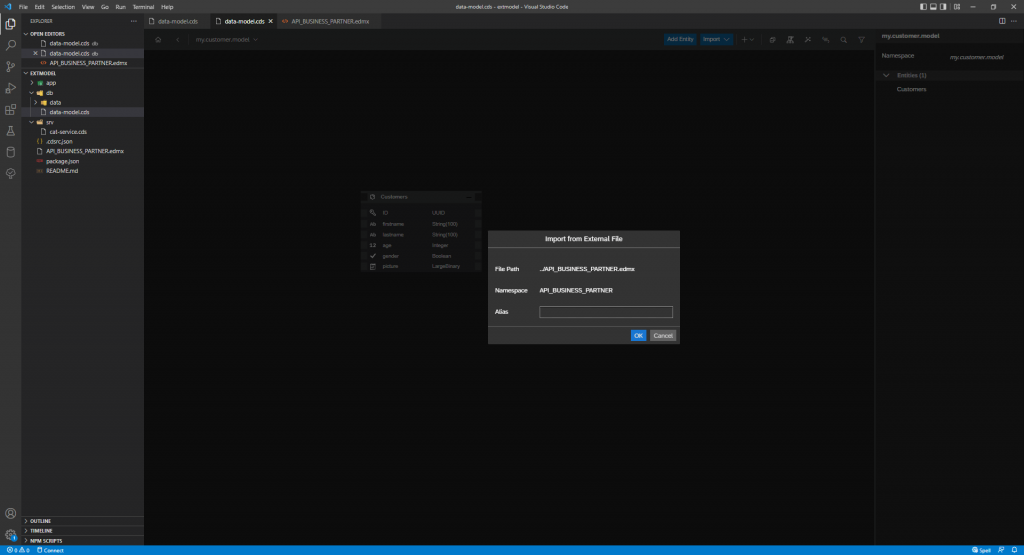
You can optionally provide an alias for the imported data model, otherwise click “OK” button to finish the import. CDS model will navigate to the imported namespace automatically:

Click the “Home” button to go back to your main CDS namespace:
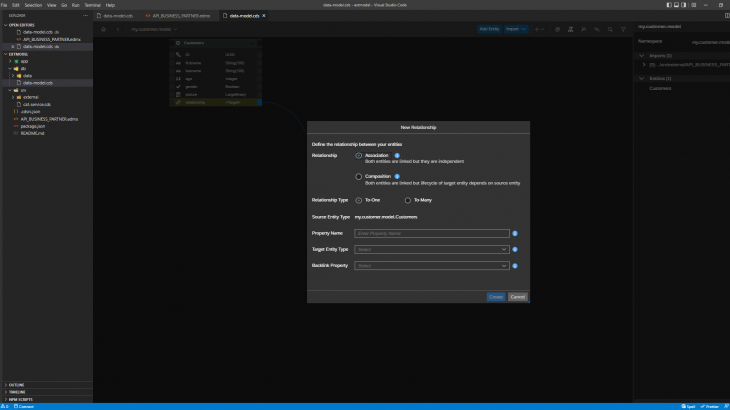
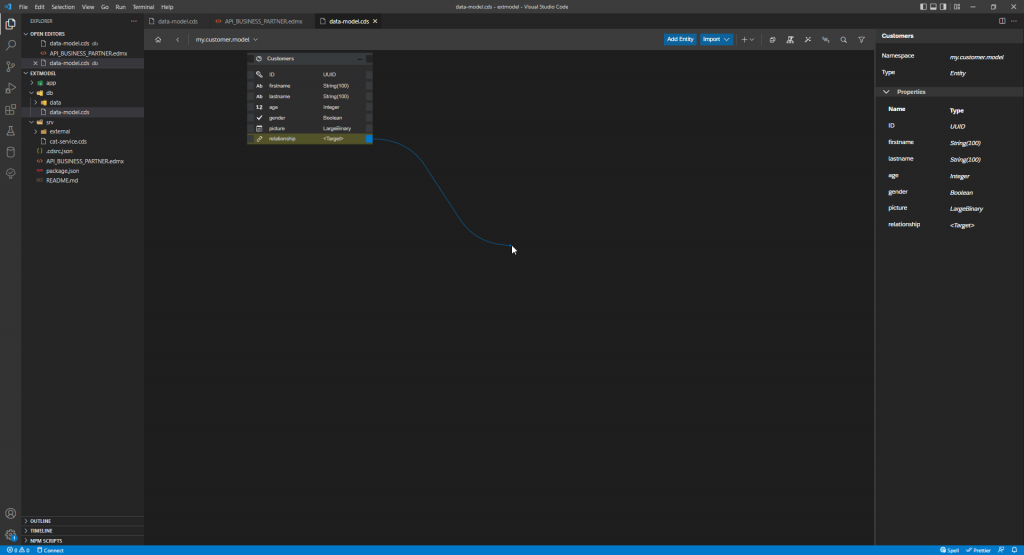
If we try to create an association from the newly created “Customers” entity to the business partner entity, select the entity and click “Add Relationship” context menu:
You will see the linkage line moving along with your mouse.
This will launch the relationship dialog:
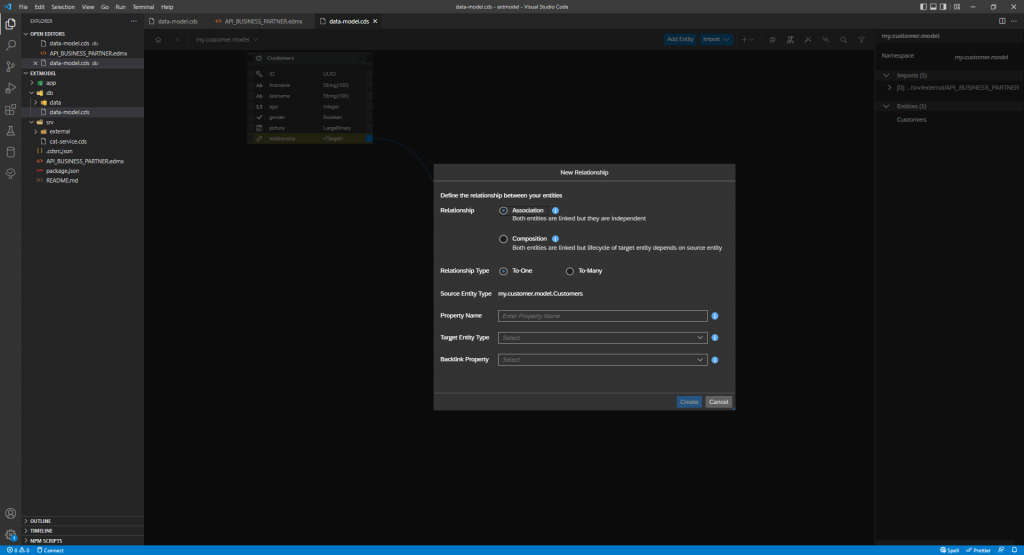
In the “Target Entity Type” drop down list, type in “businesspartner” to filter the entity types:
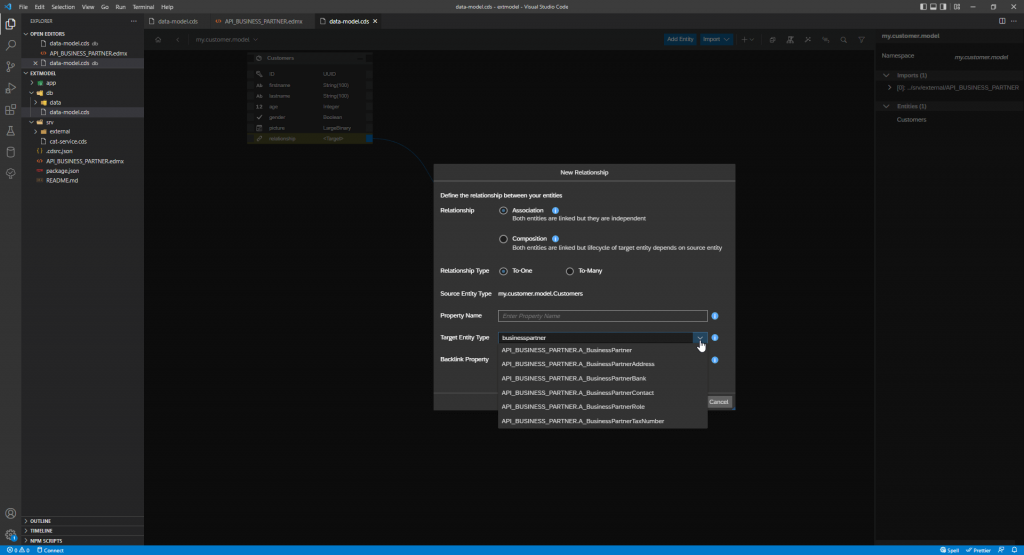
Select the business partner entity from the drop down list:
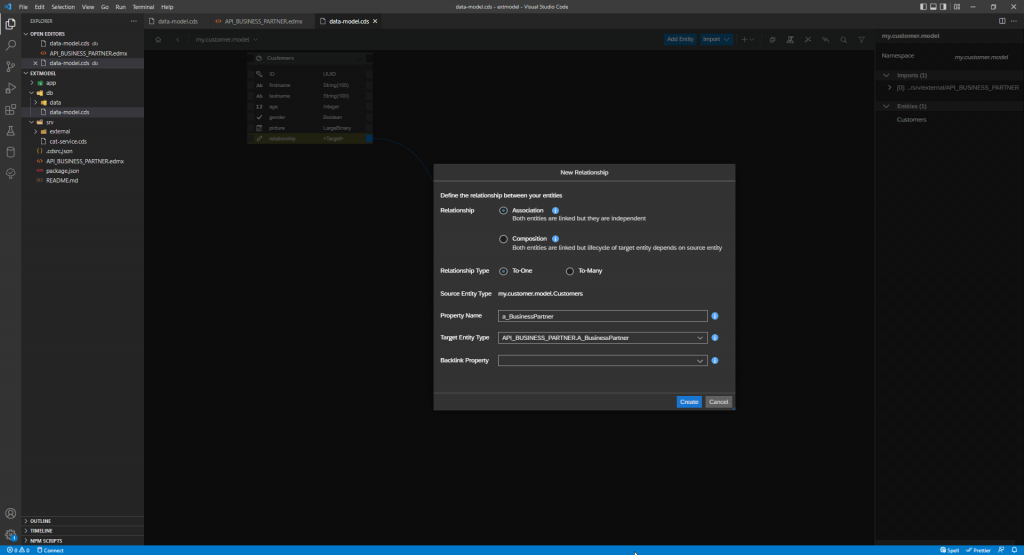
Click “Create” button and close the dialog:
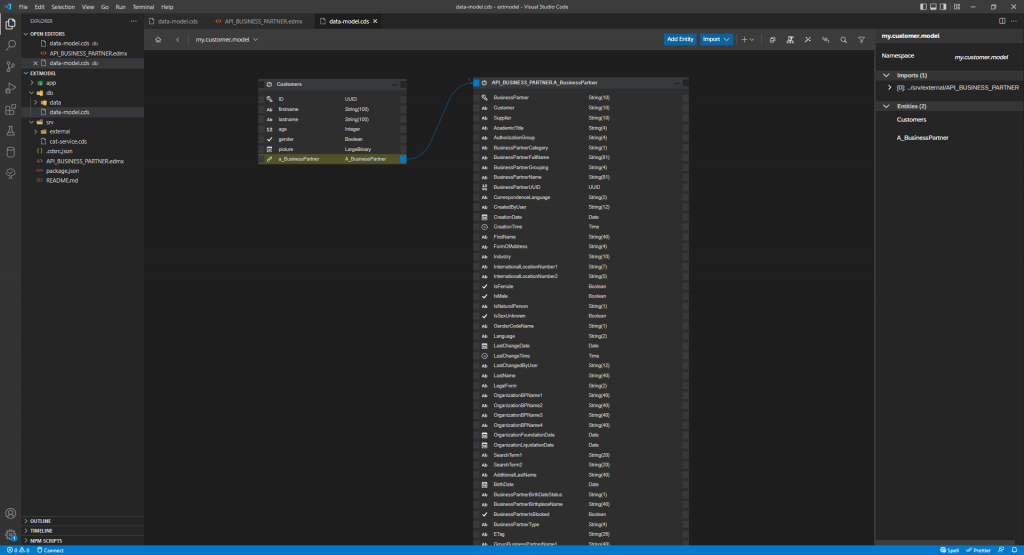
Now we have successfully created a managed association from our data model to an external entity that is from an imported OData model in an edmx file.


