In this blog we will learn how we can filter our data in SAP AppGyver using Data entity. For this blog I will be using Northwind oData for my backend and how we can filter the data in our UI application.
Introduction
AppGyver is a low-code/no-code (LCNC) platform designed to streamline app development. AppGyver’s core feature, has a drag-and-drop interface that allows users to add buttons and animations, create dropdown menus, import data, and build automated workflows. Think of it as an online editor where you can enter data to draw business processes or workflows within the app.
Working with SAP AppGyver, most of your time will be spent in the app builder.
It allows you to:
- Define your app’s structure and navigation logic
- Build pixel-perfect user interfaces
- Create complex logic with visual programming
- Integrate with external data resources
- Bind data to your components to create dynamic views, and more.
Solution
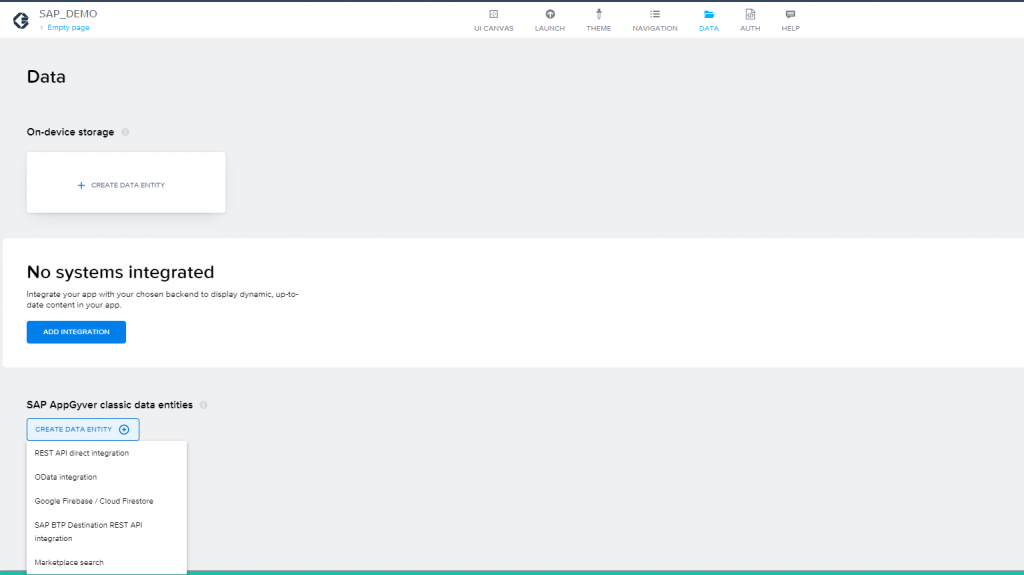
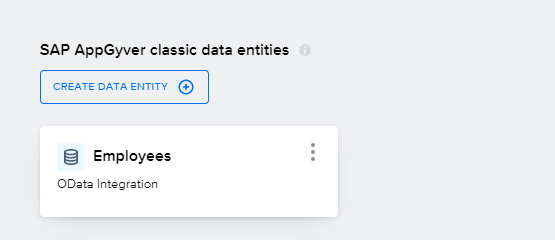
To start with, we are going to create a data entity which will fetch our backend data. Click on create data entity and then click on oData integration.
Enter the URL and verify it. Then select your entity and do a test run to verify the data. Save data resource.
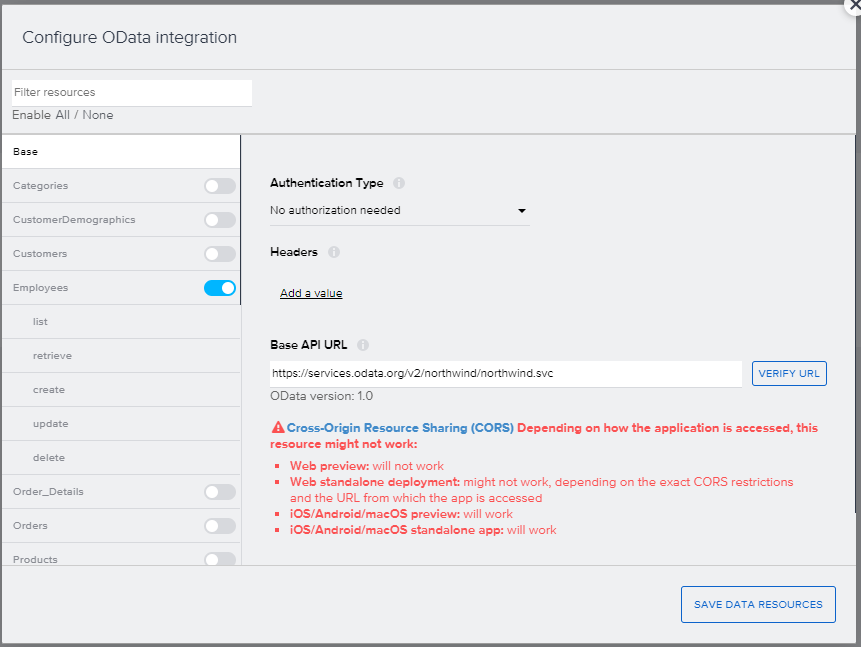
An entity will be created
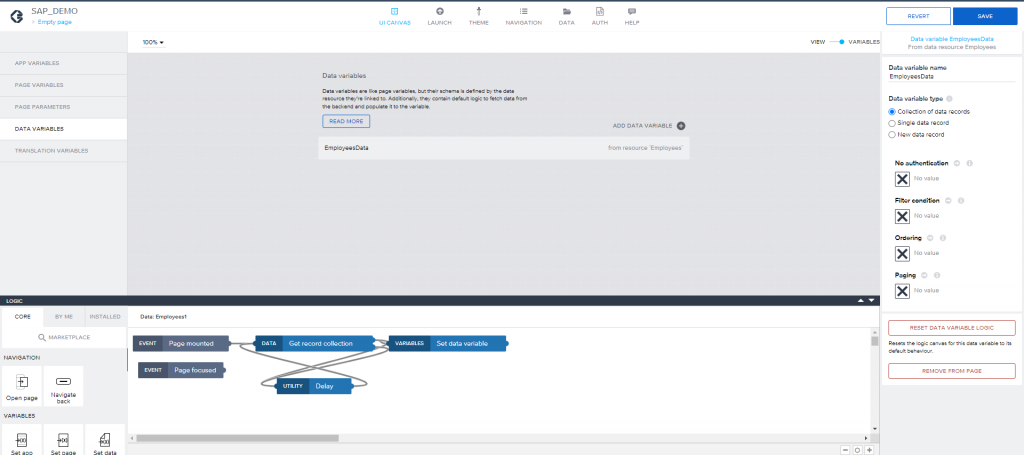
Now create a Data variable using the same property as defined in the screen shot and click on save. We will use this property to bind it with our list on the UI.
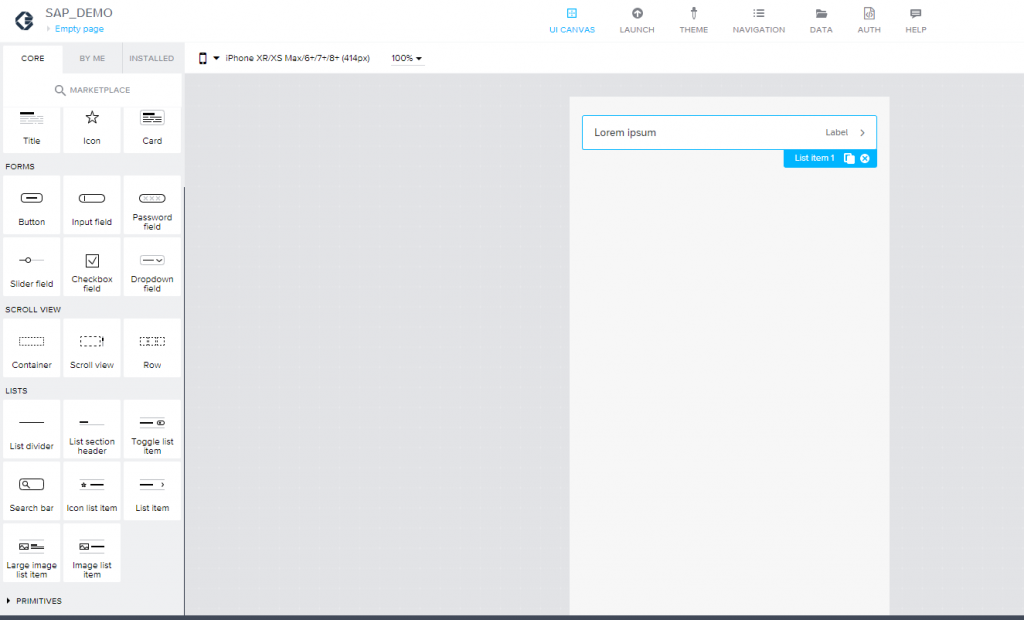
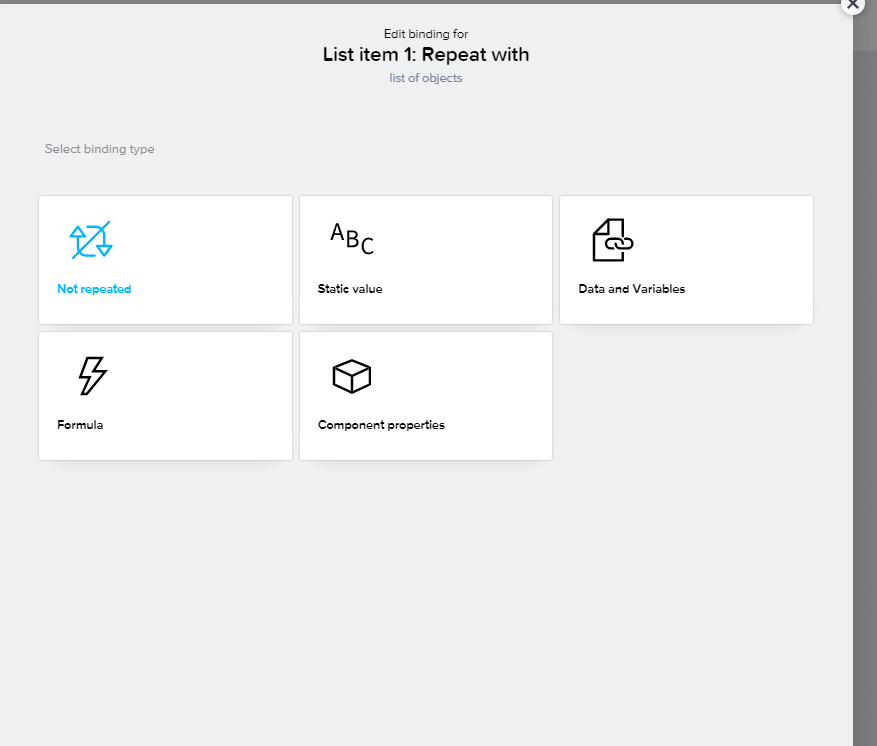
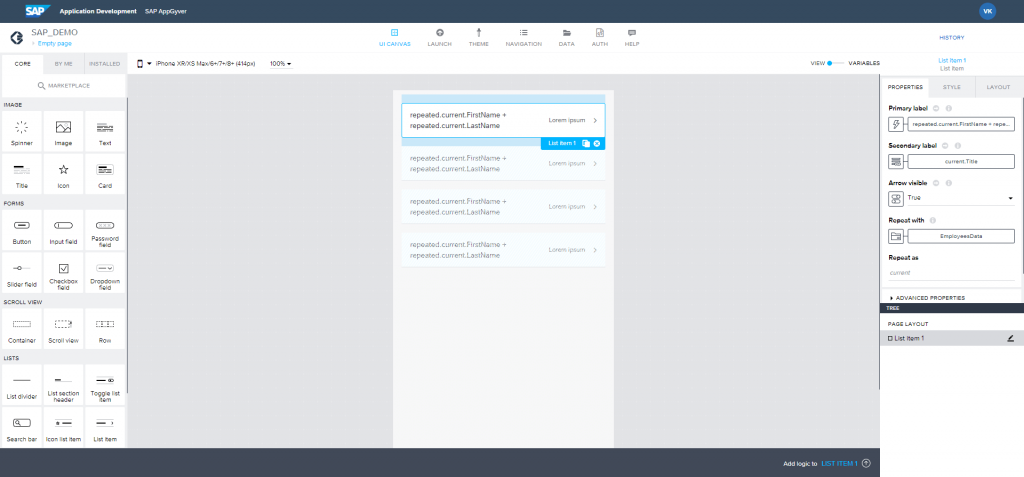
Now we have to create a basic list to use this entity in our UI. So, we will create a list item by drag and drop. Now click on the list item and select repeat with.
Now click on Data and Variables and then click on the Data variable created and save.
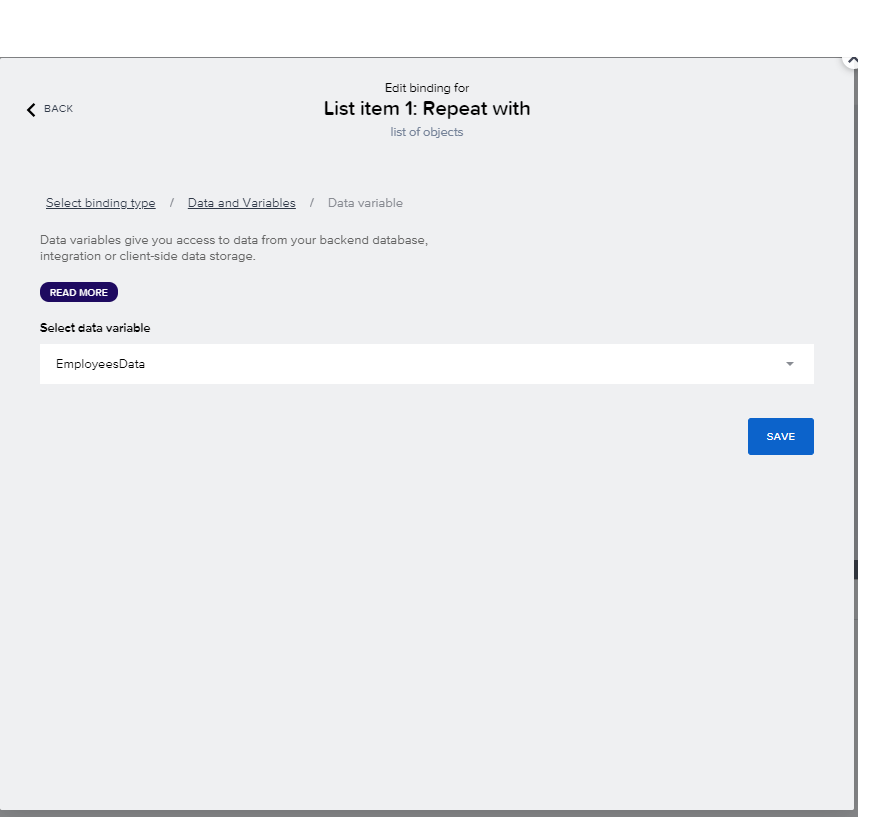
After binding the data to the list, the list item should look like in the below screen shot with repeated entries.
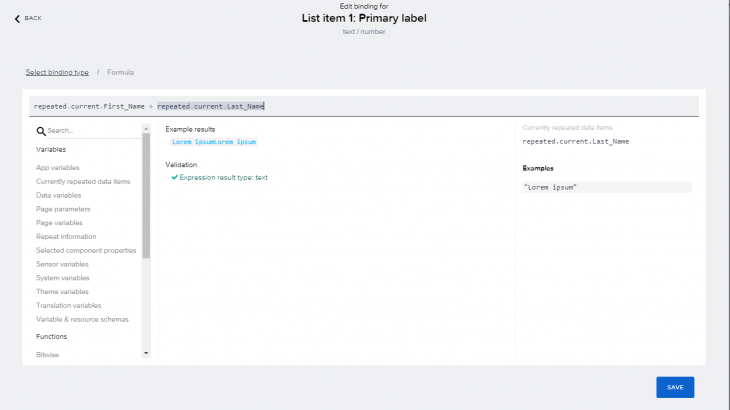
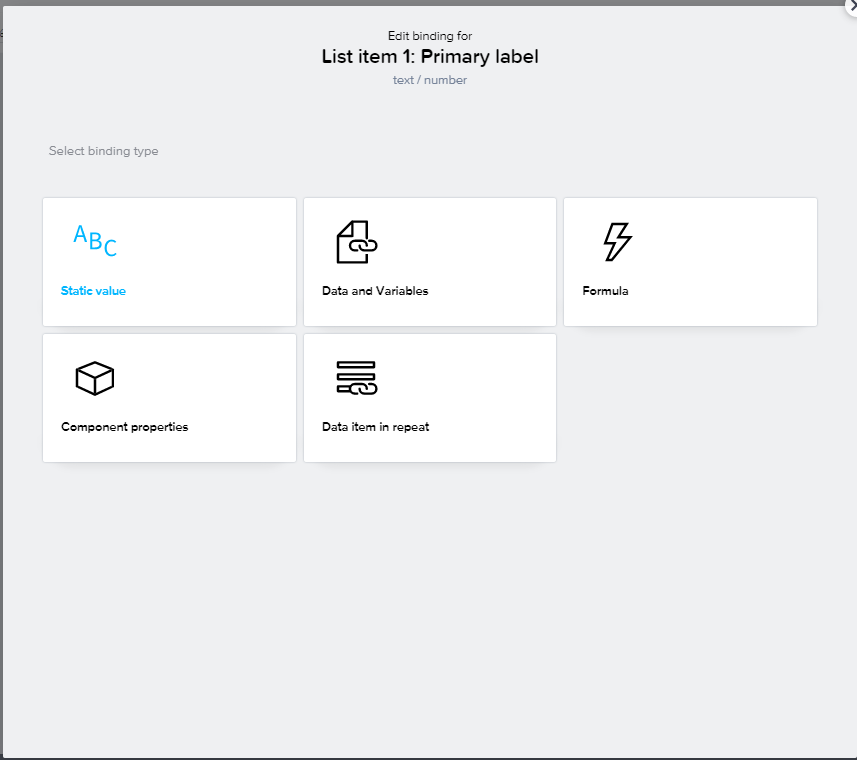
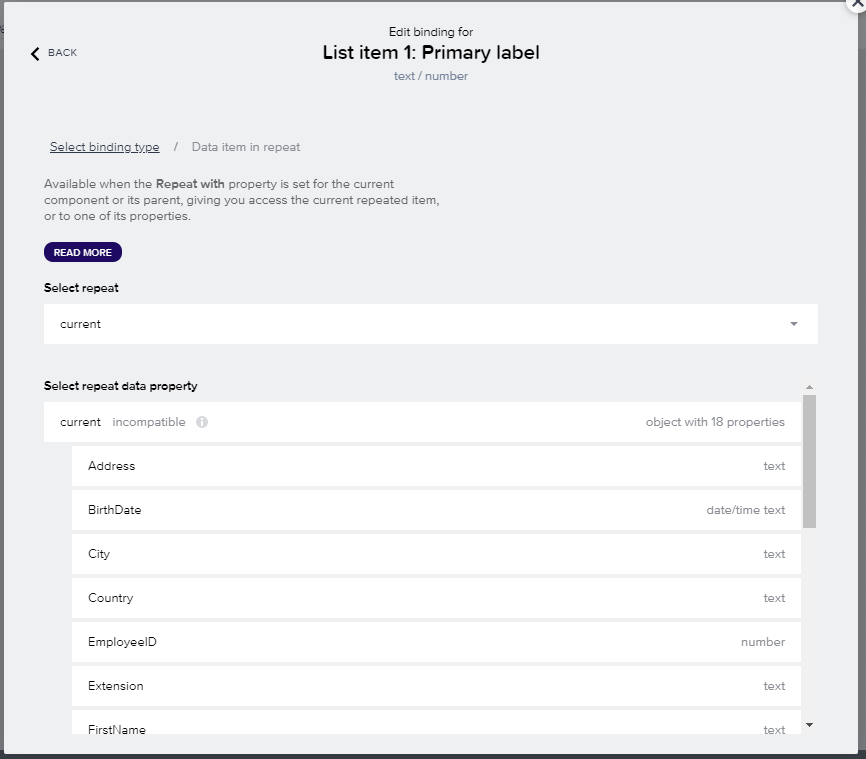
Now we have to bind our Primary and Secondary label. To bind click on the button ABC and then click on Data item in repeat.
Select your field and save it.
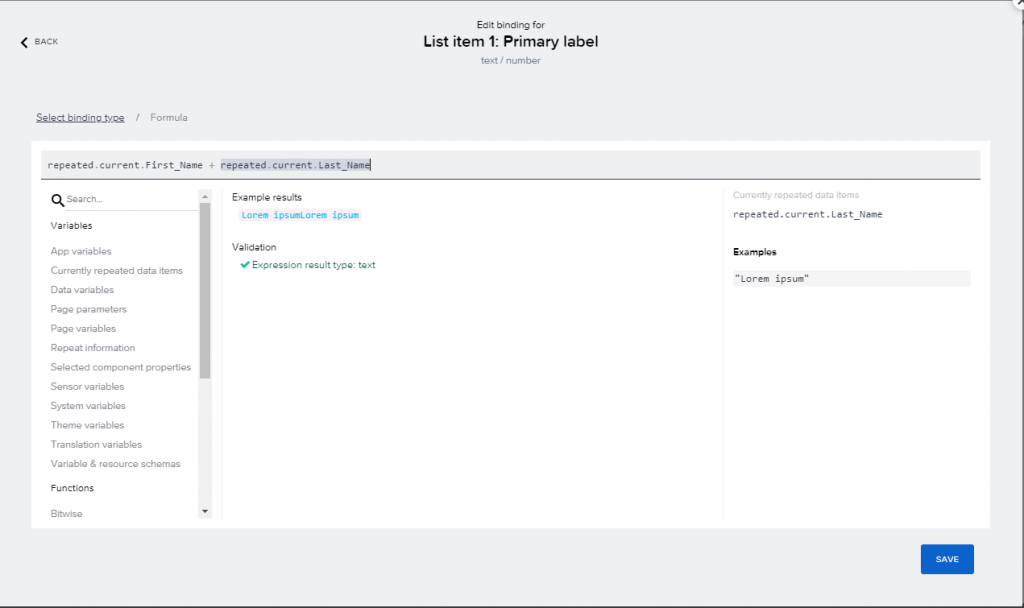
We can use formula too, here I am concatenating first name and Last name of Employee.
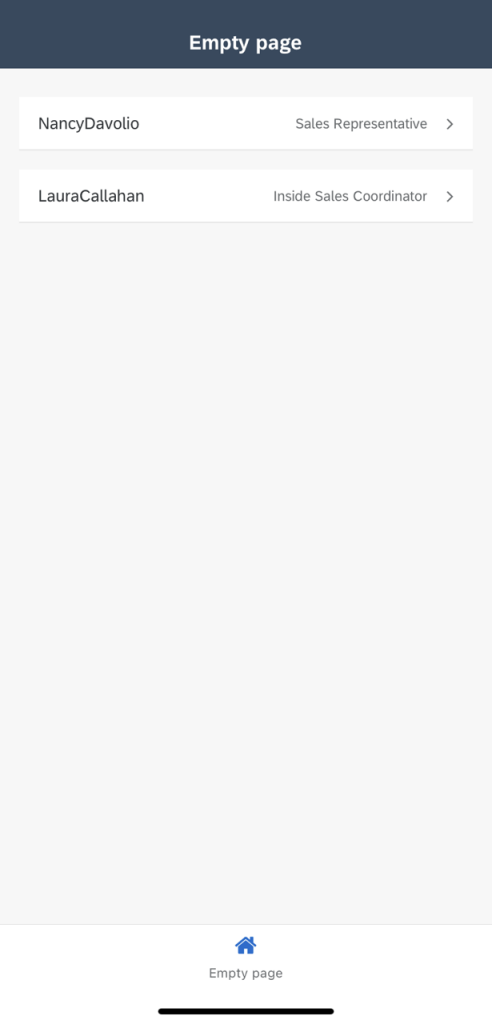
Now once binding is done for all fields, we can preview our data by downloading the SAP AppGyver app from PlayStore/AppleStore and scanning the QR code. The QR code can be obtained by clicking on the Launch button in home screen. I am skipping this part for users. once we complete all the steps, we will be able to preview our app in mobile.
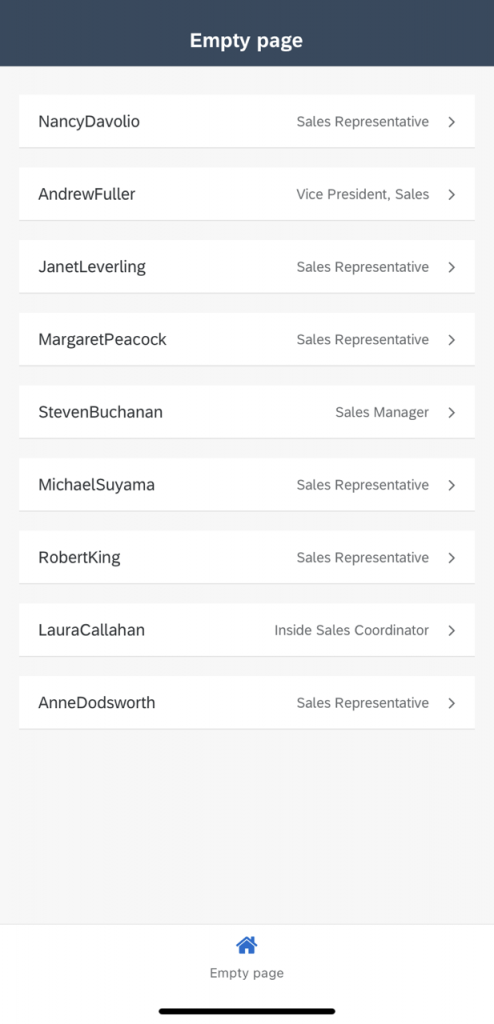
This is our expected output result.
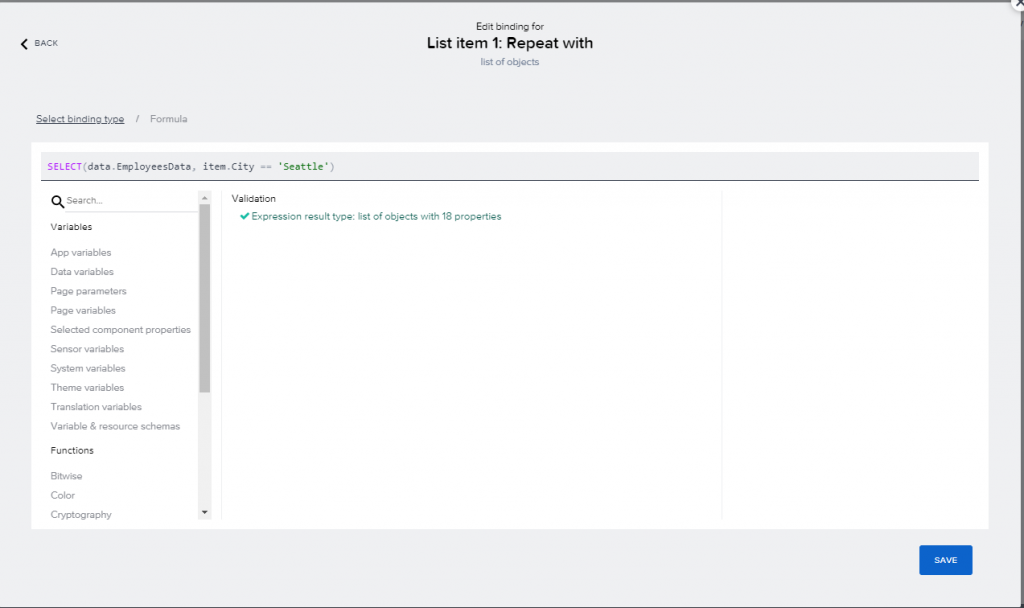
Now we are all set to use a filter in our list. To use the filter, we have to click on repeat with button, select formula and replace our query as mentioned below and click on save.
SELECT(data.EmployeesData, item.City == 'Seattle')
Once we save all our changes, we can see our preview again in mobile app, we will get the list of data which matches the city ‘Seattle’.