This guide will explain how you can check the installation of your Desktop Agent for SAP Build Process Automation to ensure that you are all set to start building your automated processes. We will walk through the steps to capture a webpage, enter text into that site, and then simulate clicking the “Enter” button.
Why would you want to do this?
Creating a quick “Hello World” project is a great way to check that everything is properly configured with your agent while familiarizing yourself with the process building experience.
Requirements to follow this guide
- SAP Build Process Automation
- Desktop Agent
Note: Free tier does come with some limitations, but this project can be created with a free tier account. If you would like to create a free tier account you can follow this guide.
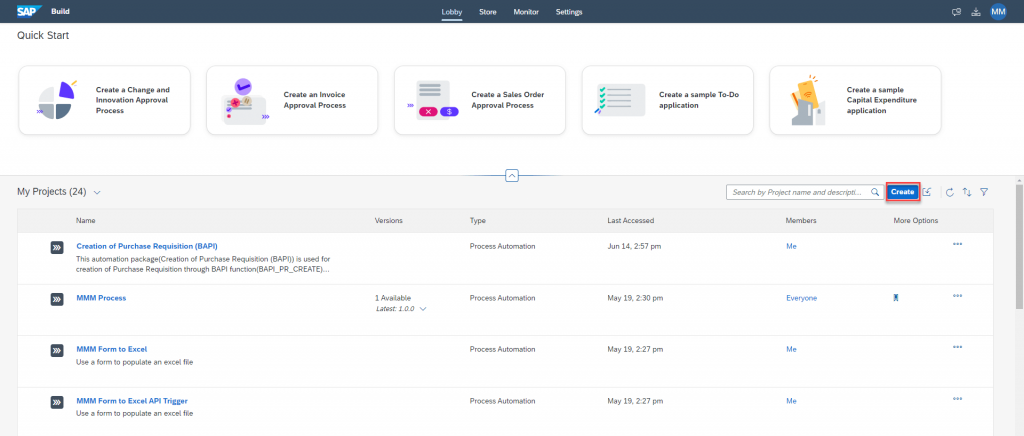
1. Open the SAP Build Lobby and click “Create” to start a new project
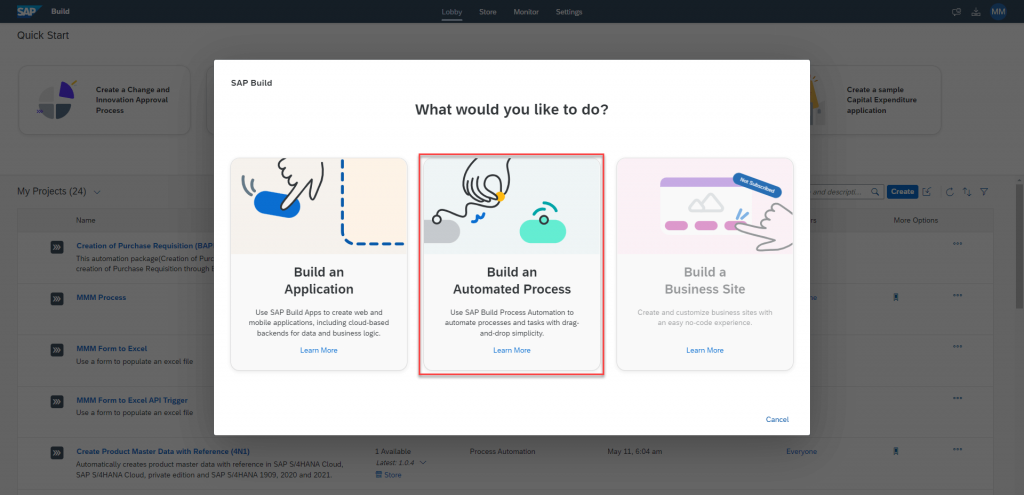
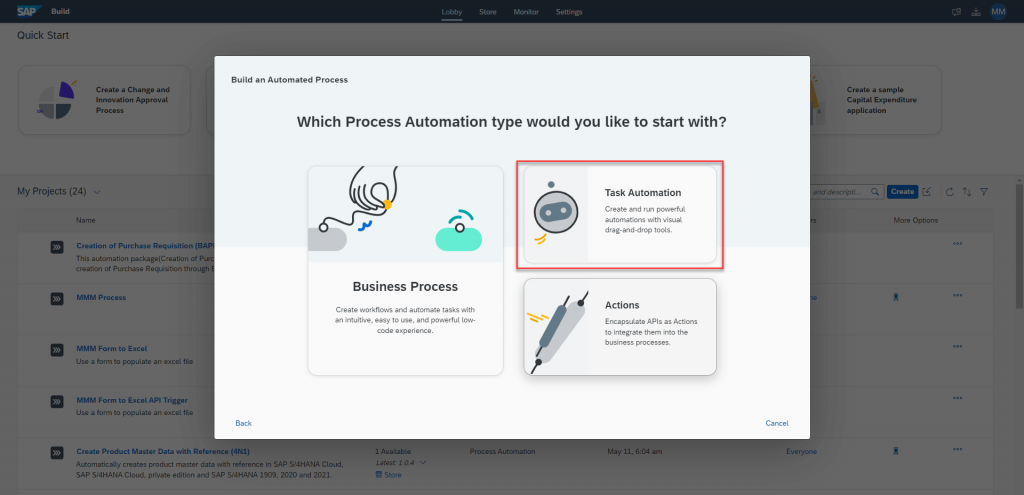
2. Select “Build an Automated Process” and then “Task Automation”
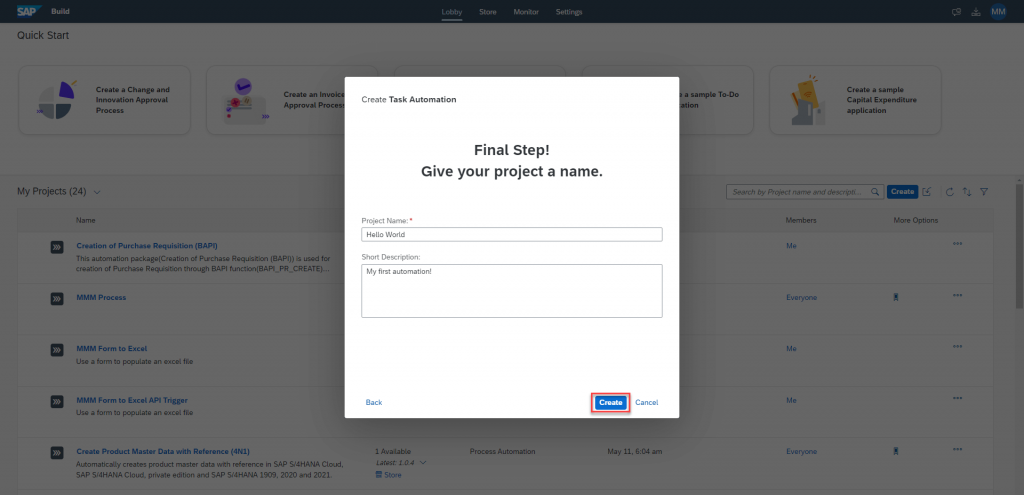
3. Name your project “Hello World” and add a description then click “Create” to launch the process builder
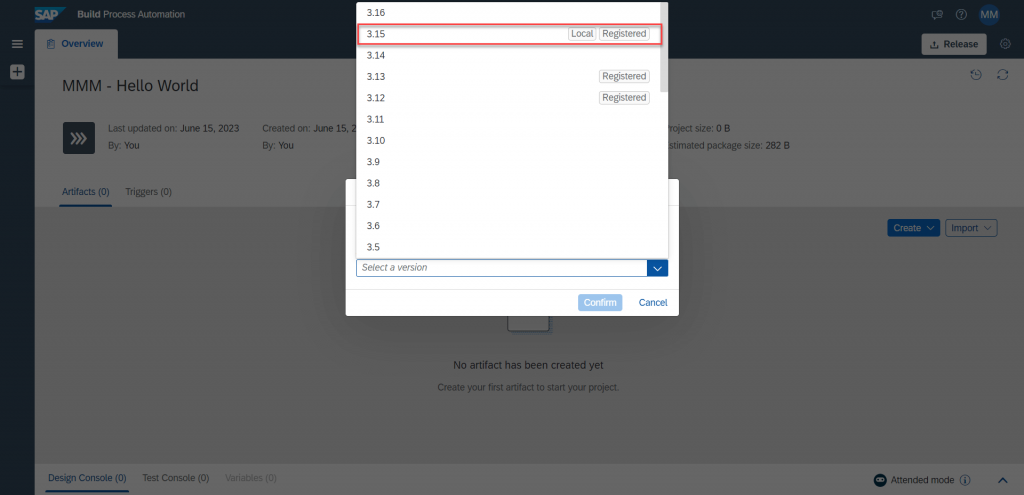
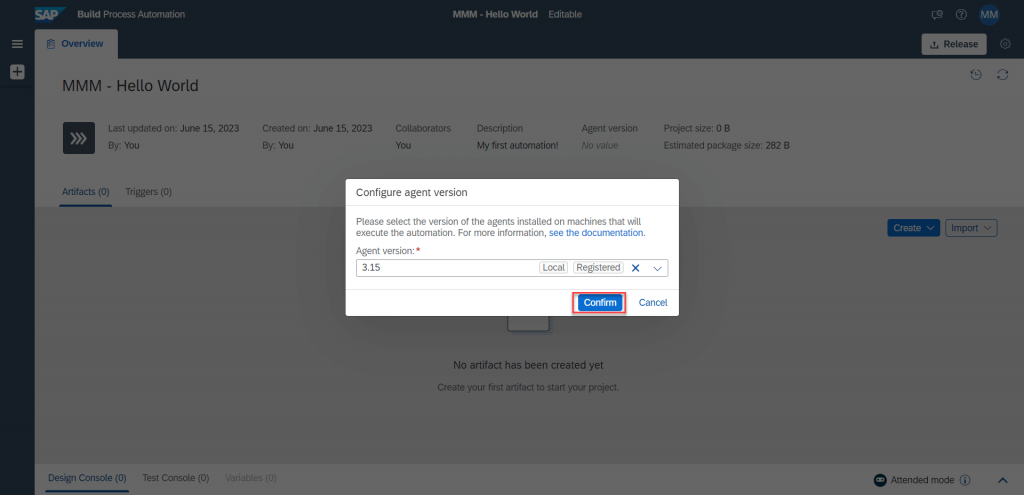
4. Select your agent version from the list and click “Confirm”. You should see “Local” as a tag for your version. This helps to ensure that everything you create is compatible with that agent version.
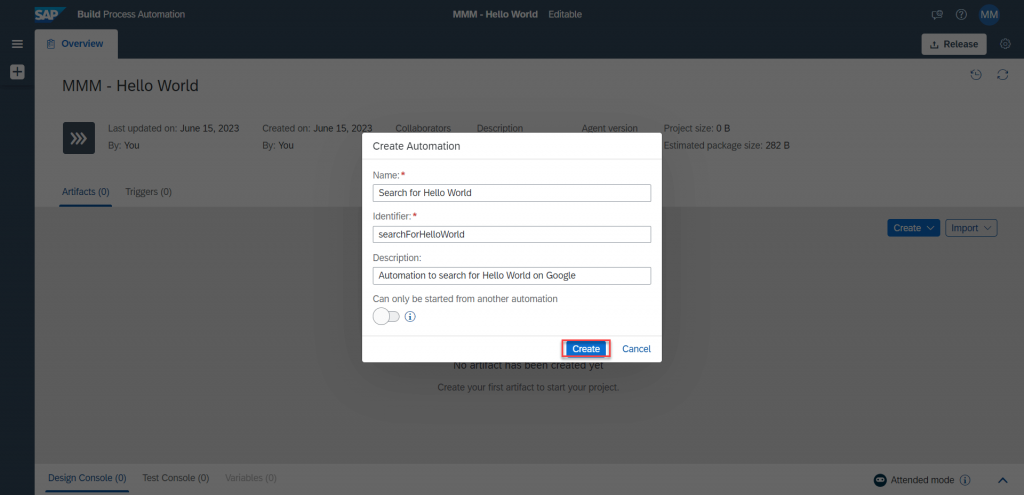
5. Give your automation a name and description then click “Create”
Note: The identifier will be automatically created based on the name you provide
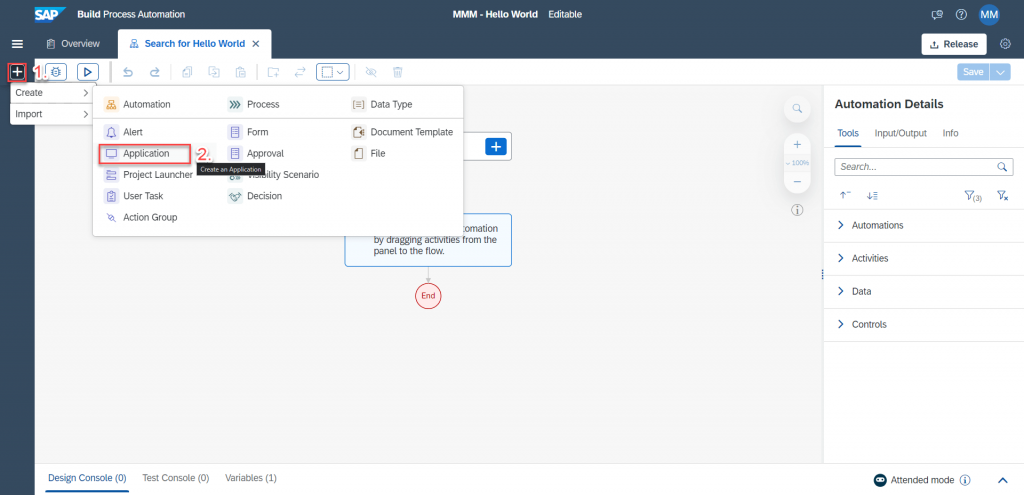
6. Before we add any activities to this automation we will need to capture our web page. To start this capture, click on the Create icon on the left side of the screen, then select “Application”
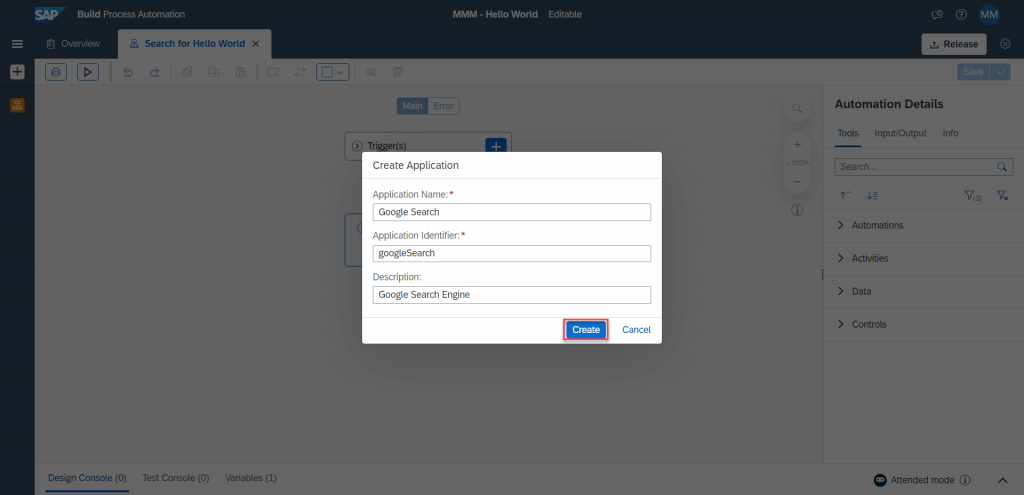
7. Similar to creating the automation, we will now give the application a name and description then click “Create”
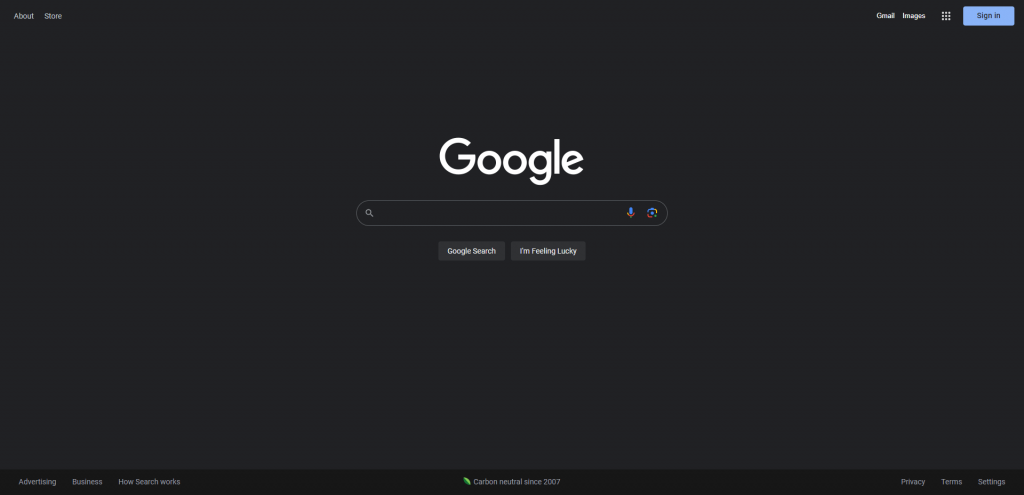
8. Open a new browser window and navigate to a website of your choice, for this example I will use google.com
Note: To capture a page it must be open in a separate window as the active tab
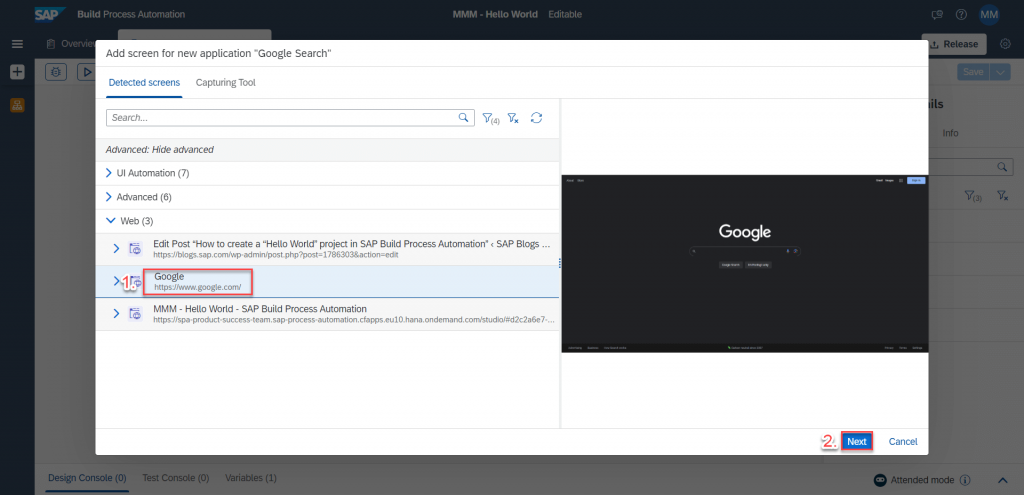
9. Return to your project in SAP Build Process Automation and select your web page from the “Web” section of the application capture tool then click “Next”
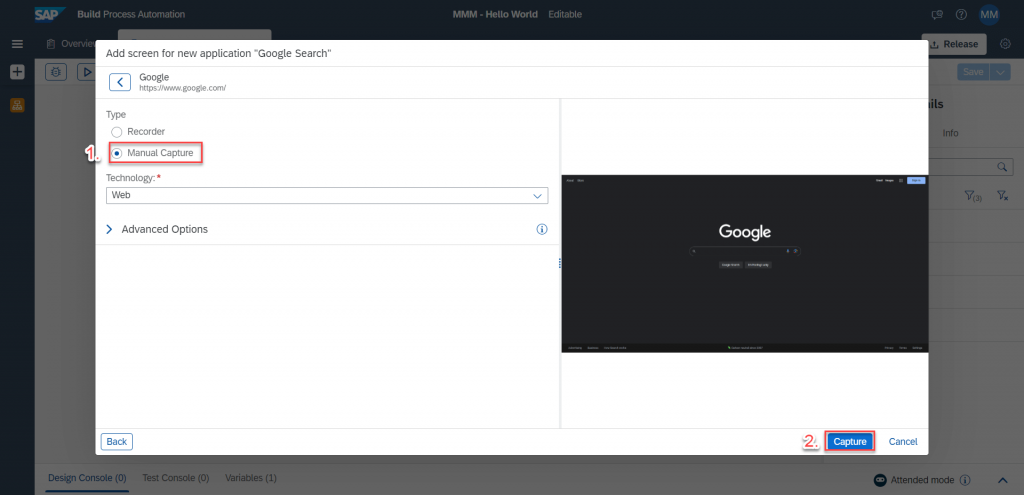
10. Select “Manual Capture” then click “Capture”
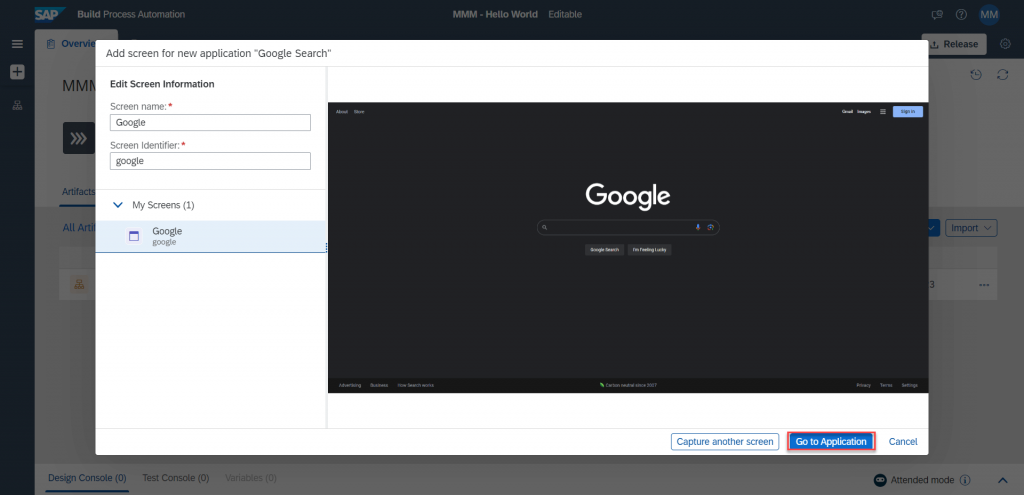
11. Click “Go to Application”
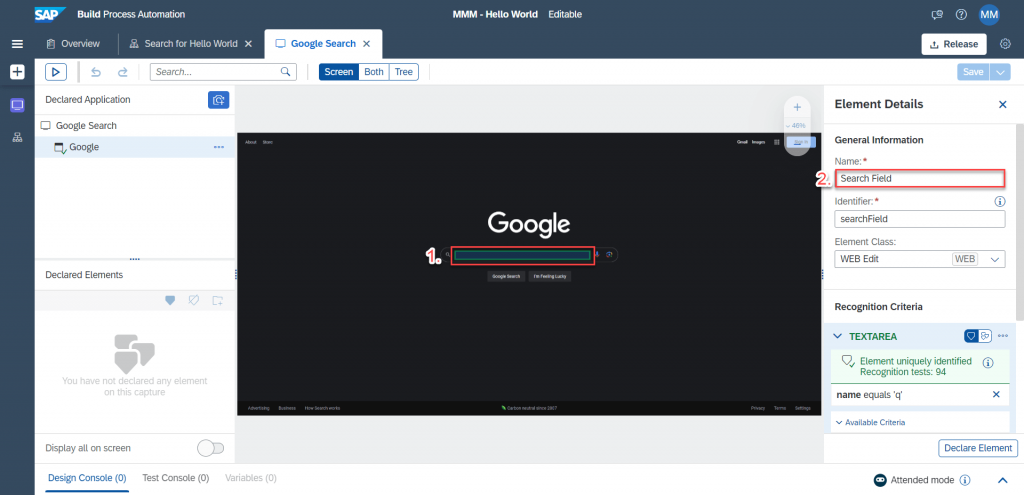
Now that we have captured the page we will capture the search field as an element
12. Click on the search field on the screenshot to select the element then set the name to “Search Field”
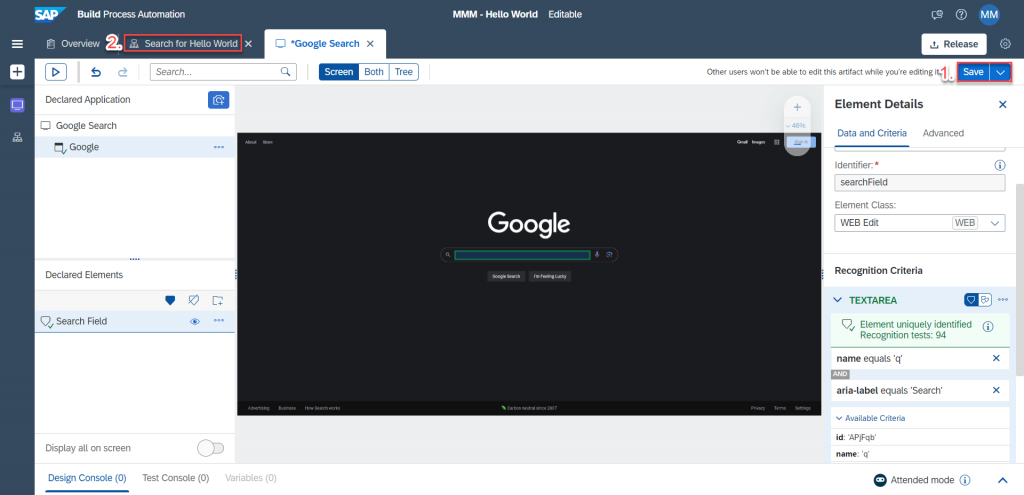
13. The capture tool has automatically selected recognition criteria, but we will enhance this by selecting another tag from the “Available Criteria” section on the right side of the window. Select “aria-label: ‘Search’” to add it to the recognition criteria then click “Declare Element”

14. Click “Save” to save this captured application, then return to the automation we created in step 5 by clicking on its tab within the project
15. Select “Screens” to open the list of captured screens then drag the “Google” screen from the right side list into the center of the automation canvas
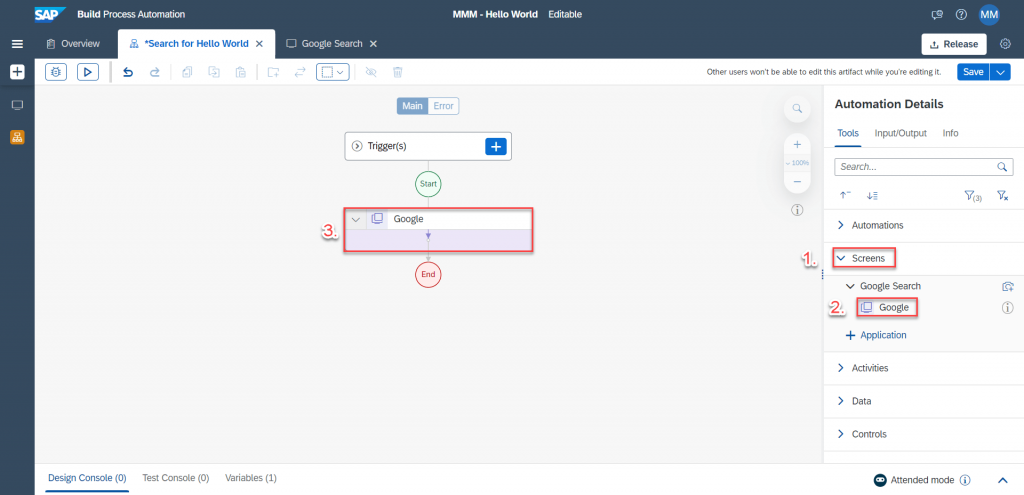
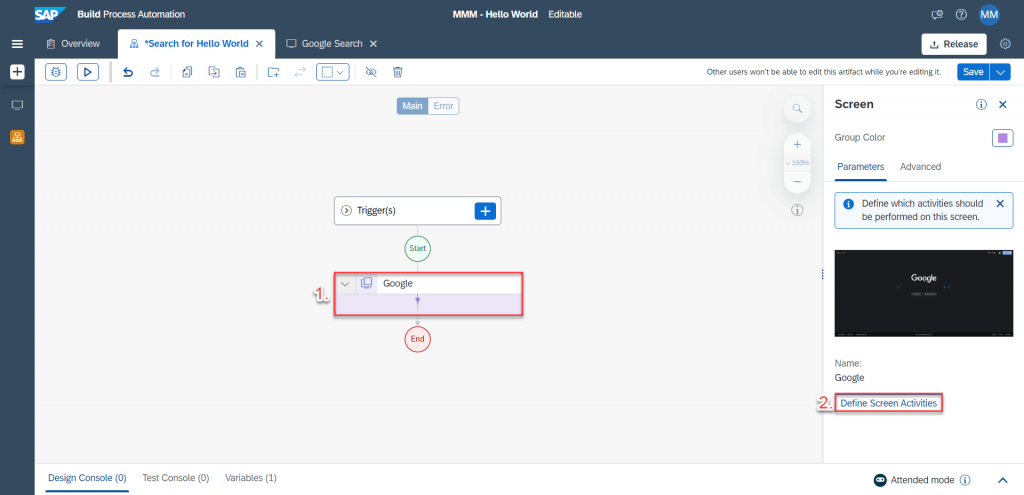
16. Click on the screen in the canvas then click “Define Screen Activities”
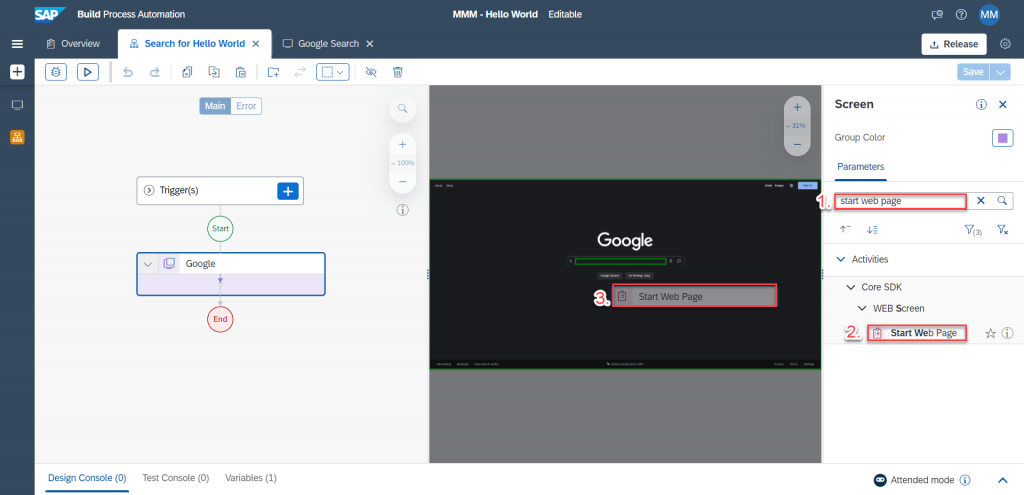
17. Search for “start web page” on the right side then drag the “Start Web Page” activity from the right side onto the screenshot of your captured page
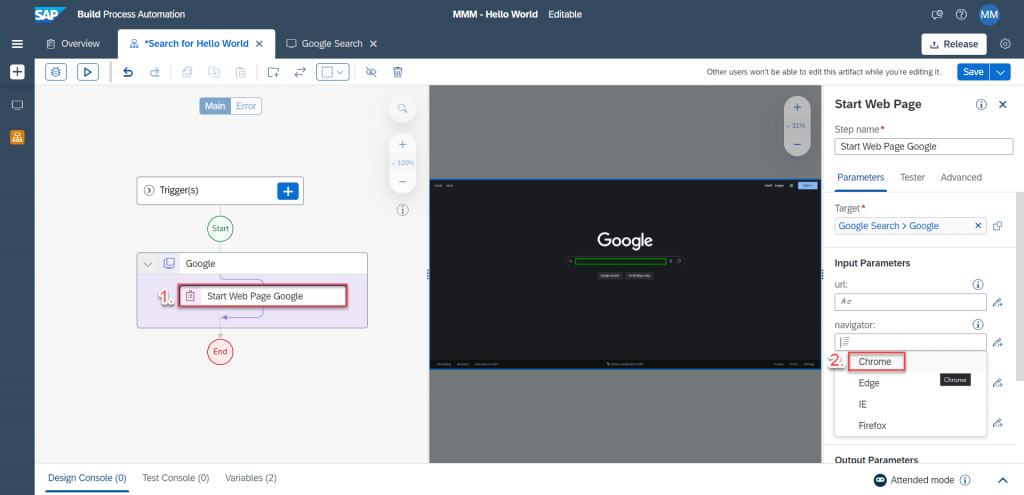
18. Click on the “Start Web Page” activity and then select “Chrome” as the browser in the list of input parameters
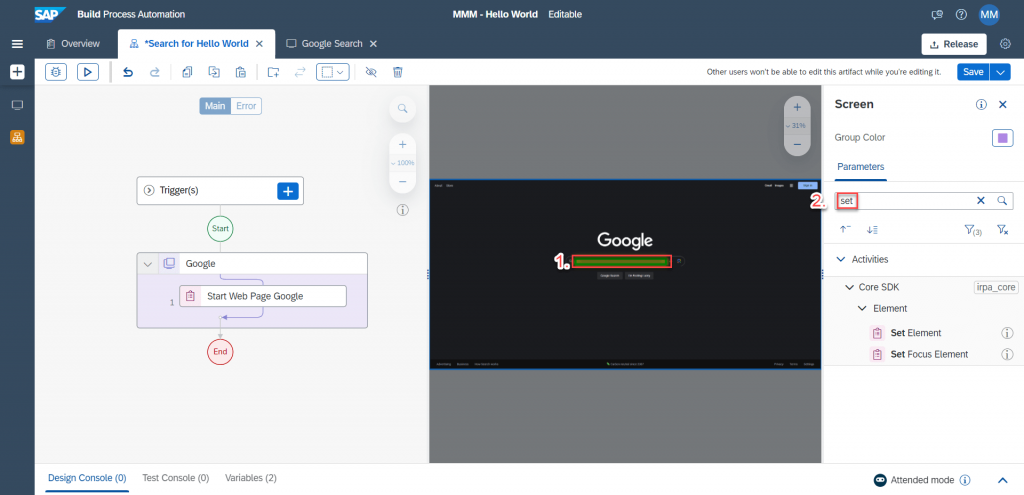
19. Click on the search field element within the screenshot then search for “set”
Note: Selecting an element like this will apply contextual filtering to the list of activities so that you only see relevant activities for that element
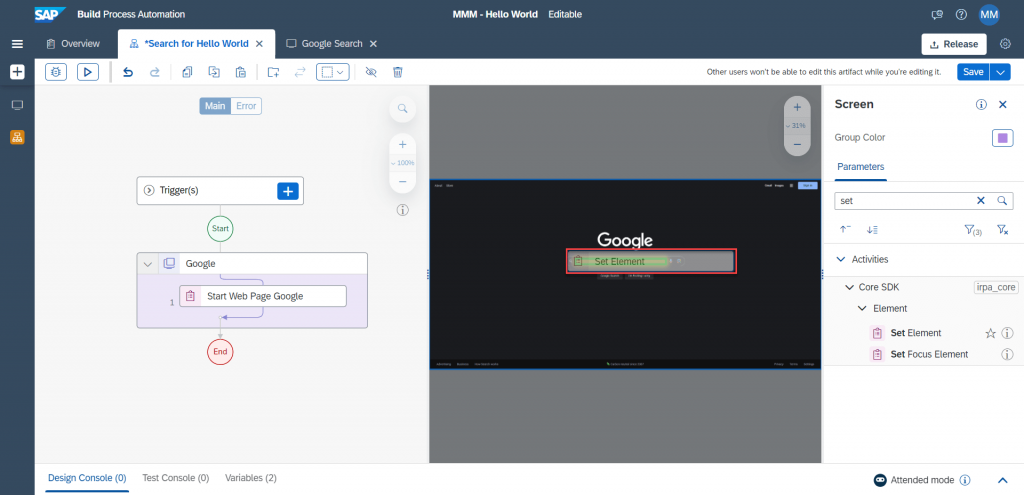
20. Drag the “Set Element” activity and drop it on the search field highlighted in green
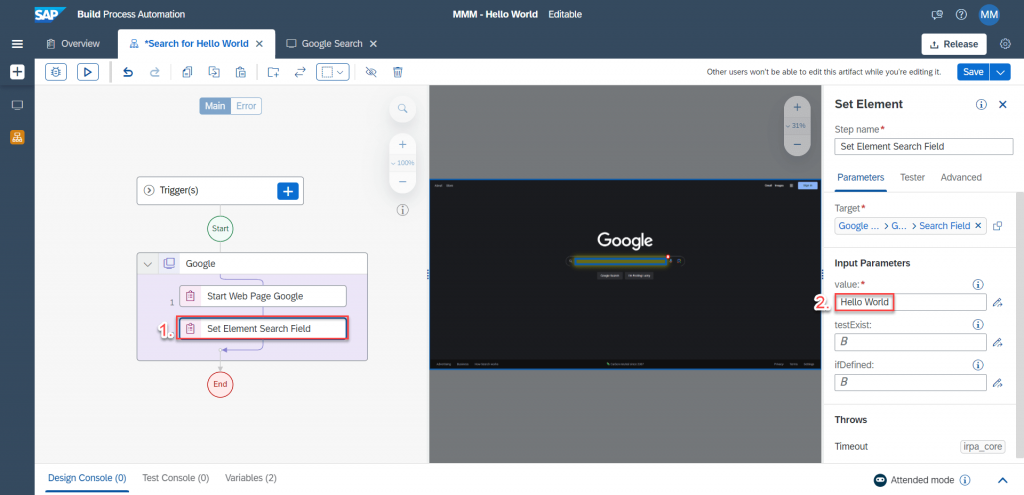
21. Click on the “Set Element” activity then enter “Hello World” in the “value” field in the list of input parameters
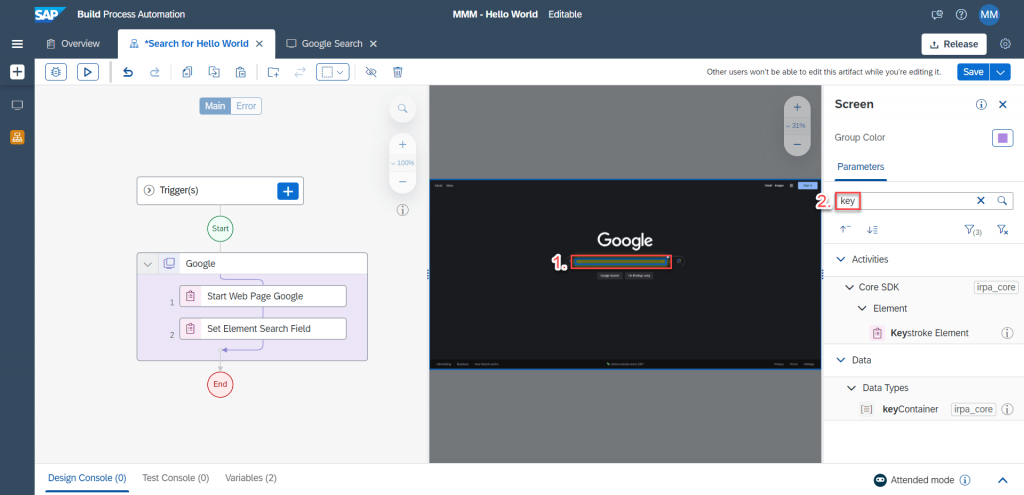
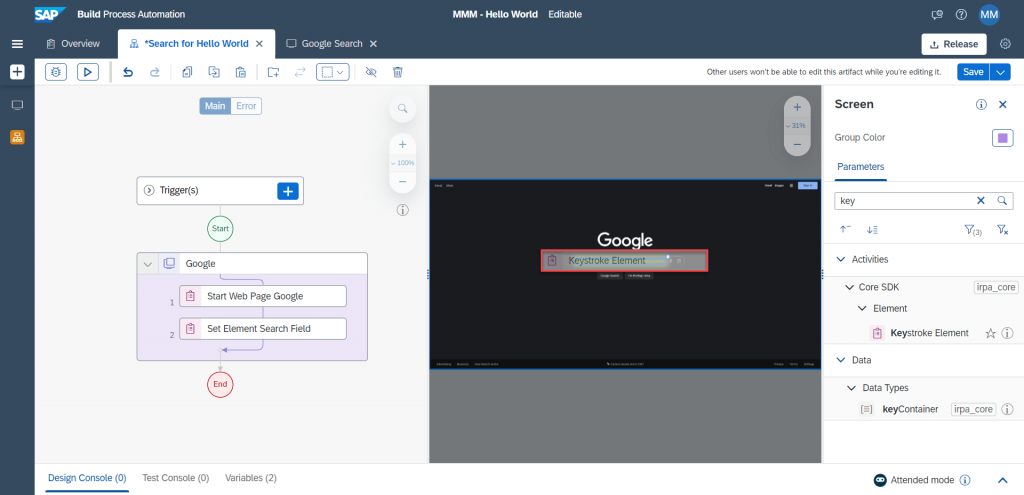
22. Click on the search field element within the screenshot then search for “key”
23. Drag the “Keystroke Element” activity and drop it on the search field highlighted in green
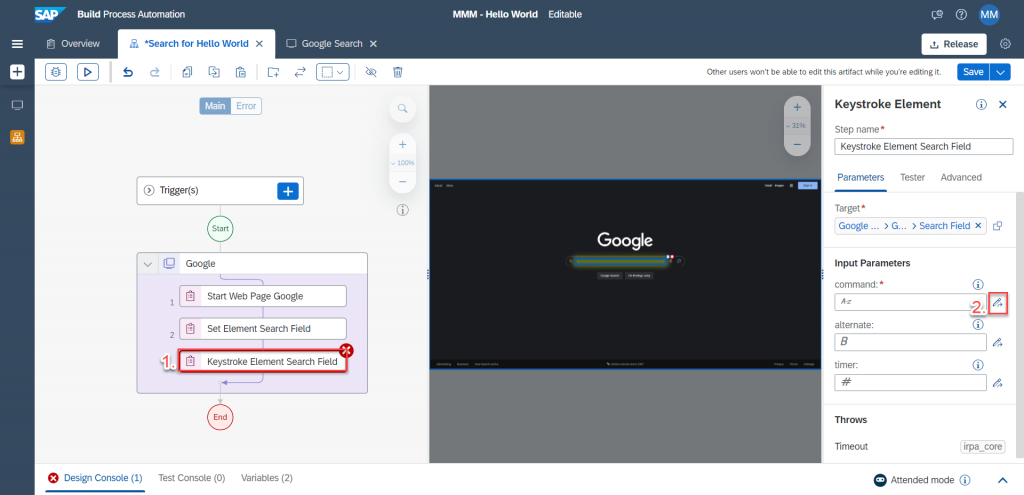
24. Click on the “Keystroke Element” activity and open the expression editor for the command field by clicking the pencil icon next to that input parameter
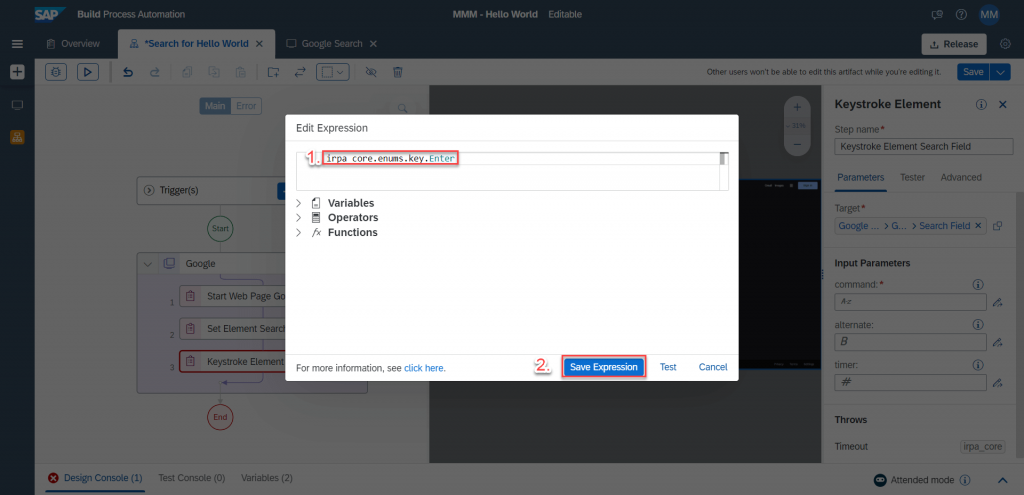
25. Copy and Paste or type “irpa_core.enums.key.Enter” into the expression editor and click “Save Expression”
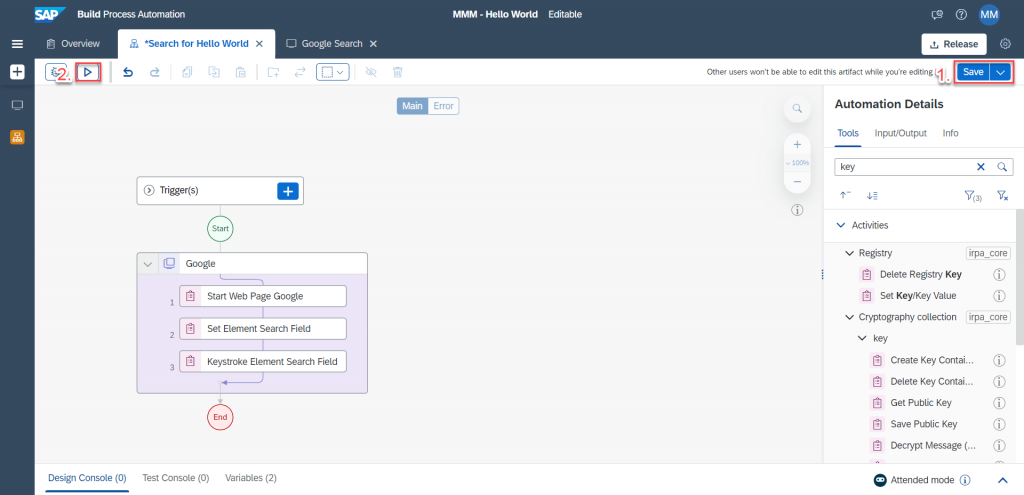
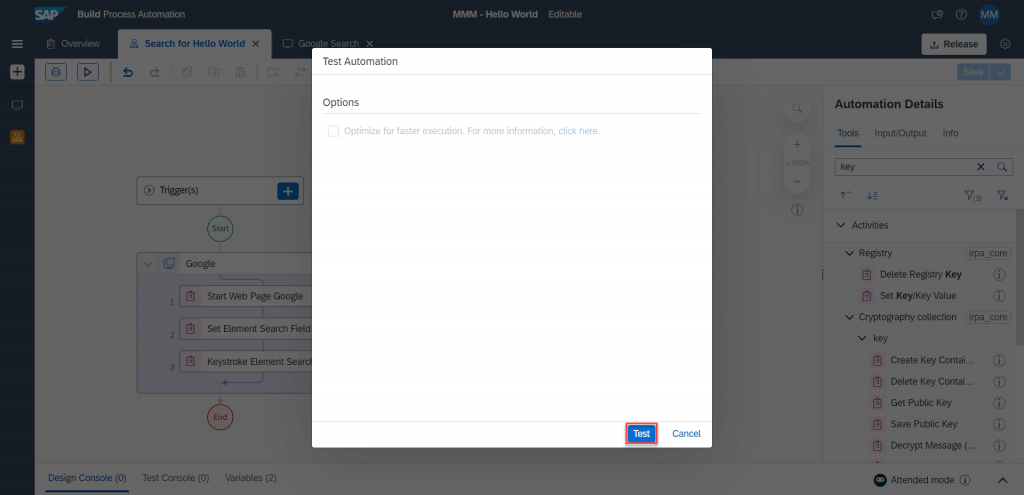
26. Click “Save” and we are ready to test! To begin the test, click the Play icon in the top left corner
27. Click “Test” and the project will initialize then run
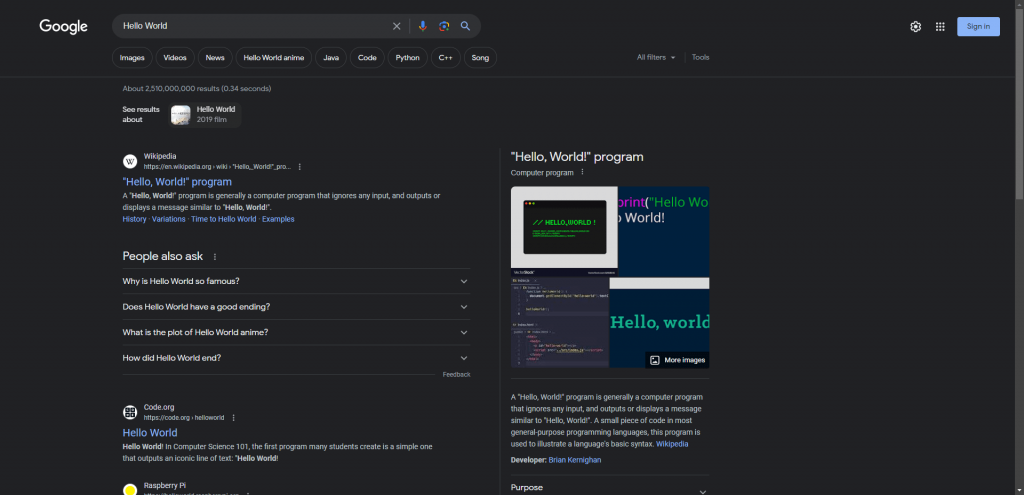
28. Once the automation runs you will see Chrome open to “google.com” and search for “Hello World”