I am writing this blog for beginners on how to filter the data using function Import in SAP UI5 using OData which will be helpful for both front end and back end developer.
Function imports are used to do the GET and POST operations for the requirements, which are not possible by the standard operations available in OData.
Sometimes we may want to filter the data based on names or city(non key value), that time we can use function import.
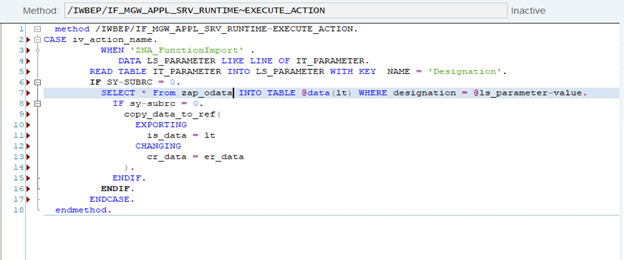
We will implement the function import code inside EXECUTE_ACTION method by redefining this method in the DPC Extension class.
Steps to create Function Import as follows.
First we will create function import in odata.
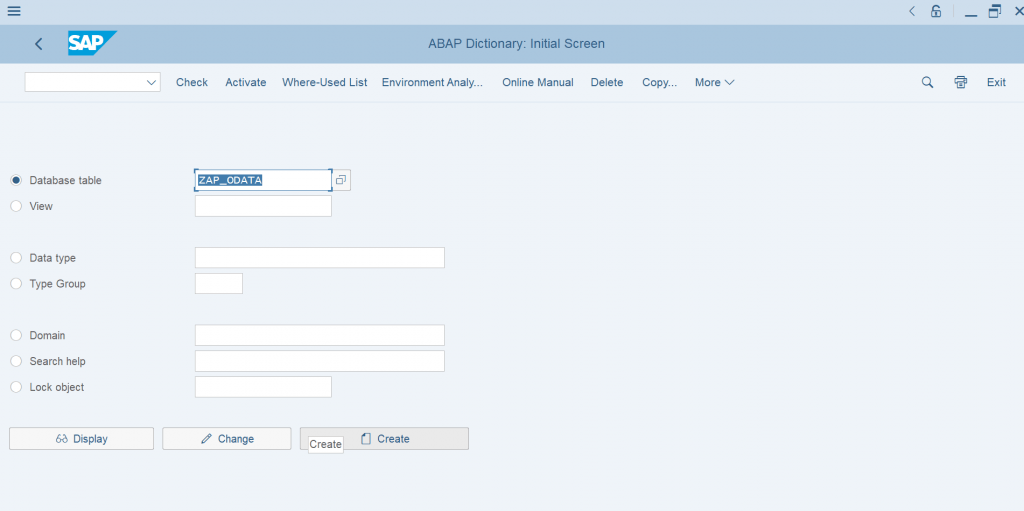
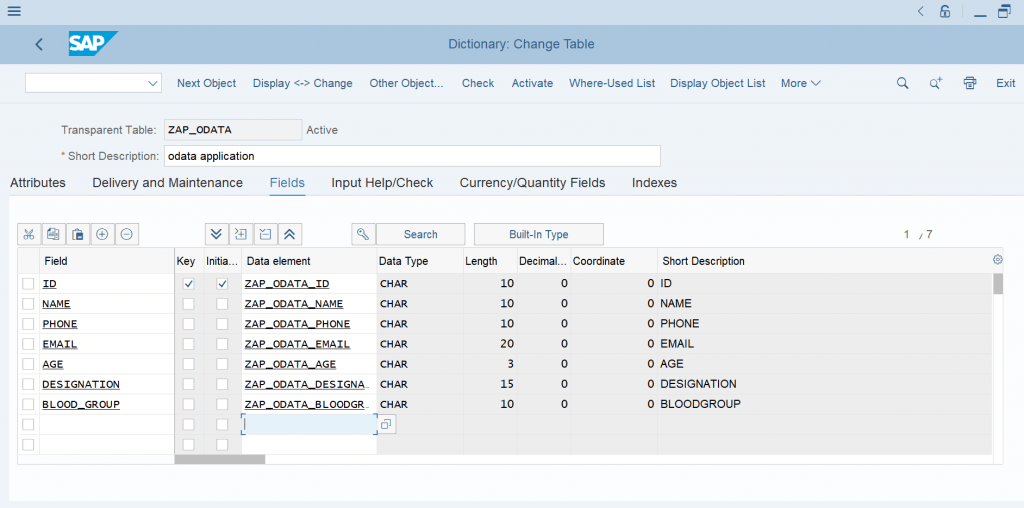
Step1:- Create a table. Use t-code se11
here we will create field and we will give data element.
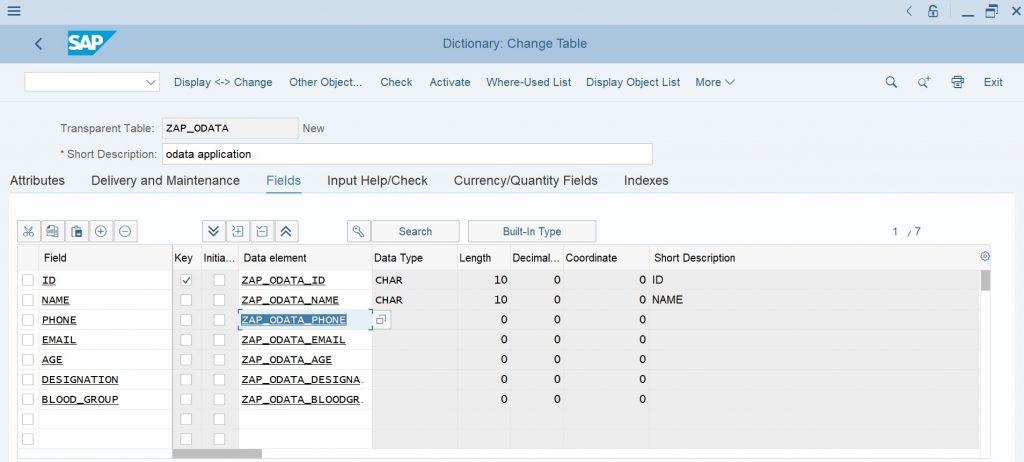
click on data element of phone.
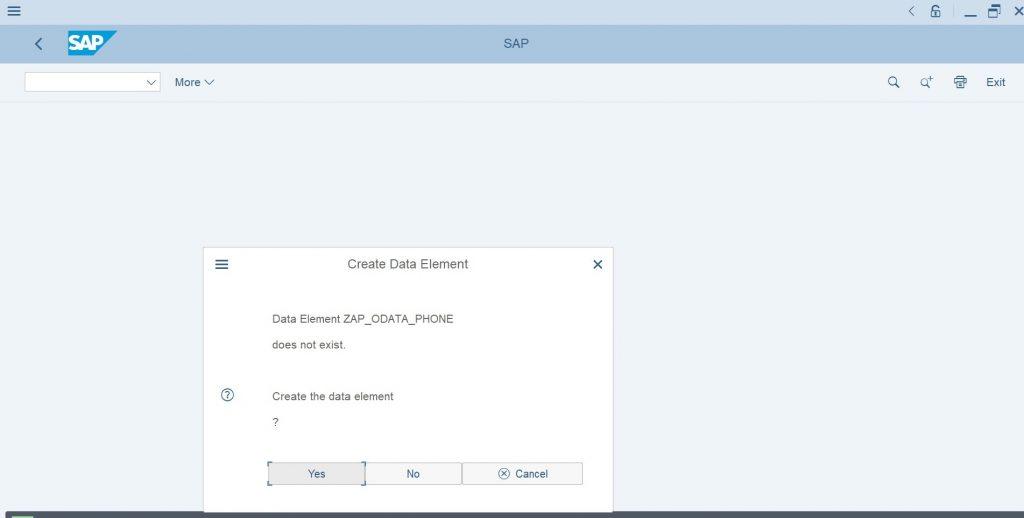
click yes
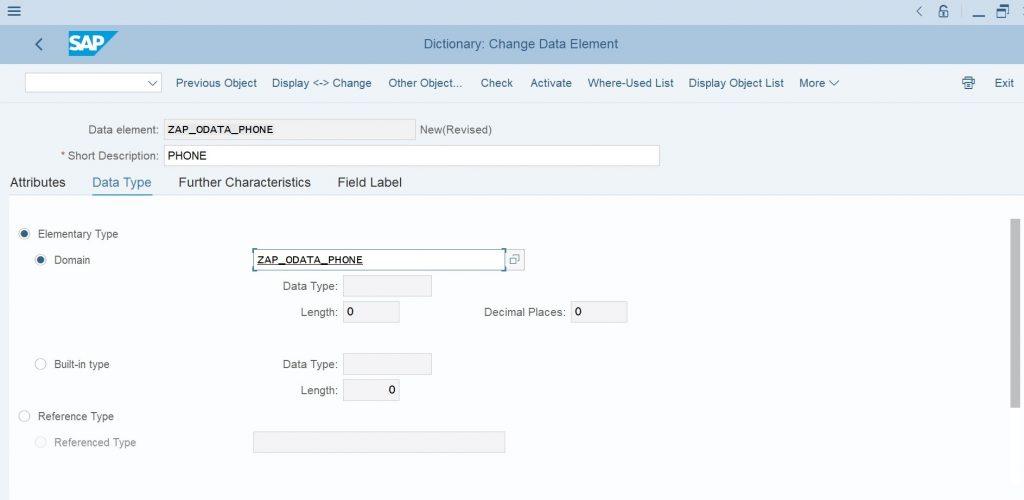
here you have to give domain name.
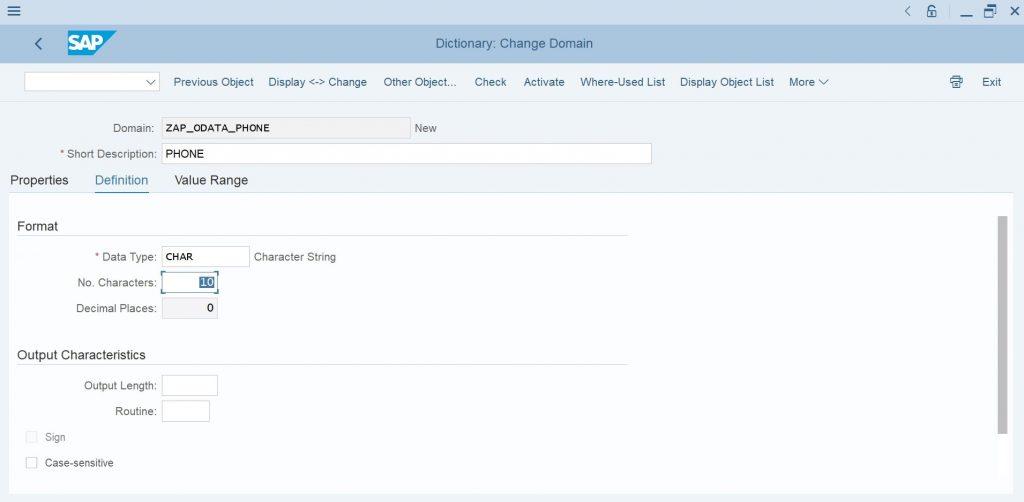
here give data type name and no. of character
then activate it.
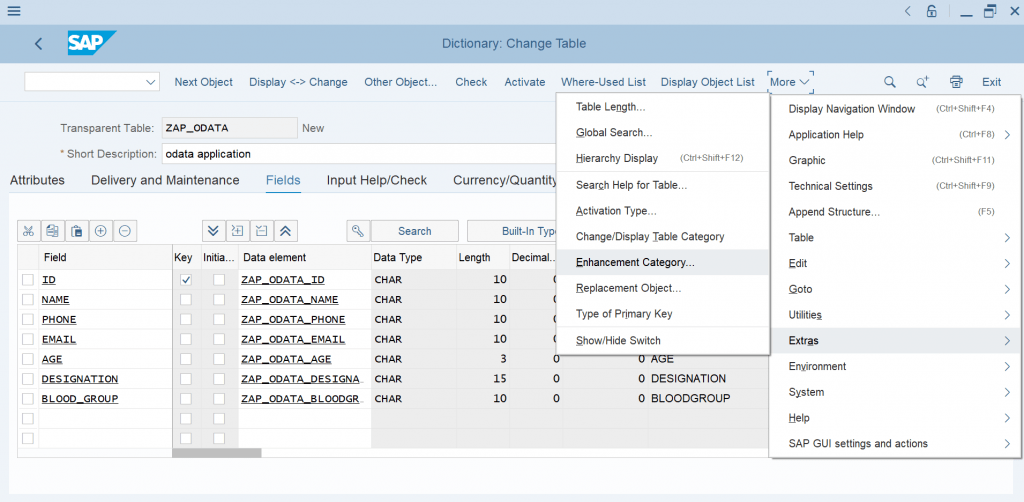
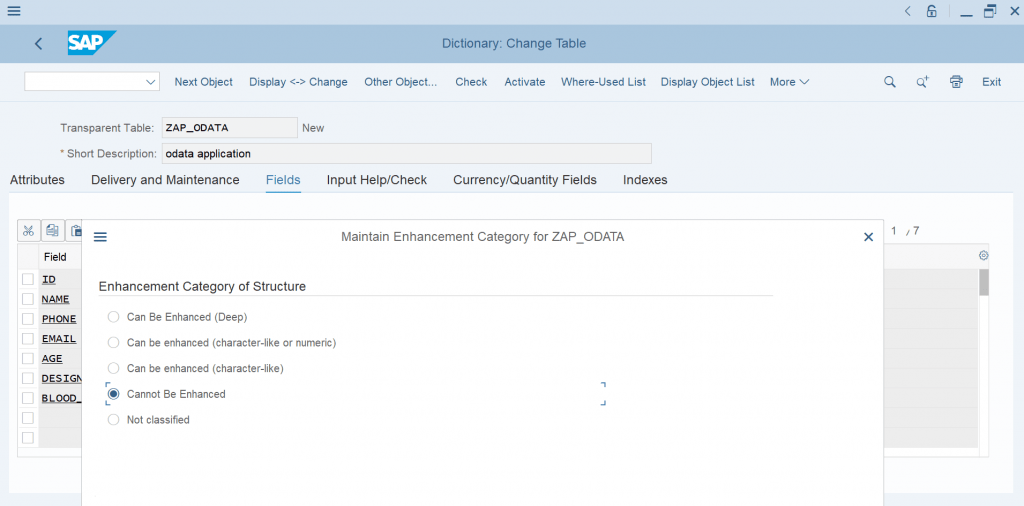
we have to go to enhancement category
click on more—extras— click on Enhancement category.
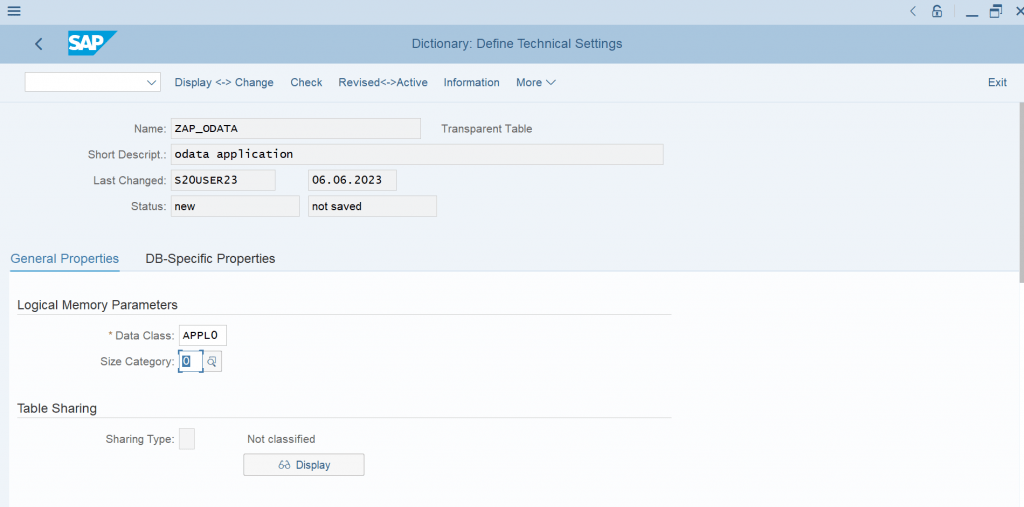
now activate the table.
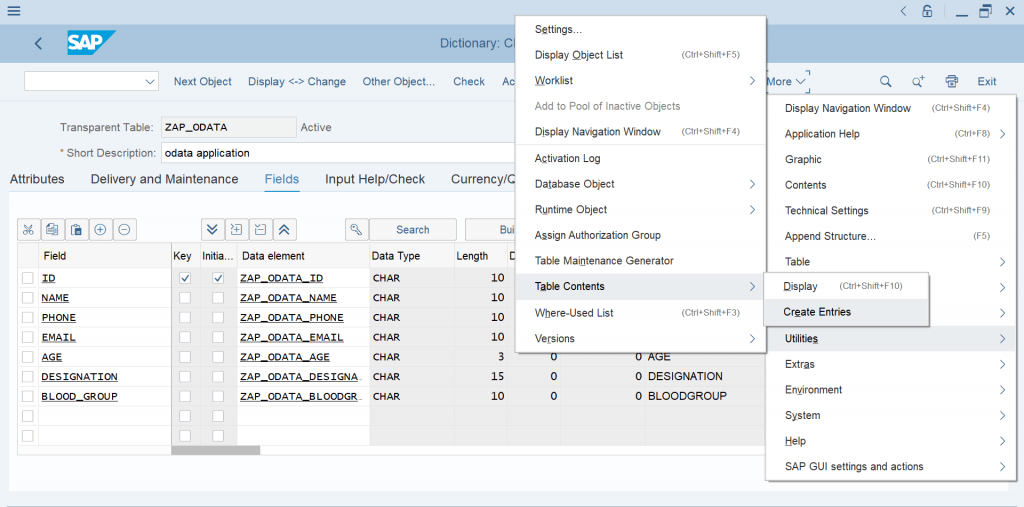
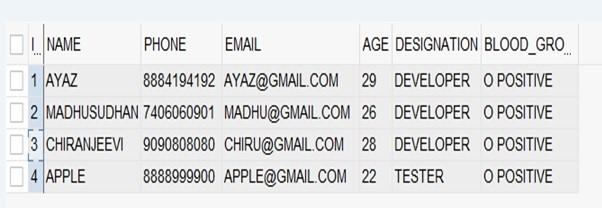
After this, Enter the data in table.
more—utilities—table content—create entries.
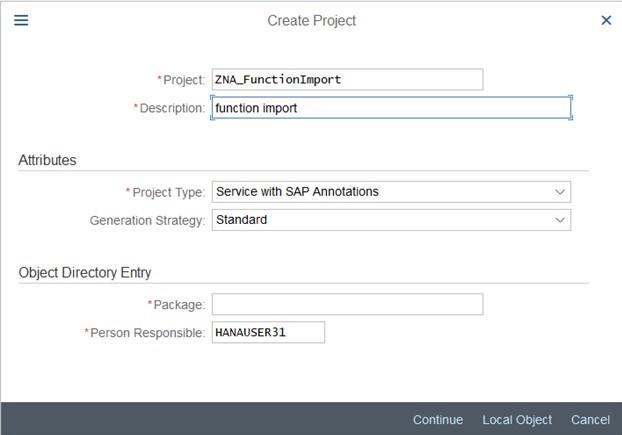
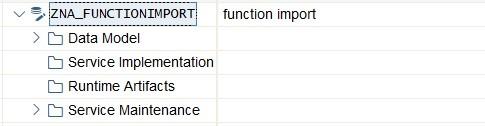
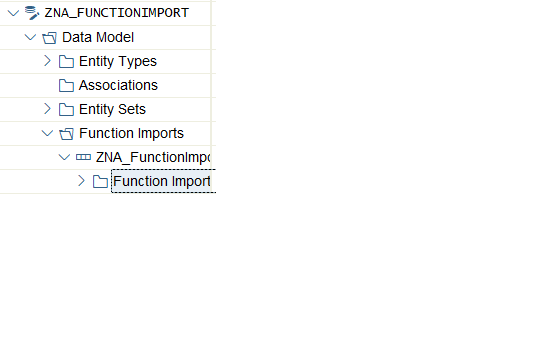
Step 2:- Go to SEGW and create a new project.
Give project name and save in local object or package.
Step 3:- Right click on Data Model and select import and then select DDIC structure.
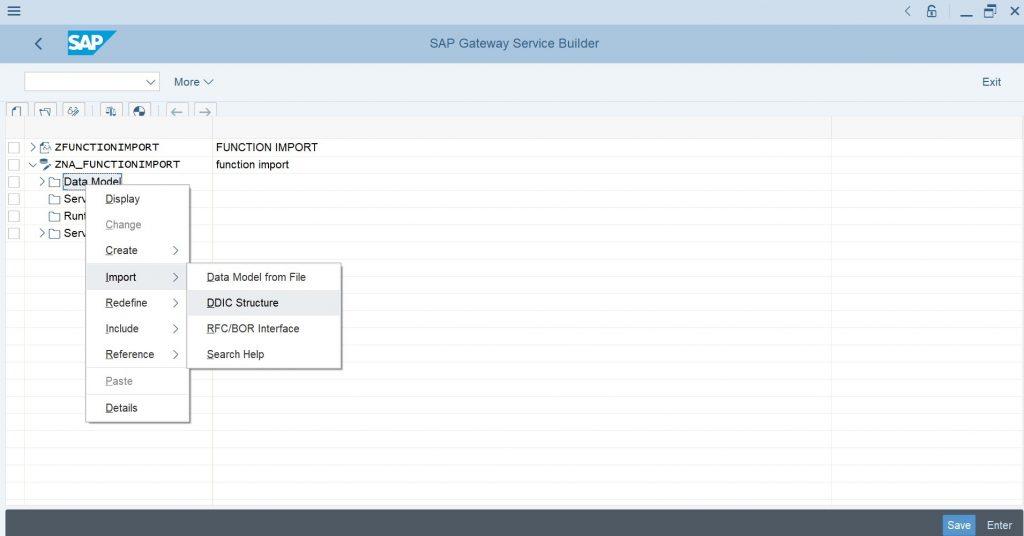
Give Name and table name and click next.

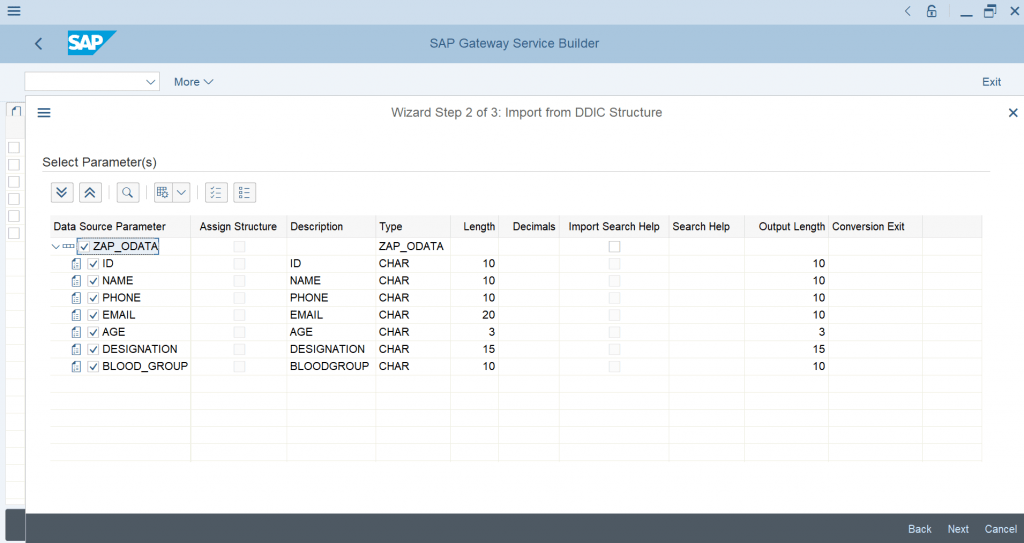
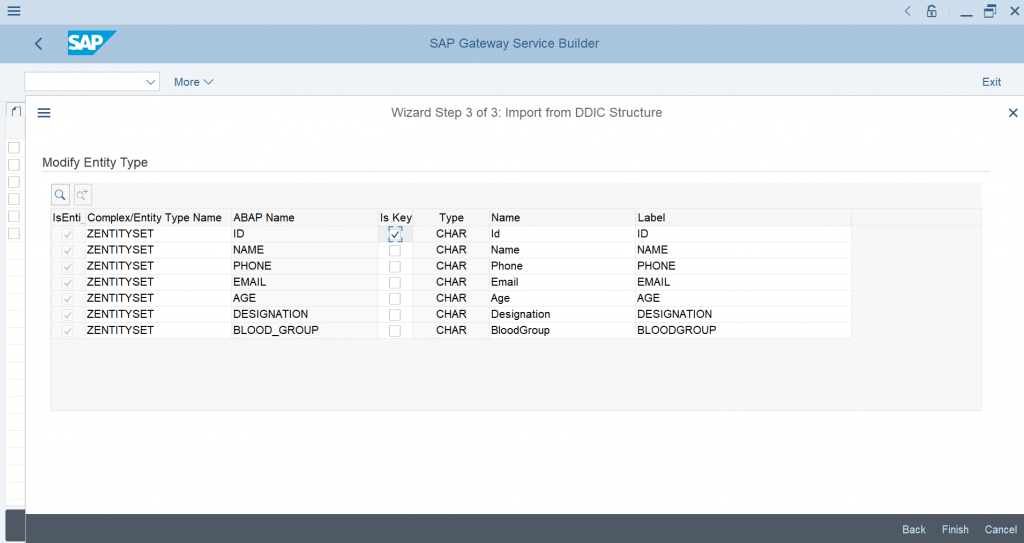
select is Key and click on finish.
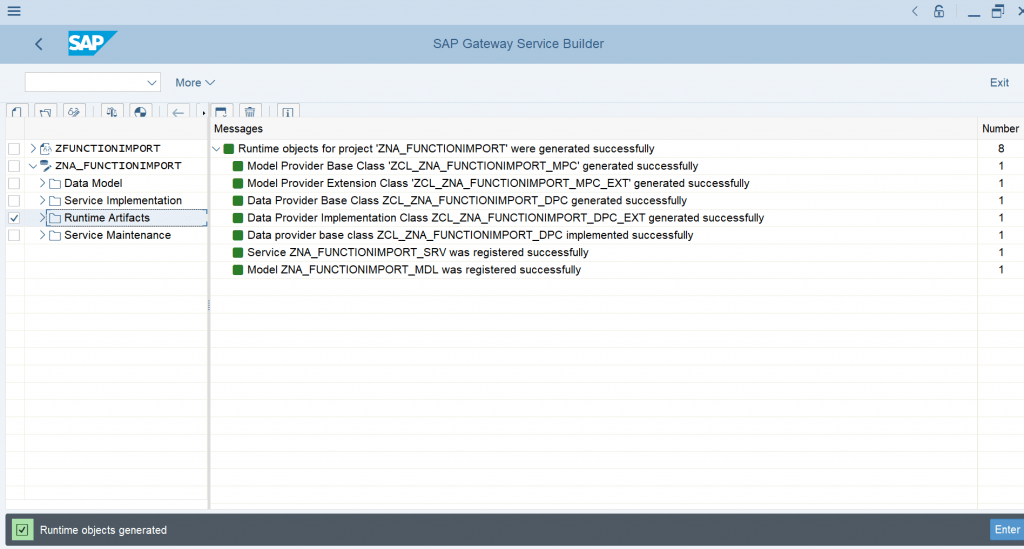
now generate runtime artifacts.
Step 4:- Right Click on data model, select create and then click on function import.
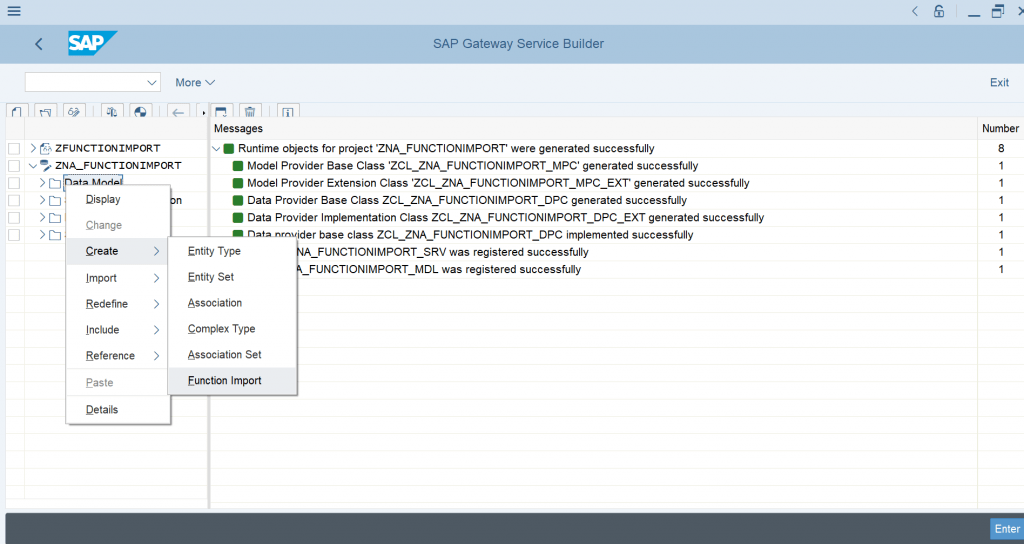
Give Function import name and click on continue.
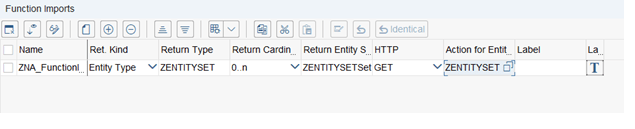
Click on function import folder and fill the following.
What you want to search you can give the Name.

After this, generate runtime artifacts.
Step 5:- Click on DPC_EXT and redine EXECUTE_ACTION.
Come back to segw.
Click on Service maintanence and register. Give Local and select continue and then select Local package.
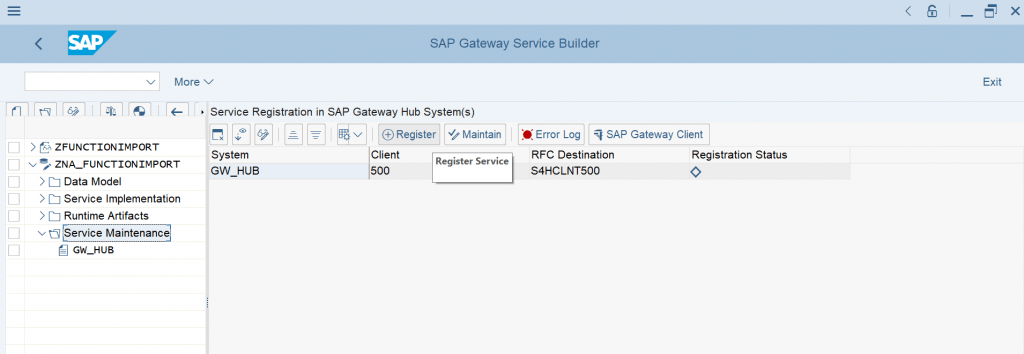
After this, Click on SAP Gateway client and select yes.
Step 6:- Give Function Import name followed by what you want to display the data
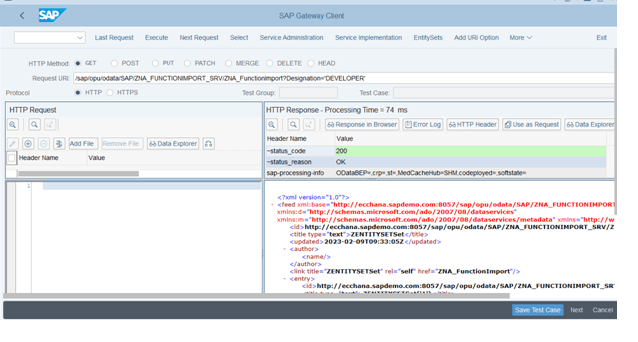
Here I have given Designation=’DEVELOPER’.
So only developer data will be visible.
This is about oData function import.
—————————————————————————————————————————-
Function Import using UI5 in VS code
if you have not installed vs code, install vs code and node js.
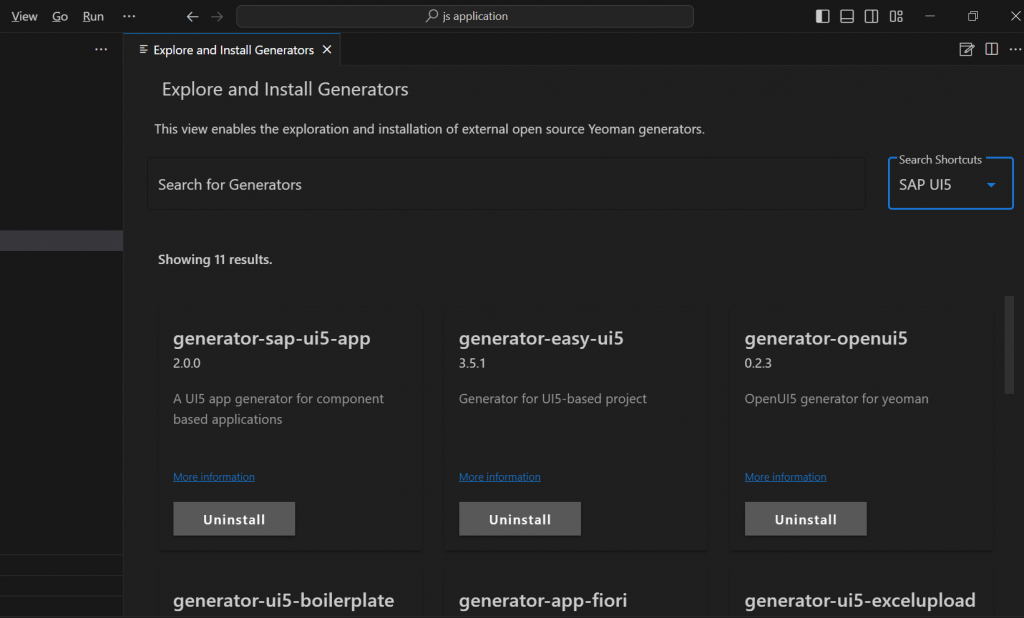
open vs code— click on view—then command palette—then explore and install generator.
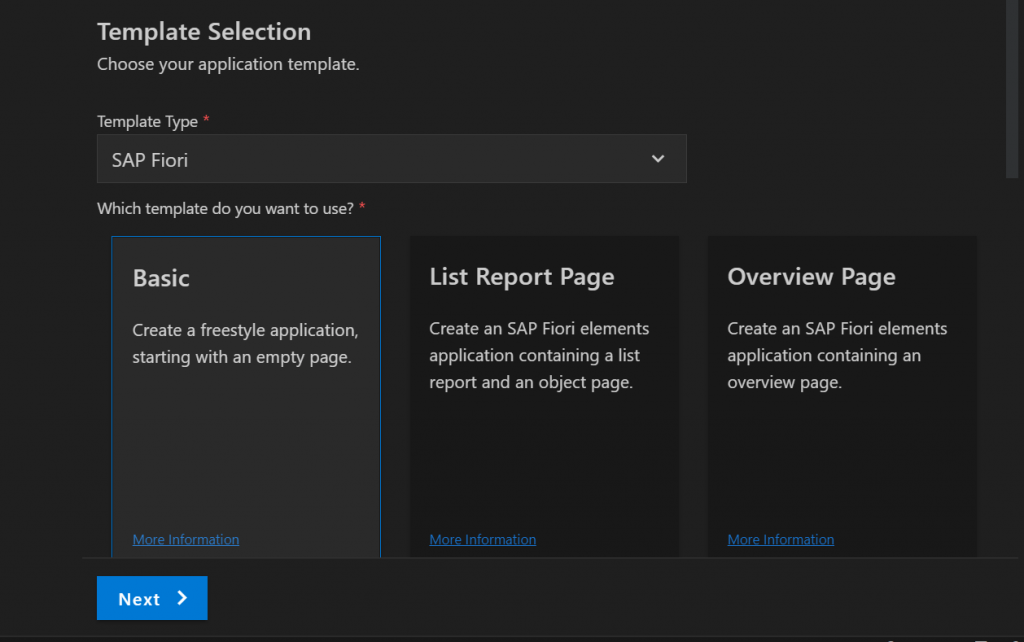
Step 1:- Create new project(click on view—then command palette—click on fiori: open application generator).
Step 2:- Select service of function import.
data source as connect to a system.
system:- destination configuration
service as segw function import service.
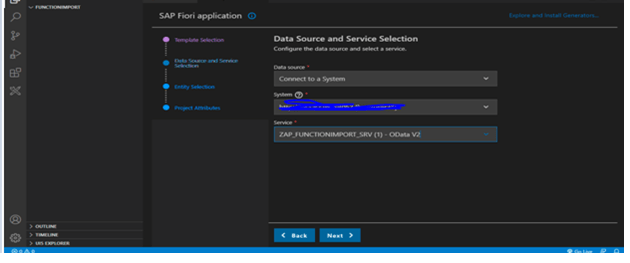
click on next.
Give View name and project name and click on finish.
After this project template will be generated.
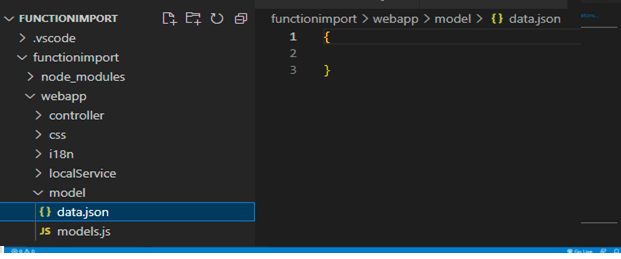
step 3:- First we will create a json model to store the data.
click on model—create a file as data.json
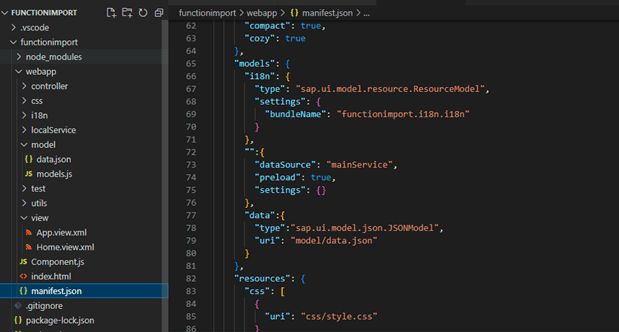
Configure in manifest.json
step 4:- in View.
view name is Home.view.xml
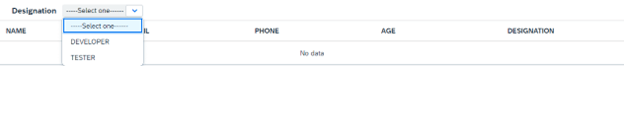
Here I have used Select control to select the key and table to display the data based on selection.
<mvc:View xmlns:core="sap.ui.core" controllerName="functionimport.controller.Home"
xmlns:mvc="sap.ui.core.mvc" displayBlock="true" xmlns="sap.m">
<App >
<Page id="page" title="{i18n>title}">
<customHeader>
<Bar >
 <contentLeft>
<Label />
<Title text="Designation"/>
<Select selectedKey="SELECT" id="designationsearchid" change="onPress">
<items>
<core:Item text="-----Select one------" key="SELECT"></core:Item>
<core:Item text="DEVELOPER" key="DEVELOPER"></core:Item>
<core:Item text="TESTER" key="TESTER"></core:Item>
</items>
</Select>
</contentLeft>
</Bar>
</customHeader>
<content>
<Table items="{data>/}">
<columns>
    <Column >
    <Text text="NAME"></Text>
    </Column>
    <Column >
    <Text text="EMAIL"></Text>
    </Column>
    <Column >
     <Text text="PHONE"></Text>
    </Column>
    <Column >
    <Text text="AGE"></Text>
    </Column>
    <Column >
    <Text text="DESIGNATION"></Text>
    </Column>
    </columns>
        <items>
           <ColumnListItem >
              <cells>
                <Text text="{data>Name}"></Text>
              </cells>

              <cells>
                 <Text text="{data>Email}"></Text>
              </cells>

               <cells>
                  <Text text="{data>Phone}"></Text>
               </cells>

               <cells>
                  <Text text="{data>Age}"></Text>
                </cells>

                <cells>
                  <Text text="{data>Designation}"></Text>
                </cells>

            </ColumnListItem>
         </items>
      </Table>


        </content>
    </Page>
   </App>
</mvc:View>
step 5:- in Controller
controller name :-Home.controller.js
in controller first we should get the selected key, and get the model.
Then we have to use callFunction where we need to give entityset, method and urlparameters.
onPress:function(){
                debugger
  var selectedKey=this.getView().byId("designationsearchid").getSelectedKey()
                var oModel=this.getView().getModel('data')
                var oContext=this;
                var oDataModel=this.getOwnerComponent().getModel()
                var arr=new Array();

                oDataModel.callFunction(
                    "/ZAP_FunctionDemo", {
                        method:"GET",
                        urlParameters:{
                            DESIGNATION:selectedKey
                        },
                        success:function(oData,response){

                            arr=oData.results

                            oModel.setData(arr)
                            oContext.getView().setModel(oModel);
                            debugger
                        },
                        error:function(oError)
                        {

                        }
                    }
                );
            }
        });
————————————output——————————–
run the program in terminal using npm start.