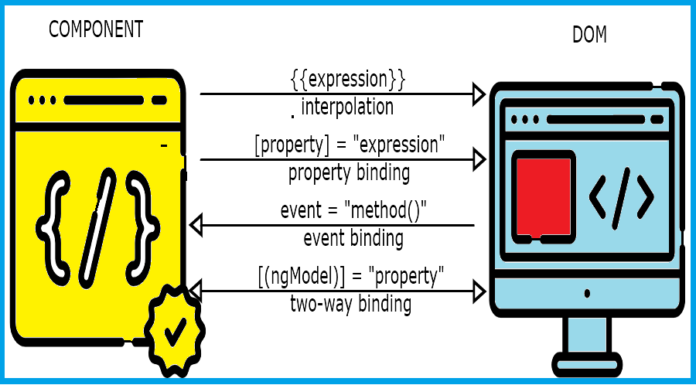
Expression Binding allows us to display a calculated values on to the screen. These can be used for simple calculations and formatting.
Expression binding is especially useful in the context of SAPUI5 XML template where XML views with template are prepossessed so that the SAPUI5 controller is a natural place to put custom formatter functions that are not available.
To use expression binding, you need to enable complex binding syntax by using configuration setting bindingSyntax to complex.
PS: Complex syntax is automatically activated when the compatVersion is set to edge or to version 1.28 or higher.
Syntax:
"{= ${Age} < 18 ? 'Success' : 'Error'}"How to achieve?
Place the below code in the XML view. In my case it is ‘HomePage.view.xml‘.
<List class="sapUiResponsiveMargin" width="auto" items="{Results>/Data}">
<items>
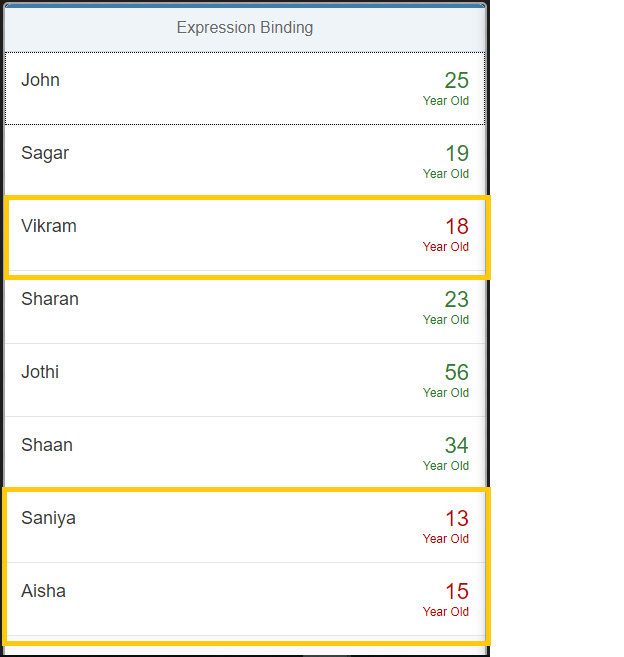
<ObjectListItem title="{Results>User}" number="{Results>Age}"
numberUnit="Year Old" numberState="{= ${Results>Age} > 18 ? 'Success' : 'Error' }"/>
</items>
</List>Same way the expression can be used to Change the Visibility of any component in the view.
<Button text="Save" type="Accept" visible="{= ${Results>Age} === 'Above' }">Let’s do Hands-On:
Now, let us put the above theory into a simple practical SAPUI5 App which was part of a real SAPUI5 Project. I know you are already familiar with creating projects in WebIDE. But still I’ll be showing how to create it as it might help new bees.
Step 1 : Create a project as usual in WebIDE/Eclipse (I’ll be showing the example in WebIDE, if you need help in Eclipse please let me know).
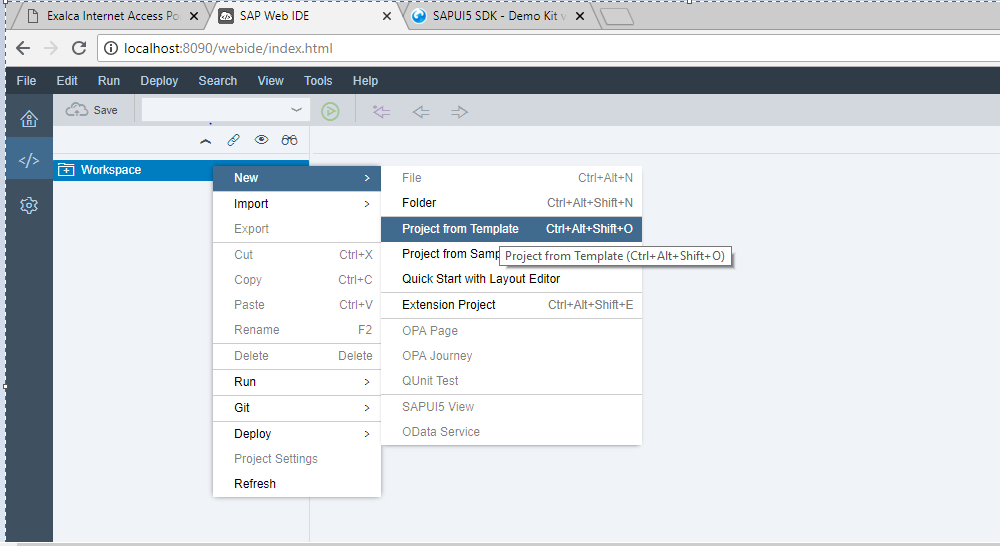
File / Right Click in Workspace > New > Project From Template
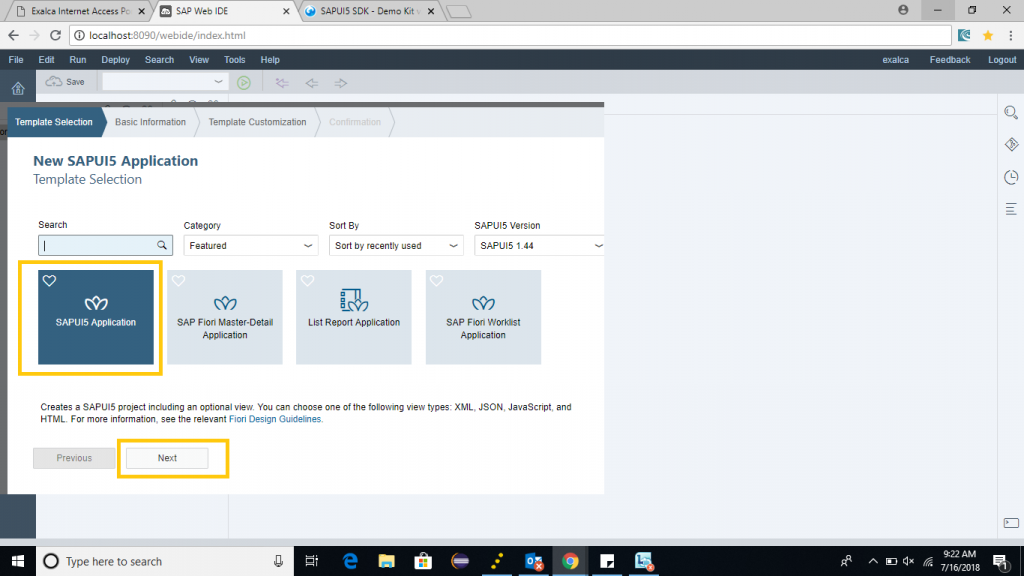
Choose SAPUI5 Application > Next
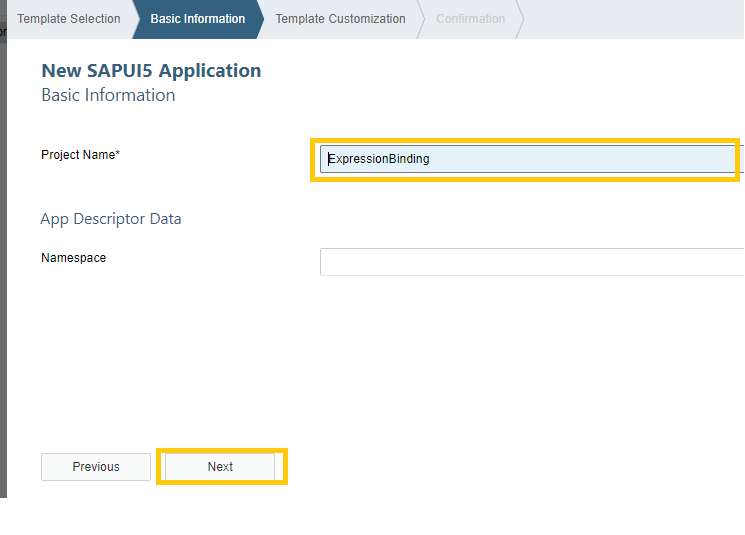
Enter Project Name, in my case it is ‘ExpressionBinding’ > Next
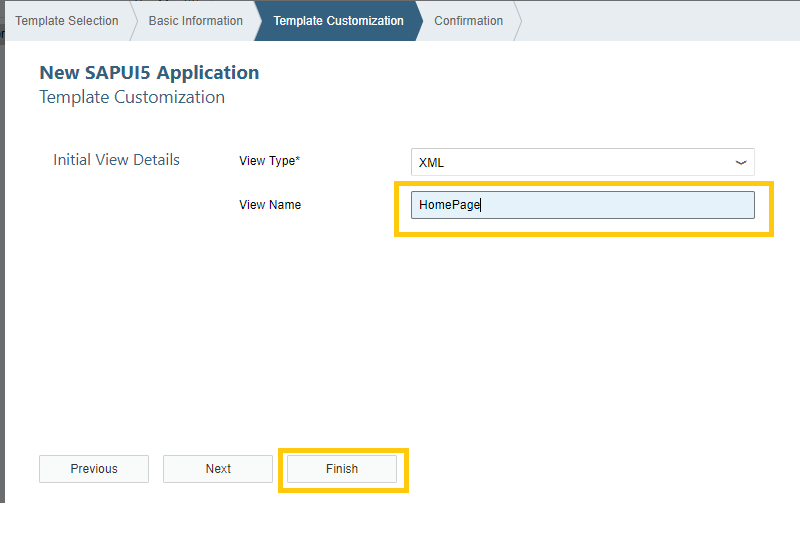
Provide your view name > Finish (for my example it is HomePage)
PS: Do not forget to put the code snippet (shown in the above section) in this XML view.
Your project is created. Now we will start with the real topic which I wanted to demonstrate.
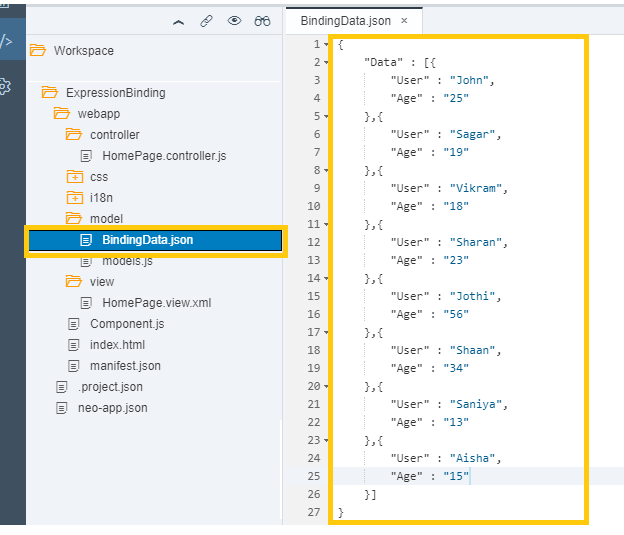
Step 2 : Create a JSON data (I have named it BindingData.json) which will be used in binding.
Step 3 : Define the model in manifest.json

Please take note of the URI i.e “model/BindingData.json”
Step 4 : Run your application. Eureka!! There you go. You got your output
You can see in the screen for the age who has 18 or less is showing ‘Red’ in color (it means ‘Error’ according to our code “{= ${Age} < 18 ? ‘Success’ : ‘Error’}”). Try changing the expression and play with it.