Prerequisites
- You have created an instance of the SAP HANA Database service for SAP BTP in SAP Cloud Foundry environment.
Introduction
The SAP HANA cockpit dashboard is useful because it provides a graphical interface for monitoring each and every object like Schema, Services, Service Marketplace, Routes, Members, Events.
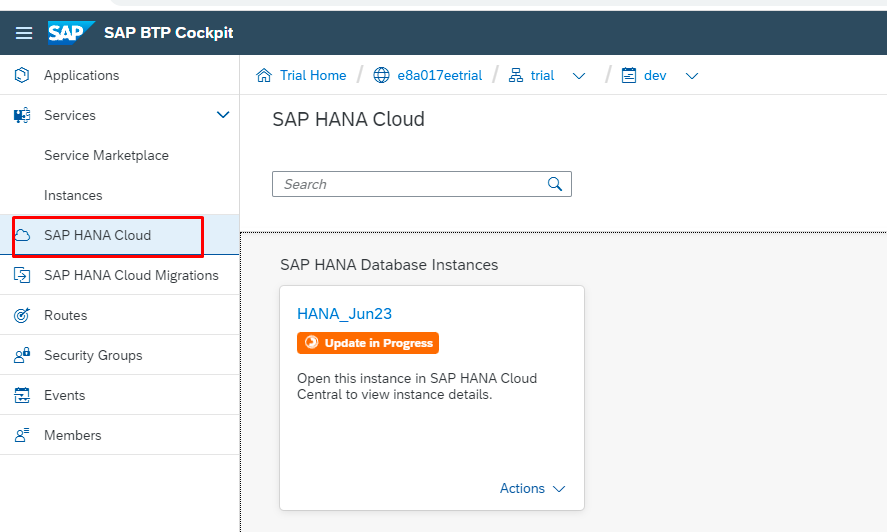
Step – 1 Navigate SAP HANA Cloud to find the Status of SAP HANA Database Instance.
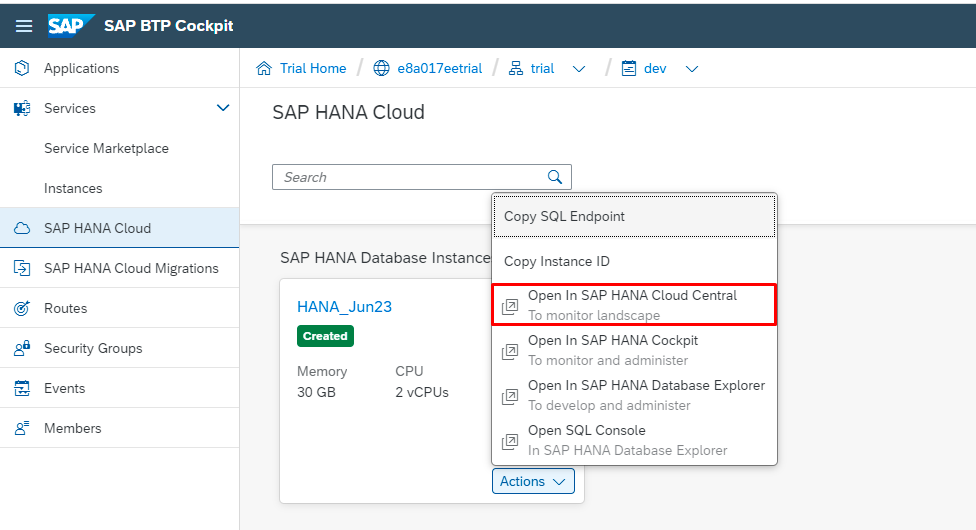
Step – 2 Navigate the Actions button at the bottom of Database Instance and select “Open in SAP HANA Cloud Central”.
Step – 3 Navigate the bottom button having the caption “More”.
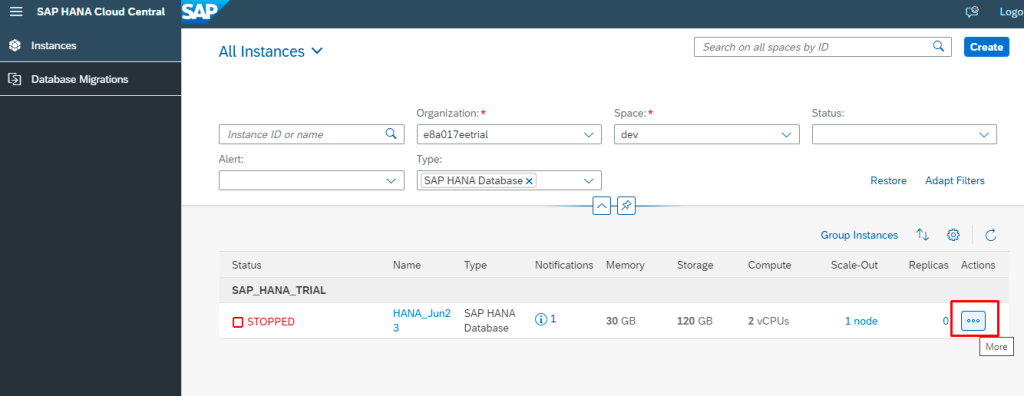
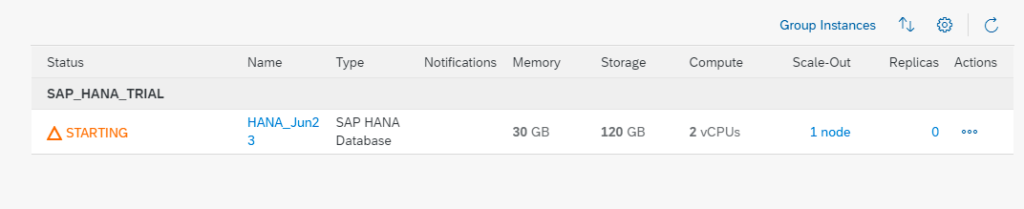
Step – 4 If the Database Instance status is “Stopped”, the multiple options will show. Select the “Start” option. This might take some time and then start the Instance.


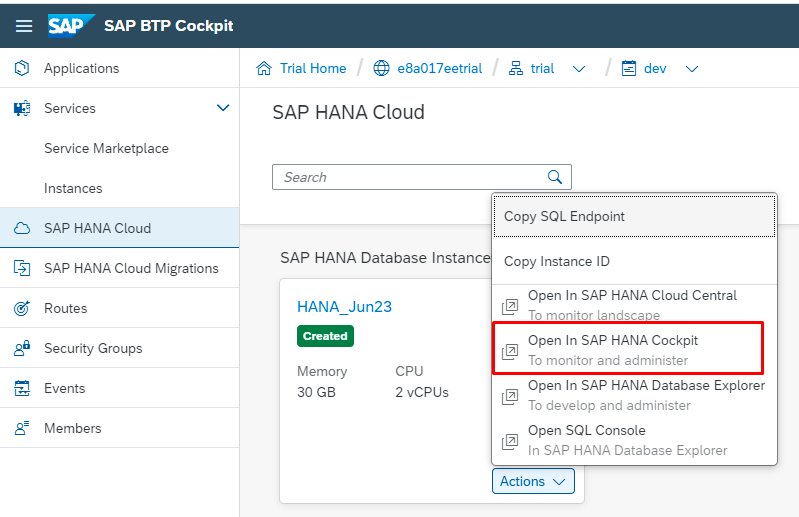
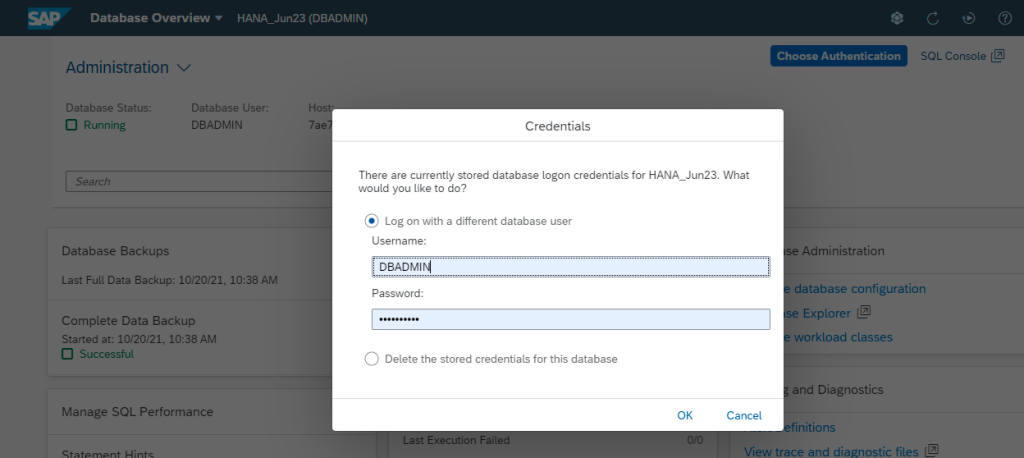
Step – 5 Navigate back to SAP HANA Cloud and then select the “Open In SAP HANA Cockpit” option from the Actions menu. This will ask you for the Authorized user credentials and will open the SAP HANA Cockpit.
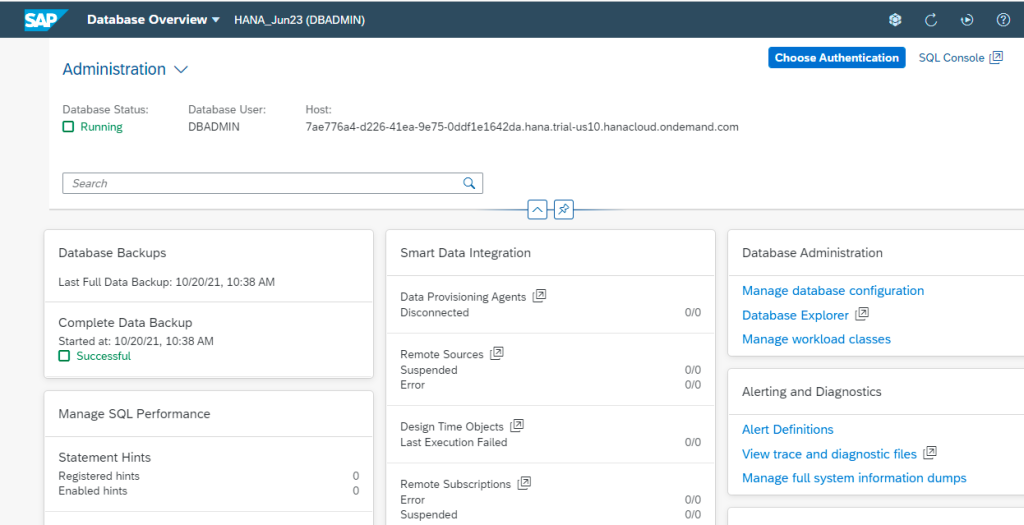
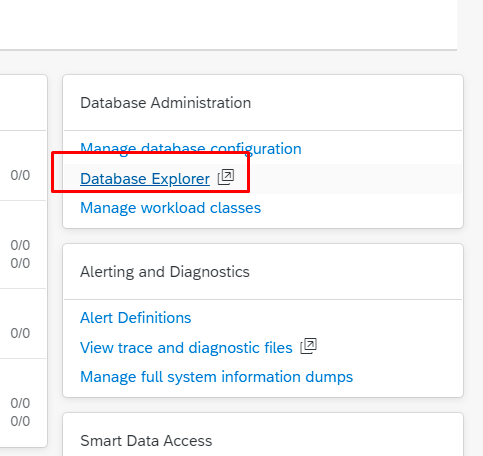
Step – 6 Do choose the link of “Database Explorer” from the Database Administration section on the right side of the screen.
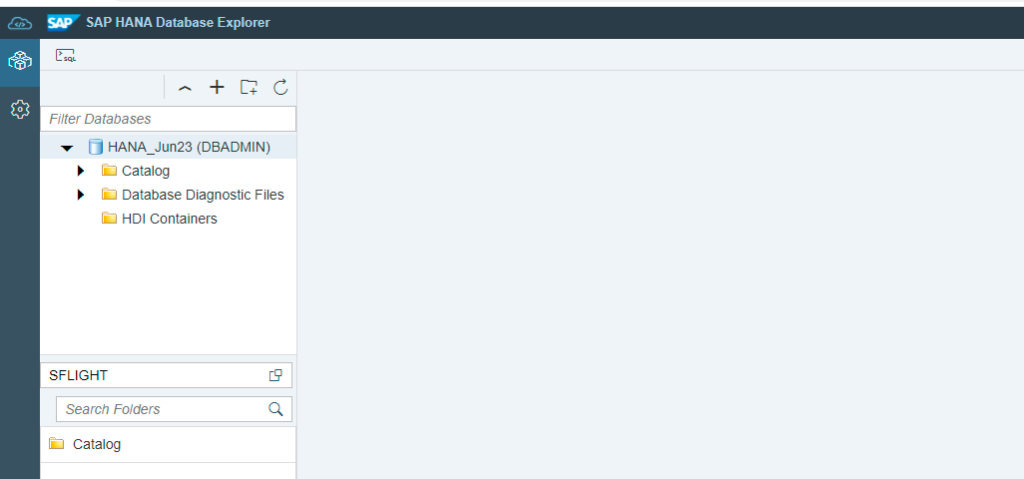
Step – 7 You can now have the “Catalog” tree-like structure on the Left-side of the screen.
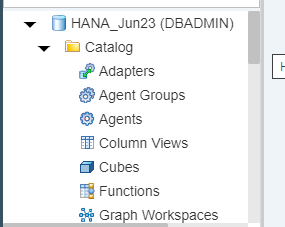
Step – 8 Do choose the “Procedures” from the List and then click on the Search button. This will show all procedures for which the user is authorized.
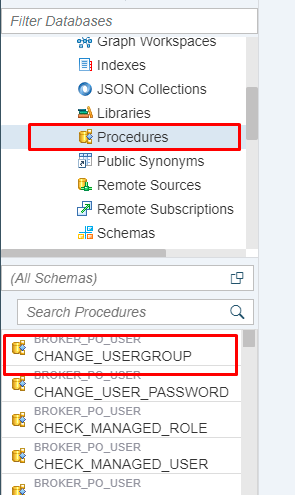
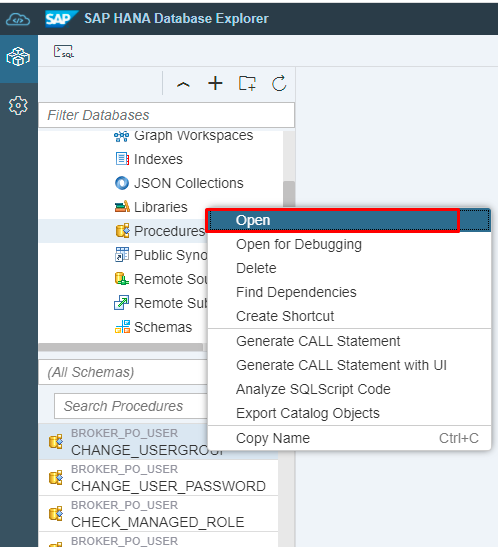
Step – 9 Right-click on any procedure and select the “Open” option.
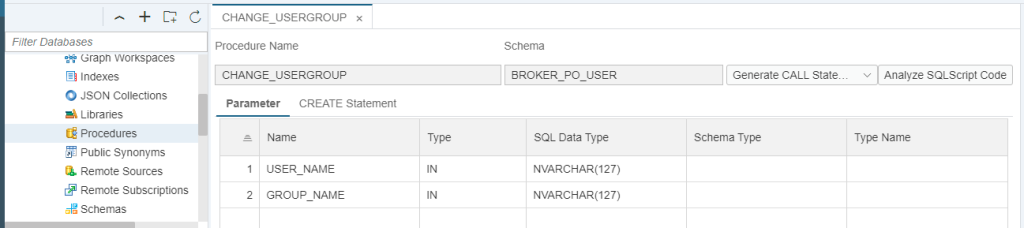
Step – 10 This will open the Procedure Explorer window.
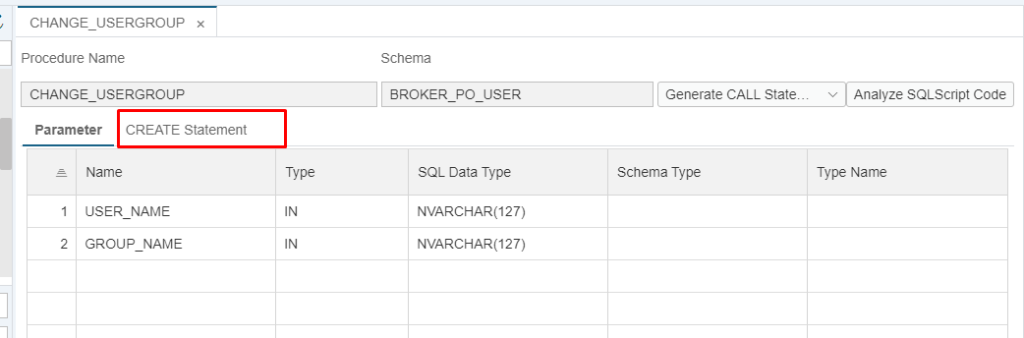
Step – 11 Choose the “Create Statement” tab, it will show the login of the procedure.
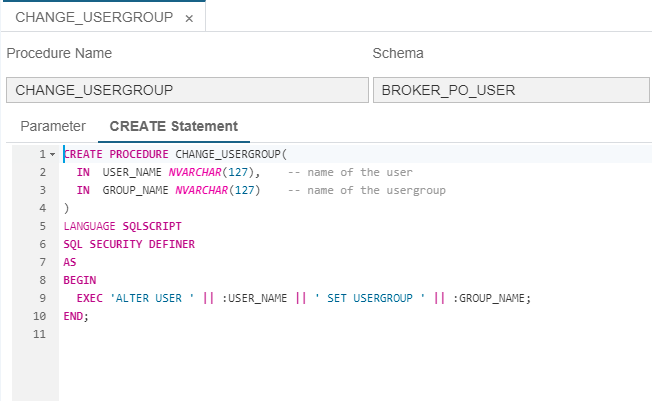
Step – 12 You can also find the “Generate CALL Statement” option to test the procedure by giving the appropriate parameters.


Step – 13 In order to browse any table first you have to check your authorization on the relevant schema of the table you want to explore.
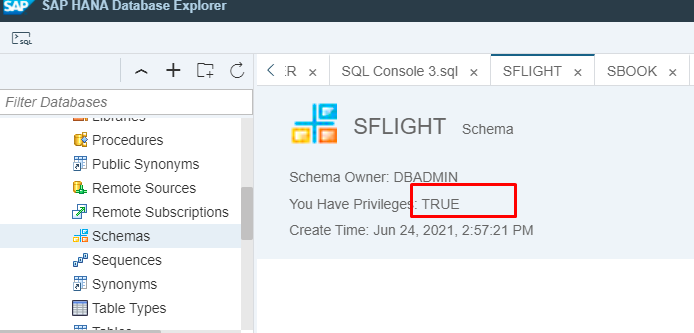
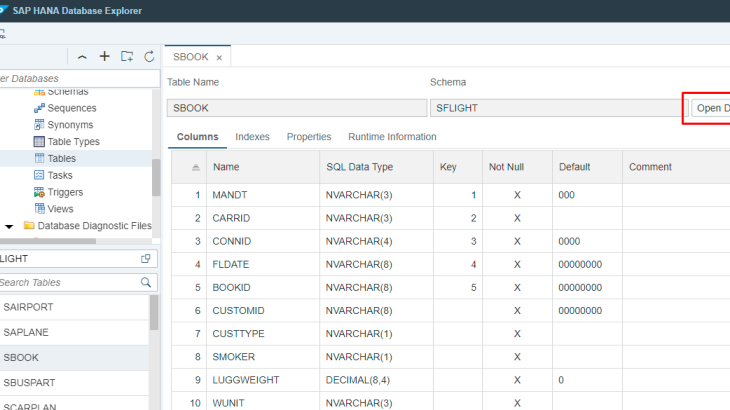
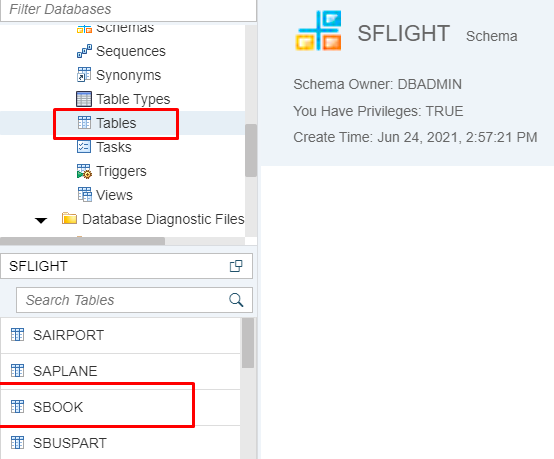
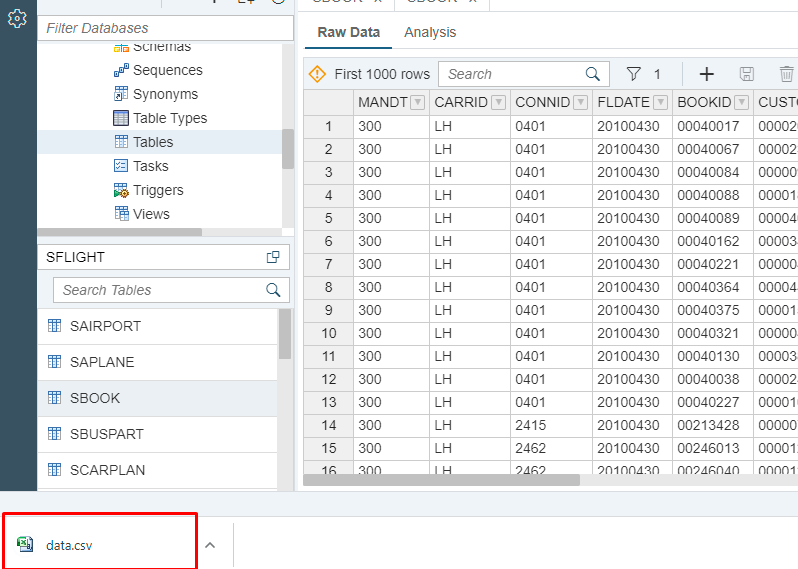
Step – 14 If you find the “TRUE” on the Privileges description, you can explore any table of schema easily. Do select “TABLES”, “SFLIGHT” and the search button. We will find the list of Tables of schema. Let’s select the SBOOK table.
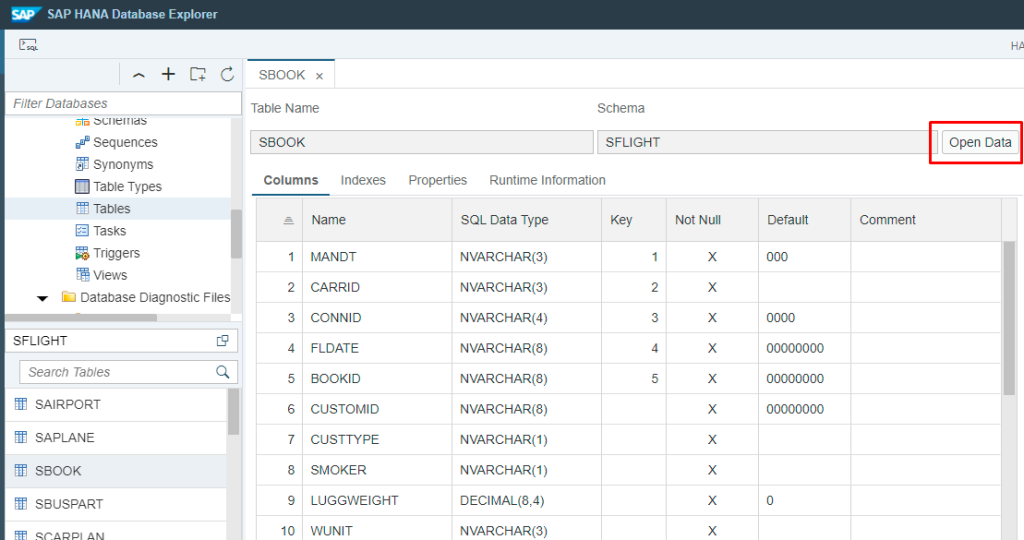
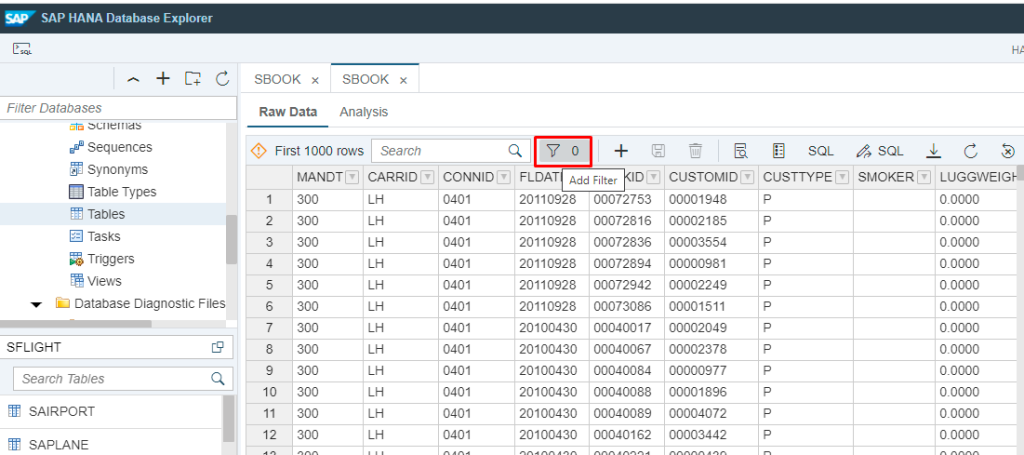
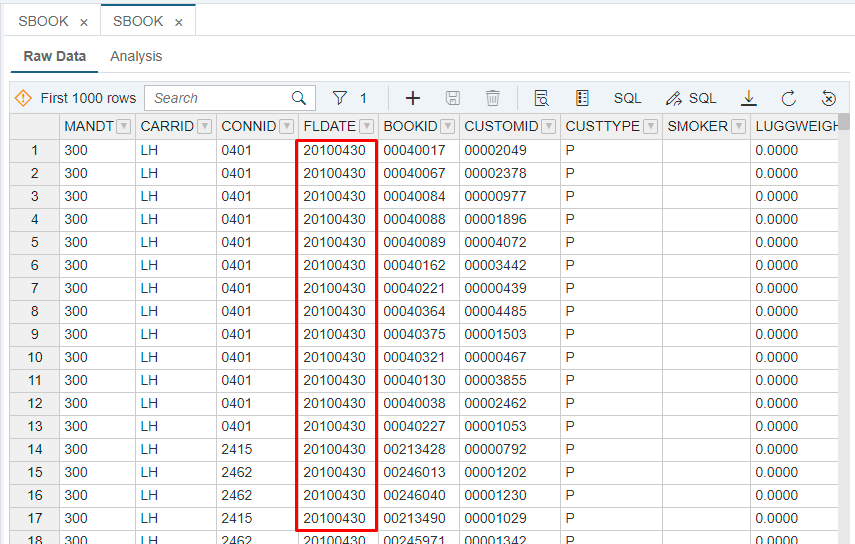
Step – 15 Click on “Open Data” button at the Right-side of the screen. This will show all the data of the table with two tabs. One is “Raw Data” and the other is “Analysis”.
Step – 16 In order to filter the data do use “Add Filter” option.
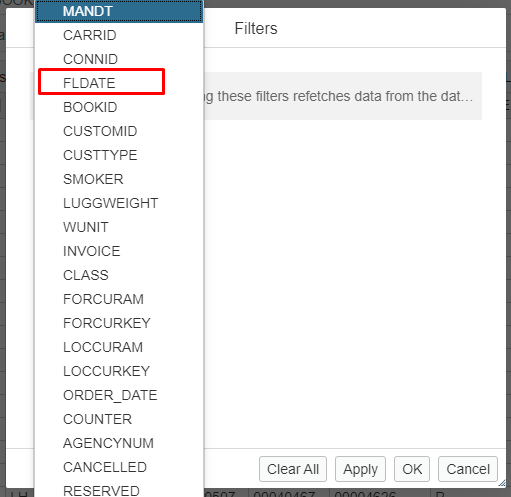
Step – 17 From the list of Columns do select the Column you wish to filter.
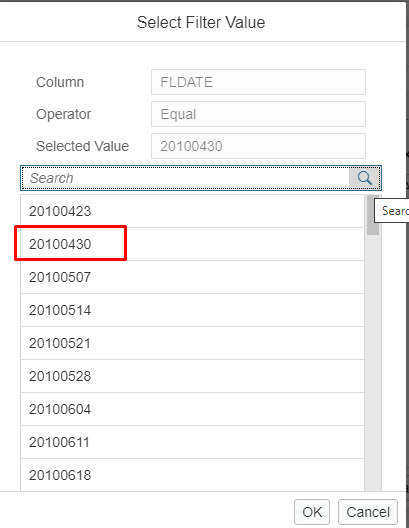
Step – 18 By using the Search button you will find available values of the column table you can search.
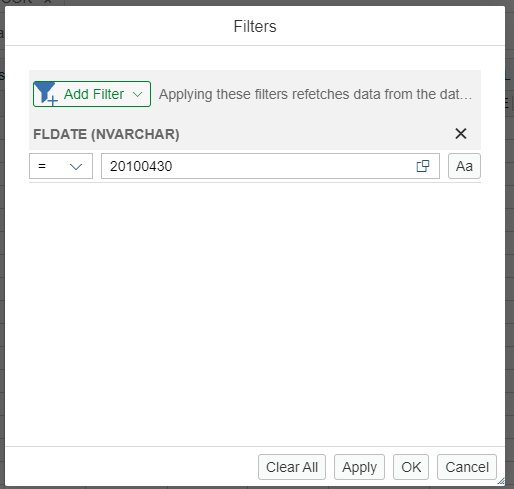
Step – 19 Do select the “Apply” button at the bottom.
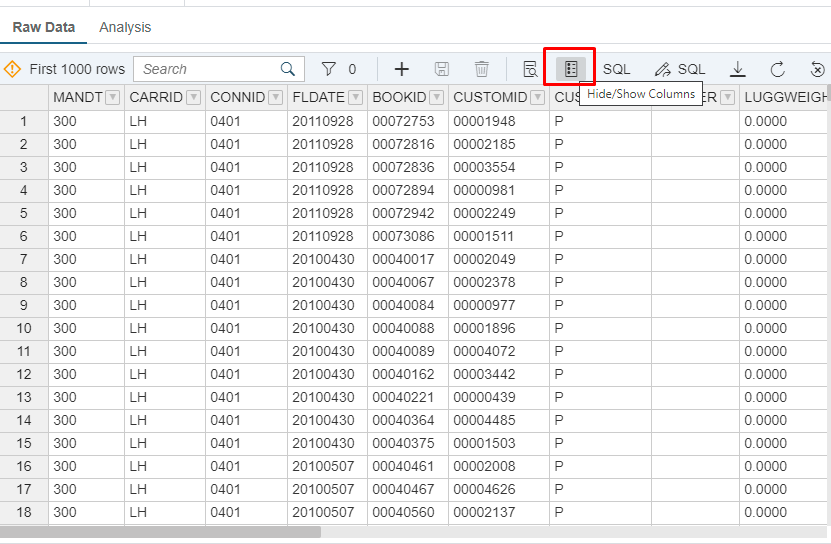
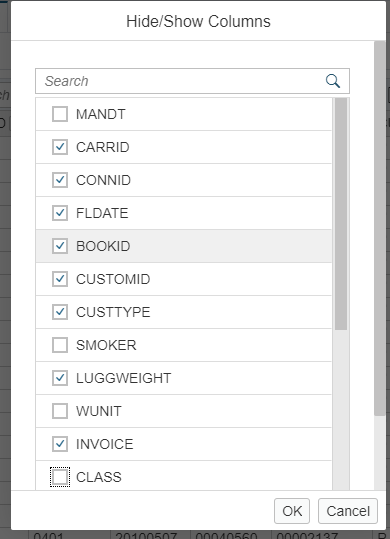
Step – 20 In order to Hide / Show Columns do use the “Hide / Show Columns” option. After selecting the desired columns, you will find your desired columns view.
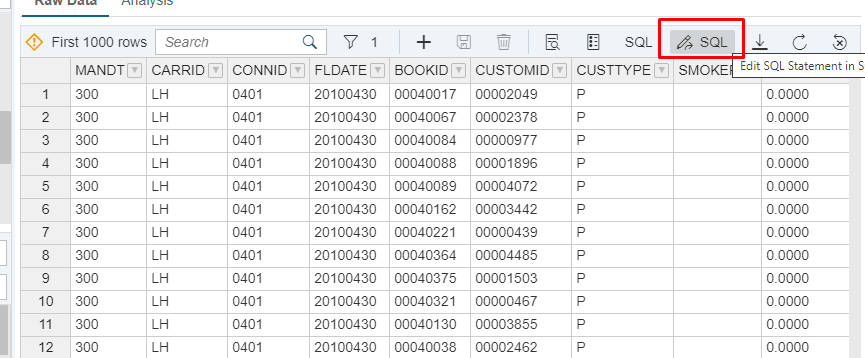
Step – 21 You can also find the SQL behind the data view by selecting the “SQL” button.
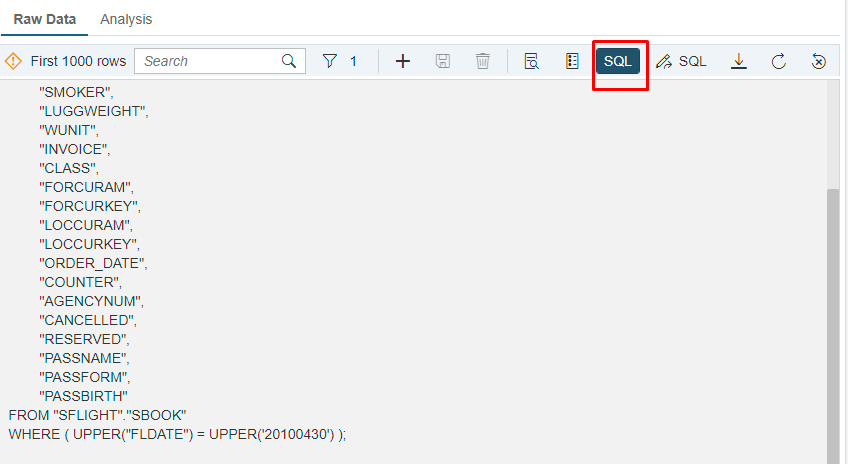
Step – 22 You can edit the SQL by selecting “Edit SQL Statement”.
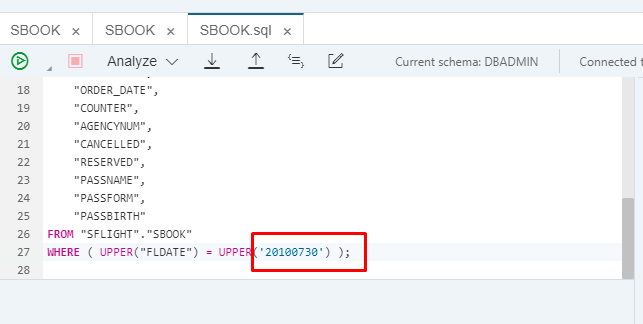
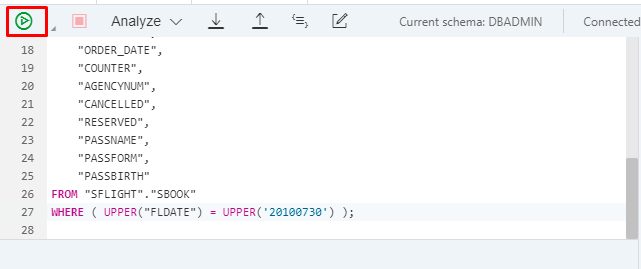
Step – 23 Just change the condition and then click on the “Play” button at the top left corner of the screen.
Step – 24 You can find that the data of the view has been changed according to the new condition.

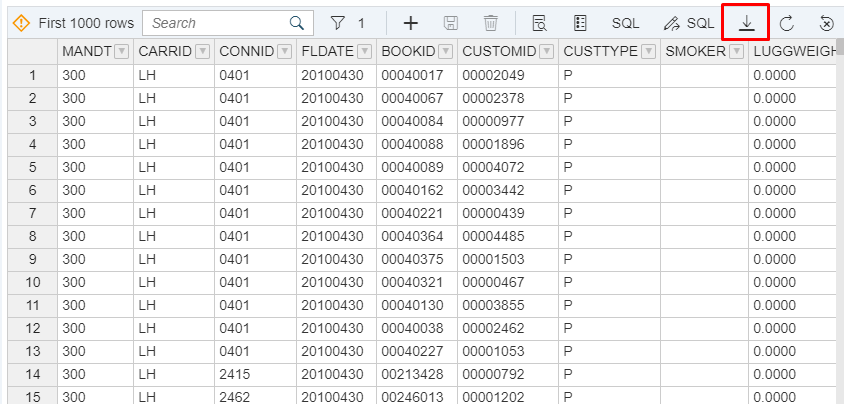
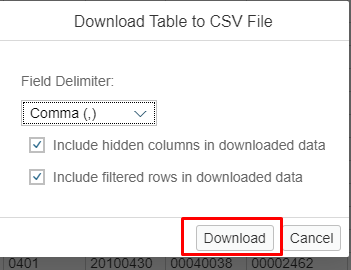
Step – 25 You can download the desired data of the table by using the “Download” button.
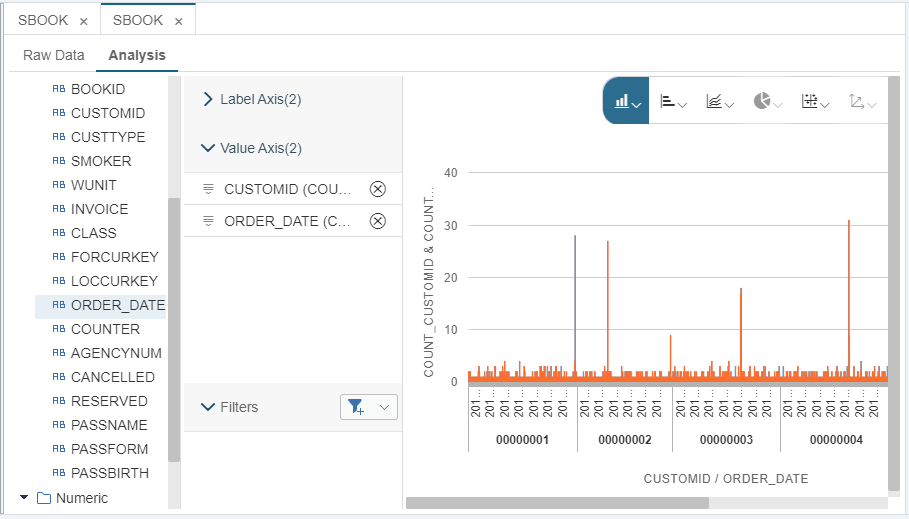
Step – 26 When we explore the Analysis tab, we can find the Analysis of the desired columns.

Step – 27 You can select the Columns for Value Axis from the left-pane and the Chart type from the chart options.