Overview:- SAP Build apps enables quick application development which will reduce our coding dependence and give result oriented comprehensive user experience.
Motivation:-
In this blog you will learn how to post data from SAP Build Apps web application to S/4 HANA System.
Business Scenario:- Design a SAP build app which will post data to SAP S/4 HANA Z Table using OADAT POST Call.
Create an ODATA with Create Entity Method and Create a Custom Z Table.
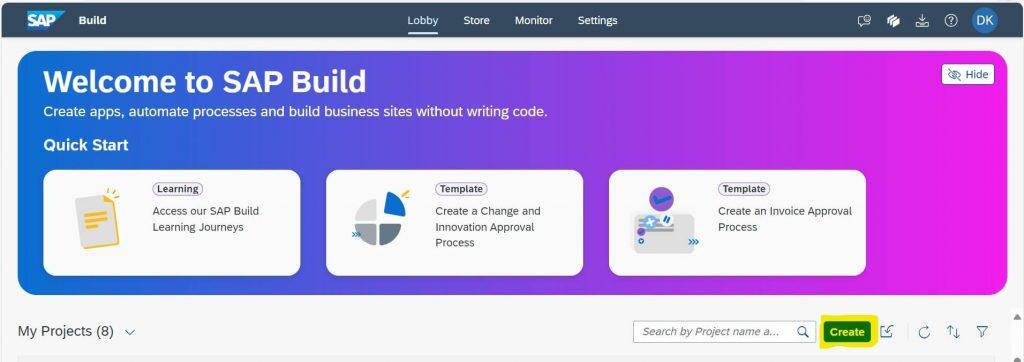
Now Create a new SAP Builds app
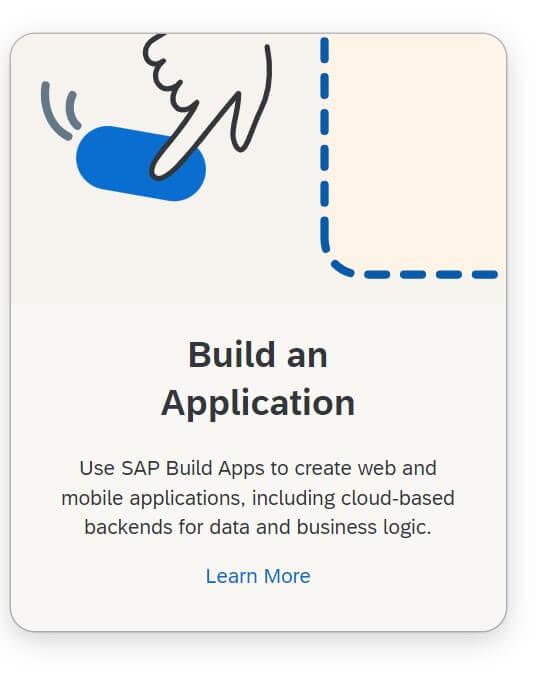
Click on Build an Application
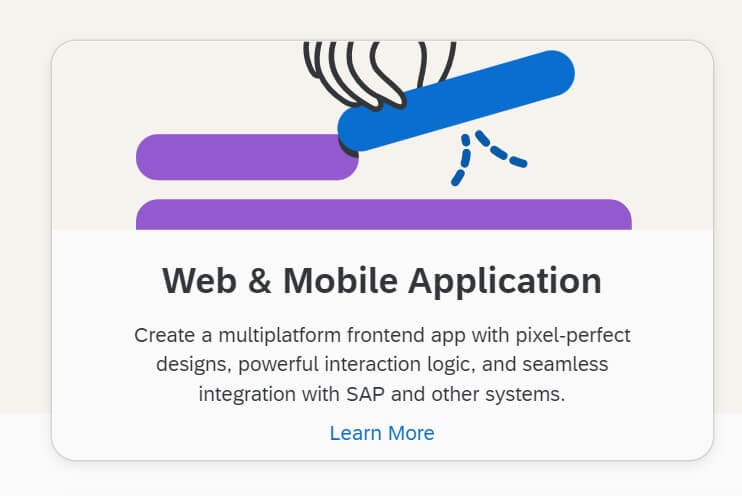
Click on Web & Mobile Application
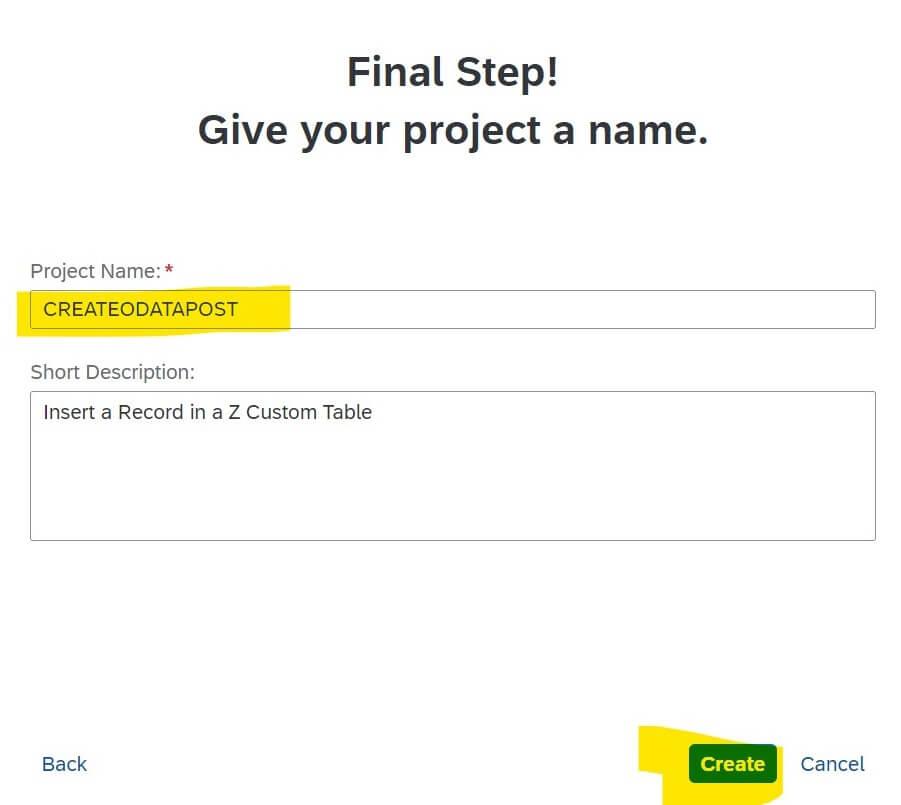
Give the Project Name and Description
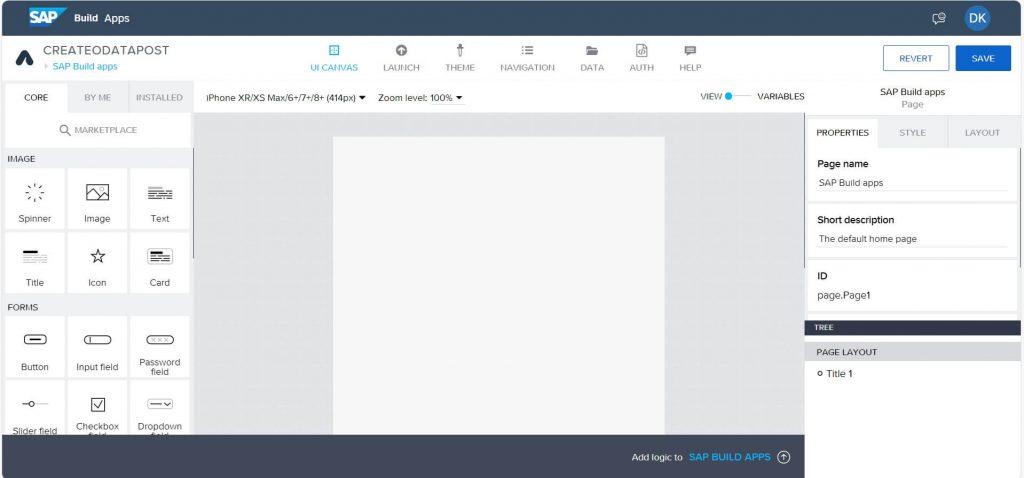
Build apps UI Canvas
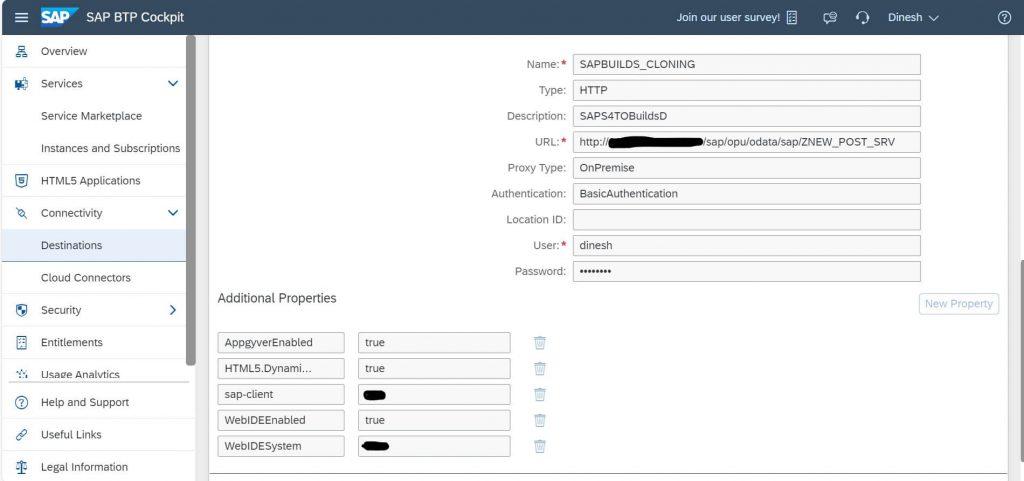
Now Its time to create a Destination in SAP BTP cockpit under Connectivity, give all the required details as given in below screen shot’s and add the additional properties. In the URL give your ODATA URI and click on Save button then do the connection test.
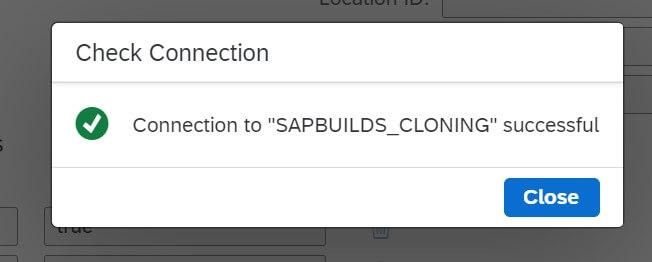
Connection test
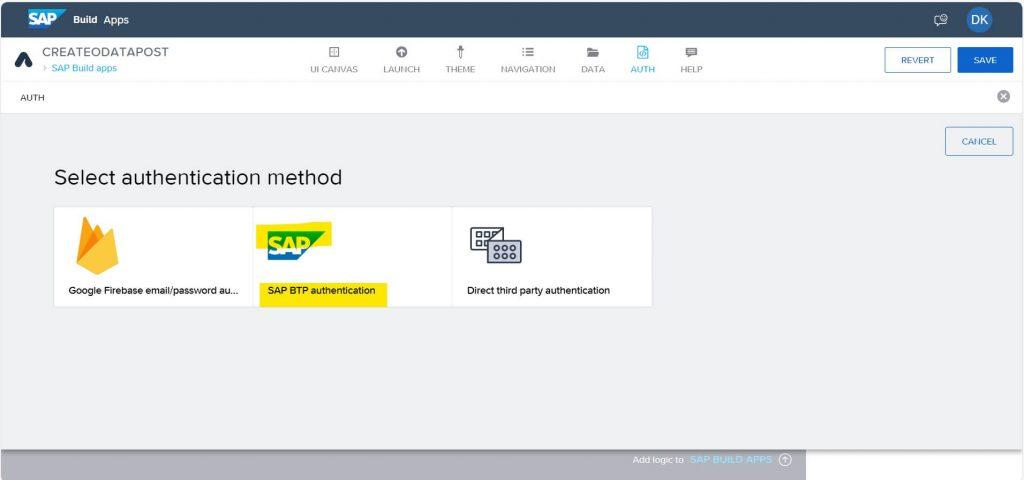
Go to SAP build app Auth tab and click on Enable Authentication

Click on SAP BTP authentication
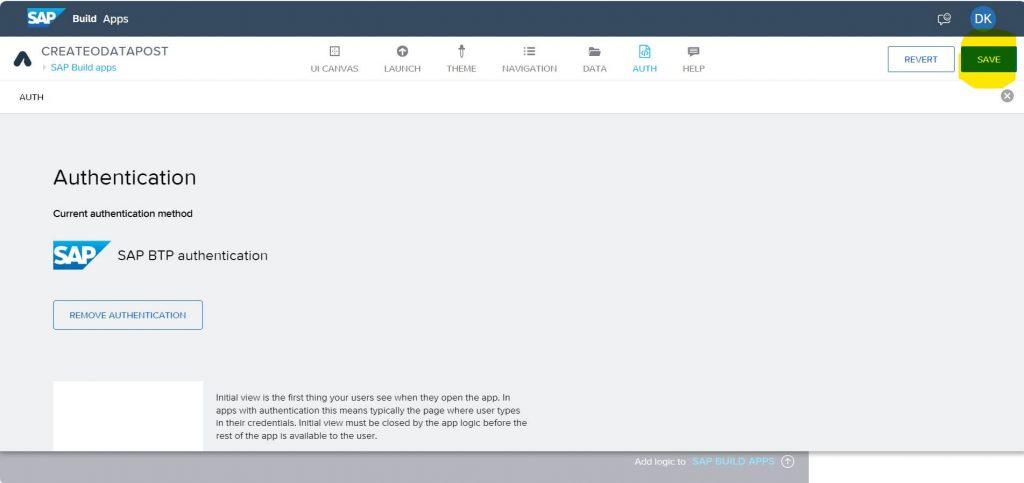
Click on Save button
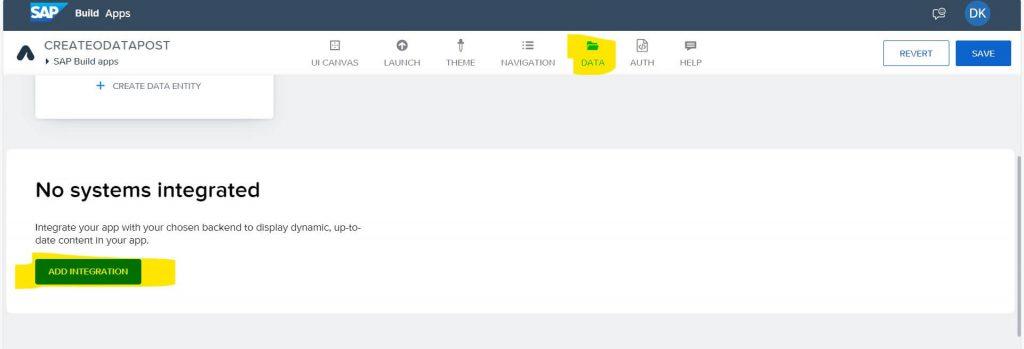
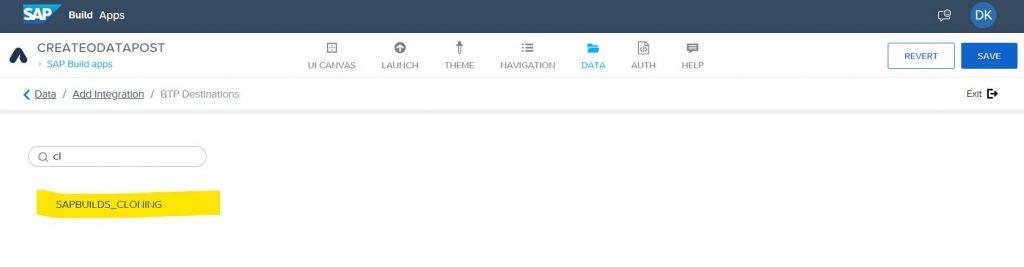
Click on Data Tab and click on Add Integration button
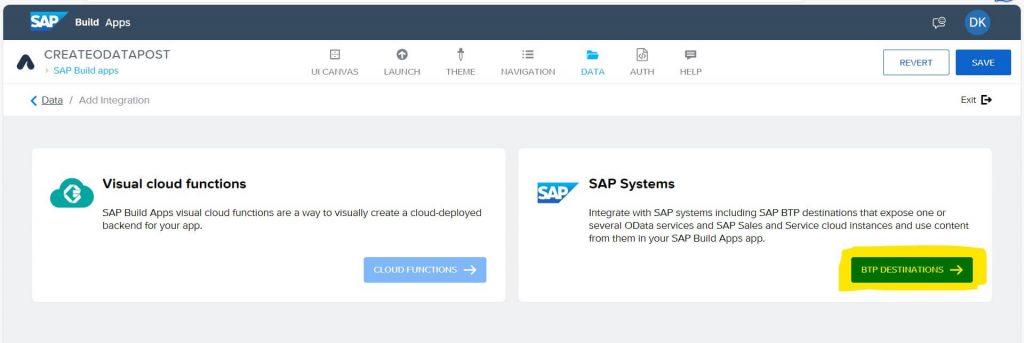
Click on BTP Destination
Select your created destination which has been created in destination under Connectivity in BTP cockpit
Click on Install Integration
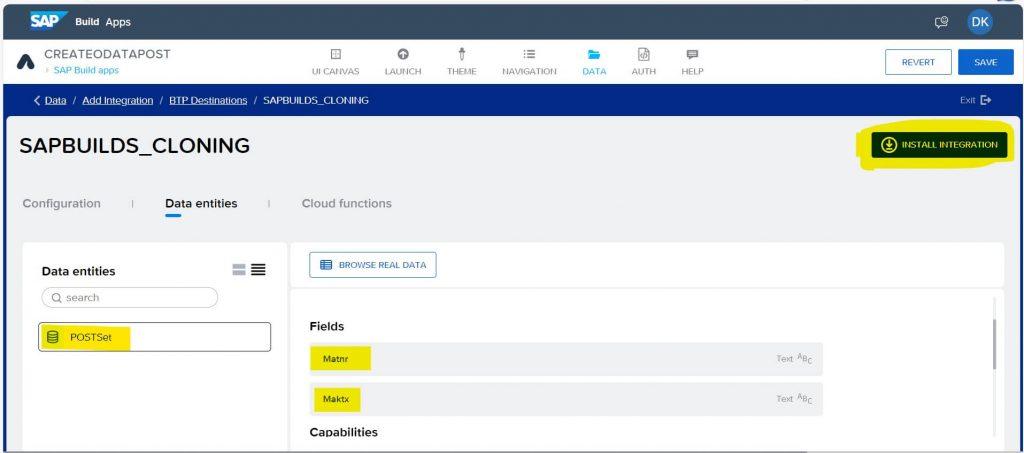
Click on Data Entity
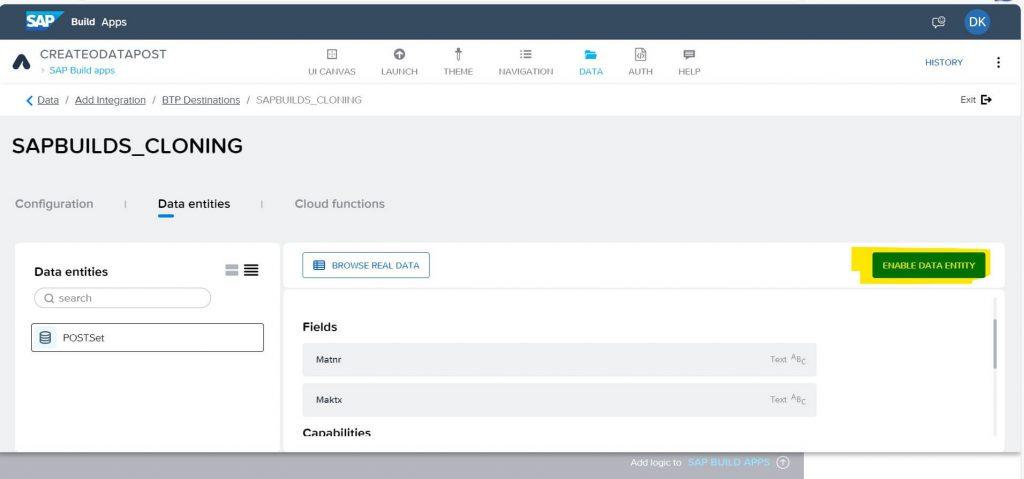
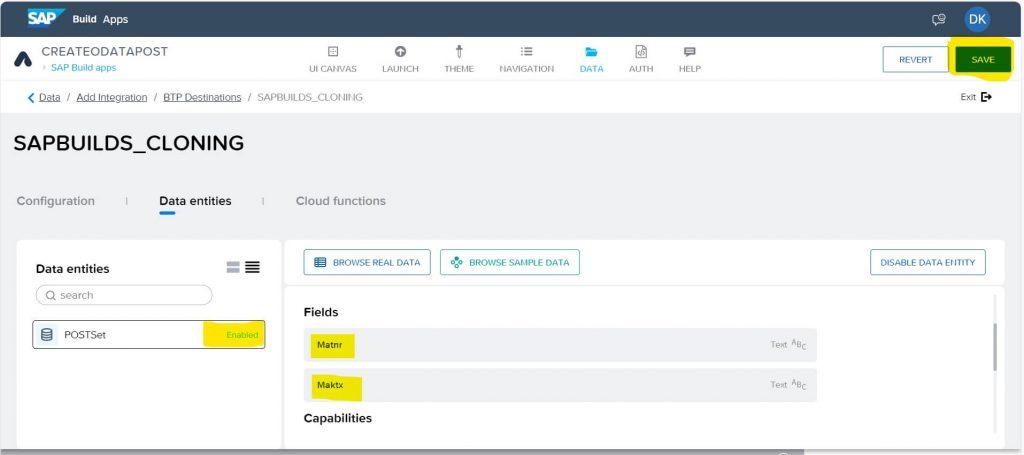
Enabled Data Entity and Save
Open UI Canvas and Click on green arrow for switch to Variable mode
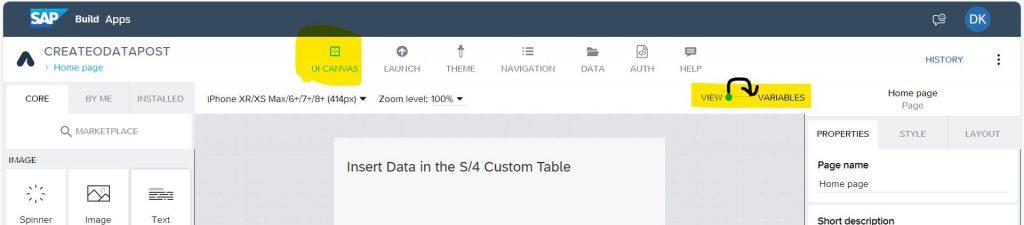
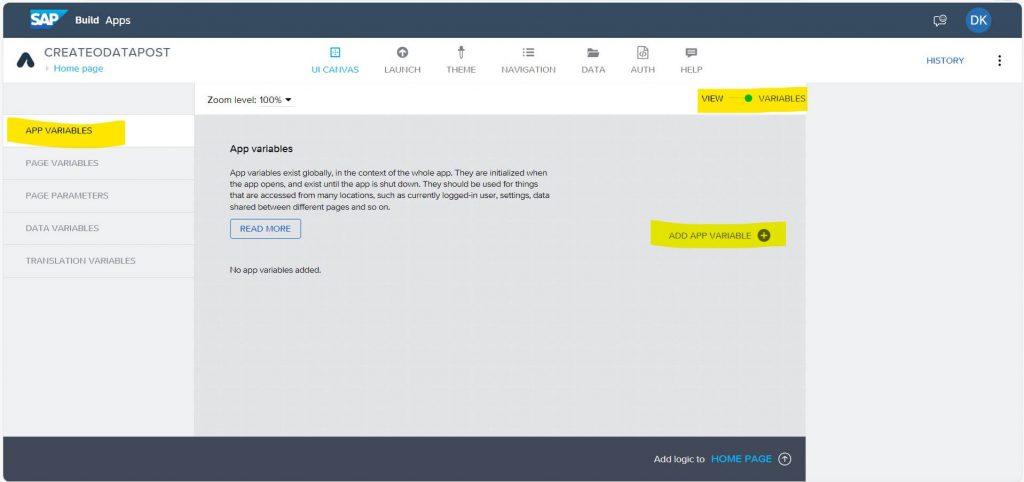
In the variable mode here we can define App and Data variable
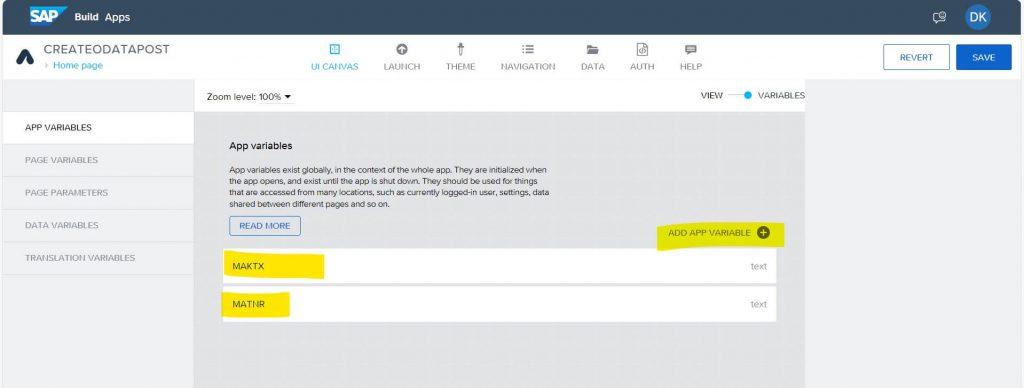
Click on App variable as MATNR, MAKTX, I have only 2 fields in my ODATA & Custom Table.
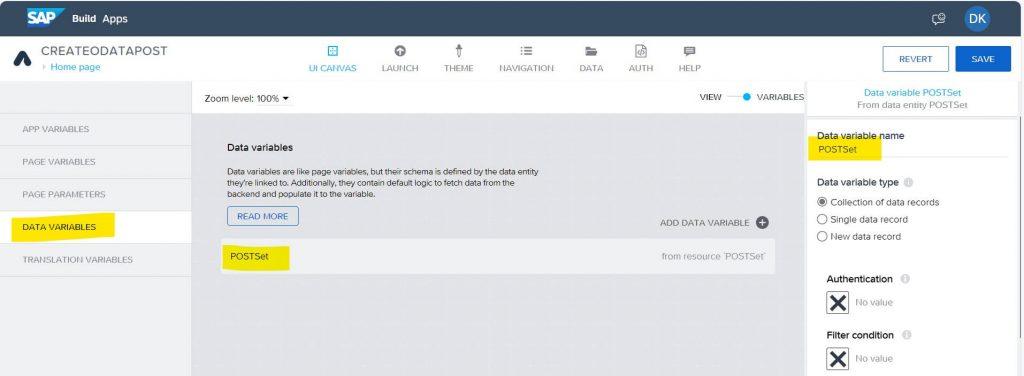
Click on Data variable + sign and select the Data entity
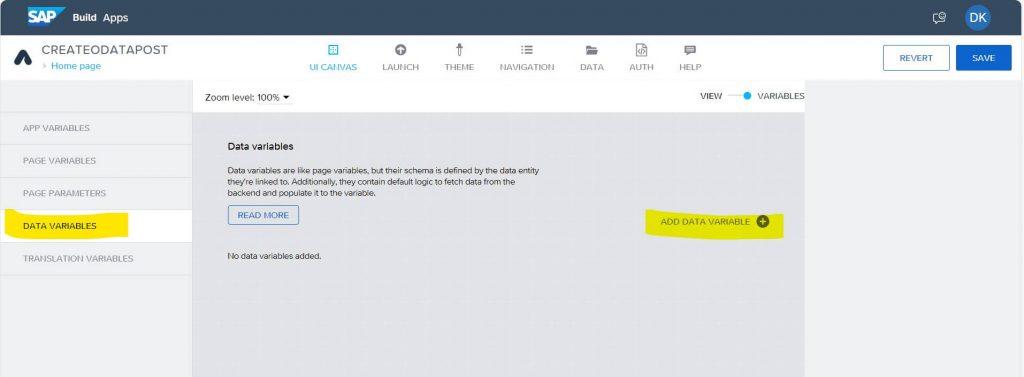
Select the Data entity
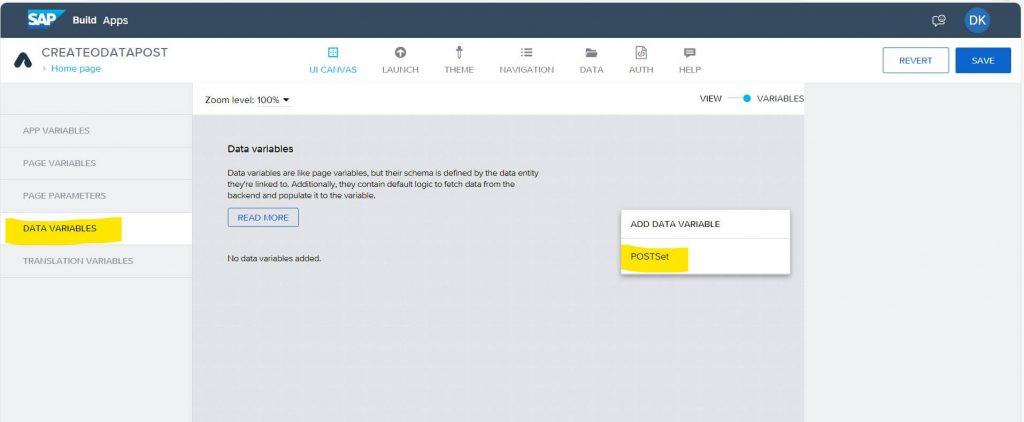
Added Data variable and click on Save
Switch to view mode from variable mode

In UI Canvas drag and drop the fields
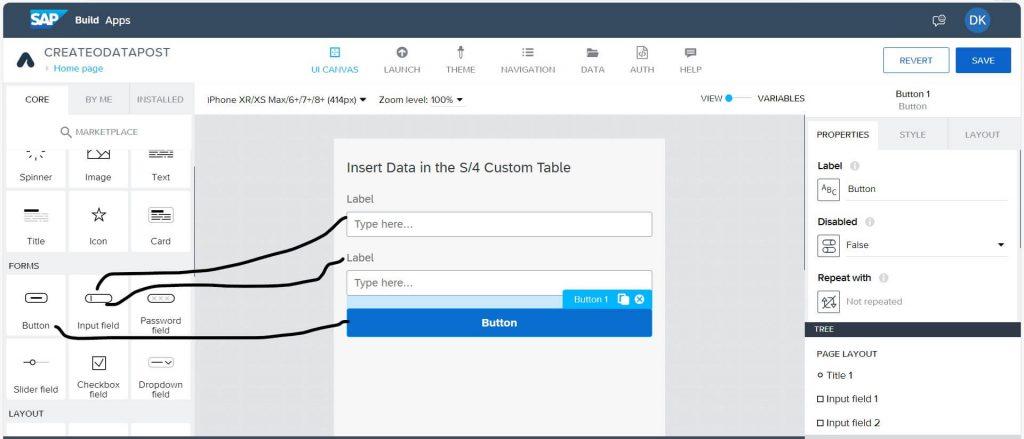
Give Screen fields name as per your requirement
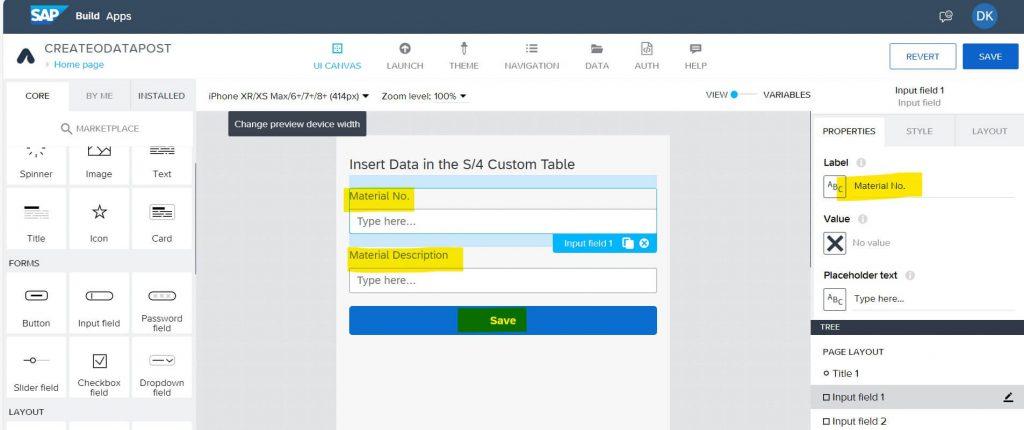
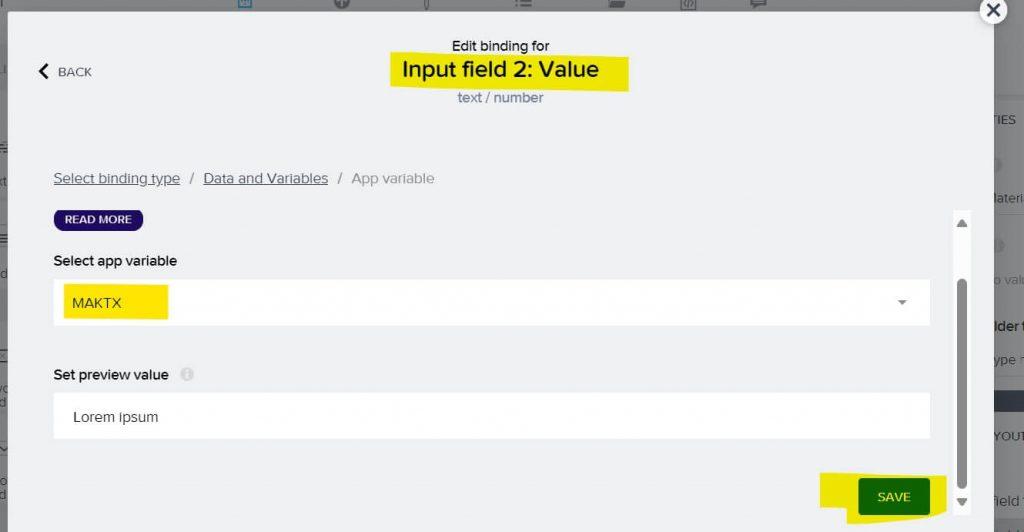
Assign screen fields with App variable, select the fields and click on value icon
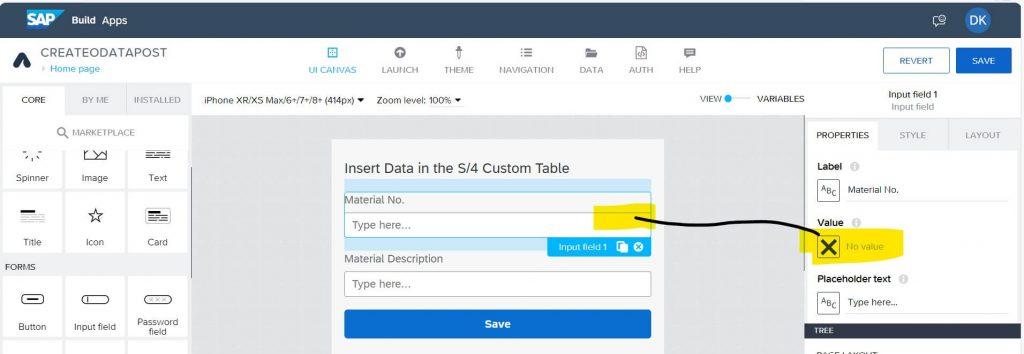
After clicked on Value below popup will open, Select the Data and Variable
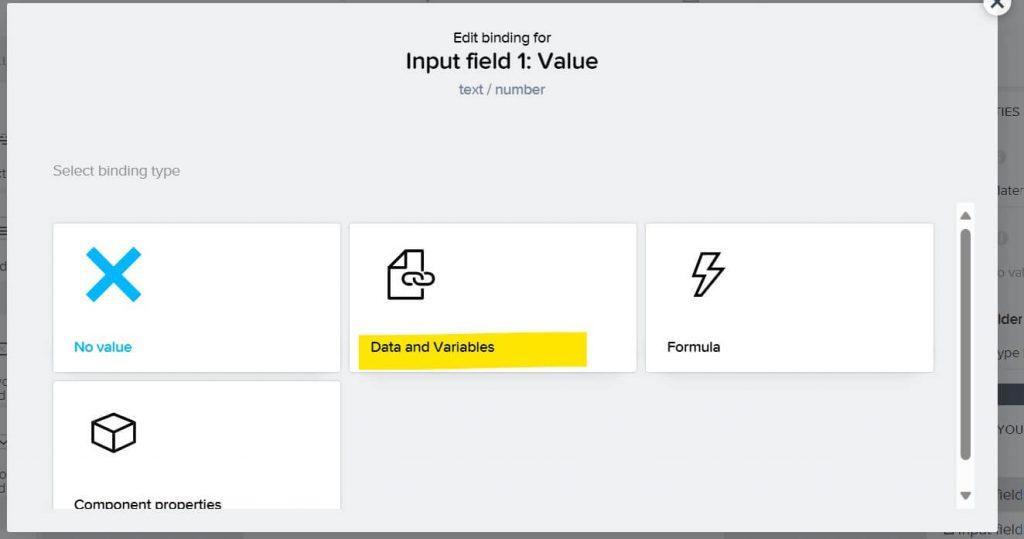
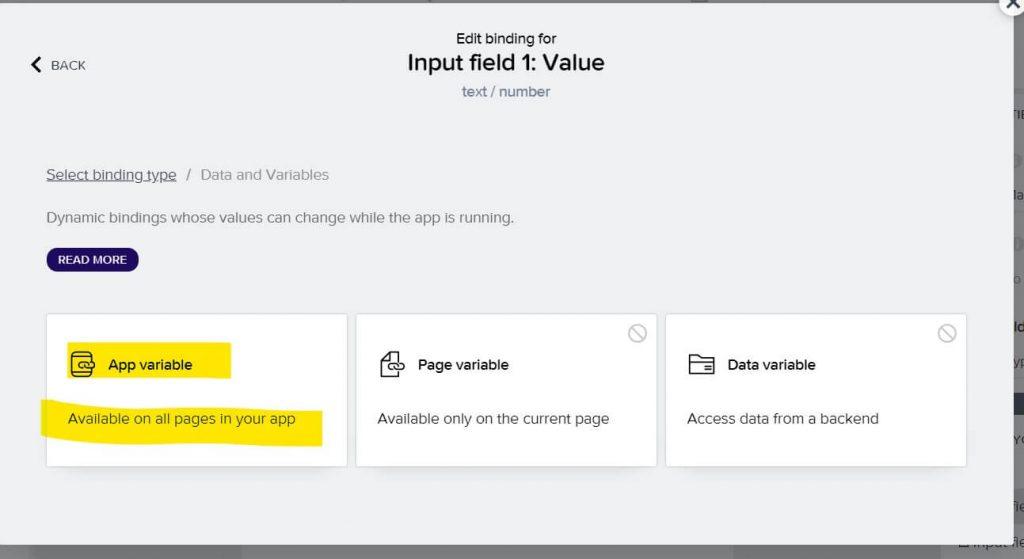
click on App variable
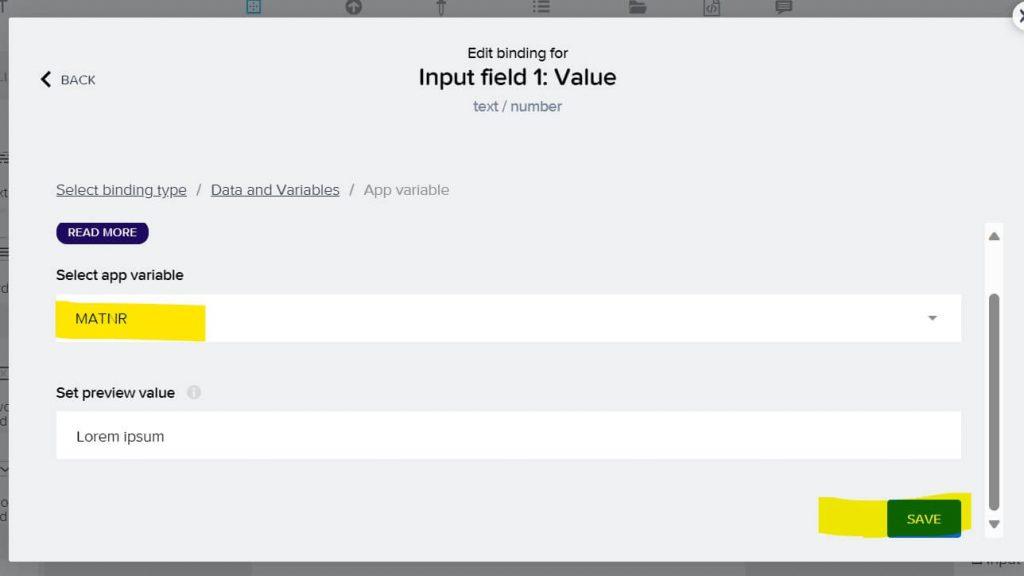
Select the App variable and click on Save, Please do the same activity to assign app variable for MAKTX fields and save.
MATKX assignment with App variable
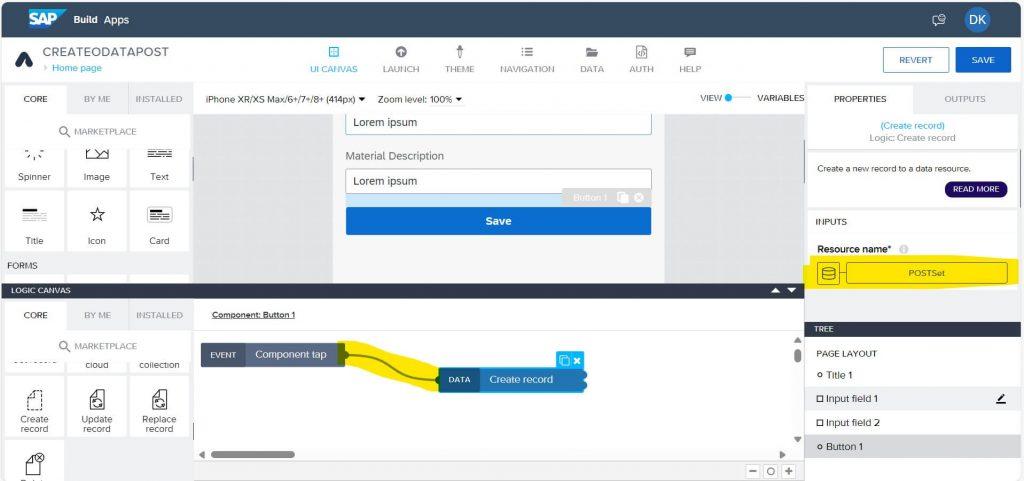
Select the button and click on Show Logic for BUTTON 1
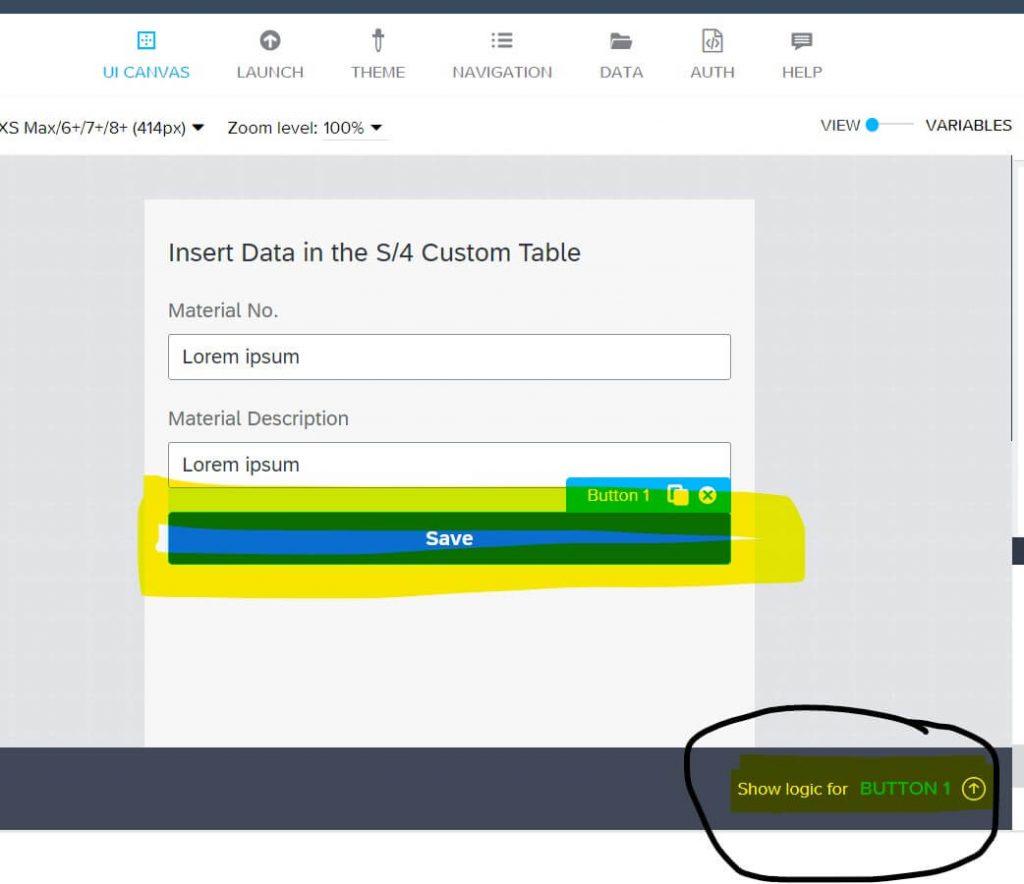
On the bottom of screen button logic will be open
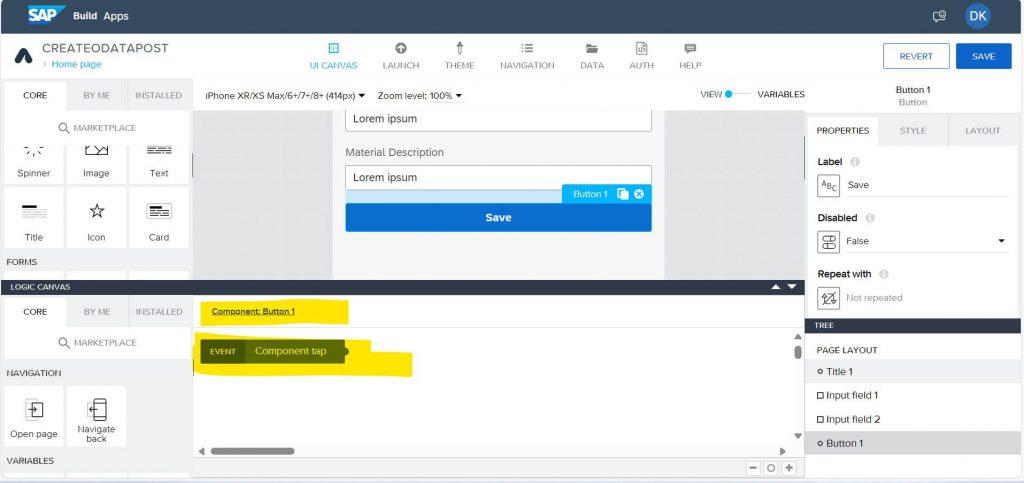
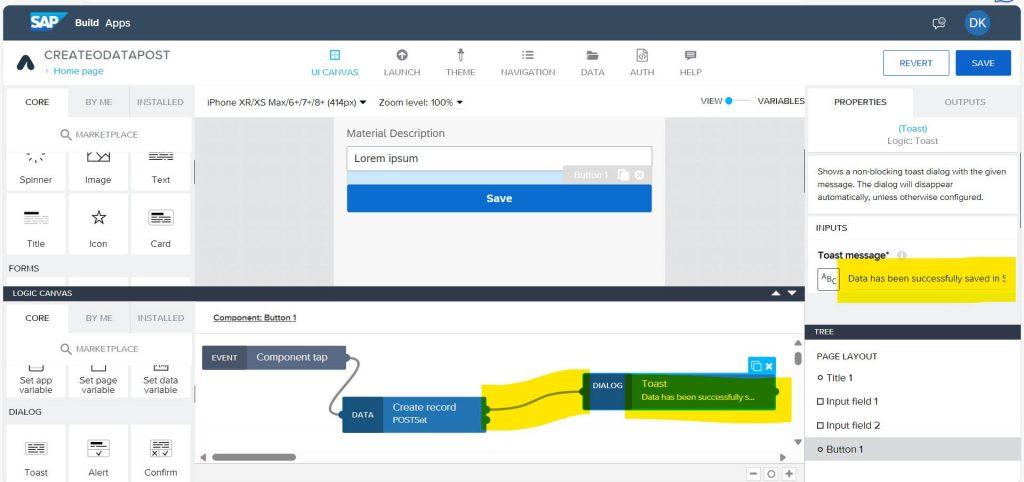
as per our requirement, We need to perform the create operation so here in logic window drag and drop create record tool to logic canvas as shown below
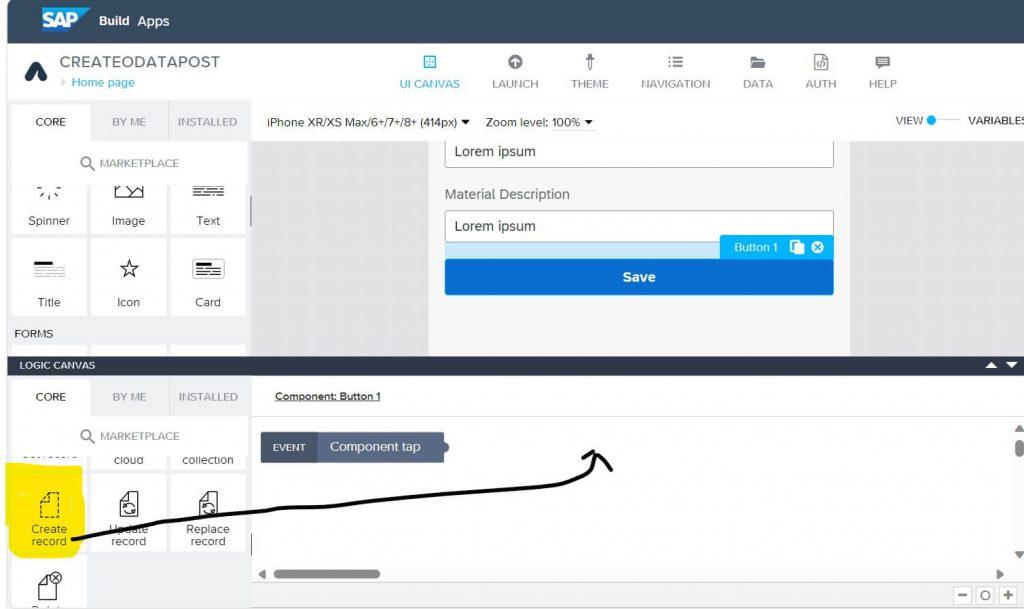
After Dragged the Create record
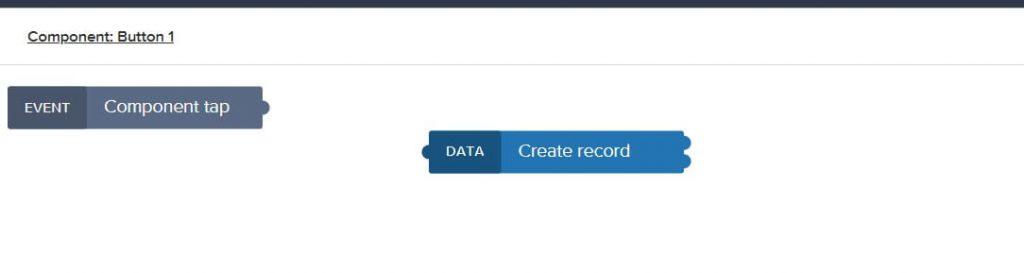
Now its time to mapping so here you need to map button even to create record just drag the cursor from component tap to Create record ad shown below in yellow color and click on save
Assign App variables with Data entity
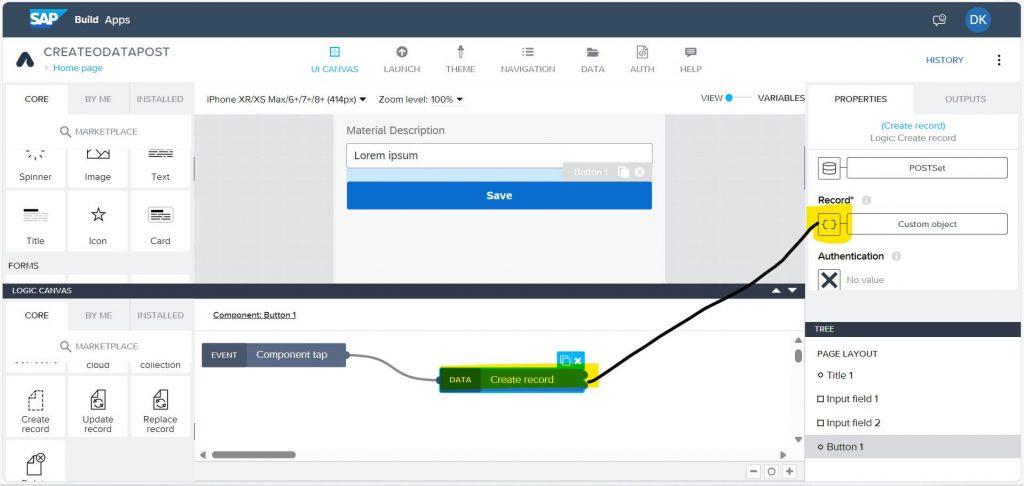
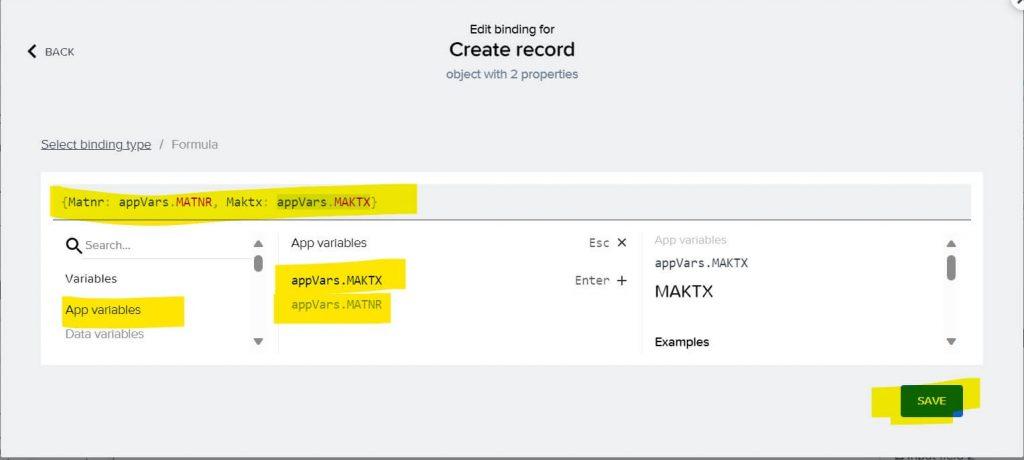
Click on Formula
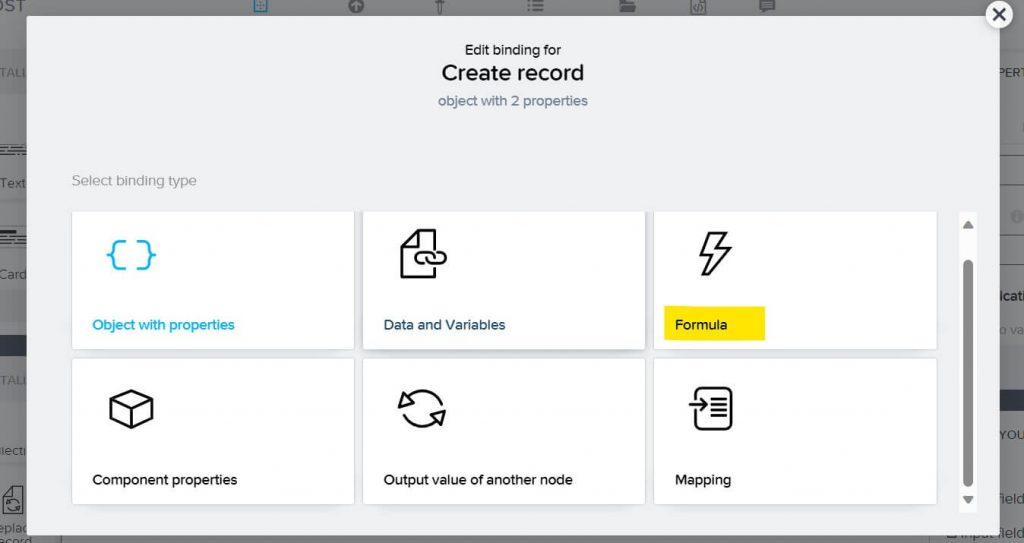
Map the Entity fields with App variable and Save
code -{Matnr: appVars.MATNR, Maktx: appVars.MAKTX}
Drag and drop the toast for user confirmation popup after data saved and right side you can give any custom message
Now its time to run the App
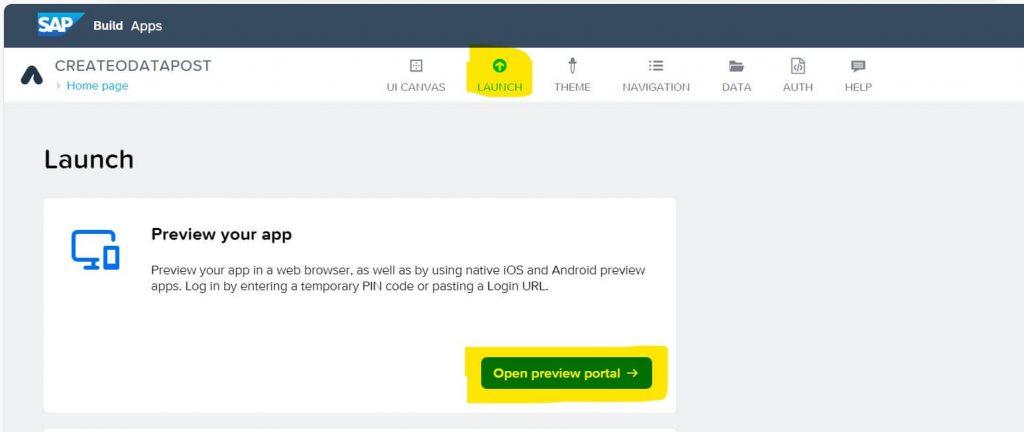
And then click on Preview on Web button select the App
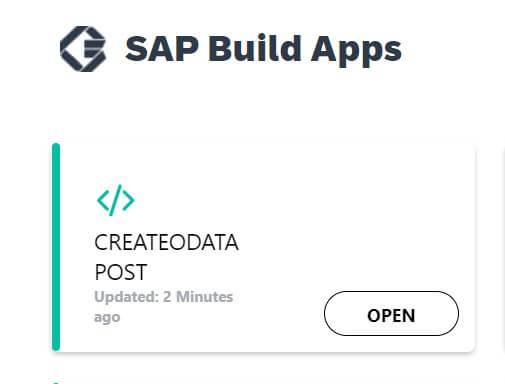
Preview of App
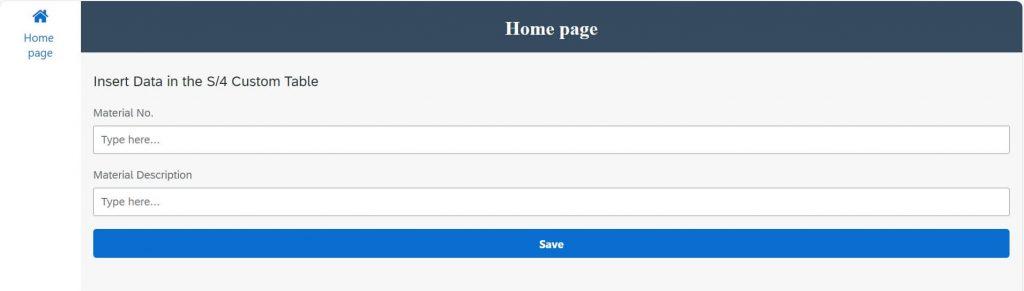
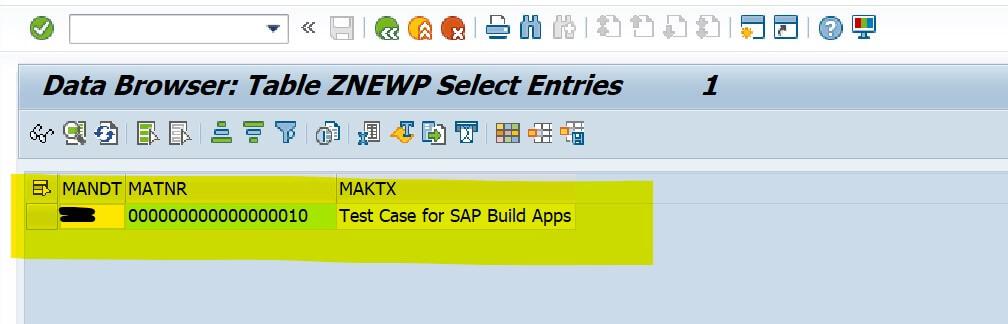
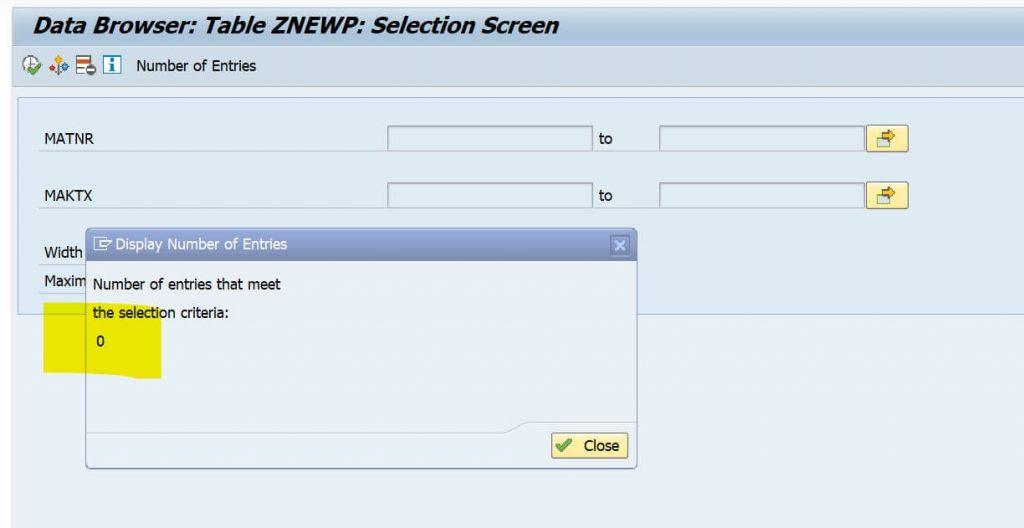
Before enter the data, Showing S/4 Custom table entry
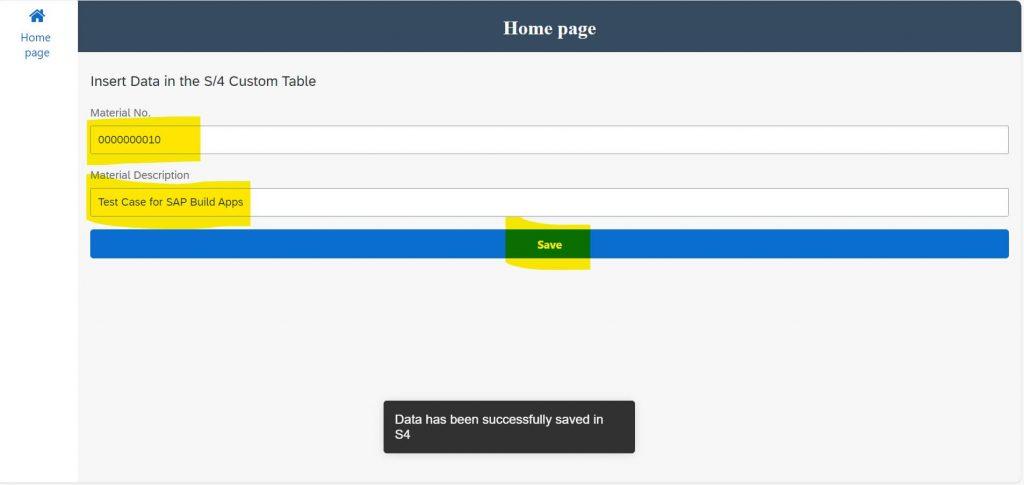
Now its time to fill data on the Build apps and click on Save button
Now its time to check table in the S/4 system