In this blog i will show you how you can access SAP S/4HANA Cloud Virtual Data Model using SAP Cloud SDK and SAP Cloud Platform Extension Factory and finally build a Node.js Application which would be running on SAP Cloud Platform Cloud Foundry.
This is one of the easiest and best way i found to access SAP S/4HANA Cloud Virtual Data Model and create extension application, because one side SAP S/4HANA Cloud Extensibility service in Extension Factory take care many things like automatic creation of communication user, communication system, Communication Arrangements and SAP Cloud Platform Destination, In other side SAP Cloud SDK gives best developer experience to play with SAP S/4HANA Cloud oData Virtual Data Model.

In this blog i am not going to discuss what is extension factory and how to use sap cloud sdk because there are many blogs already has been published about these topics. In this Blog you would learn how you can create extension application or access SAP S/4HANA Cloud oData Virtual Data Model easily using Extension Factory and SAP Cloud SDK.
How to do
Now from above technical architecture most of you have already figured out how this whole flow works, but still let me simplify the steps so that it would clear how extenstion factory make real differences.
Traditional Step
Standard
- Create Inbound Communication User
- Create Communication System
- Create Communication Arrangement based on Communication Scenario, Communication System and Communication user
- Consume the oData Service
Custom Scenario (Read Only)
- Create Custom CDS Views and Generate oData
- Create Inbound Communication User
- Create Custom Communication Scenario based and Consume Custom CDS based oData as Inbound Service
- Create Communication System
- Create Communication Arrangement based on custom communication scenario, communication system and inbound communication user
- Consume the oData Service
Extension Factory way (Extensibility Service)
- Enable Extension Factory S/4HANA Cloud Extensibility Service (API Plan and Enterprise messaging Plan)
- (Key-pairing method)Register SAP S/4HANA Cloud System in SAP Cloud Platform and maintain Cloud Platform Extension in SAP S/4HANA Cloud using Integration Token from SAP Cloud Platform
- Create Service Instance of SAP S/4HANA Cloud Extensibility Service, During creation provide the Communication Scenario id, Arrangment name and Inbound Authentication type, It will create Automatically Communication Arrangement, Communication system and Communication user in SAP S/4HANA Cloud and Also it will create a SAP Cloud Platform Destination
- Use SAP Cloud SDK to Consume the oData VDM
Let have a look at all the step
N.B : As a Prerequisite you should have enabled the Extension Factory and S/4HANA Cloud Extensibility service enabled in your Cloud Platform tenant
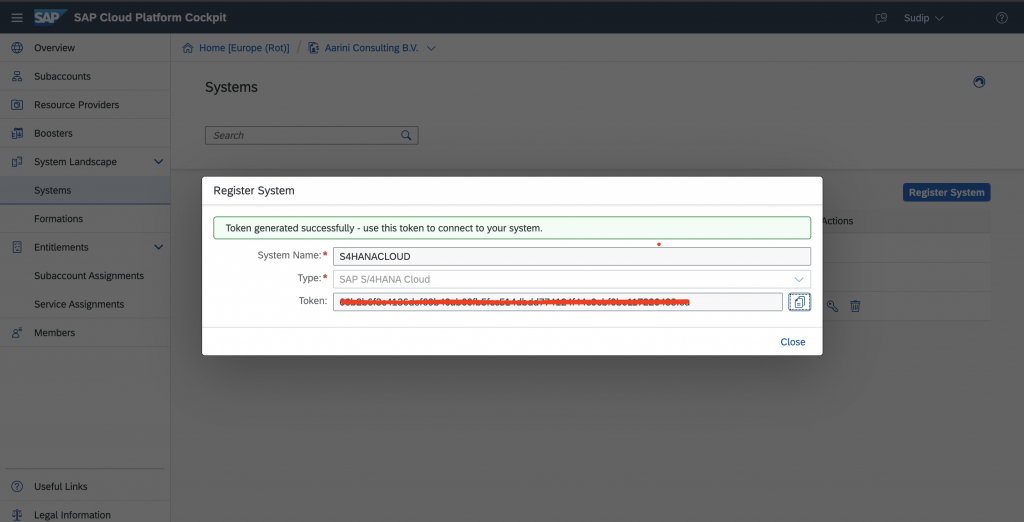
Step 1: Register SAP S/4HANA Cloud System in SAP Cloud Platform
Click on Register System

Give a Name (i.e S4HANACLOUD) and select the type SAP S/4HANA Cloud and Click on Register

Integration Token will be generated, Copy that Integration Token and keep it with you it would be required in SAP S/4HANA Cloud during maintaining Extension for Cloud Platform
Now After Saving it if you look at the Status of connection is Pending because its waiting for pairing, Once you use the Integration key in SAP S/4HANA Cloud Pairing, It will be registered.

Step 2: Maintain the Cloud Platform Extension in SAP S/4HANA Cloud (Pair the Integration key in SAP S/4HANA Cloud)
Login to SAP S/4HANA Cloud and Navigate to Communication Management Group and Click on Maintain SAP Cloud Platform Extension

Click on new

Insert the Integration Token, Description and Save

Now After saving go back to SAP Cloud Platform and Check the Status

Now Pairing is Completed, We can go ahead with creation of S/4HANA Extensibility Service
Step 3: Creating S/4HANA Cloud Extensibility Service Instance
Go to SAP S/4HANA Cloud Extensibility

Create new Instance with plan api-access and System Name which we created in last Step

In this example we want to access Purchase Requisition oData Virtual Data Model, for that Scenario ID is SAP_COM_0102, Give Communicaton Arrangement name which will be created in SAP S/4HANA Cloud

Give the Instance Name, you would notice with same name a Destination would be also getting created automatically


Now lets have look at SAP Cloud Platform Destination

Also it would create Communication Arrangement Automatically in SAP S/4HANA Cloud

Step 4: Develop Node.Js Based Rest API using SAP Cloud SDK
Before developing node.js based rest api

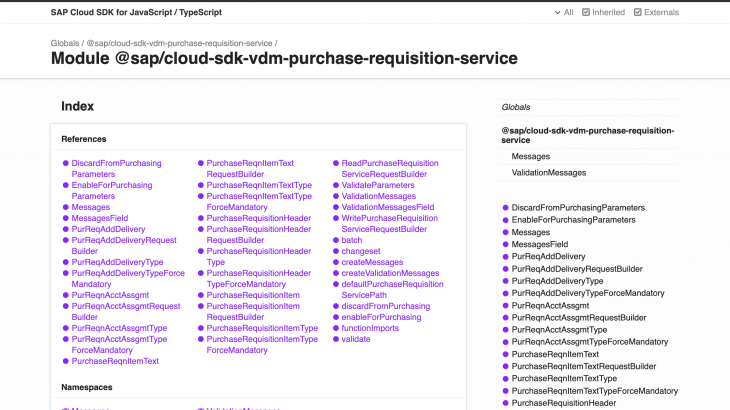
You can check out all the method available in the Documenation, beelow is code snippet.
const express = require("express");
const app = express();

const {
    desc
} = require("@sap/cloud-sdk-core");

const {
    PurchaseRequisitionHeader,
    PurchaseRequisitionItem
} = require("@sap/cloud-sdk-vdm-purchase-requisition-service");

function getPurchaseRequisitions() {
   return PurchaseRequisitionHeader.requestBuilder()
   .getAll()
   .select(PurchaseRequisitionHeader.PURCHASE_REQUISITION,
           PurchaseRequisitionHeader.PURCHASE_REQUISITION_TYPE,
           PurchaseRequisitionHeader.PUR_REQN_DESCRIPTION,
           PurchaseRequisitionHeader.SOURCE_DETERMINATION,
           PurchaseRequisitionHeader.TO_PURCHASE_REQN_ITEM.select(
               PurchaseRequisitionItem.CREATED_BY_USER,
               PurchaseRequisitionItem.BASE_UNIT,
               PurchaseRequisitionItem.COMPANY_CODE,
               PurchaseRequisitionItem.DELIVERY_DATE,
               PurchaseRequisitionItem.MATERIAL,
               PurchaseRequisitionItem.PURCHASE_REQUISITION_ITEM,
               PurchaseRequisitionItem.PURCHASE_REQUISITION_PRICE,
               PurchaseRequisitionItem.PUR_REQ_CREATION_DATE,
               PurchaseRequisitionItem.REQUESTED_QUANTITY,
               PurchaseRequisitionItem.PURCHASE_REQUISITION_STATUS
           )

    ).execute(
        {
            destinationName: process.env.apiDest
        }
    )

}

app.get("/getpr", function (req, res) {
    getPurchaseRequisitions()
        .then(purchasereq => {
            res.status(200).json(purchasereq);
        });
});

const port = process.env.PORT || 3000;
app.listen(port, function () {
    console.info("Listening on port: " + port);
});
Below is how manifest.yaml file looks like
applications:
- name: s4cpr
  path: s4cpr
  command: node index.js
  random-route: true
  memory: 256M
  disk_quota: 256M
  buildpacks:
    - nodejs_buildpack
  services:
    - S4CPREXT
  env:
    apiDest: S4CPREXT
In Service we need to provide the Service Instance name and in environment variable apiDest we can pass Destination Name. After that finally you can deploy this application to Cloud Foundry using simple cf push command.
Step 5: Test the Application
Testing in Postman


