SAP Cloud Platform, ABAP Environment is the SAP Platform-as-a-Service (PaaS) offering for ABAP development that enables developers to leverage their traditional on-premise ABAP know-how to develop and run ABAP applications in the SAP Cloud Platform, either as extension to SAP software or as standalone applications.
Also Read: What is SAP ABAP 7.4 Certification?
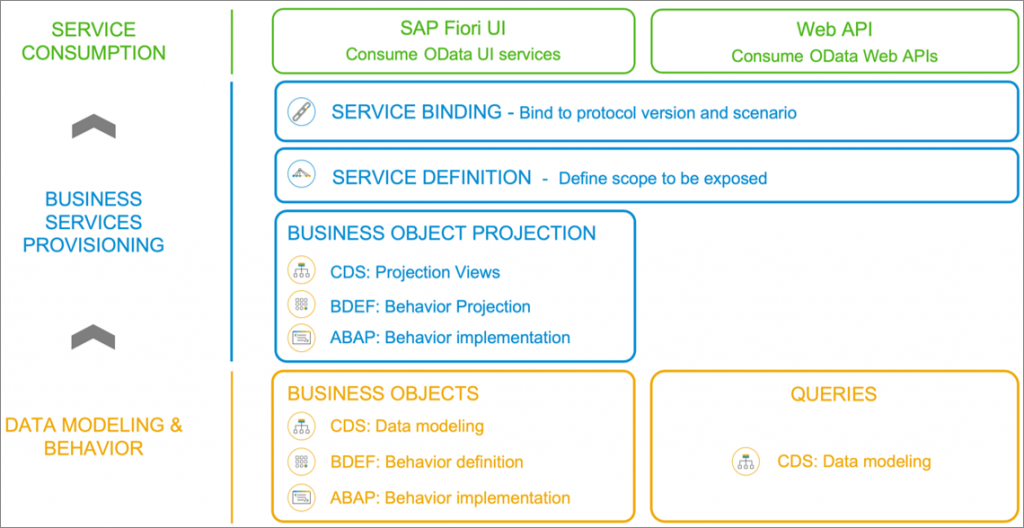
This blog post will introduce you to ABAP RESTful Programming Model which consists of three main layers:
- Data Modeling & Behavior
- Business Services Provisioning
- Service Consumption
The data modeling and behavior layer contains domain-specific business objects, that are defined with Core Data Services (CDS) and transactional behavior.
The business service provisioning layer consists of projection views with their projection behavior to focus on a particular aspect of the data model which is exposed as business services through the OData protocol.
The service consumption layer allows you to consume all types of OData services as well as OData Web APIs.
The development flow will look as follows :
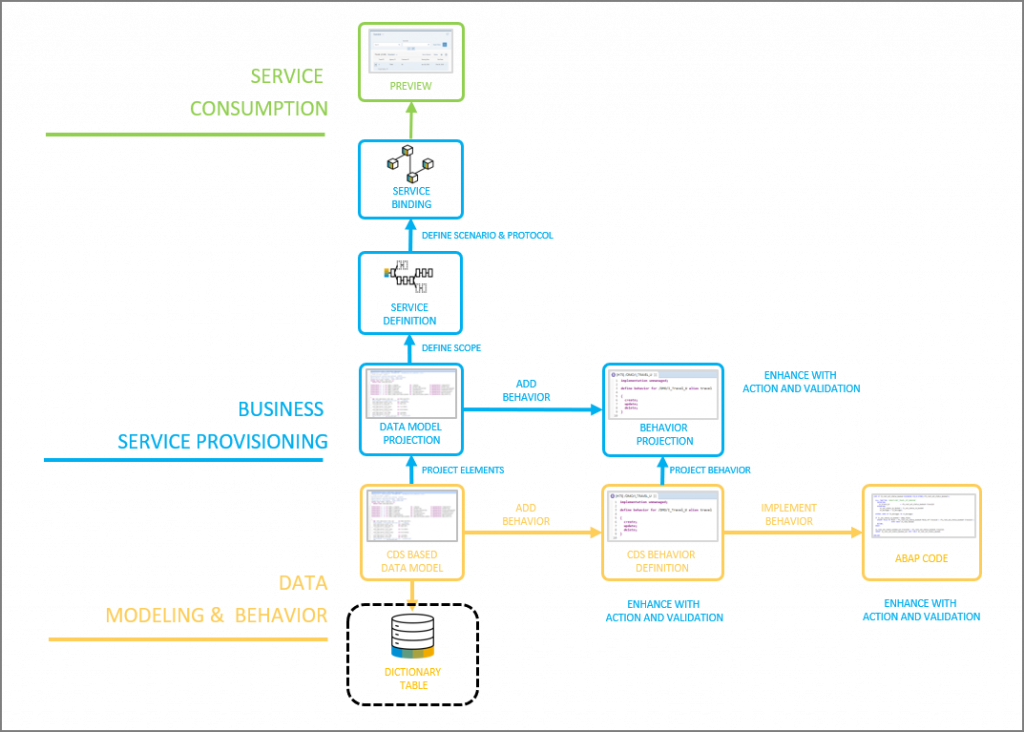
This tutorial is based on Data Dictionary , CDS , ABAP OO , Fiori Elements ( Semantic Annotations ) , Services.
I will use this to create a Report that will display Purchasing Documents Header and Items .
Step 1: Create ABAP package
Open ABAP Development Tools (ADT) and select your ABAP Cloud Project you created in Create an SAP Cloud Platform ABAP Environment Trial User.
Right-click on ZLOCAL and select ABAP Package.
Create a new ABAP package:
- Name: ZREPORT_PO
- Description: PO Report Package
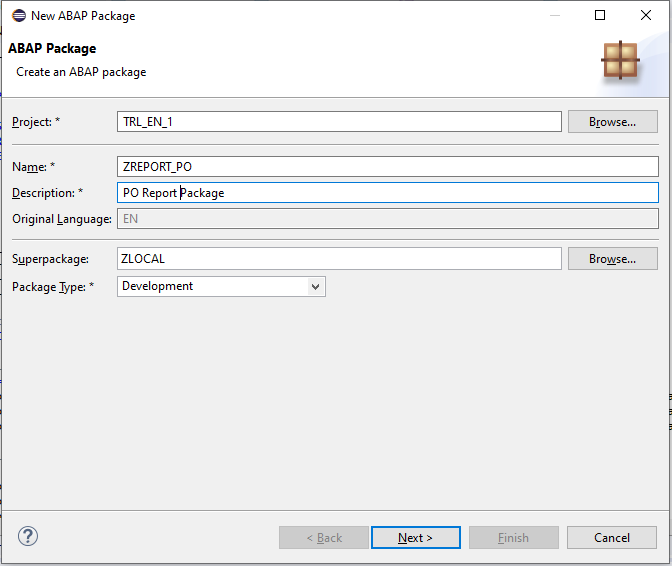
Click Next > twice then Select Create new request and enter a request description : “PO Report” and optionally you can add this package to favorite packages to access it easily by (Right-click on Favorite Packages and select Add Package and choose the created one .
Step 2: Create database tables which will contains PO header and items tables.
Right-click on your package ZREPORT_PO, select New > Other ABAP Repository Object.
Search for database table, select it and click Next >.
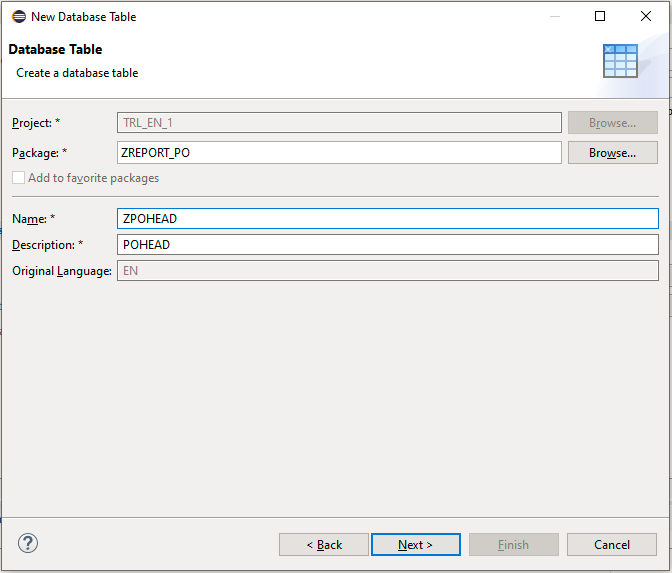
Create a new database table:
- Name: ZPOHEAD
- Description: PO HEAD
Click Next >. and choose the request we created earlier .
Replace your code with following:
@EndUserText.label : 'POHEAD'
@AbapCatalog.enhancementCategory : #NOT_EXTENSIBLE
@AbapCatalog.tableCategory : #TRANSPARENT
@AbapCatalog.deliveryClass : #A
@AbapCatalog.dataMaintenance : #LIMITED
define table zpohead {
key client : abap.clnt not null;
key po_order : abap.char(10) not null;
comp_code : abap.char(4);
doc_type : abap.char(4);
vendor : abap.numc(10);
status : abap.char(4);
created_by : syuname;
created_at : timestampl;
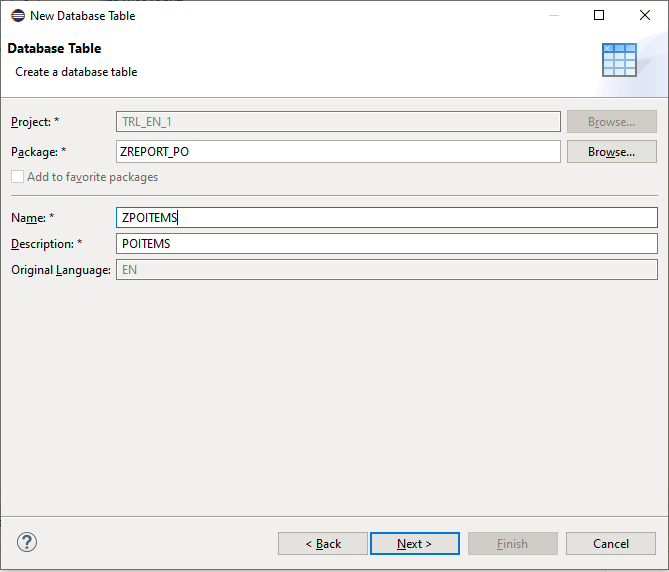
}We will repeat this for the Items Table :
The new database table will be :
- Name: ZPOITEMS
- Description: PO ITEMS
@EndUserText.label : 'POITEMS'
@AbapCatalog.enhancementCategory : #NOT_EXTENSIBLE
@AbapCatalog.tableCategory : #TRANSPARENT
@AbapCatalog.deliveryClass : #A
@AbapCatalog.dataMaintenance : #LIMITED
define table zpoitems {
  key client     : abap.clnt not null;
  key po_order   : abap.char(10) not null;
  key order_item : abap.numc(4) not null;
  unit           : abap.unit(3);
  @Semantics.quantity.unitOfMeasure : 'zpoitems.unit'
  quantity       : abap.quan(10,3);

}
Step 3: Create ABAP class which we will use it to generate data into the tables created.
Right-click on your package ZREPORT_PO, select New > ABAP Class.
Create a new ABAP class:
- Name: zcl_po_generate_data
- Description: Class for generating PO data
Click Next > then Click Finish on our transport request.

Replace your code with following:
CLASS zcl_po_generate_data DEFINITION
  PUBLIC
  FINAL
  CREATE PUBLIC .

  PUBLIC SECTION.
     INTERFACES if_oo_adt_classrun.
  PROTECTED SECTION.
  PRIVATE SECTION.
ENDCLASS.

CLASS zcl_po_generate_data IMPLEMENTATION.
  METHOD if_oo_adt_classrun~main.
    DATA:itab TYPE TABLE OF zpohead,
         itab2 TYPE TABLE OF ZPOITEMS.

*   read current timestamp
    GET TIME STAMP FIELD DATA(ztime).

*   fill internal PO Header  internal table (itab)
    itab = VALUE #(
    ( po_order = '0000000001' comp_code = 'test' doc_type ='ZMM1'  vendor = '0010000000' status = 'P' created_by = 'user1' created_at = ztime )
    ( po_order = '0000000002' comp_code = 'test' doc_type ='ZMM2'  vendor = '0010000001' status = 'C' created_by = 'user2' created_at = ztime )
    ( po_order = '0000000003' comp_code = 'test' doc_type ='ZMM3'  vendor = '0010000002' status = 'D' created_by = 'user2' created_at = ztime )
    ) .
*   fill internal PO Items internal table (itab2)
    itab2 = VALUE #(
    ( po_order = '0000000001' order_item = '10' unit = 'PC' quantity = '5' )
    ( po_order = '0000000002' order_item = '10' unit = 'KG' quantity = '30.1' )
    ( po_order = '0000000002' order_item = '20' unit = 'KG' quantity = '20.2' )

    ) .

*   insert the table entries
    INSERT zpohead FROM TABLE @itab.
    INSERT zpoitems FROM TABLE @itab2.

    out->write( 'PO data inserted successfully!').

  ENDMETHOD.
ENDCLASS.
In this Class we created two internal tables the 1st one for the header and 2nd one for the items then we fill this tables with dummy data for testing and then inserting them into the database tables created.
Save, activate and click F9 to run your ABAP class.
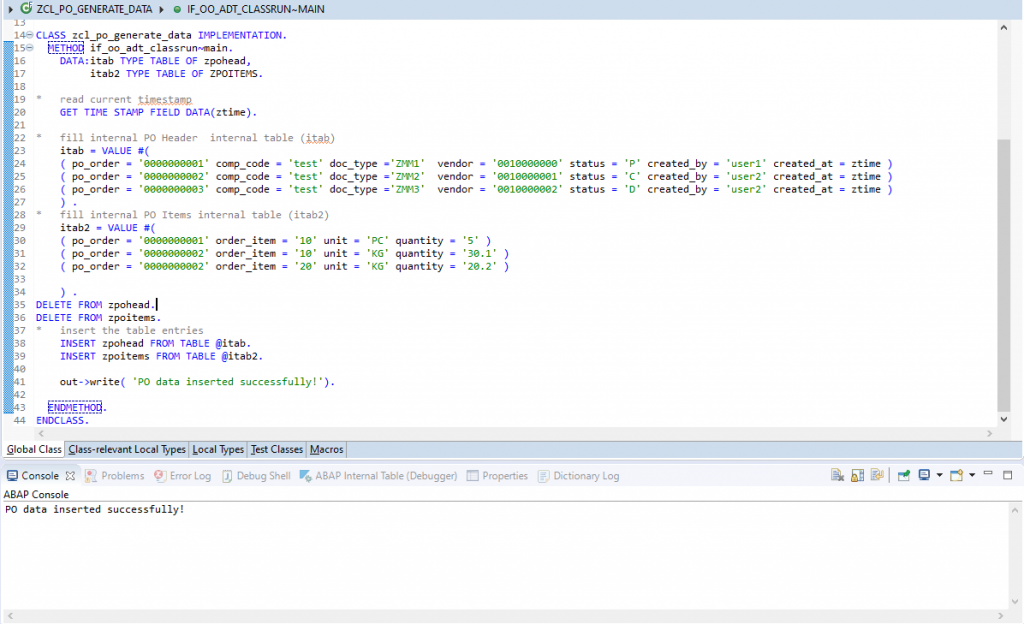
The ABAP Console will produce sucess message ‘PO data inserted successfully!’
-To check the database tables data , Switch to your database table and press F8 to see your data.
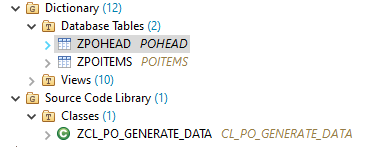
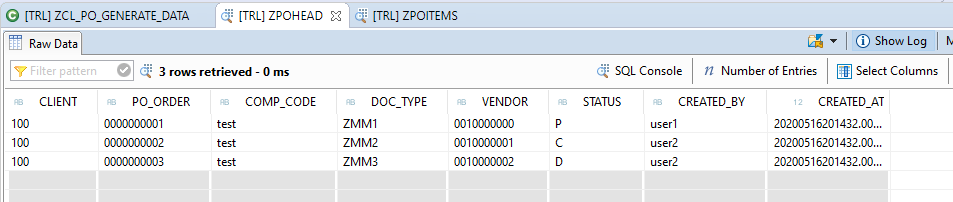

Now the dictionary tables are filled with data.
Step 4 : Define CDS-based PO data model
We will create first the Items data model which will contains Items properties then the Main model .
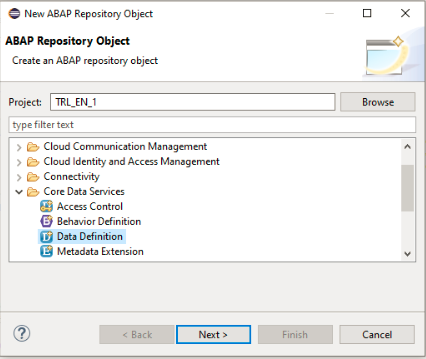
Right-click on your package ZREPORT_PO, select New > Other ABAP Repository Object.
Search for data definition under Core Data Services Node, select it and click Next >.
Create a data definition:
- Name: Z_R_ITEMS
- Description: PO Items Data Model
Click Next > then Click Finish on our transport request.
Your code will look like the following:
@AbapCatalog.sqlViewName: 'ZVRI_MODEL'
@AbapCatalog.compiler.compareFilter: true
@AbapCatalog.preserveKey: true
@AccessControl.authorizationCheck: #CHECK
@EndUserText.label: 'PO Items Data Model'
define view Z_R_ITEMS as select from zpoitems {
@UI: {lineItem: [{ position: 10 }]}
@EndUserText.label: 'Purchasing Document'
key po_order,
@UI: {lineItem: [{ position: 20 }]}
@EndUserText.label: 'Item'
key order_item,
@UI: {lineItem: [{ position: 30 }]}
@EndUserText.label: 'Unit'
unit,
@UI: {lineItem: [{ position: 40 }]}
@EndUserText.label: 'Quantity'
quantity
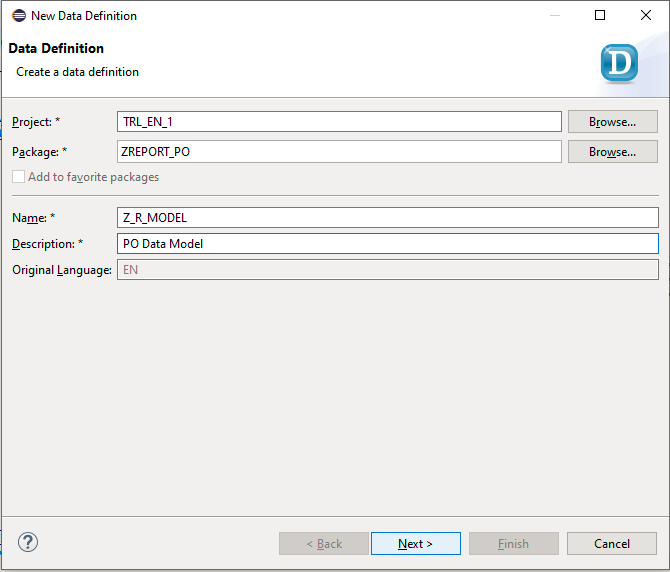
}Now we will repeat this to create Main PO Model :
- Name: Z_R_MODEL
- Description: PO Items Data Model
The Main PO root model will look like the following:
@AbapCatalog.sqlViewName: 'ZVR_MODEL'
@AbapCatalog.compiler.compareFilter: true
@AbapCatalog.preserveKey: true
@AccessControl.authorizationCheck: #CHECK
@EndUserText.label: 'PO Data Model'
define root view Z_R_MODEL as select from zpohead
association [1..*] to Z_R_ITEMS as items on $projection.po_order = items.po_order {
    //zpohead
    key po_order,
    comp_code,
    doc_type,
    vendor,
    status,
    created_by,
    created_at,
    items
}
In this step we First defined the data model of items which specify fields selected , labels & position , Second we defined the main data model which contains the header data fields and its relation to the items .
Step 5 : Create projection view for PO
We will create which will contains all the View properties to be displayed .
Right-click on your package ZREPORT_PO, select New > Other ABAP Repository Object.
Search for data definition under Core Data Services Node, select it and click Next >.
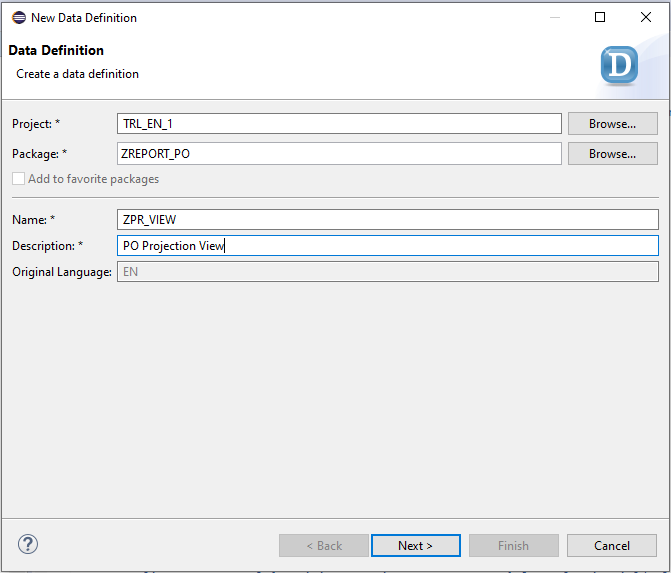
Create a data definition:
- Name: ZPR_VIEW
- Description: PO Projection View
Click Next >.
Click Next > then Click Finish on our transport request.
Your code will look like the following:
@AccessControl.authorizationCheck: #CHECK
@EndUserText.label: 'PO Projection View'
@UI: {
 headerInfo: { typeName: 'Purchasing Order Details', typeNamePlural: 'Purchasing Orders' }
 }

define root view entity ZPR_VIEW  as projection on Z_R_MODEL {
   @UI.facet: [      { id:             'POHeader',
                      type:            #IDENTIFICATION_REFERENCE,
                      label:           'PO Header',
                      position:        10,
                      purpose:         #STANDARD
                      },


                      { id:            'Item',
                      purpose:         #STANDARD,
                      type:            #LINEITEM_REFERENCE,
                      label:           'Items',
                      targetElement:   'items',
                      position:        20
                      }

                  ]
    @UI: {
          lineItem:       [ { position: 10, importance: #HIGH } ] , selectionField: [ { position: 10 }] , identification: [ { position: 10} ]}
    @Search.defaultSearchElement: true
    @EndUserText.label: 'Purchasing Document'
    key po_order,
    @UI: {
          lineItem:       [ { position: 20, importance: #HIGH } ] , selectionField: [ { position: 20 }],  identification: [ { position: 20} ] }
    @EndUserText.label: 'Company Code'
    @Search.defaultSearchElement: true
    comp_code,
    @UI: {
          lineItem:       [ { position: 30, importance: #HIGH } ] , selectionField: [ { position: 30 }], identification: [ { position: 30} ]}
    @EndUserText.label: 'Document Type'
    @Search.defaultSearchElement: true
    doc_type,
    @UI: {
          lineItem:       [ { position: 40, importance: #HIGH } ]}
    @EndUserText.label: 'Vendor'
    vendor,
     @UI: {
          lineItem:       [ { position: 50, importance: #HIGH } ]}
    @EndUserText.label: 'Status'
    status,
    @UI: {
          lineItem:       [ { position: 60, importance: #HIGH } ]}
    @EndUserText.label: 'Created By'
    created_by,
    @UI: {
          lineItem:       [ { position: 70, importance: #HIGH } ]}
    @EndUserText.label: 'Created At'
    created_at ,

    items
}
In this step we created the View properties which defines Header information , Selections fields on the first page (Order , Company Code & Document Type) and Also the Navigation on the selected line item page ( facet ) properties ( Header and Body ).
Step 6: Create service definition
Right-click on your data definition ZPR_VIEW and select New Service Definition.
Create a new service definition:
- Name: ZR_SERV
- Description: PO Report Service Definiton
Click Next >.
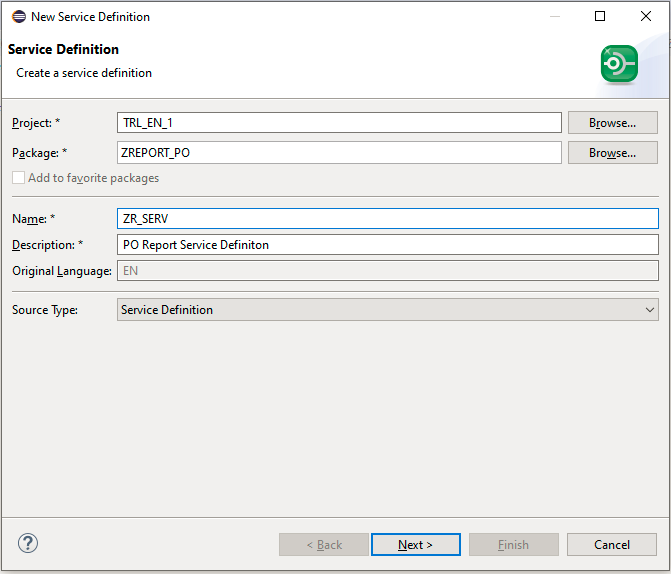
Click Finish on our transport request.
Your code will look like the following:
@EndUserText.label: 'PO Report Service Definiton'
define service ZR_SERV {
  expose ZPR_VIEW;
  expose Z_R_ITEMS;
}
In this step we created service definition on our view for our report which we exposed our View and its Items .
Step 7: Create service binding
Right-click on your service definition ZR_SERV and select New Service Binding.
Create a new service binding:
- Name: ZR_SERV_B
- Description: PO Report Service Binding
- Binding Type: ODATA V2 – UI
Click Next >.
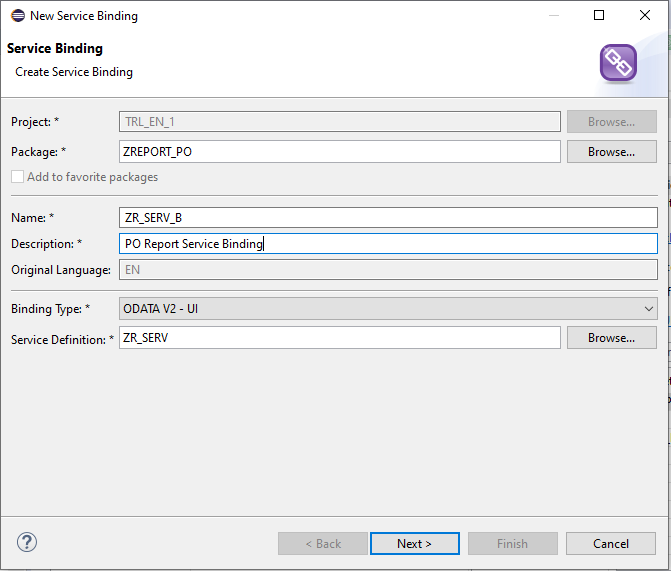
Click Finish on our transport request.
Activate your service binding.
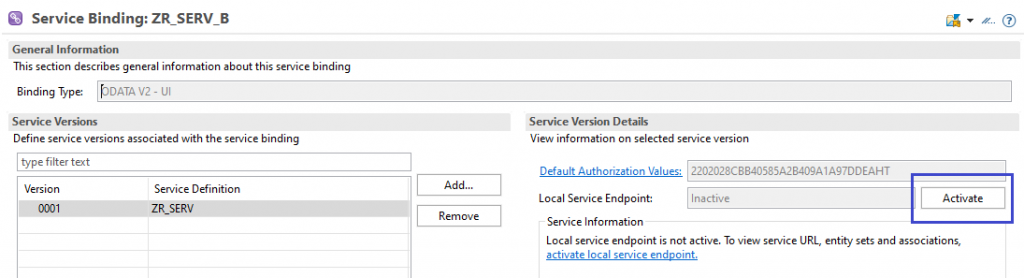
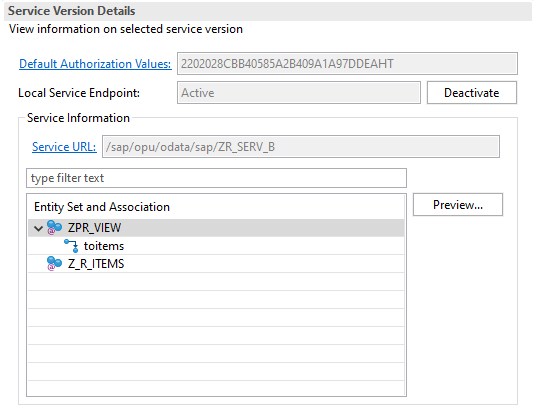
In this step we created our service binding which generates our service with its entities and associations and allows you to bind the service definition to an ODATA protocol.
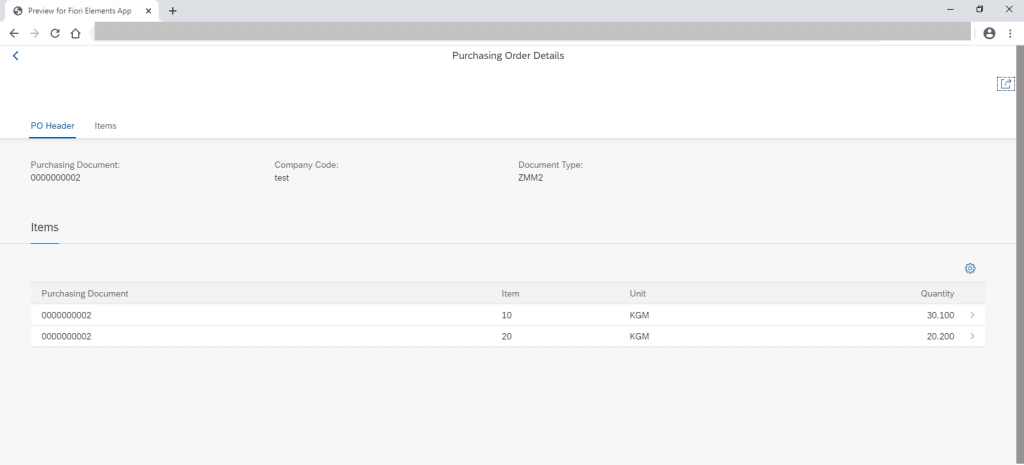
Double-click on ZPR_VIEW to see our SAP Fiori Elements Application on the UI.
This Screen will open on the browser , Logon to your ABAP system with your trial email and password .
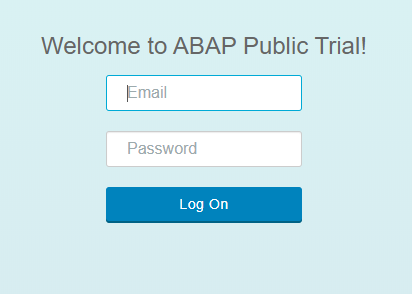
After logging in , you can see our selection parameters .

Click GO to see the result (We can use the filters later).
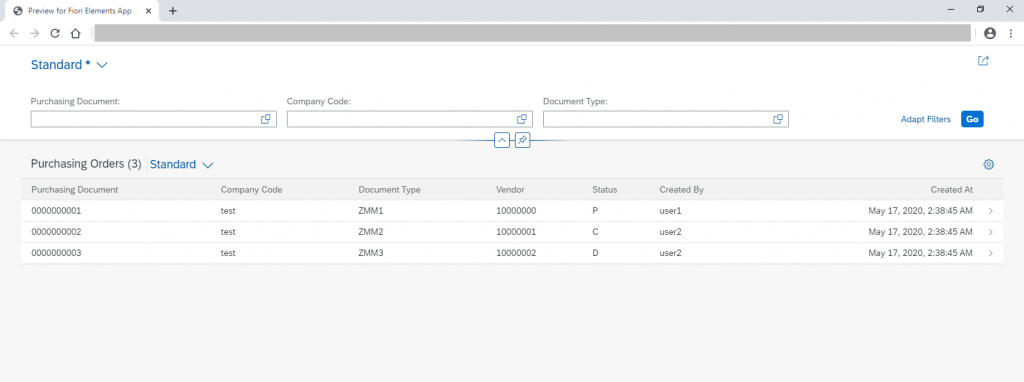
It’s working , Now we can the the PO documents which we created earlier and if we clicked on any items like the second line , We can see the 2nd page which contains order header selected fields and the order items displayed on the body.