This blog gives a clear picture of how to easily configure the SAP HANA cloud platform.
To login to the SAP HANA Cloud Platform, you will need credentials.
Also Read: SAP HANATEC 12 Certification Preparation Guide
Steps to create user id:
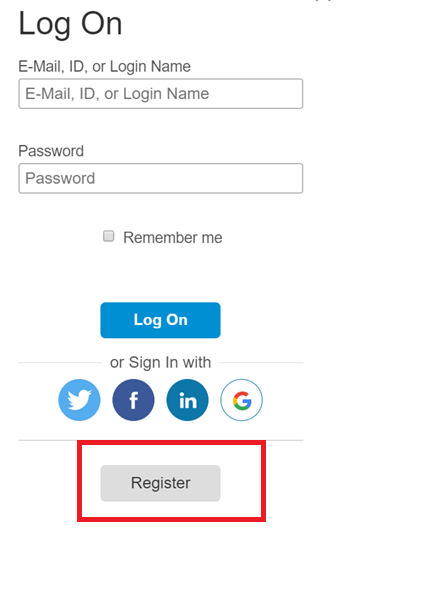
1. Go to https://community.sap.com/. Click on login/sign up. Click on Register.
2. Enter all the required information on the registration screen.
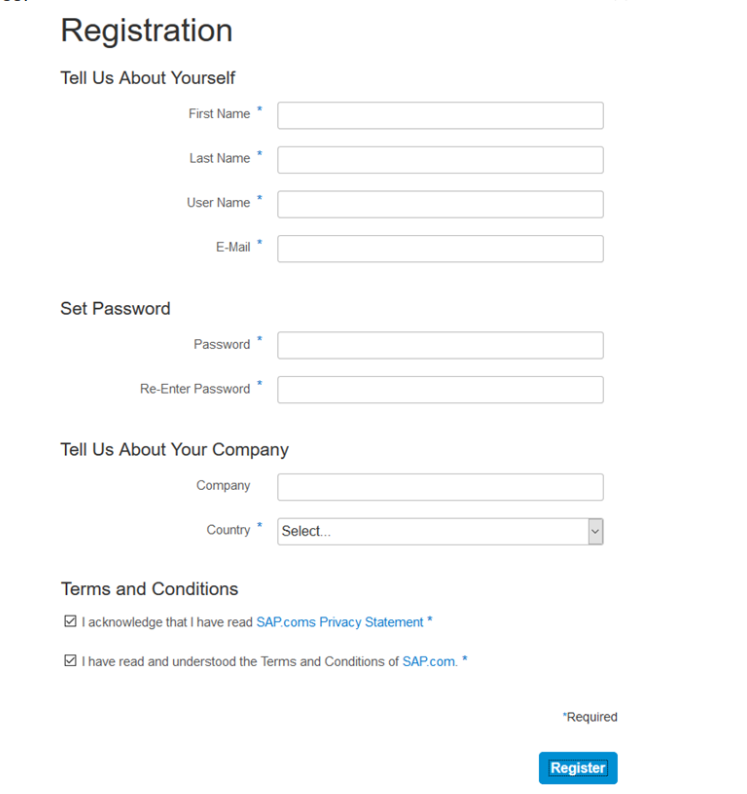
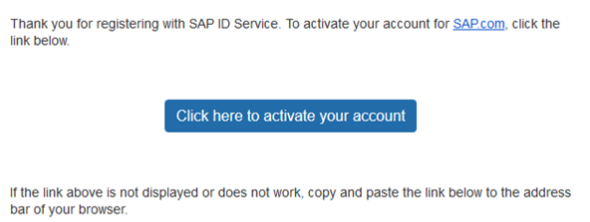
3. The activation link will be sent to the email address provided by you on this screen, so enter a valid email address.
4. Click on the activation link – once activated, your registration is complete.
Step2: Login and Configure SAP Cloud Platform account.
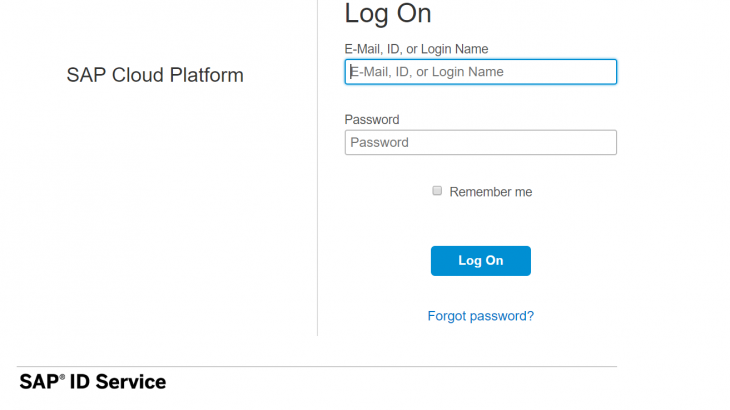
1. Go to https://accounts.sap.com/saml2/idp/sso/accounts.sap.com and login with your user credentials.
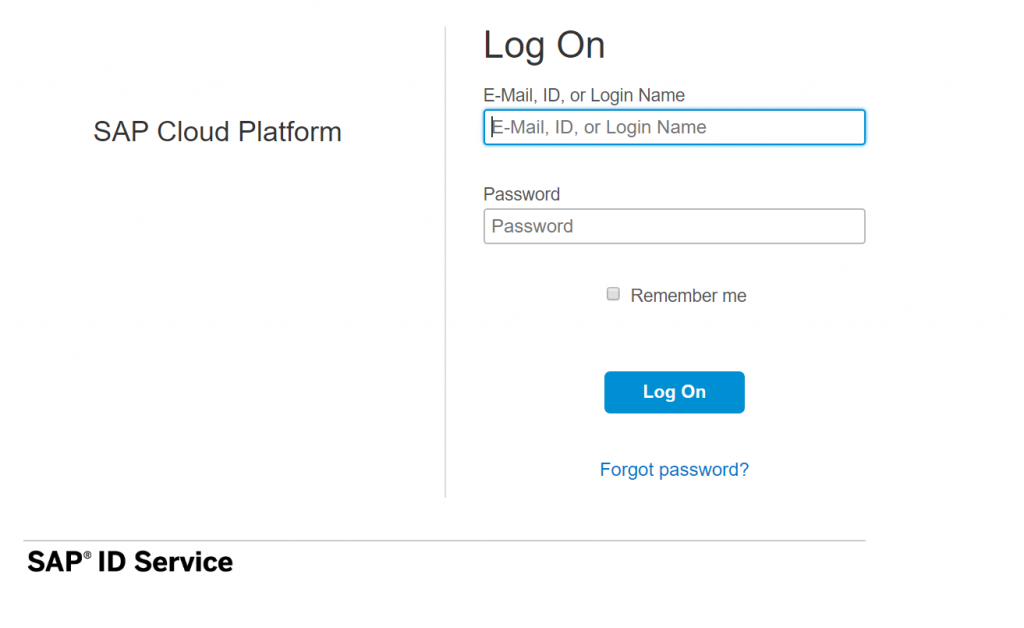
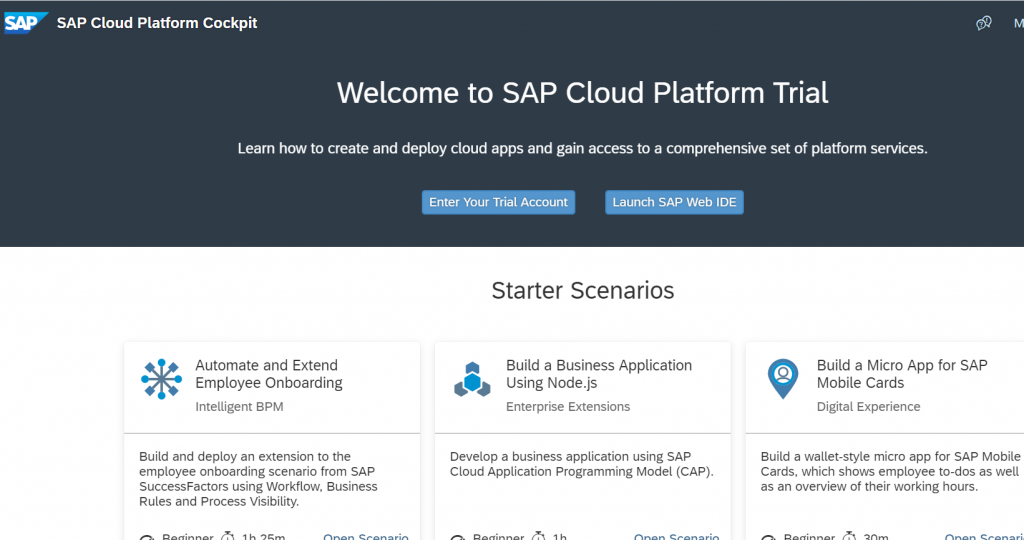
2. Once you have logged in, you will be directed to the below screen.

3. After clicking on the trail home in the above screen, and accepting the legal notifications, you will be redirected to the below screen.
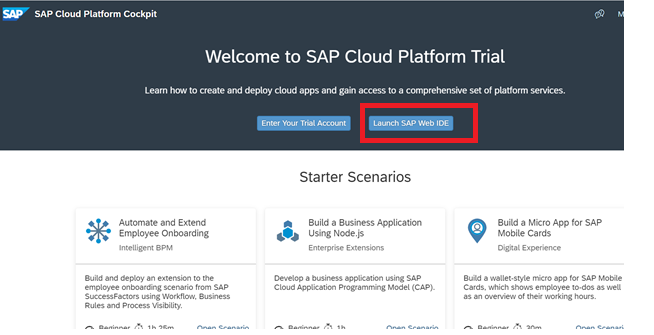
4. Now click on “Launch SAP Web IDE”.
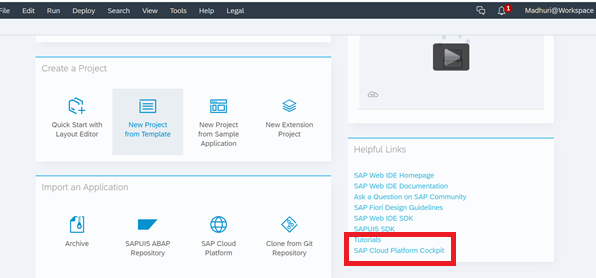
5. In SAP Web IDE, you will find helpful links on the right side. Now click on SAP Cloud Platform Cockpit.
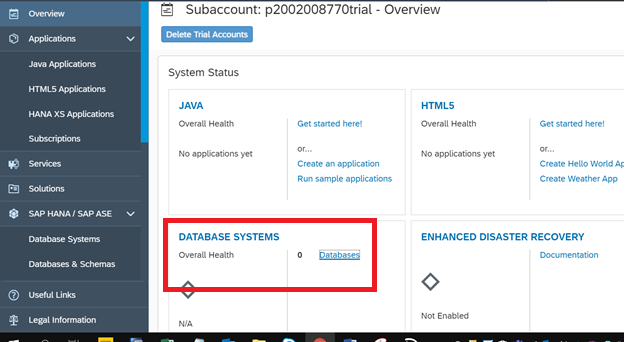
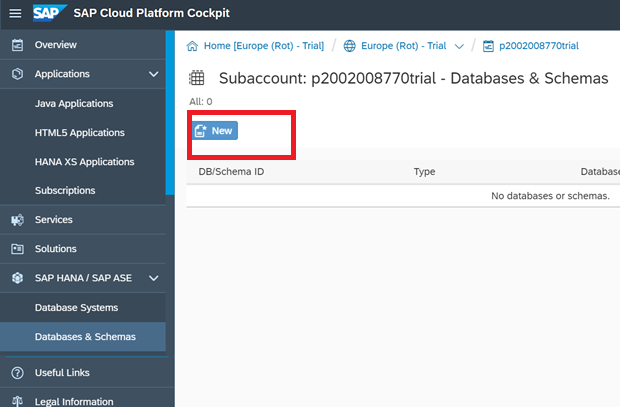
6. Now go to “DATABASE SYSTEM” and click on Databases to create a new database.
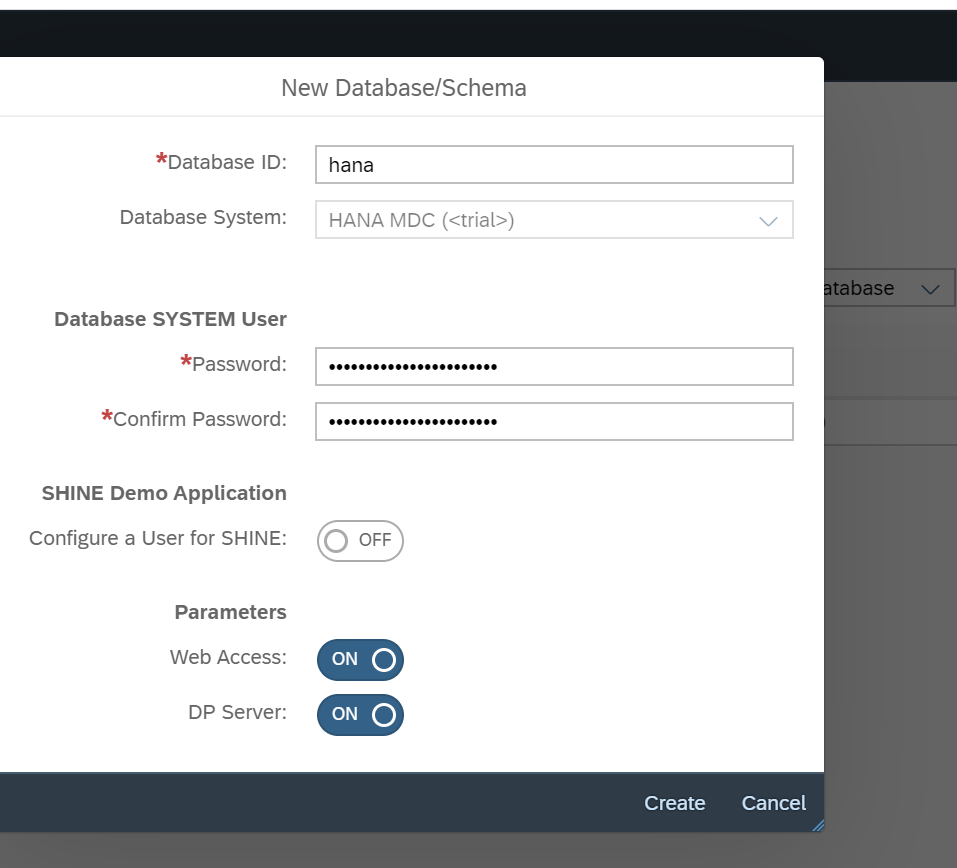
7. Fill all the required parameters and click on the create button to create DB.Database id: New Database nameDatabase System: HANA MDCWeb Access: ONDP Server: ONNote: The password that you have created here will be your password to login to the SAP HANA account.
8. The database is successfully added to your Cloud Platform’s account.
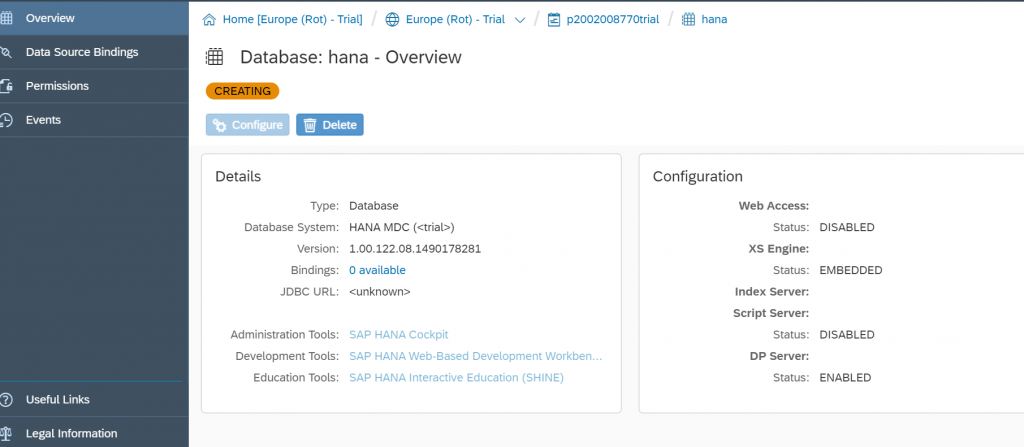
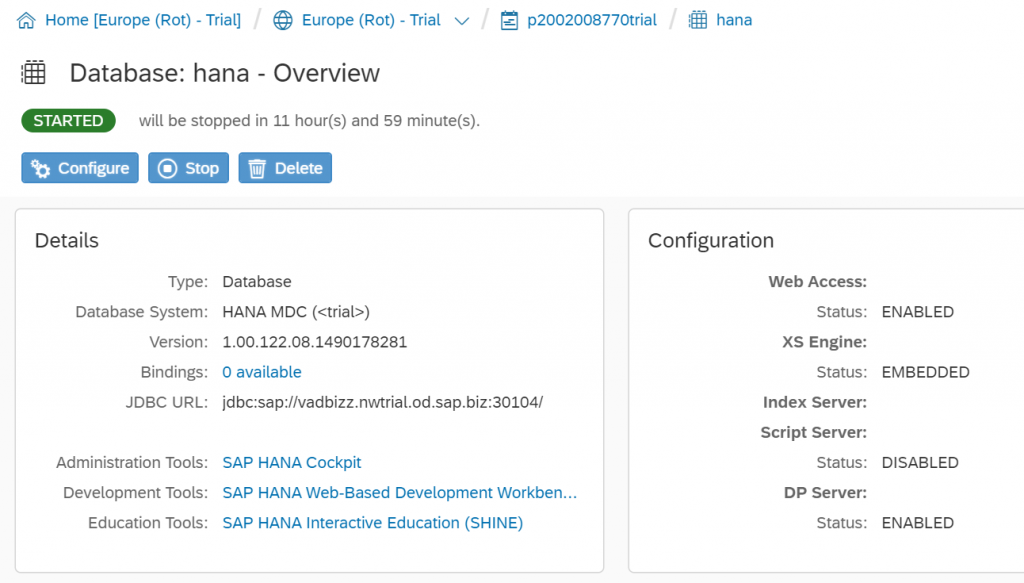
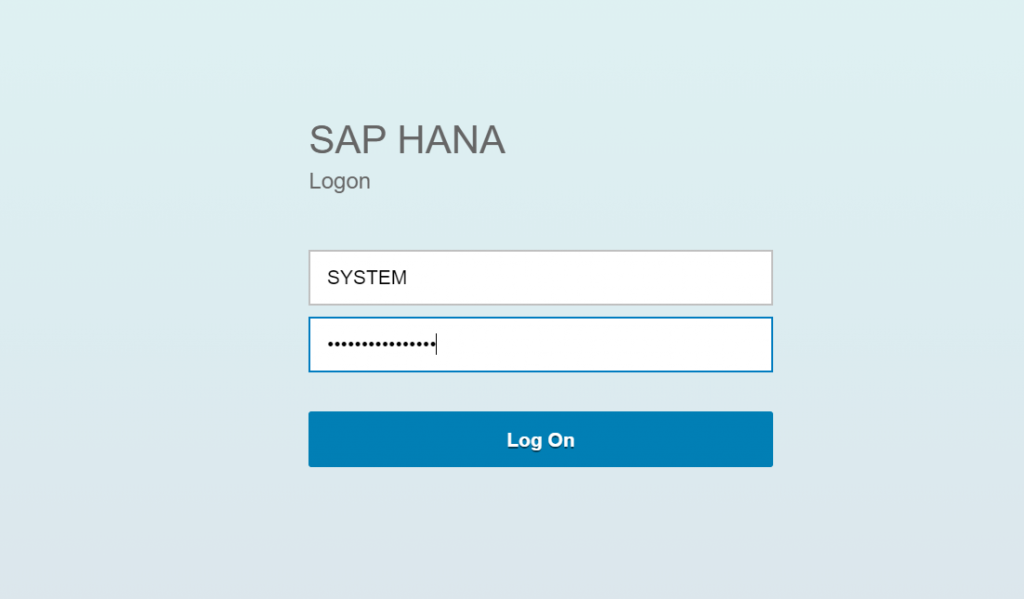
9. Now click on “Administration tools – SAP HANA Cockpit” to provide some necessary roles to your account. Here the User name is always “SYSTEM” and the password is the one that you have used to create the database.
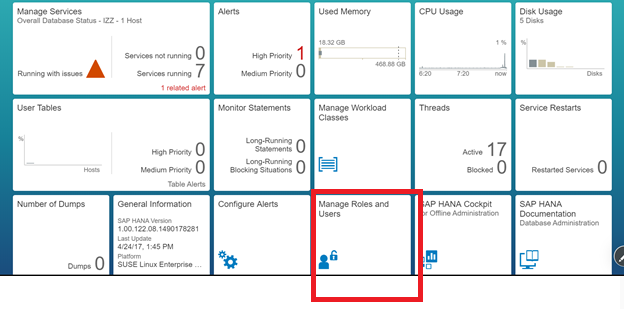
10. After a successful login, you will redirect to the below screen. Now click on “Manage Roles and User” to add required roles.
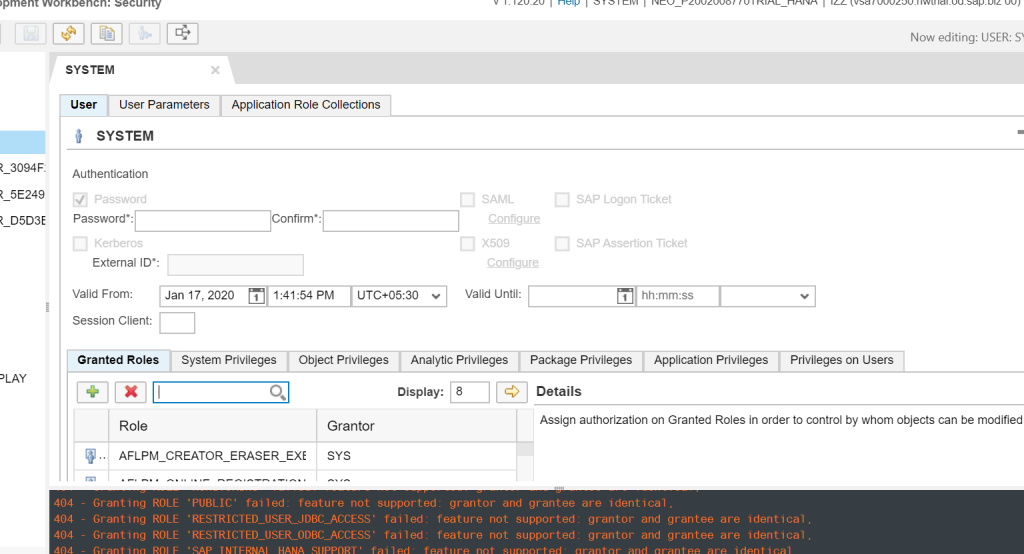
11. Now click on “SYSTEM” and then click below shown plus symbol in Granted Roles to add roles. Select all the roles by using the shift button and press ok.
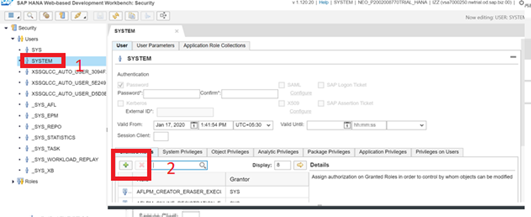
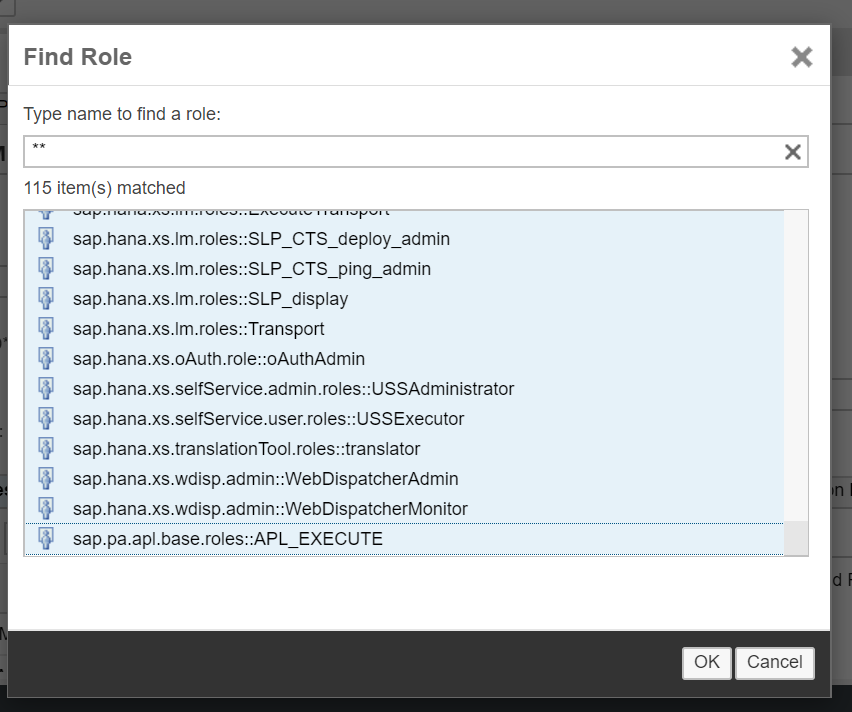
12. After adding all the roles, press the save button. You will have some error messages in the console, please ignore.
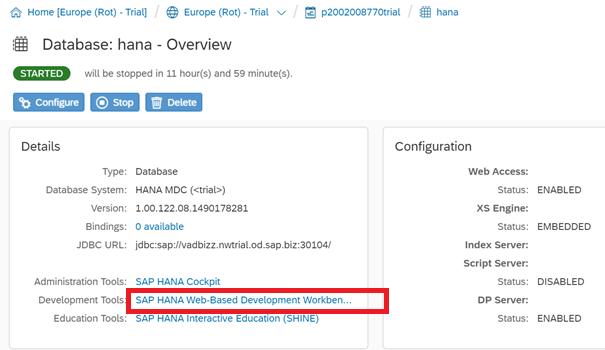
13. Once you have successfully added the roles to your user id, come back to your database screen and select “Development tools: SAP HANA Web-Based Development Workbench”, and then click on “Catalog”.
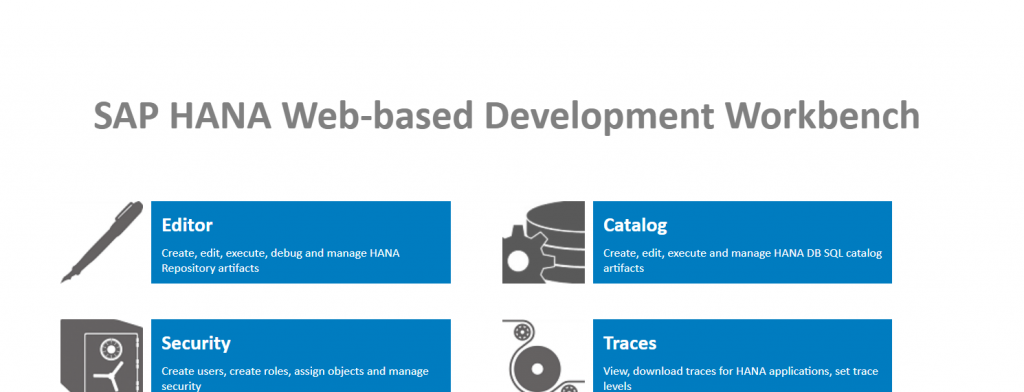
14. Execute the below SQL statement in SQL Console to provide some privileges to your schema.
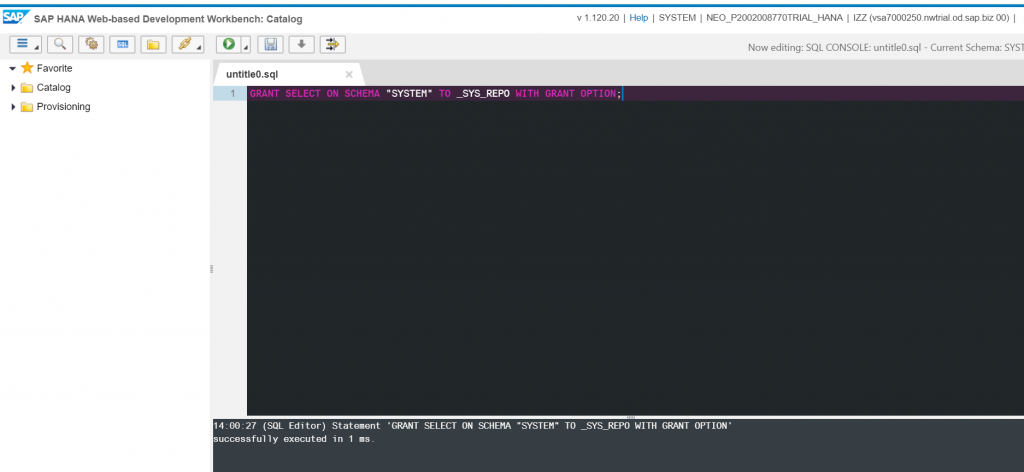
By doing this, you have successfully configured your SAP HANA cloud platform. Now, you can start practicing HANA.


