I have been quiet impressed with SAP Intelligent RPA 2.0. With a recent customer request I got a chance to do a POC with SuccessFactors API upsert calls.
Step 1: Setup of iRPA
SAP Intelligent RPA is available via the SAP Business Technology Platform (BTP). You must create and configure an SAP Intelligent RPA tenant in the SAP BTP to get access to the SAP Intelligent Robotic Process Automation Factory. You can find the detailed steps at https://help.sap.com/viewer/6b9c8e86a0be43539b670de962834562/LATEST/en-US/17bda7e650b847679c3f8c2c11ada29e.html
The booster tool eases the creation of your subaccount and your subscription to SAP Intelligent RPA.
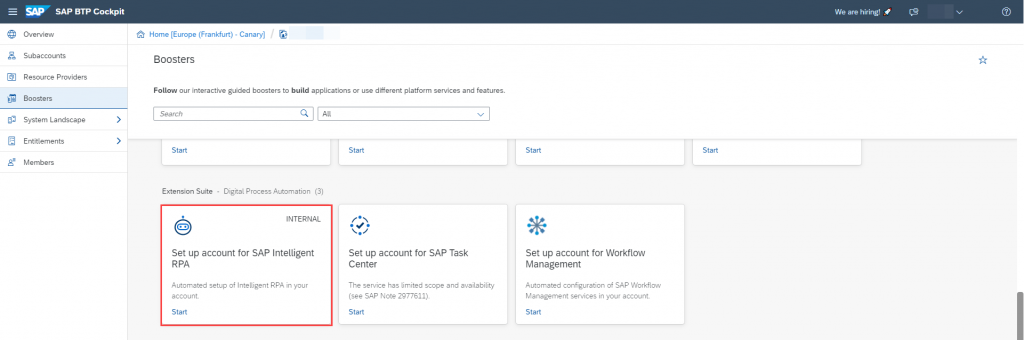
Once you have launched it, the booster automatically performs the following steps:
- Creating Subaccount
- Enabling Cloud Foundry
- Assigning Service Quotas
- Creating Space
- Subscribing to SaaS Applications
- Adding Cloud Foundry Users
- Creating Service Instances
- Creating Role Collection
- Assigning Role Collection
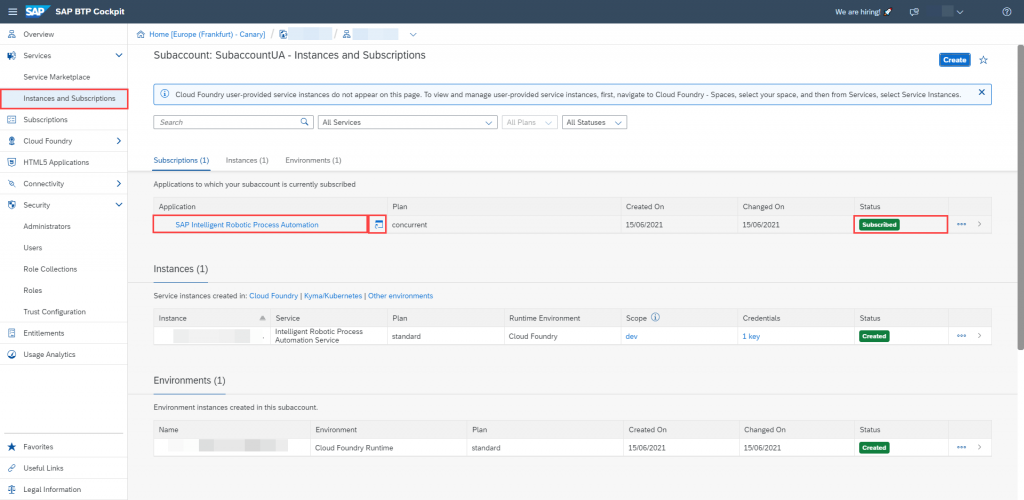
Once installed you can directly launch the Cloud Factory application instance from the subaccount:
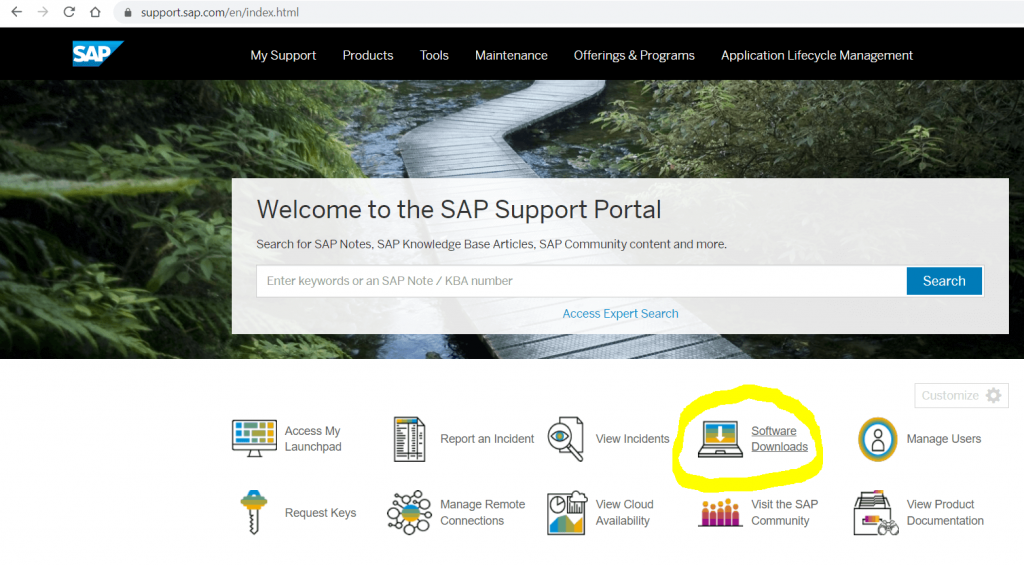
After this you will need to install the on premise component i.e. the desktop agent using the industry standard Windows MSI installer. You will find the latest version of desktop agent at the SAP Software center:
Once installed you will need to register the desktop agent to the cloud factory studio for iRPA. You can do this using the steps defined at: https://help.sap.com/viewer/6b9c8e86a0be43539b670de962834562/LATEST/en-US/84089a65b7274effb907df3dc54ab3e1.html
Now you are ready to create new Automation.
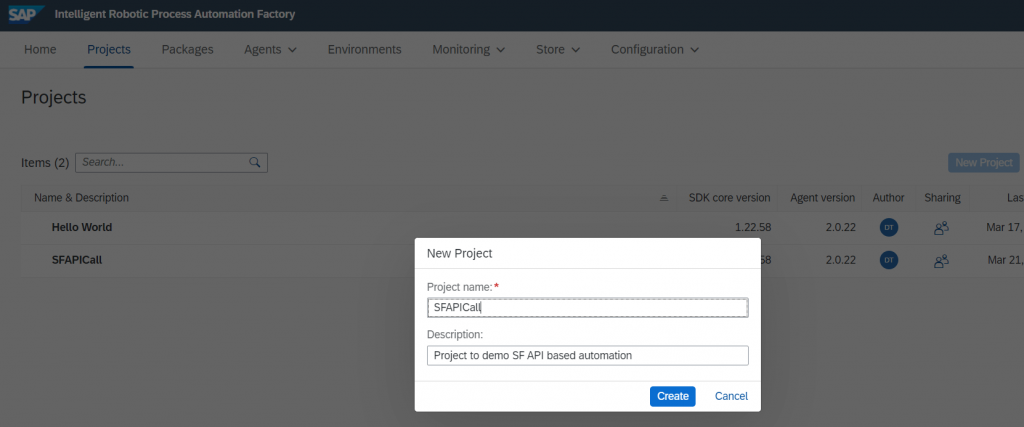
Step 2: Create Automation
First we create a new Project
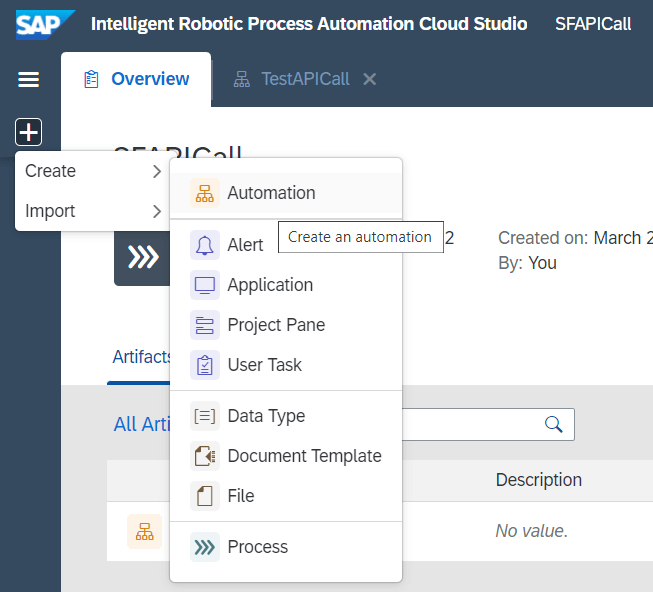
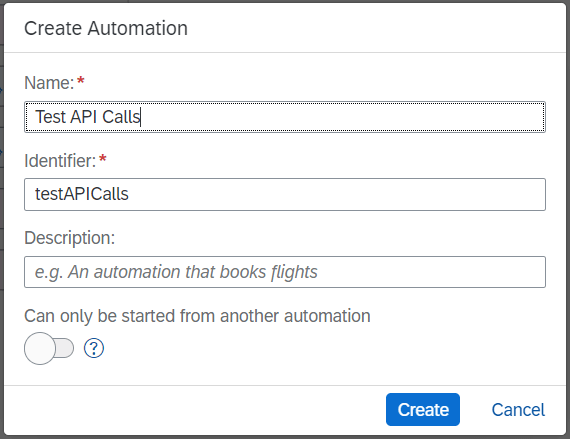
Then we add a new automation
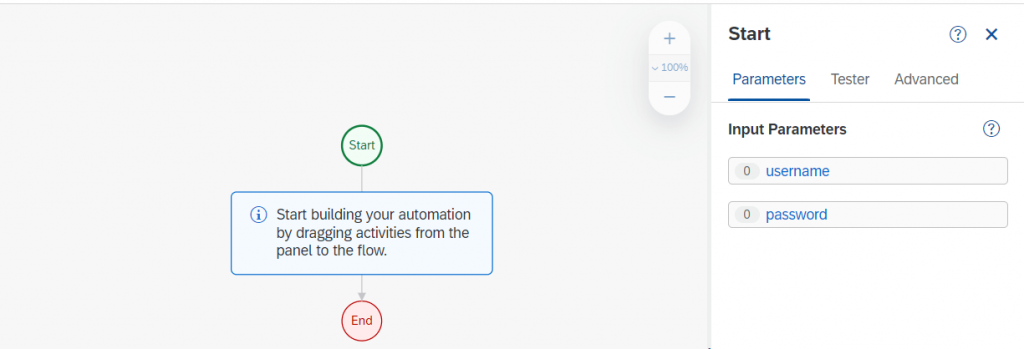
Then we add the username and password of type String as global credentials for our web service call
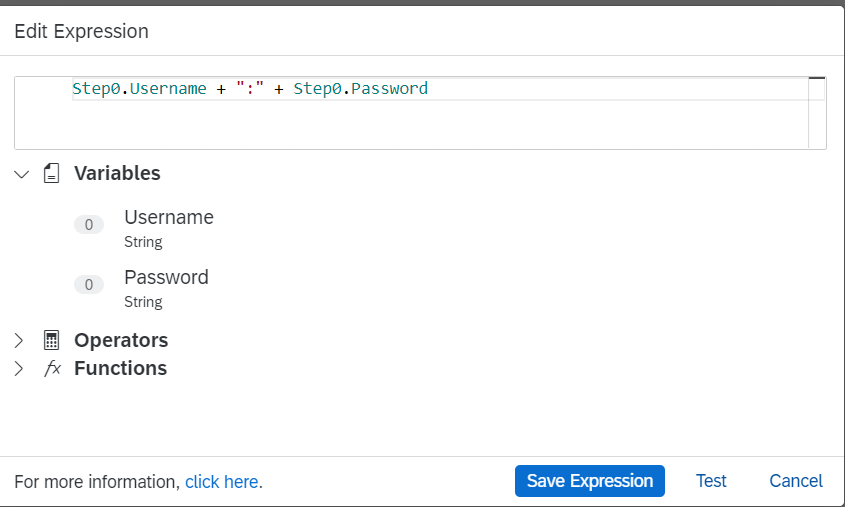
Now we need to encode the credentials using the encoding String activity
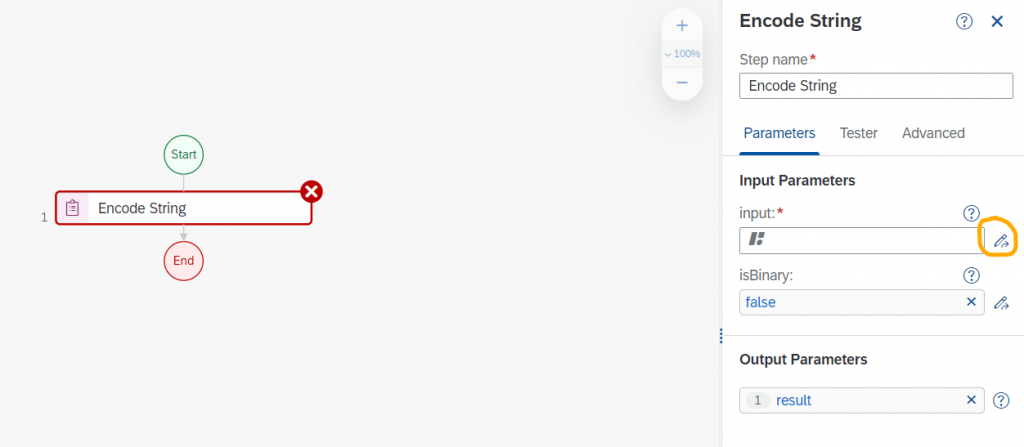
We then use the expression editor on step 1 to bind the username and password from start step 0
Now we need the csrf token for the web service call. We will use the custom script for this:
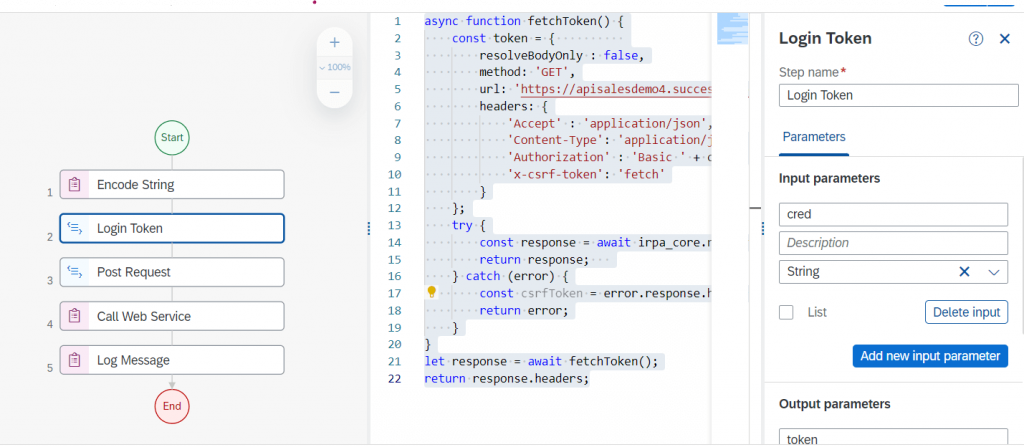
Define the input parameter as cred of type String which we will bind to the encoded string from the previous step.
Also we define output parameter as token of type Any
Add the following custom script to the step
async function fetchToken() {
    const token = {
        resolveBodyOnly : false,
        method: 'GET',
        url: 'https://apisalesdemo4.successfactors.com/odata/v2/RBPRole',
        headers: {
            'Accept' : 'application/json',
            'Content-Type': 'application/json',
            'Authorization' : 'Basic ' + cred,
            'x-csrf-token': 'fetch'
        }
    };
    try {
        const response = await irpa_core.request.call(token);
        return response;
    } catch (error) {
        const csrfToken = error.response.headers['x-csrf-token'];
        return error;
    }
}
let response = await fetchToken();
return response.headers;
Next we will need to script our POST request using a second custom script activity
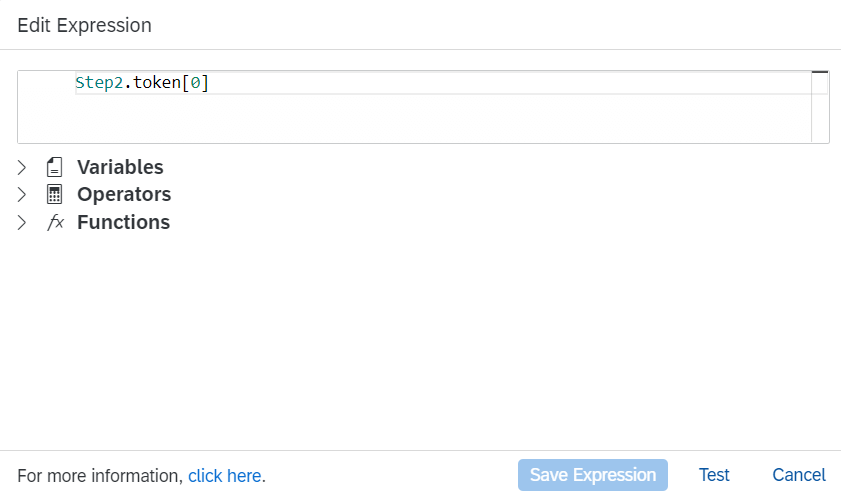
Add the output parameter ‘payload’ of type Any. Then add the following Input Params and bind them to the token values retrieved in the previous step as follows:
csrf_token of type String bound to [0] value retrieved previously
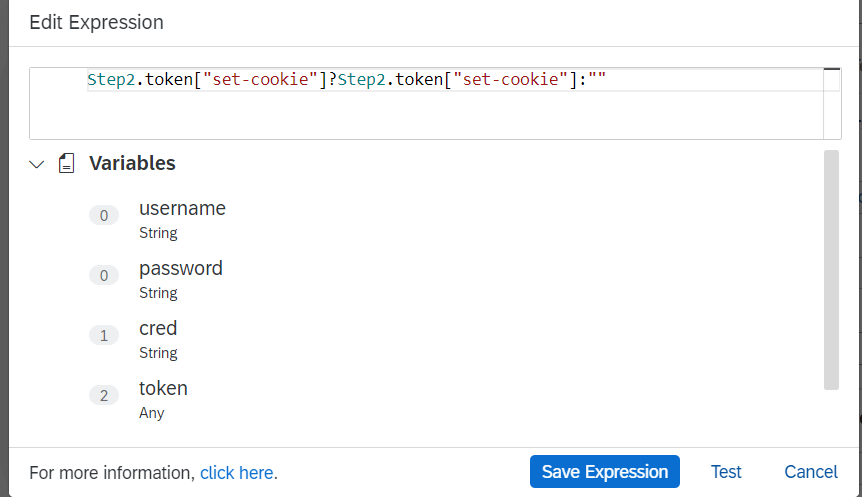
cookie of type String bound to cookie value from the token
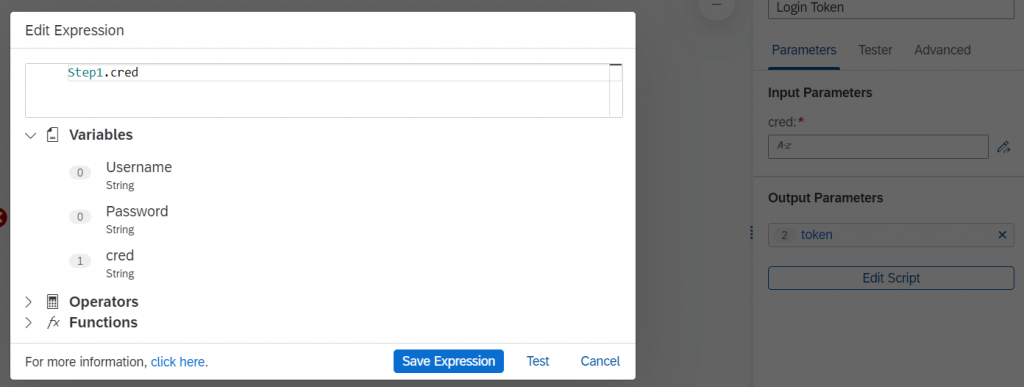
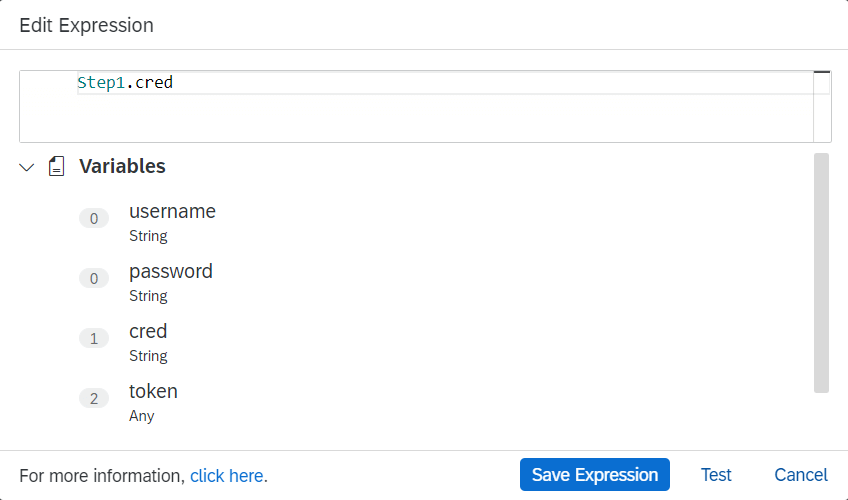
cred of type String bound to cred from step1
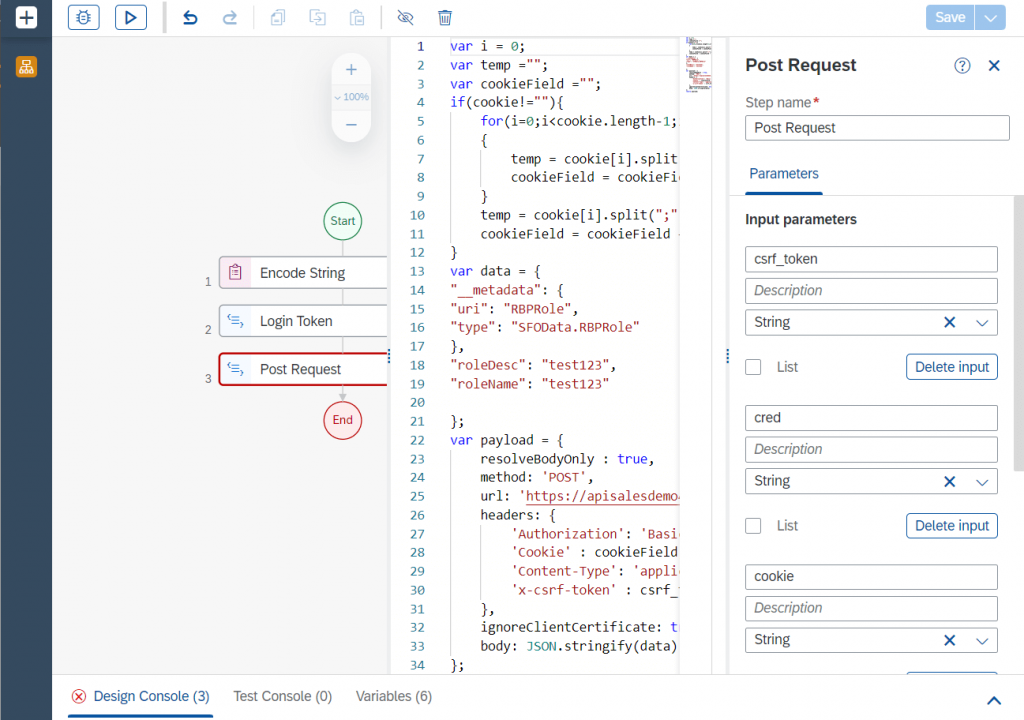
We use the custom script to formulate the POST request. In the POST request we use the upsert api to create a new role in RBP in the SuccessFactors instance. We use the payload of content type application/json in the script:
var i = 0;
var temp ="";
var cookieField ="";
if(cookie!=""){
for(i=0;i<cookie.length-1;i++)
{
temp = cookie[i].split(";");
cookieField = cookieField + temp[0] + "; ";
}
temp = cookie[i].split(";");
cookieField = cookieField + temp[0];
}
var data = {
"__metadata": {
"uri": "RBPRole",
"type": "SFOData.RBPRole"
},
"roleDesc": "test123",
"roleName": "test123"
};
var payload = {
resolveBodyOnly : true,
method: 'POST',
url: 'https://apisalesdemo4.successfactors.com/odata/v2/upsert',
headers: {
'Authorization': 'Basic '+ cred,
'Cookie' : cookieField,
'Content-Type': 'application/json',
'x-csrf-token' : csrf_token
},
ignoreClientCertificate: true,
body: JSON.stringify(data)
};
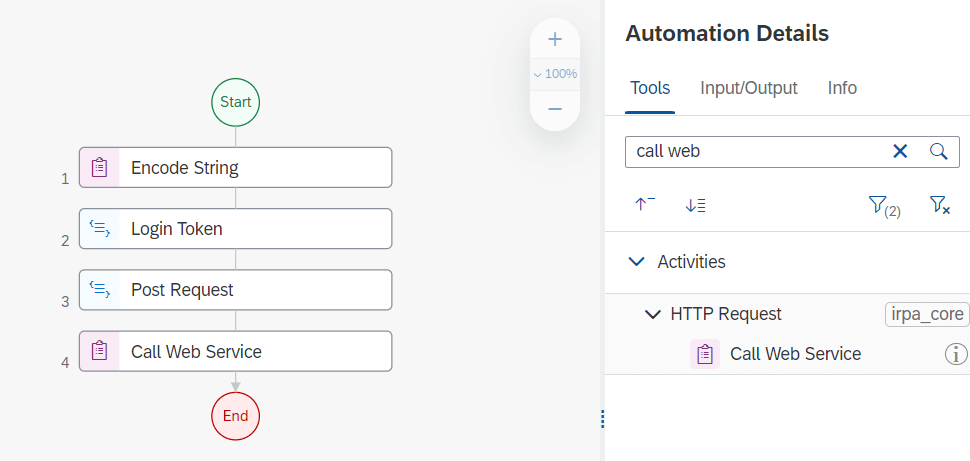
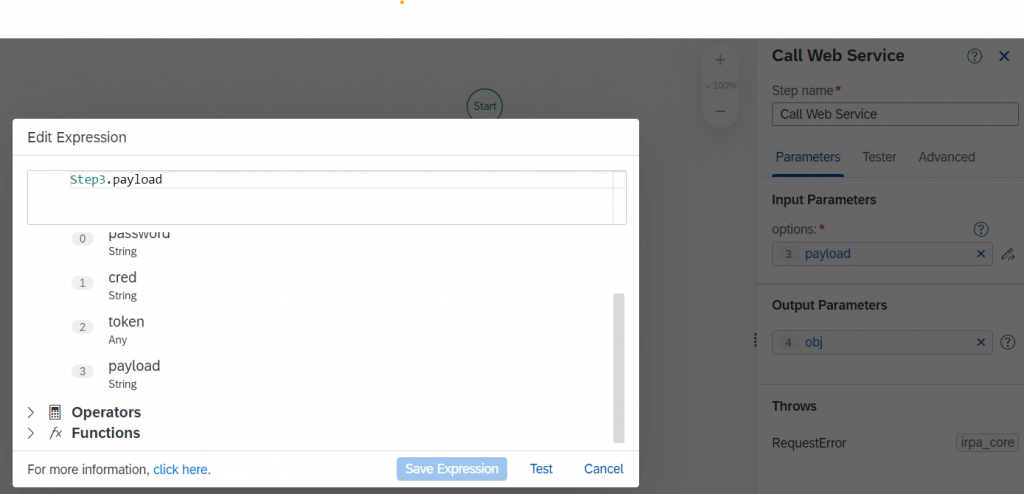
return payload;After this step we add the ‘Call Webservice’ activity with input parameter as the payload from step 3
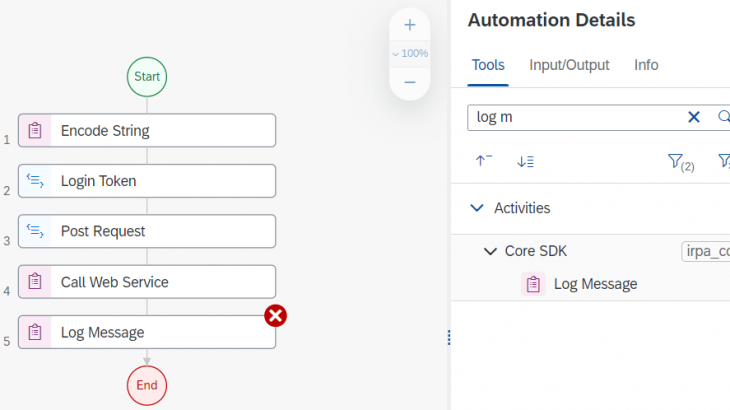
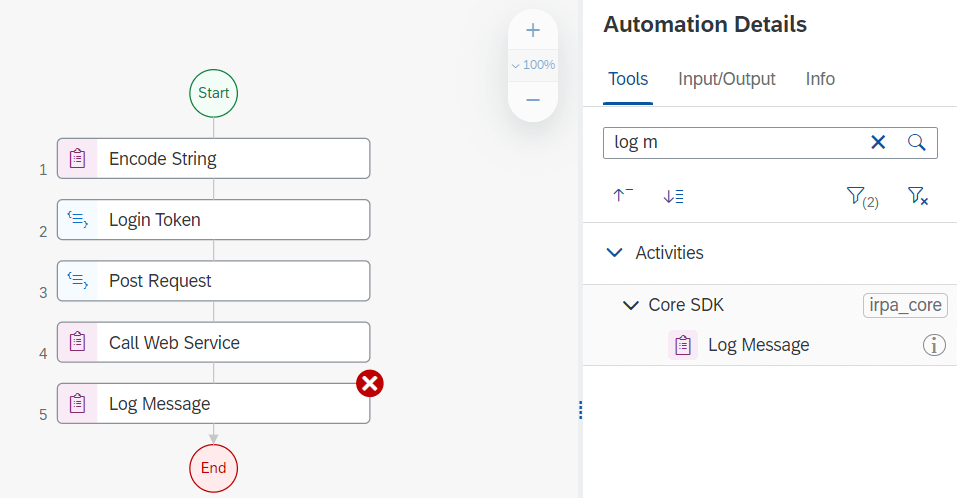
Now we are ready to call the webservice but before this we need to also capture execution logs for monitoring. For this we will add the ‘Log Message’ activity with input parameter as the object from previous step here:
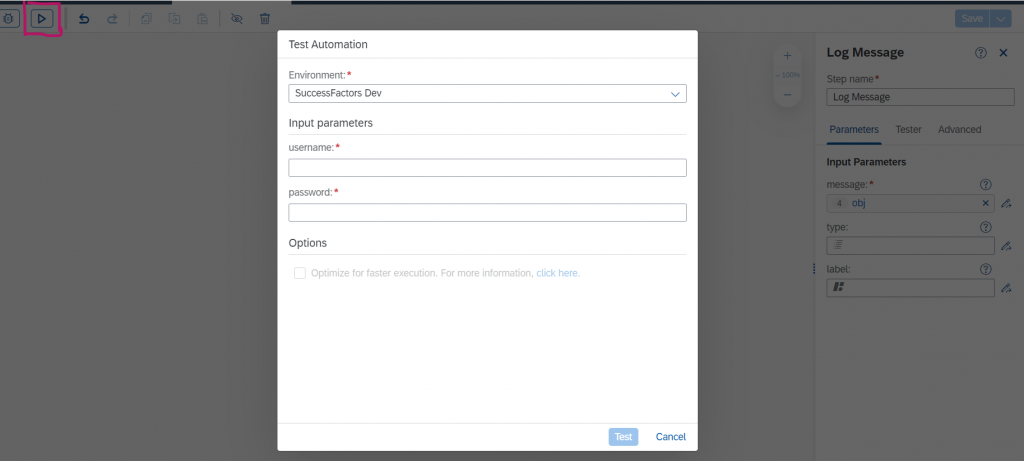
Step 3: Run the automation
Now we can test the automation in our environment passing the user credentials for the SuccessFactors instance
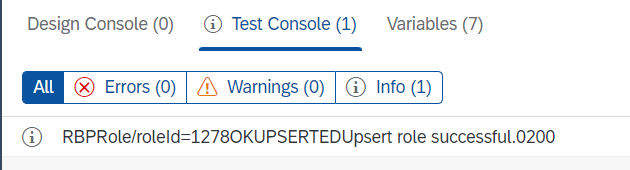
After the run you will see the Role was added and the test console has a success message
We can confirm the same in the SuccessFactors instance OData audit logs

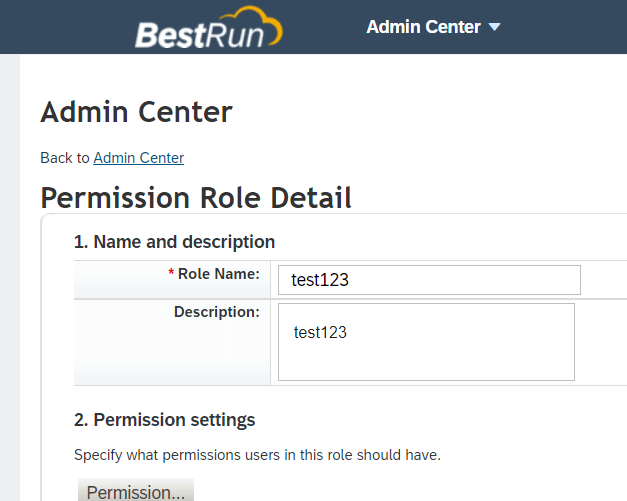
Also the same in Manage Permission Roles
FYI:
Your endpoint URLs for calling the SuccessFactors OData APIs depend on the data center hosting your SAP SuccessFactors instance. Your SAP SuccessFactors support representative can tell you the data center location to use for your instance. For a list of the API Endpoint URL for the SAP SuccessFactors environments, see About HXM Suite OData APIs.


