The content shown, is a demo how RPA can be used to identify and send personal data of a customer according to his General Data Protection Regulation (GDPR) request.
Experience in the following areas is beneficial to understand the content of this blogpost:
- SAP Intelligent RPA Cloud Studio
- Subscription Billing
- SAP Logon (On-Premise) and IS-U
- Capturing screens and declaring elements in SAP Intelligent RPA Cloud Studio
- Excel and Outlook Instance in SAP Intelligent RPA Cloud Studio
- I/O Parameters in SAP Intelligent RPA Cloud Studio
Step-by-step instruction:
1. Capturing
1.1 SAP Logon
Before we create the automations, we capture the individual screens in the SAP system.
We start with the logon screen SAP Logon and the system ISU. We declare the Elements of the Login screen from SAP Logon. After that, we capture the screen of “SAP Easy Access” and declare the transaction field as a new element.
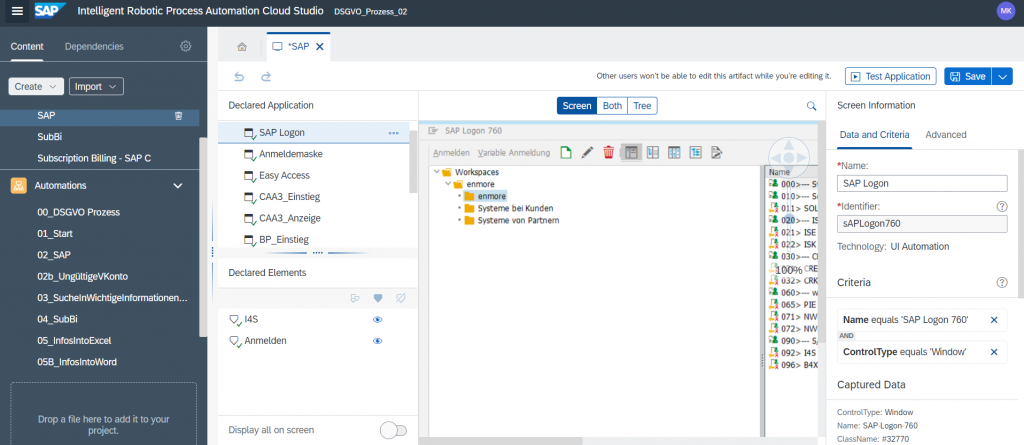
Then we used the transaction code “CAA3“ to access the business partner and capture this screen too. We do the same with the transaction code “BP“. In the captured screen “CAA3”, we declare the element “contract account” and the “status bar” in the footer.
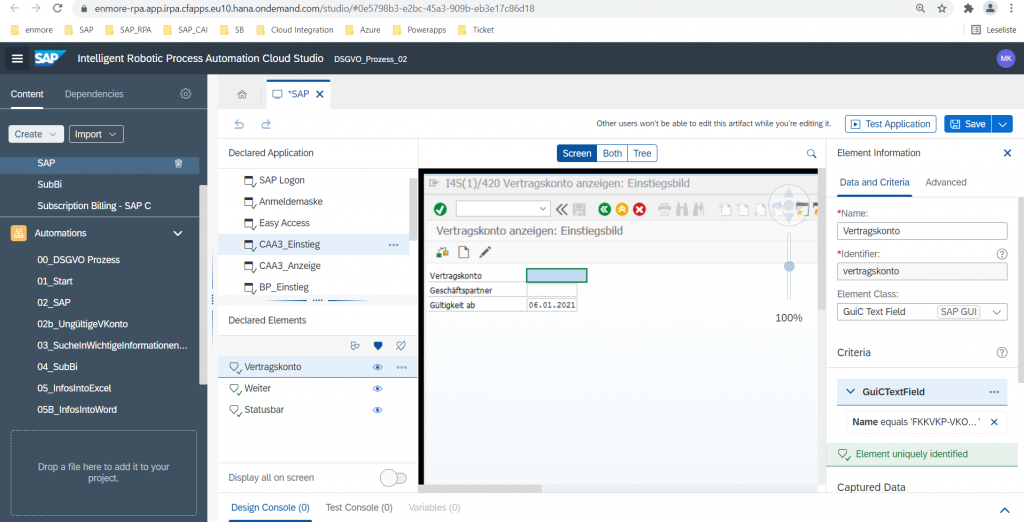
In “BP” we declare the elements from which we want to extract the client’s information. For example, name, address, phone, email, …
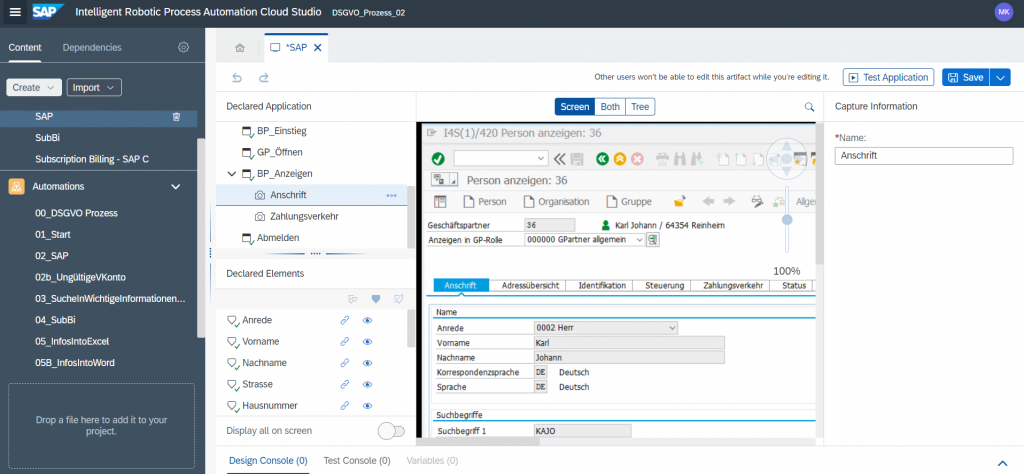
The bot is now able to clearly identify the different screens and elements.
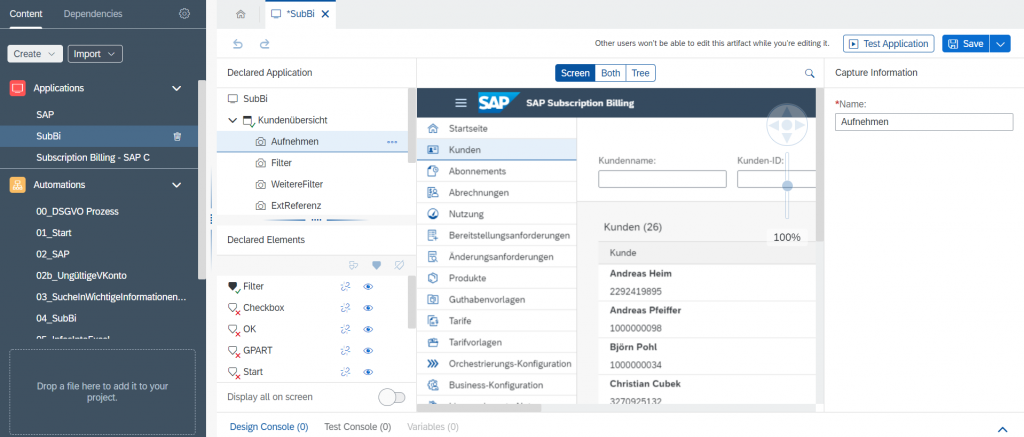
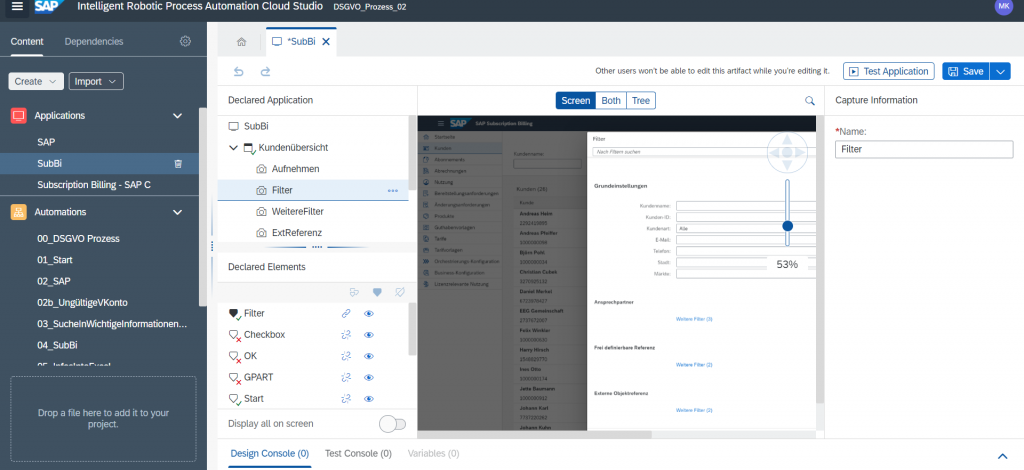
1.2 Capturing Subscription Billing
Next, we capture in Subscription Billing, the start page and the customer overview. We declare the filter as a button element. The following step is to capture the individual overview of the client. Here we declare the customer overview and subscription as element.
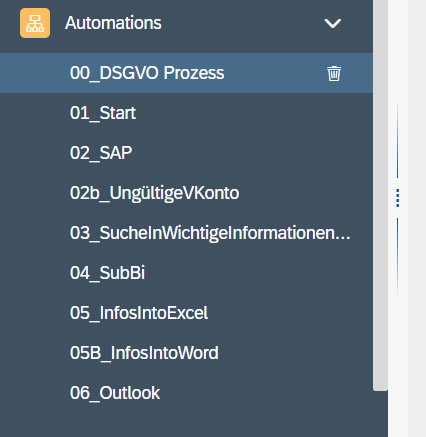
2. Build modular automation
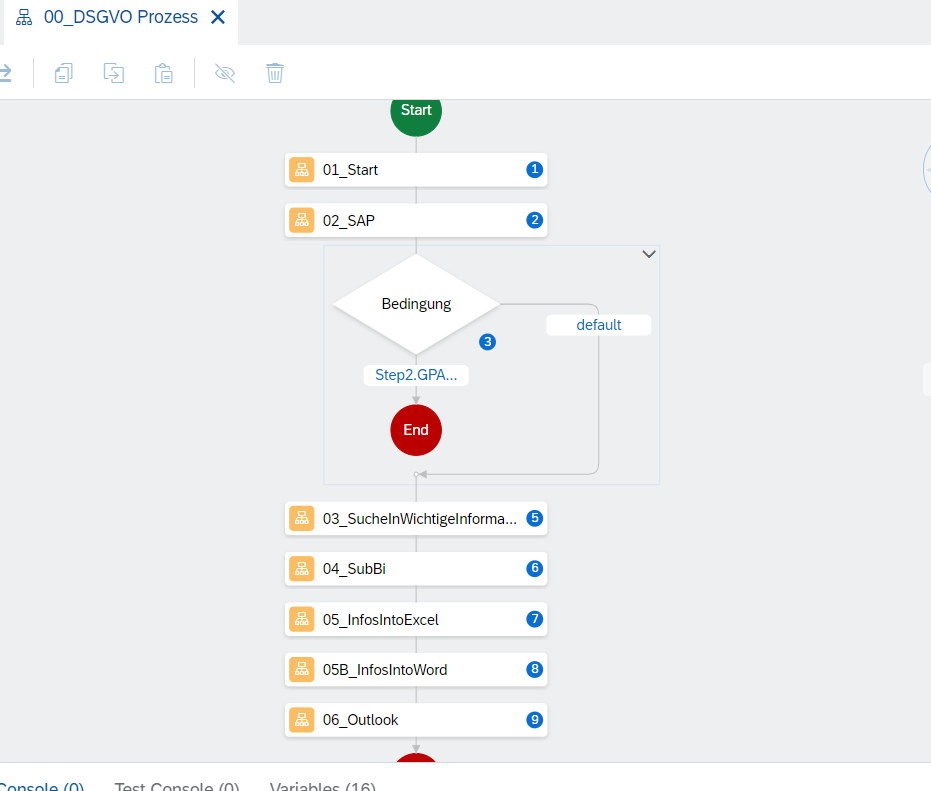
First of all, we build the complete project modularly into individual automations to ensure a simple overview. In this case, the automation name “00_DSGVO Prozess” is the main process. The various automations are run through here. As you can see, we have structured the automations of the process and sorted them by number.
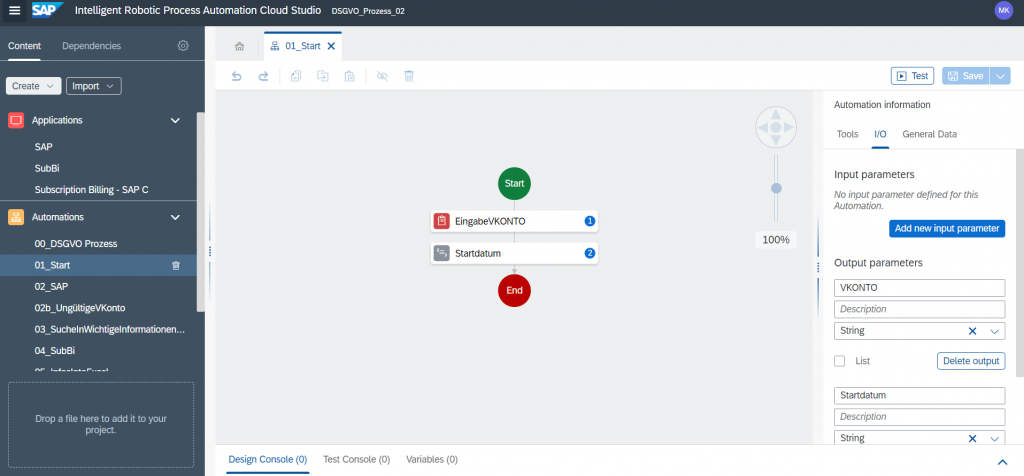
2.1 Subautomation 01_Start
The bot starts the process of retrieving GDPR Data with the subautomation “01_Start”. Via an “Open Input Dialog” activity the input parameter VKonto will be inserted by an user and to get the information of the date, a custom script is being used. The custom script includes the following code:
const today = new Date();

return today.toLocaleDateString();
To ensure the input parameters can be used in other subautomations the output parameters (VKonto and StartDate) need to be set.
2.2 Subautomation 02_SAP
Here we inserted the captured screens of the SAP IS-U system as well as the necessary activities to navigate and collect data on these user interfaces. The input parameter is “VKONTO”, to find the respective user and the output parameters are “GPART, Name, Surname, Address, …” – in other words, the stored data about the requester.
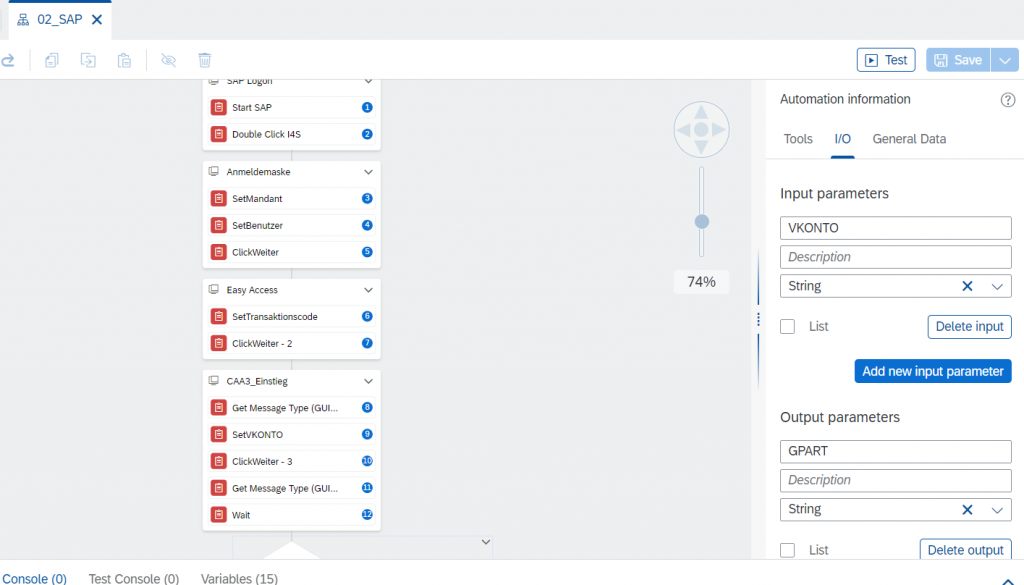
In the following I will describe the added activities to the previously declared elements of the screens. In the first step with the “SAP Logon” screen, we added the “start application” activity and then a double click element activity. Hence the bot will start SAP Logon and double click on the IS-U system which we had declared before.
After that, we set other activities for the next screen “Anmeldemaske”. Here we need to set the Mandant and User for the system and click on Login. The next step is to set activities for the “Easy Access” screen. The activity “Set element” is used to insert the transaction code “CAA3”. With this transaction the bot opens the new GUI screen to show the contract account (here: “Vertragskonto anzeigen”).
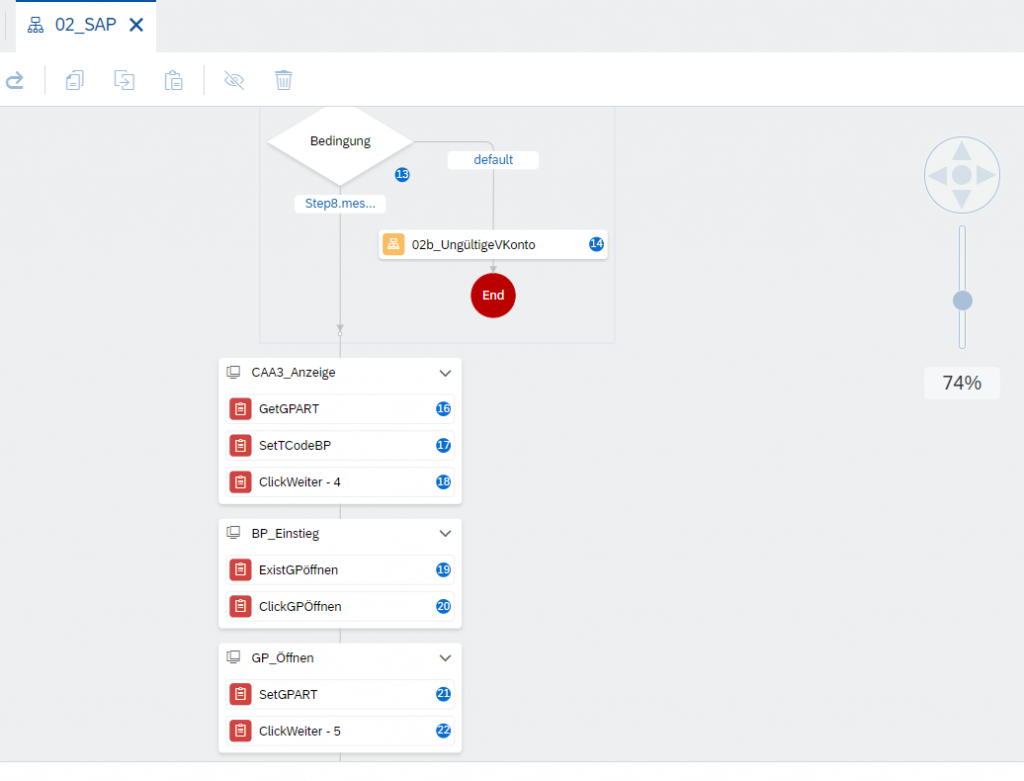
First, we added a “get message type (GUI Status Bar)” twice to read the footer bar of the screen before and after searching for a contract account. By adding a condition, we included a step for error handling. If the contract account exists the returned value for “Get message type (GUI Status Bar)” before and after searching is equal and the bot will proceed its work with getting the element “GPART” and setting the transaction code “BP”. If the contract account does not exist an error message is shown so the status information is unequal. To end the bot execution the automation “02b_UngültigesVKonto” will be started.
In the screen “BP_Einstieg” we added a click activity to the folder image, to open the dialog input message “GP_Offnen”. Now the bot inserts the GPART as an input value and clicks on continue. In the “BP Anzeigen” screen, the Bot gets the information of the customer. For example, address, name, street, phone number, …For all these information, we added the “Get element” activity.
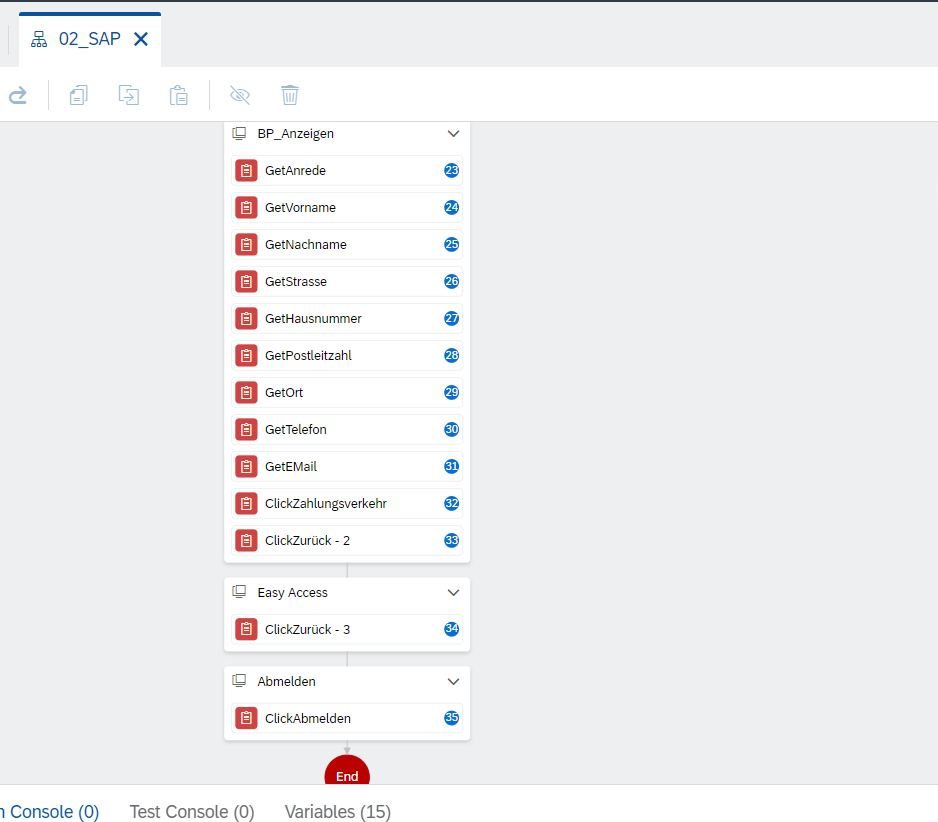
With that we are back again on the “Easy Access” screen and the bot clicks on back. Finally, the bot logs off the SAP system.
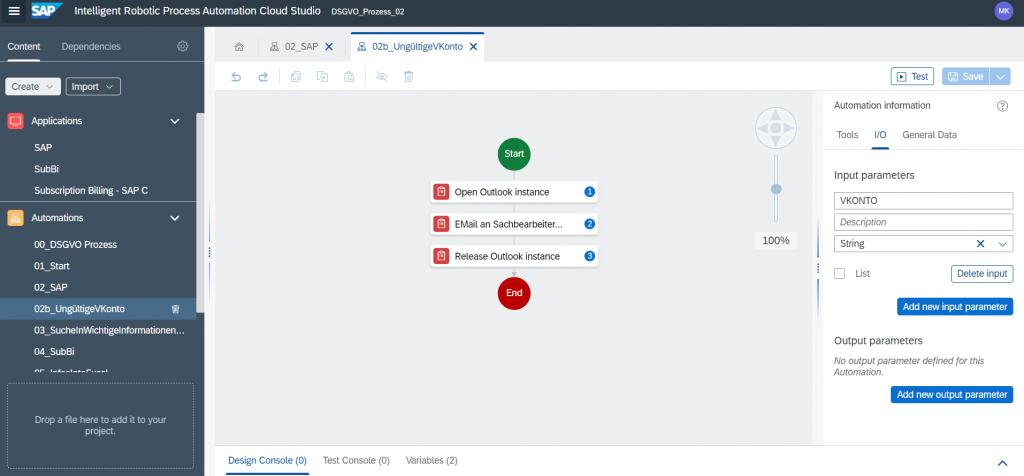
2.3 02b_ungultigeVKonto
In this section, the bot sends an email with an error message to the respective clerk. For this, we add an “Open Outlook Instance” activity and a “Send Email” activity and adjust the user-defined parameters. We then close and release outlook.
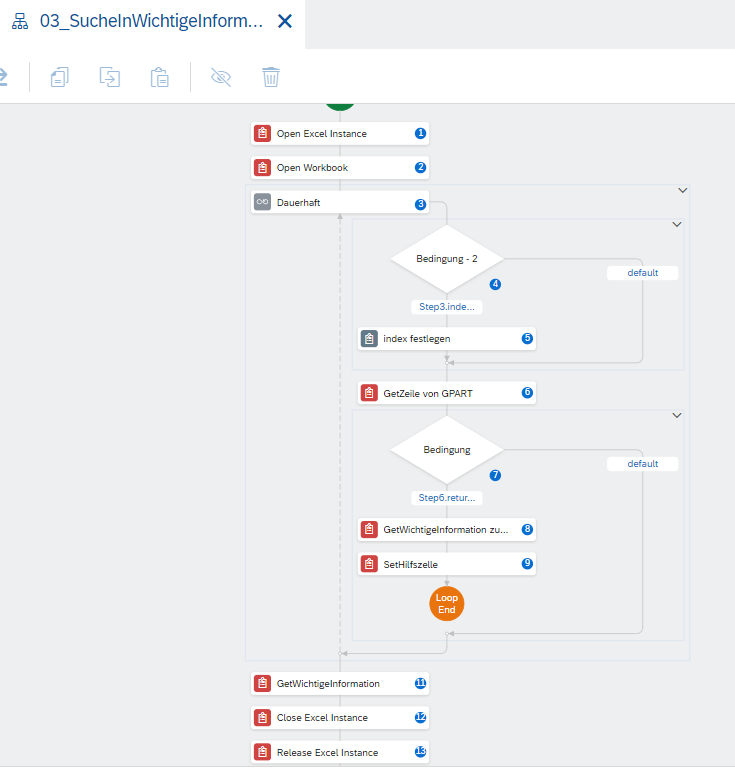
2.4 03_SucheInWichtigeInformationen:
In this section we will search for a specific piece of information in an existing excel file. For this we added an open “Excel Instance” and an “Open Workbook” activity with a certain path. After that we added a ”Forever Loop” which increases the index value by 1 each iteration. We read the cells of a specific row from the Excel file and if the value meets GPART the condition is true and the bot reads the value of another cell in the respective row.
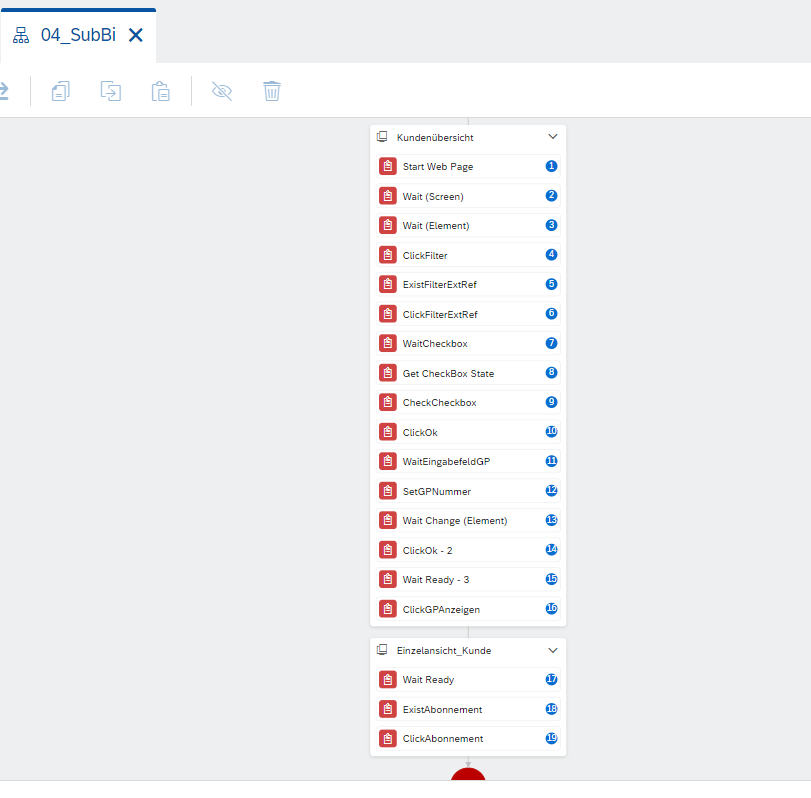
2.5 04_Subi
In this subautomation we open the application Subscription Billing, which is accessed through an UI5 interface. For that we used the activity “start Web Page”. Then the bot clicks on the filter button, if it exists. For this, we used the activity “click” and “exist element”. Then the bot opens the checkbox and enters the GP number of the customer to filter/search.
Then the bot changes the view to “Single customer” and clicks on the tab “Subscription”.
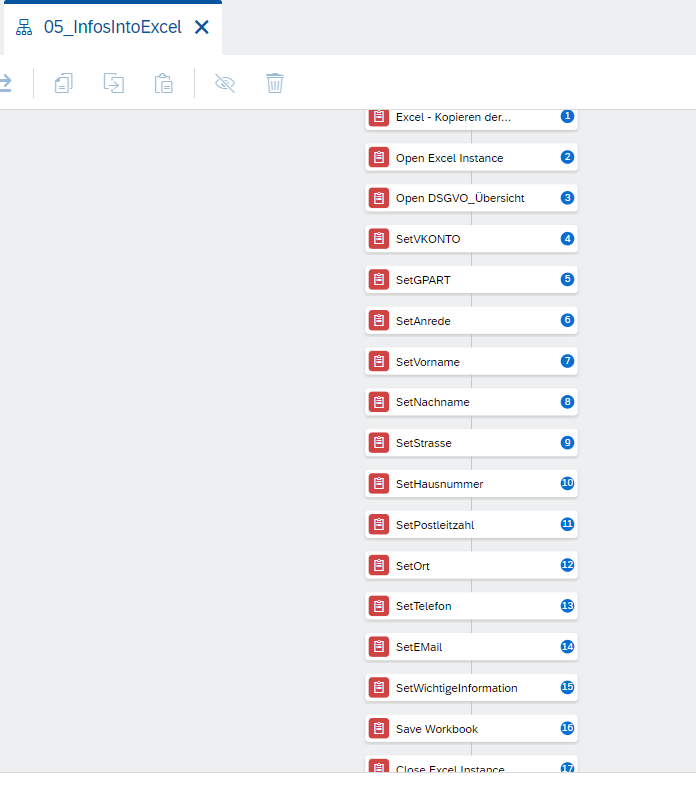
2.6 05_InfostoExcel
The bot inserts the collected information about the customer into an excel file. To perform this, we have to add the activity “Open Excel Instance” at first. Then we added “Set Value” activities for each collected information.
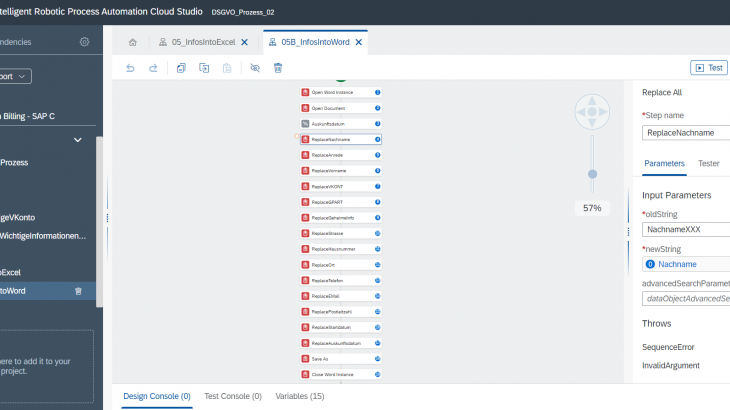
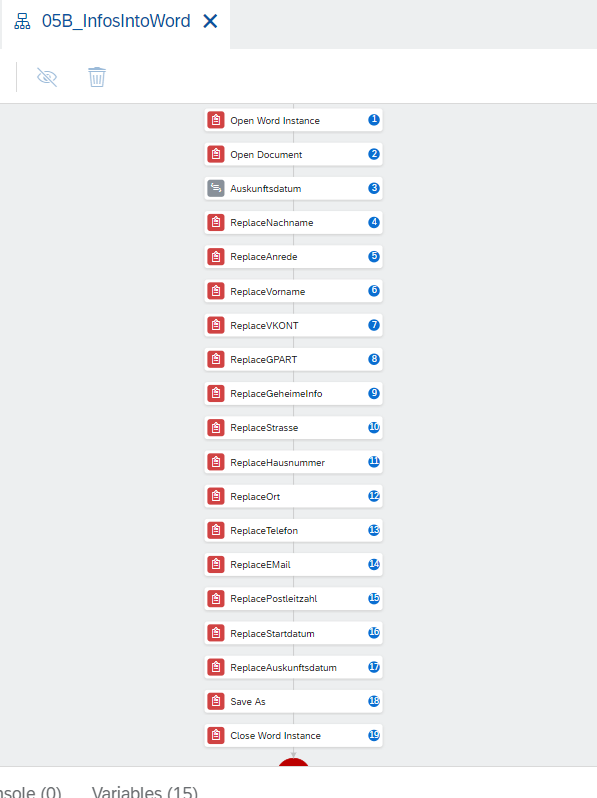
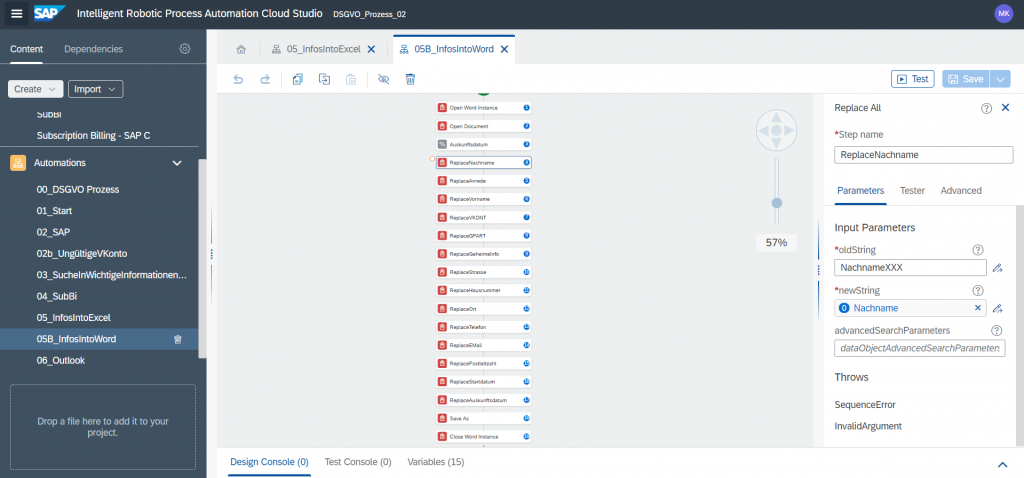
2.7 05B_InfosToWord
Within this step an answer letter will be generated. To do so the bot uses the activity “Replace All” to replace existing placeholders with the information extracted out of the systems about the requester and saves it. As an example, the bot replaces the placeholder “lastnameXXX” with the respective surname of person behind the VKONTO.
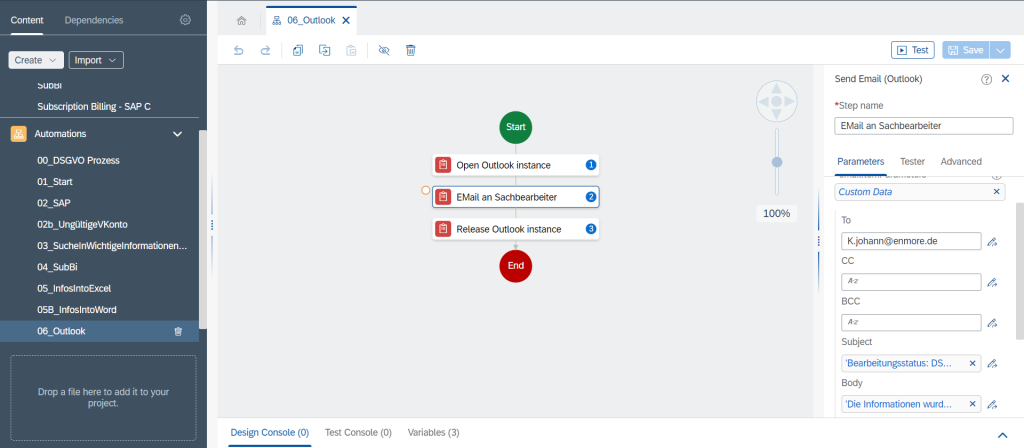
2.8 06_Outlook
In this step, the bot sends an email via Outlook to the clerk who is responsible for processing the request. To do this, we used the “Open Outlook Instance” activity. Then we added the activity “Send Email” and set the user-defined parameters.