This is in continuation of my previous Article Auto Scaling of SAP Systems on Azure – Part II
3.4 Create Virtual Machine Image
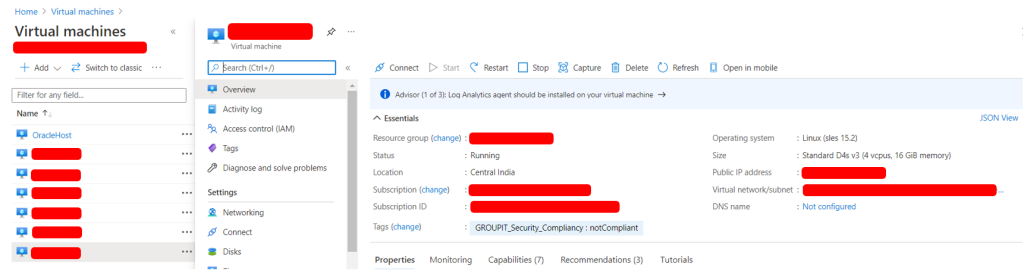
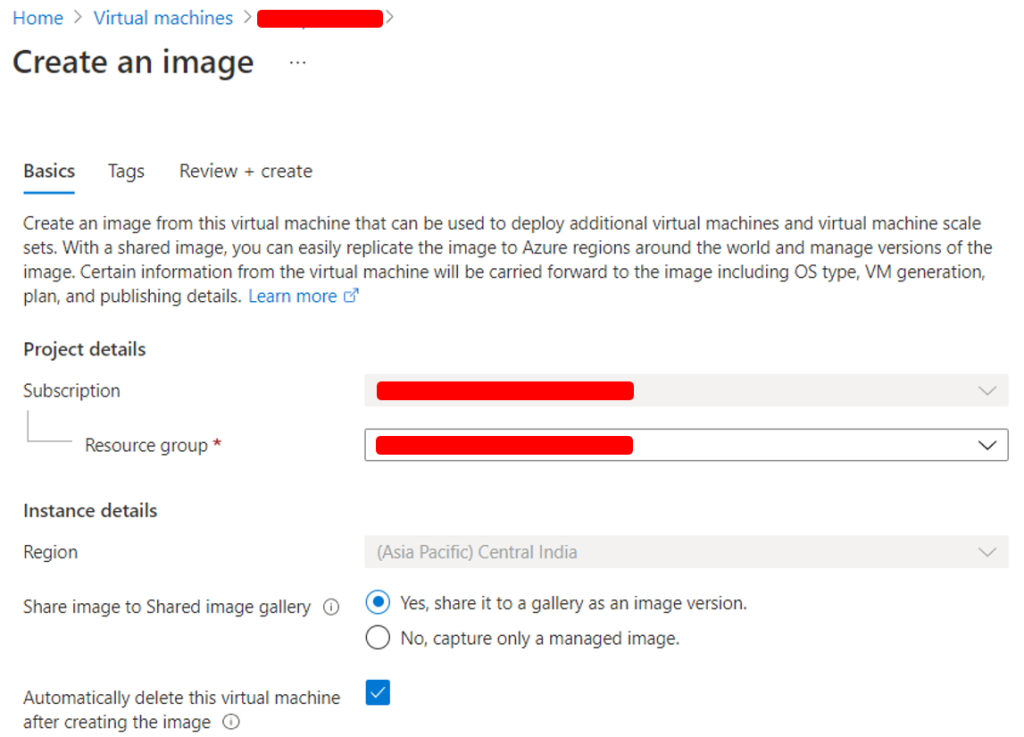
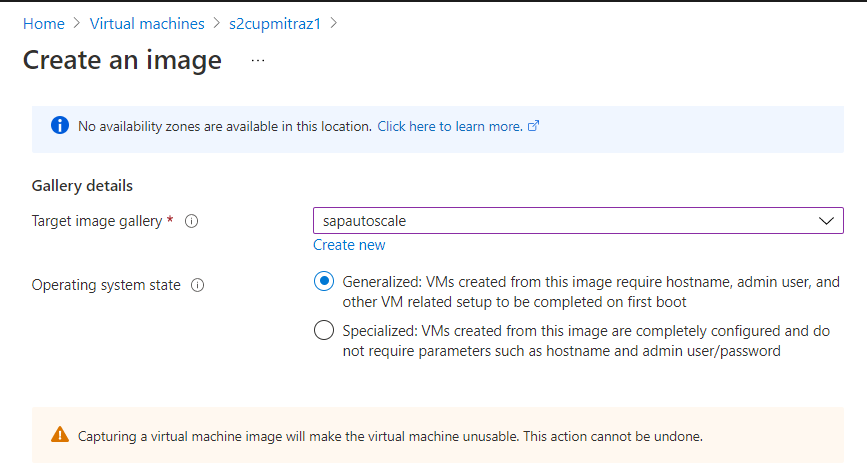
We need to create the image of Virtual Machine which will be used to deploy the VM as SAP Application Server host when it is demanded by SAP workload. (Make a note that we are using Generalized image of the VM, so exiting VM is of no use once the image is generalized) To do the same, select the VM of which we need to create image then click on Capture.
Specify all the requested details of the Image and then click on Next
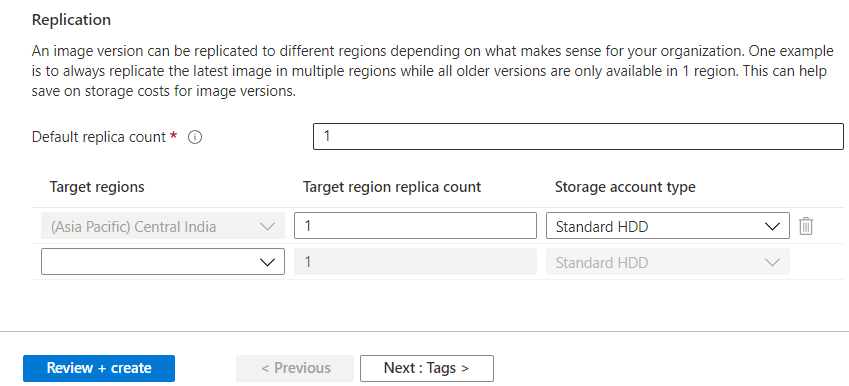
Specify the Tags if required and then click on Review + Create
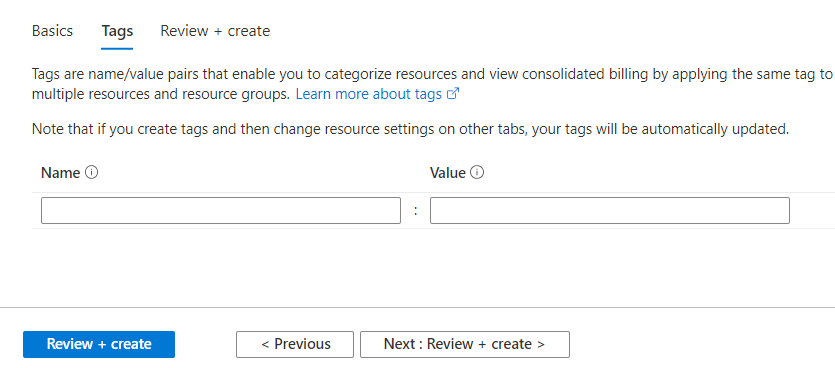
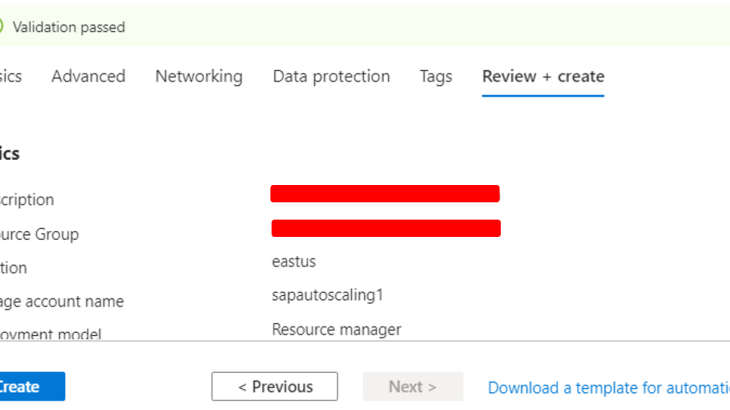
Wait for the validation to pass and then click on Create

This VM will be stopped and then deployment as image will be started.
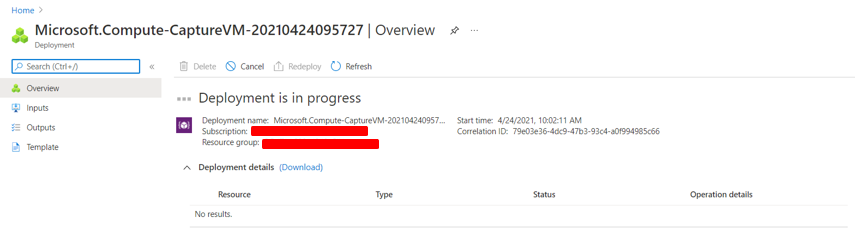
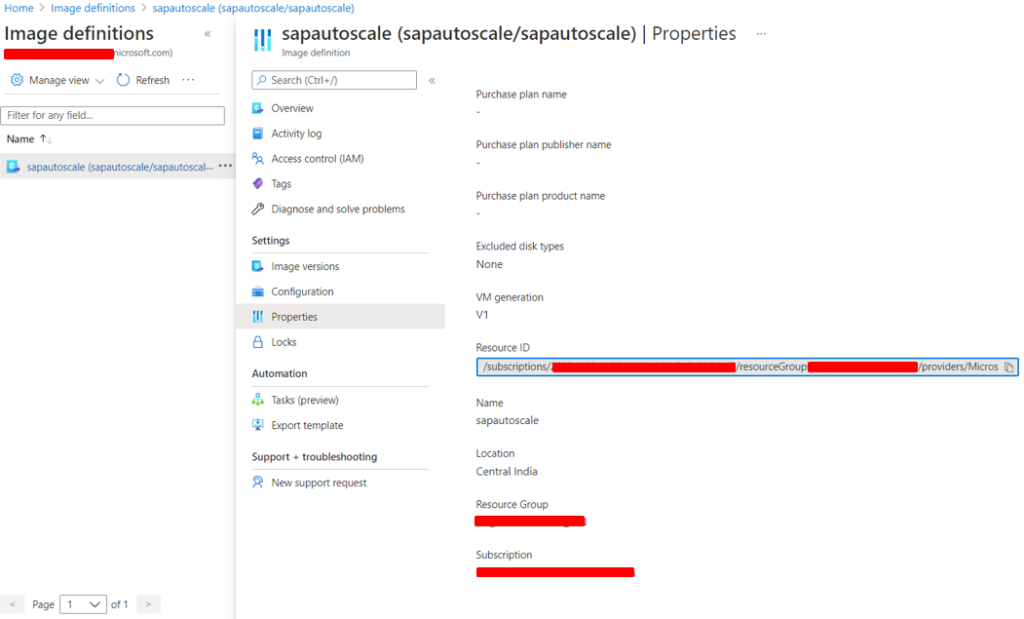
We will get the below screen once the Image is prepared
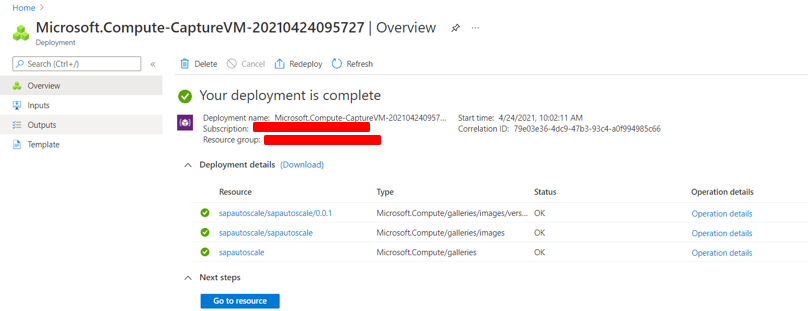
We need to make a note of the Resource ID as that ID will be used in later stage in automation runbook for deploying the Virtual Machine
3.5 Create Storage Account
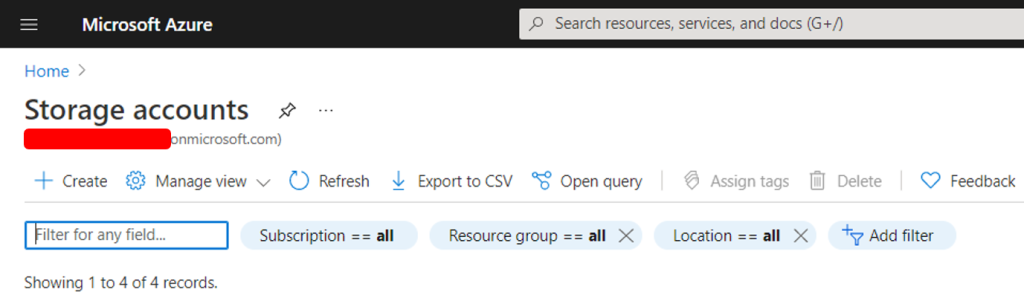
We need to store the Operating system scripts that will be used during the execution for doing relevant changes to the Operating system so that Host can act as additional application server for SAP System. for storing the Operating system script, we need to opt for Storage account. To do the same go to Storage account in Azure and click on Create
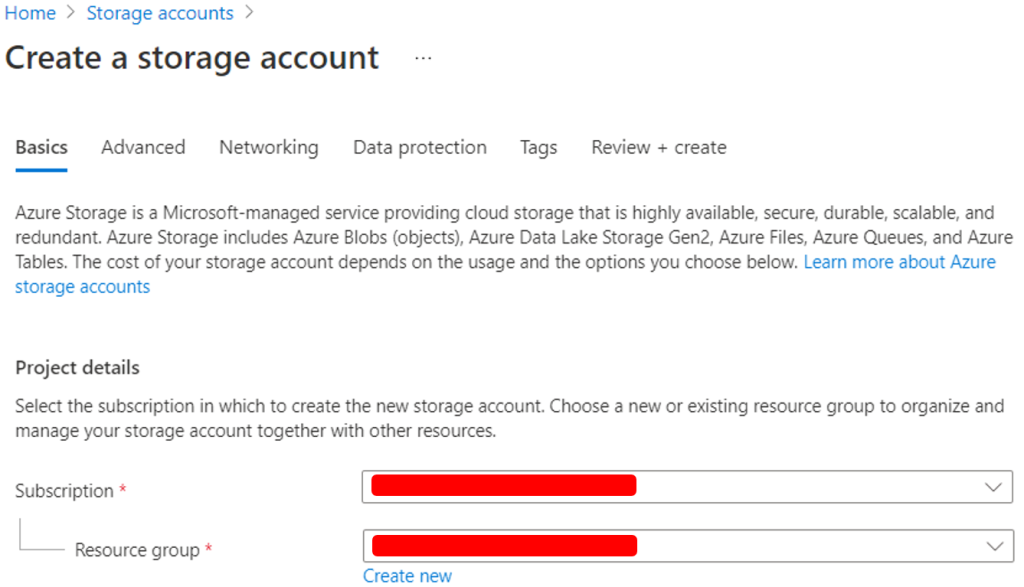
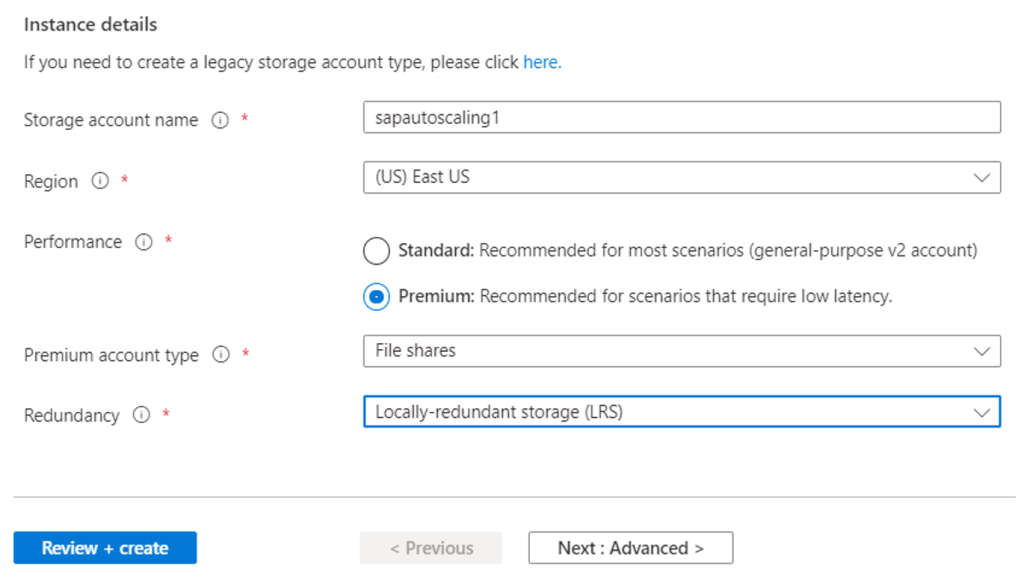
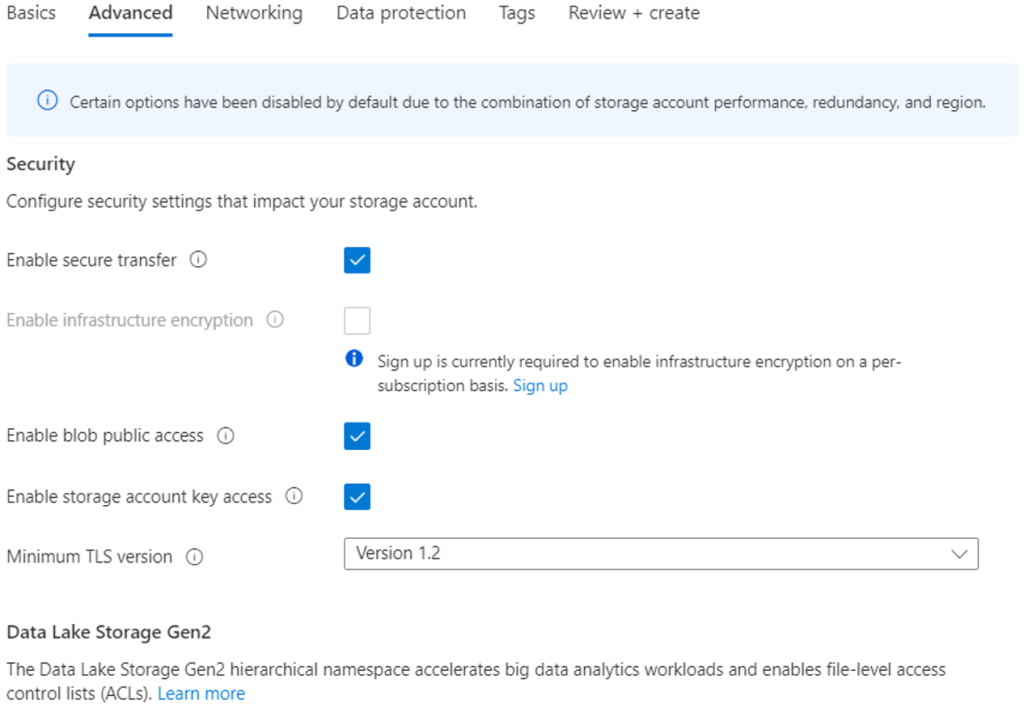
Specify the requested details for creating the Storage account and click on Advance
Fill out the requested details and then click on Networking
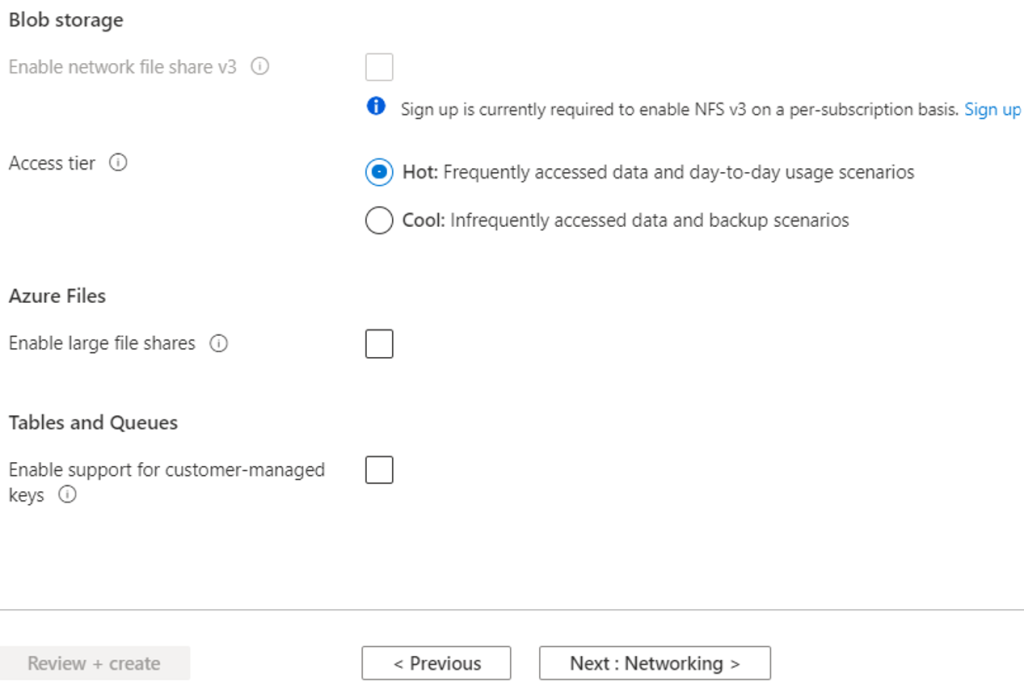
Specify the details related to network and then click on Data Protection
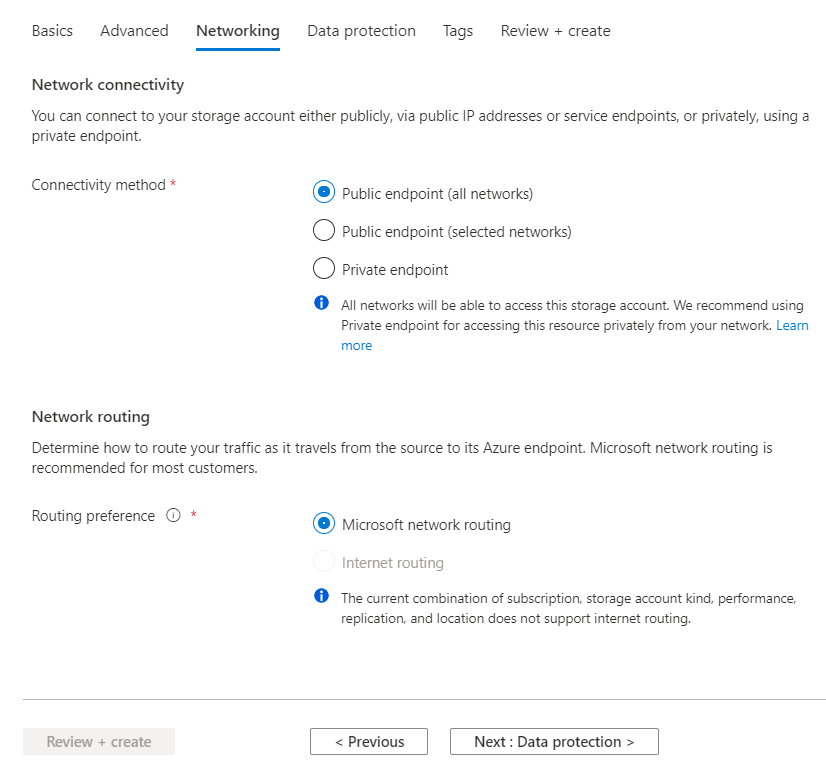
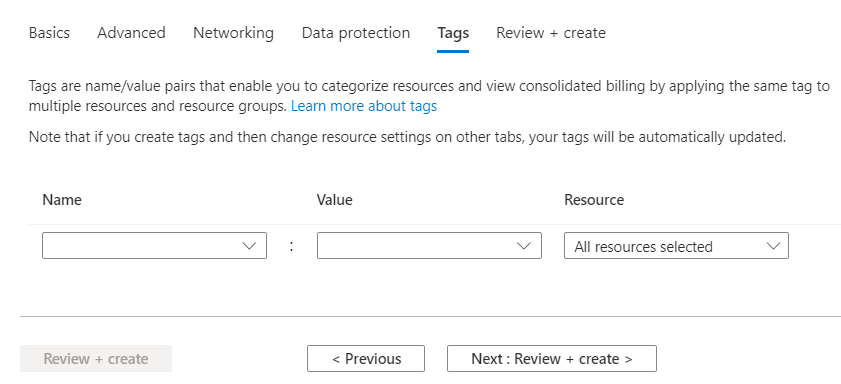
Fill out the details related to the Data protection for the data which are stored in the storage account and then click on Tags
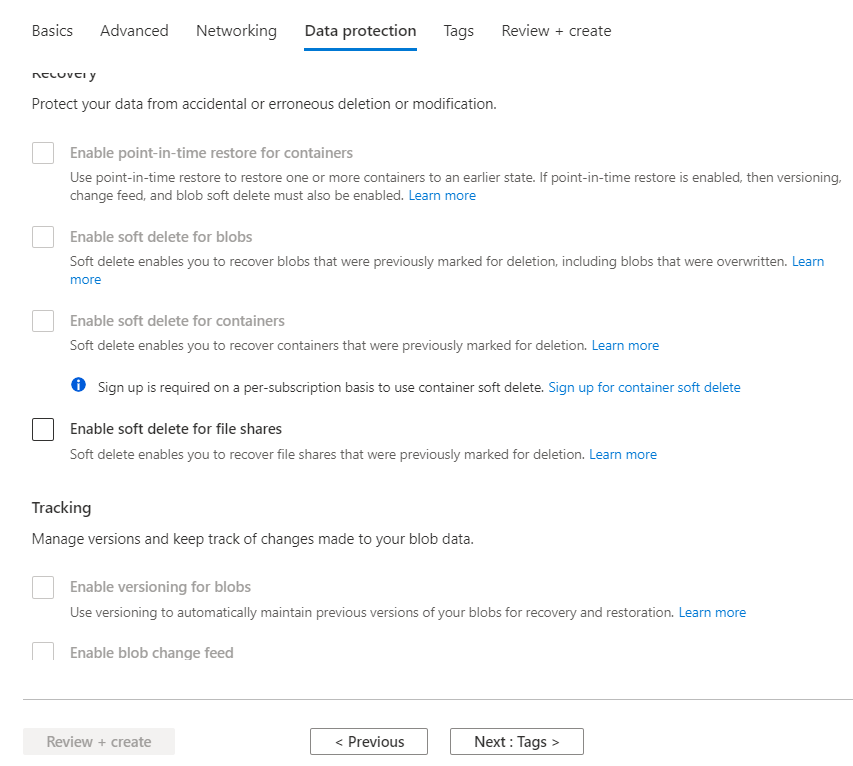
Specify any Tags if any, and then click on Review + Create
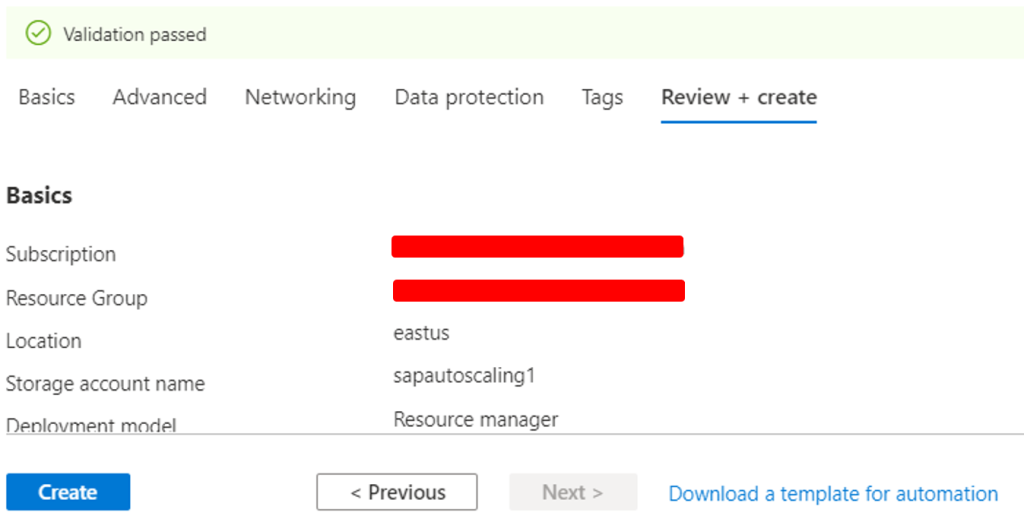
Wait for the validation to pass and then click on Create
Now our storage account is ready to use, we can create further storage contents under this account
3.6 Add Automation Account
For deploying the PowerShell scripts on Azure platform, we need to create Automation Account so that we can setup the automation for the whole process under it. To do so we need to Goto Automation Account and click on Create
Fill out all the details that is requested and then click on Create

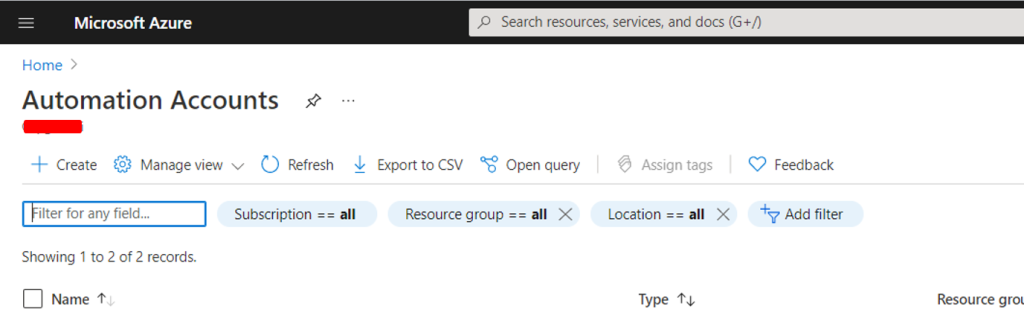
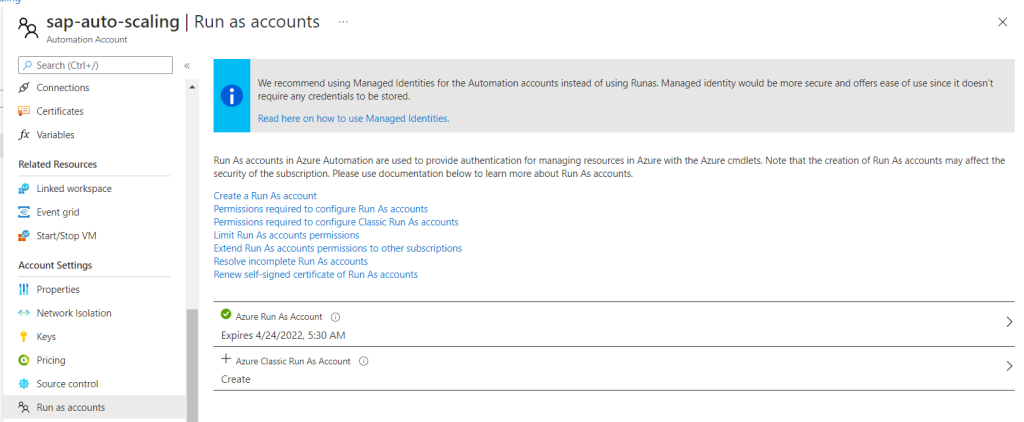
Wait for the deployment to finish. Once Automation account has been created then we need to make sure that our account is allowed for Run as accounts.
Now we have automation account ready for the deployment of runbooks
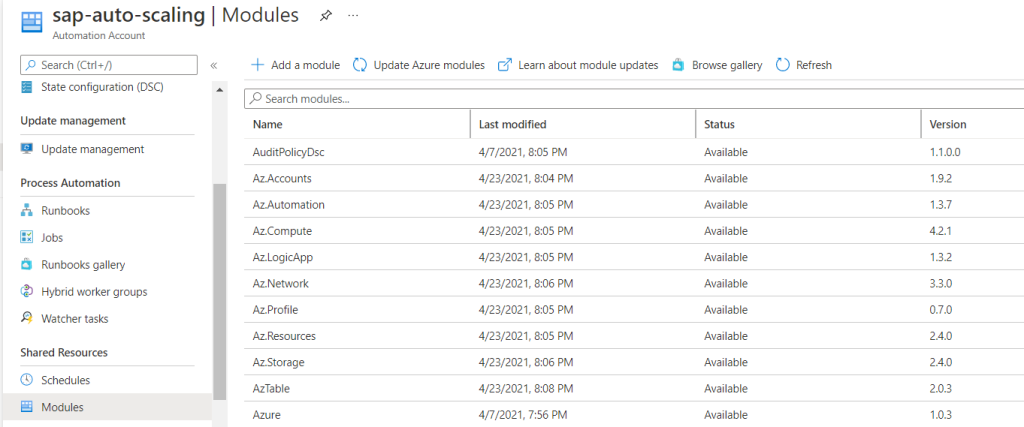
3.6.1 Automation Account Modules
According to the commands which we are going to use during the PowerShell execution, we need to import the respective PowerShell module to the runbook. Below is the list of modules which are imported for the successful execution of the PowerShell scripts
3.7 Create Integration Service Environment
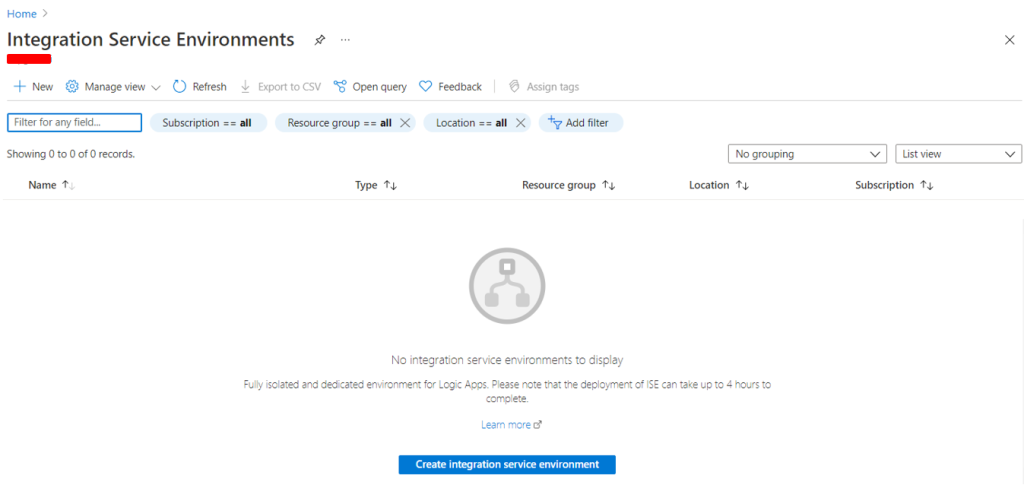
1As we need to access SAP system for collecting the telemetry data using private network, then we are using Integration Service Environment for setting up the private network for Azure Logic App for accessing the SAP system using the same network. To implement ISE we need to go to Azure portal and search for Integration Service Environment and then click on New
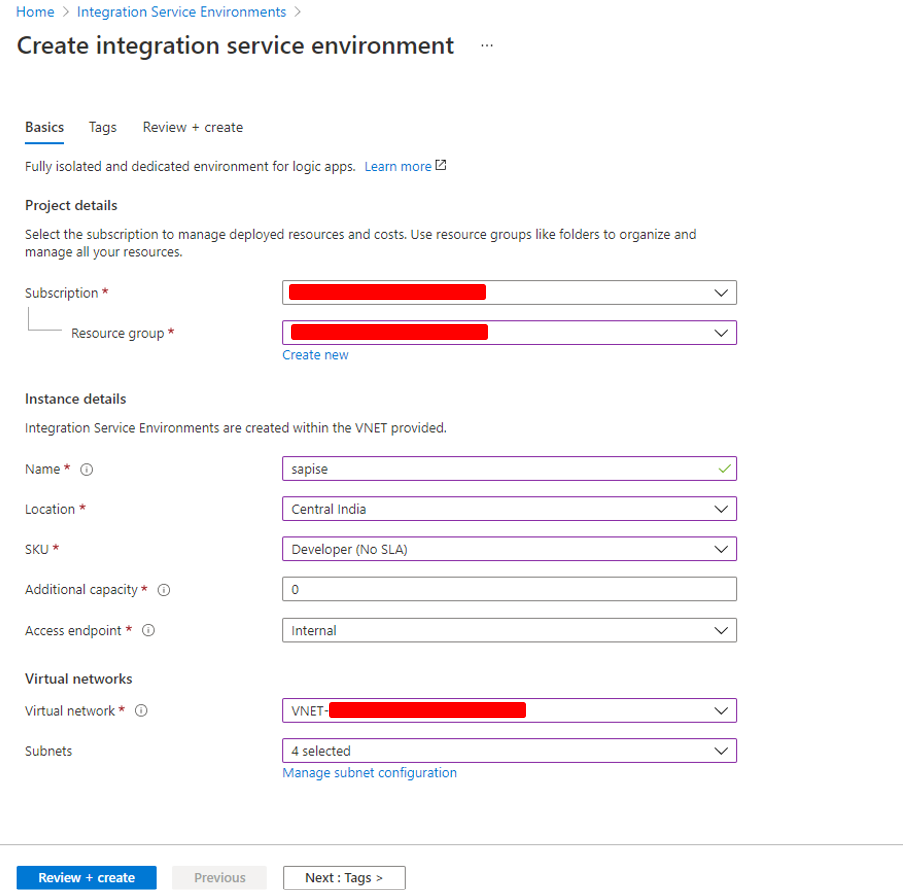
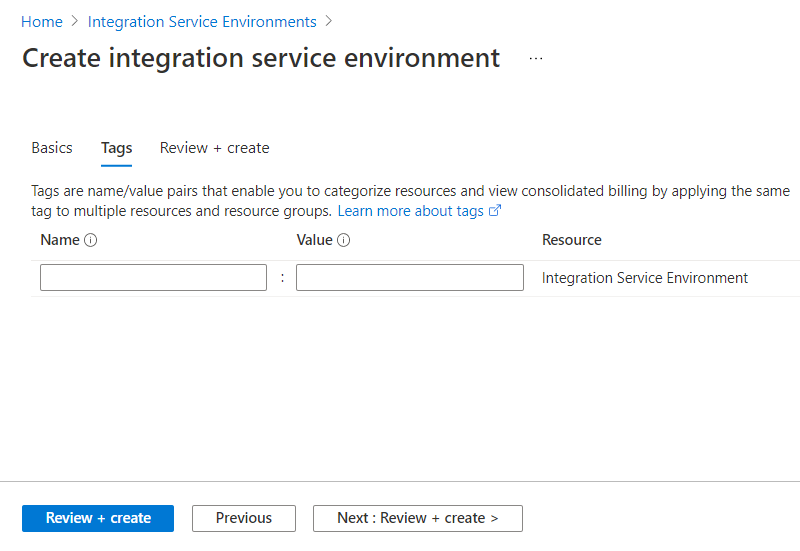
Specify all the requested information about the Integration Service Environment and then click on Tags
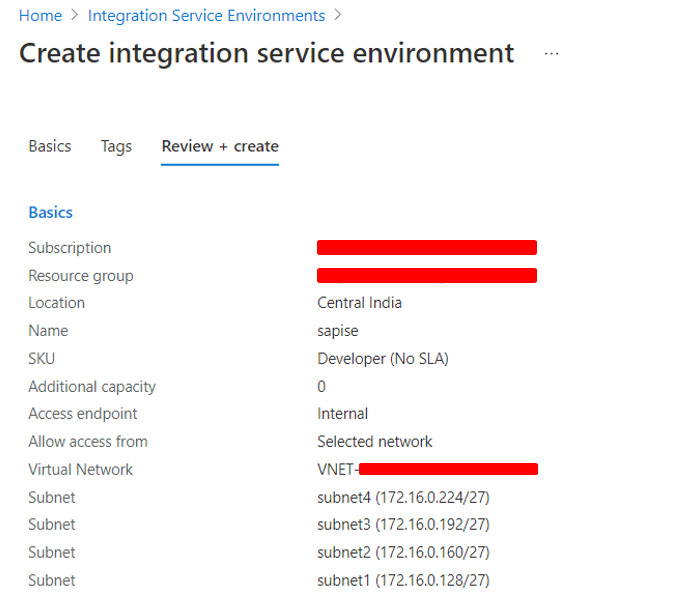
Specify the Tags, if any and then click on Review + Create
Check for summary and then click on Create
It may take some time to deploy the Integration Service Environment, once it is deployed then we can see in the list

Now, our Integration Service Environment is ready to use in which we can create Logic App and connect to Azure Services using Private Network
Next Part: Auto Scaling of SAP Systems on Azure – Part IV


