Introduction
As part of this blog, we will compare logged-in user’s IP Address attribute with attributes of data that logged-in user is trying to access.
As example, we have considered a scenario where sensitive Business Partners Identification Number data will be masked for logged-in user if logged-in user’s IP Address is in the blacklist.
These will be achieved using Attribute Based Access Control (ABAC). Attribute based authorizations are dynamic determination mechanism which determines whether a user is authorized to access specific data sets which can be based on the context attributes of the user and data (for example, price of certain sensitive materials are masked).
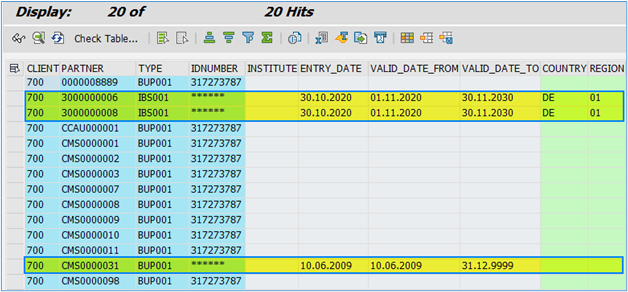
The end result will appear as:
Prerequisite
UI Data Protection Masking for SAP S/4HANA is a solution that allows you to protect restricted and sensitive data values at field level by masking, clearing, or disabling fields for those users who are not authorized to view or edit this data.
Product “UI data protection masking for SAP S/4HANA” is used in this scenario to protect sensitive data at field level and must be installed in the S/4HANA system.
The product is a cross-application product which can be used to mask/protect any field in SAP GUI, SAPUI5/SAP Fiori, CRM Web Client UI, and Web Dynpro ABAP.
Requirement
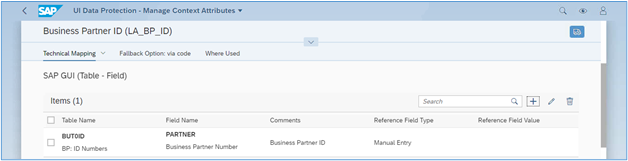
Here, we are masking Sensitive Business Partners Identification Number in BUT0ID table in SE16 transaction if logged-in users IP Address is blacklisted.
Let’s begin
Configuration to achieve Masking in SE16 transaction
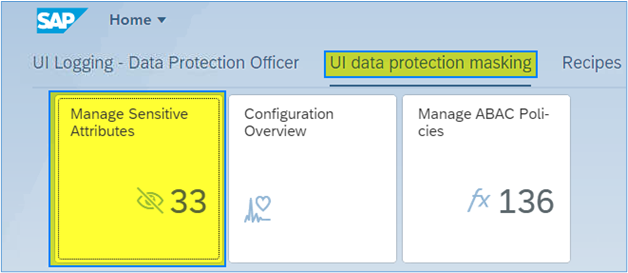
Login to Fiori Launchpad and click on “Manage Sensitive Attributes” app available under “UI data protection masking” catalog.
Maintain Sensitive Attributes
A Sensitive Attribute is a type of logical attribute that define a field which needs to be configured for UI data protection.
- Click on Add icon

- Enter “LA_BP_SSN” in Sensitive Attribute field
- Enter “BP Social Security Number” in Description field
- Click on “Create” button
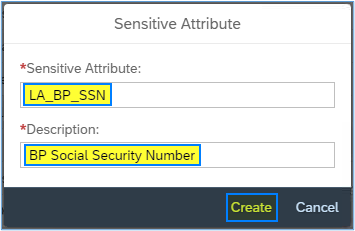
- Sensitive Attribute with specified details will be created.

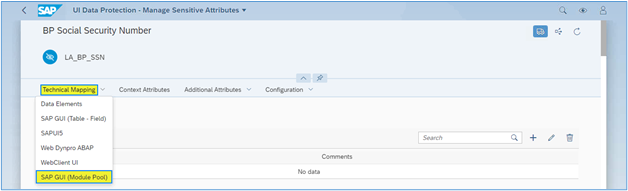
Maintain Mapping to Technical Addresses
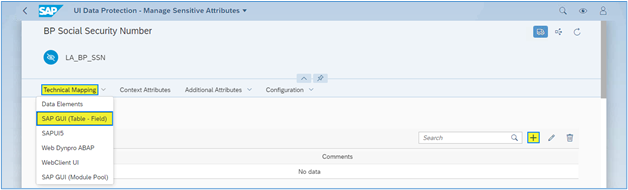
In the Manage Sensitive Attributes application, you can link technical addresses of fields to sensitive attributes. A technical address describes the exact technical path or technical information which is used by the solution to process the field for UI data protection masking.
To find the technical addresses for SAP GUI screens, navigate to the field and choose F1, then the Technical Information icon. The system displays the relevant information.
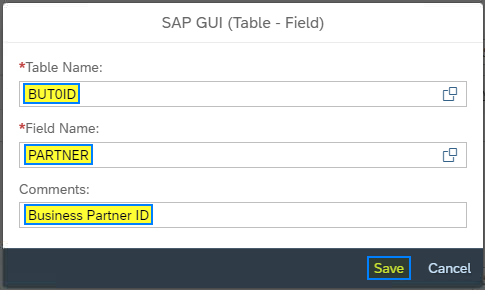
Under Technical Mapping > SAP GUI, choose the Add icon.
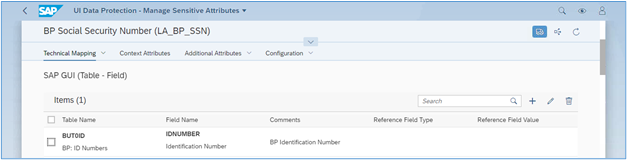
Use the the value help to select the table name and the field name. You can also enter the referenced transaction codes as a comment to describe the mapping.

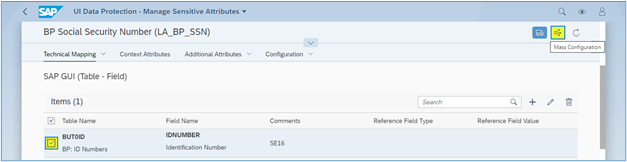
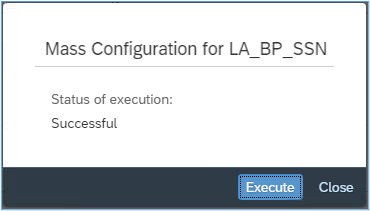
Mass Configuration
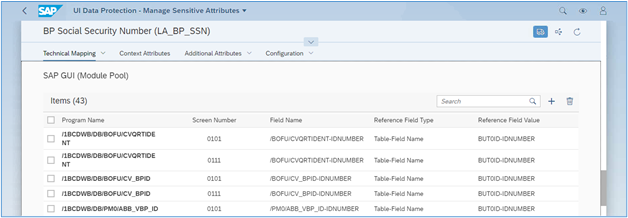
For mass configuration, select the Mass Configuration icon. The system generates additional customizing for SAP GUI and data element entries. Once the application will be refreshed, entries will get listed under Module Pool.
- Select the record and click on “Mass Configuration” button
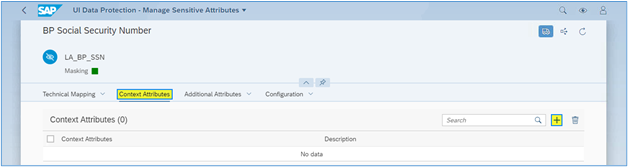
Maintain Context Attributes
In the Manage Sensitive Attributes application, you can create and update context attributes, and map them to sensitive attributes.
A context attribute is a type of logical attribute which is used to define the context within which a sensitive attribute is to be protected.
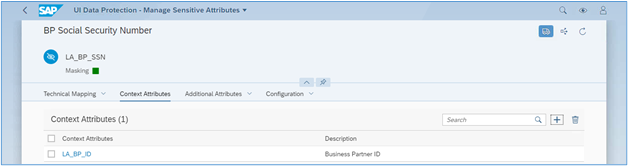
- To assign a context attribute to a sensitive attribute, under Context Attributes, choose the Add icon.
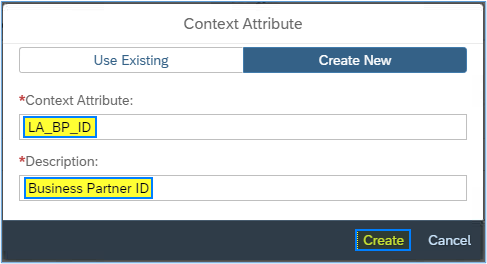
- To create a new context attribute, select Create New, enter the name of the context attribute beginning with LA_ and a description.
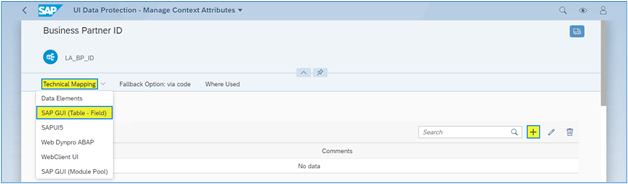
- Open a context attribute by tapping the arrow next to it and under Technical Mapping, you can map technical addresses to the context attribute in the same way we did for sensitive attribute
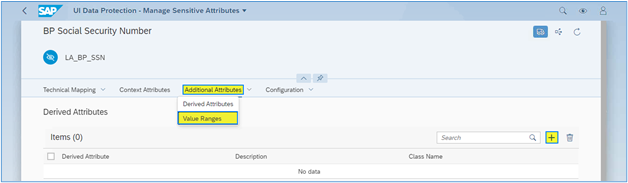
Maintain Additional Attributes – Configure Value Range
In the Manage Sensitive Attributes application, you can create and update value ranges to provide context for protecting a sensitive attribute.
A Value Range is a static collection of values that can be used as the context within which a sensitive attribute is to be protected.
To create a new value range for,Sensitive Business Partners
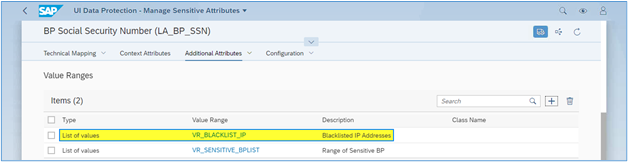
- Navigate to “Additional Attributes” tab
- Click on “Value Ranges” option
- Click on “Add” icon
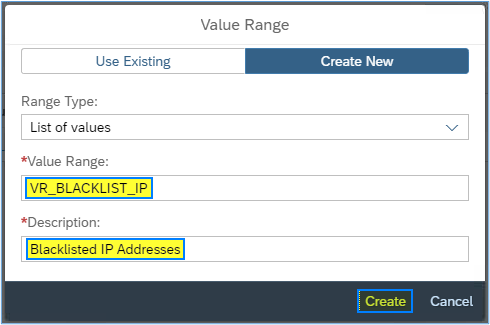
- Select “Create New“
- Select Range Type as “List of Values“
- Enter the name of the value range beginning with VR_ for a list of values as “VR_SENSITIVE_BPLIST“
- Description as “Range of Sensitive BP”
- Click on “Create” button.
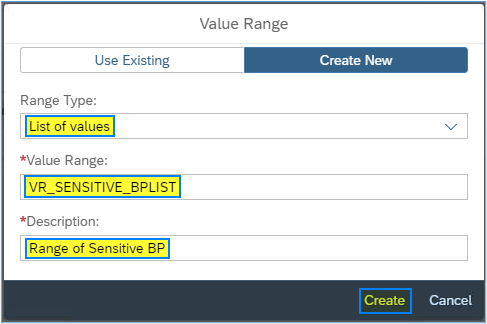
- Value Range with specified details will be created.
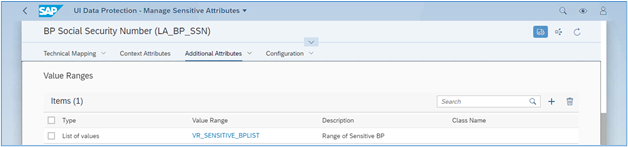
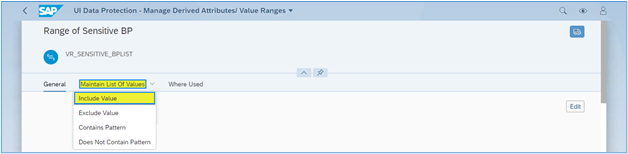
- Click on VR_SENSITIVE_BPLIST link to add values in this Value Range. You will be navigated to Manage Derived Attributes/Value Ranges app
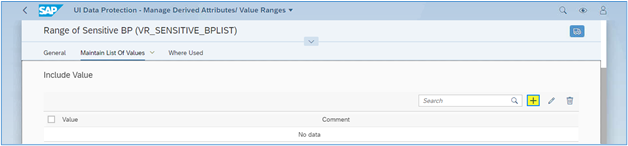
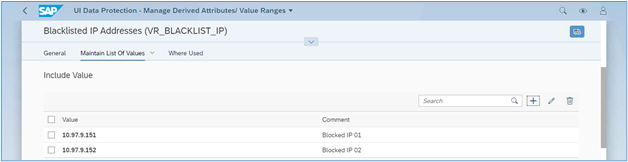
- Click on Include Value option under Maintain List of Values tab
- Click on “Add” icon under Include Value section
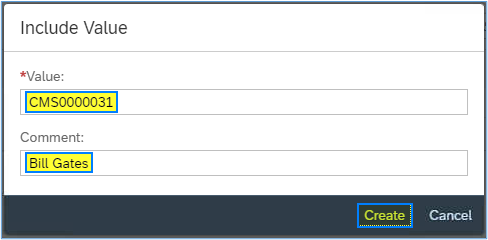
- Enter “Value” as “CMS0000031”
- Enter “Comment” as “Bill Gates”
- Click on “Create” button
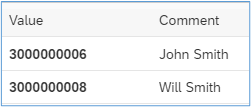
Enter following entries in “VR_SENSITIVE_BPLIST” Value Range

- Using the above steps, create a Value Range “VR_BLACKLIST_IP“
Enter following entries in “VR_BLACKLIST_IP” Value Range
Masking Configuration
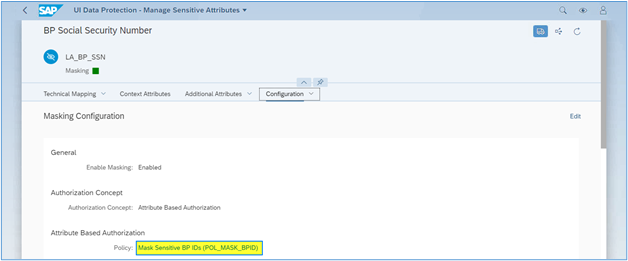
In the Manage Sensitive Attributes application, you can configure masking for a sensitive attribute to define in detail how it is to be protected in the system. Masking configuration defines which fields are to be masked for unauthorized users and in which contexts.
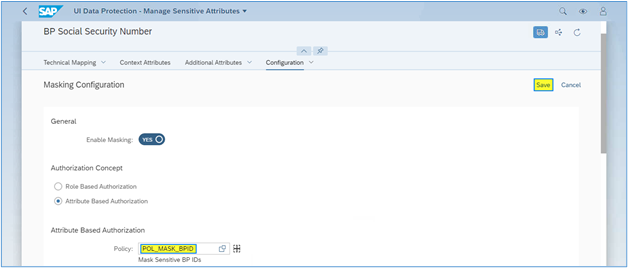
To configure masking for a sensitive attribute, under Configuration > Masking Configuration, choose Edit.
- Enable masking.
- Select Attribute Based authorization concept.
- Click on “Add” icon next to “Policy” edit box

- Enter Policy Name as “POL_MASK_BPID“.
- Enter Description as “Mask Sensitive BP IDs“.
- Click on “Create” button.
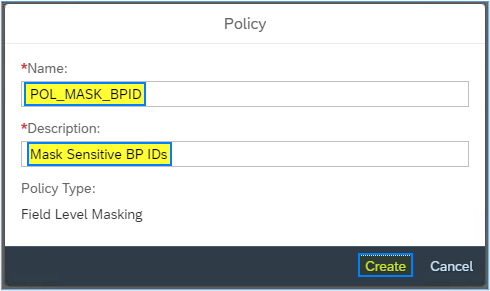
- Policy will get created.
- Click on “Save” button
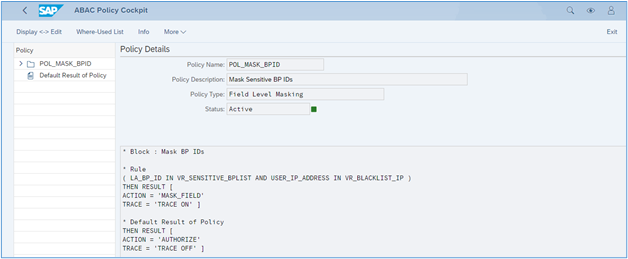
- Click on “Mask Sensitive BP IDs (POL_MASK_BPID)” link. You will be navigated to “Manage ABAC Policies” app
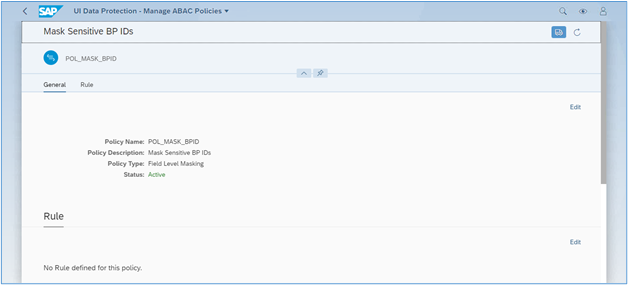
- Choose “Edit” under “Rule” section of Policy

- ABAC Policy Cockpit will be opened
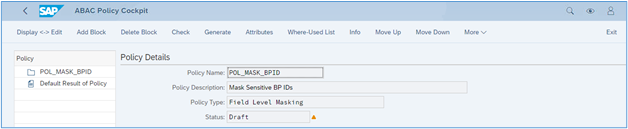
Write following logic into Policy