In this blog post, we will cover how we can use the Native script as an external plugin to a Mobile Development Kit. To achieve this, we will use the UI “nativescript-ui-chart” to display sales details.
I’ll show you how easy it is to add the native script as an external plugin to a Mobile Development Kit app with an extension control. you can use the existing NativeScript plugins like nativescript-geolocation, nativescript-nfc, nativescript-ui-chart etc.
By the time you’ve gone through these steps, you’ll have integrated native script donut chart from the SAP Cloud Platform SDK into your MDK app. First, you’ll see how to add the extension control in the editor. Next, you’ll define a customer list-detail which displays customer details. Finally, you’ll see how to create extension control and use “nativescript-ui-chart”.
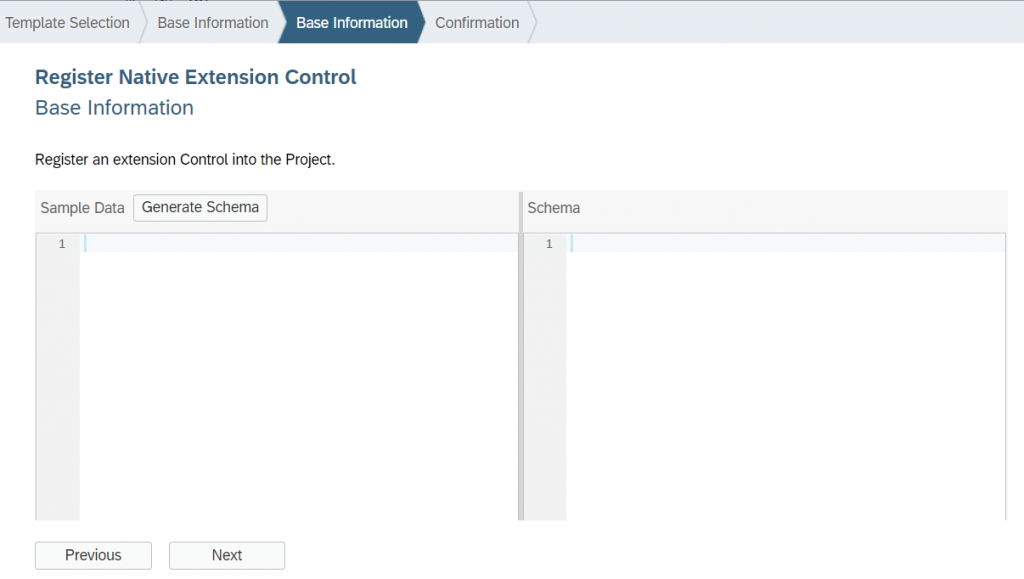
Step 1: Register an Extension Control
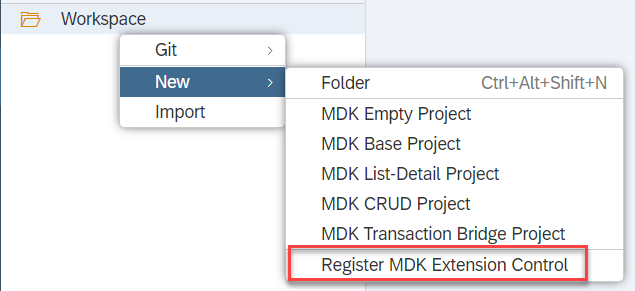
In the editor, right-click the project folder, and select New | MDK Extension Control.
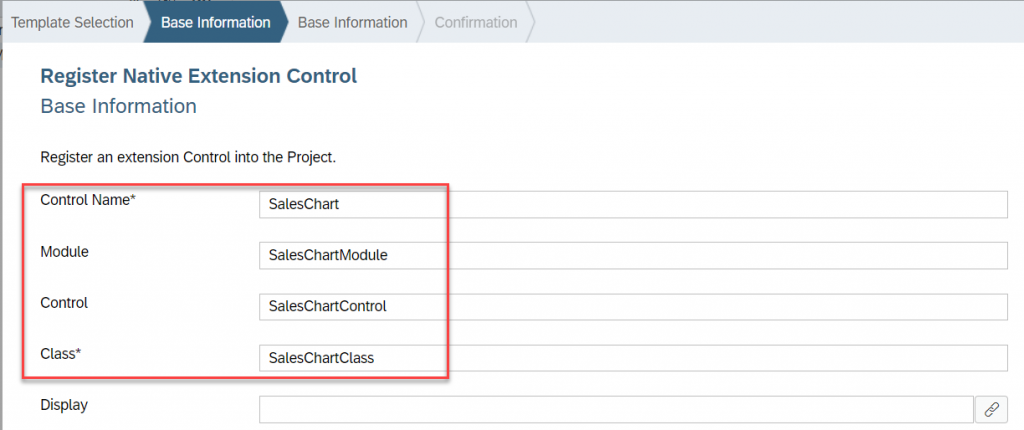
Provide the below information:
- Control Name : SalesChart
- Module : SalesChartModule
- Control : SalesChartControl
- Class : SalesChartClass
Click Next. you will not need any schema.
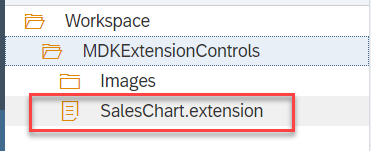
Click Finish to confirm. you will see below a file “SalesChart.extension” is generated based on the control name which was provided in the above step.
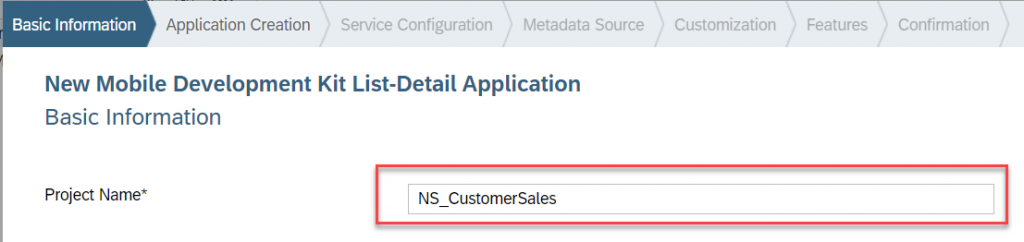
Step 2: Create: MDK List-Detail Project
Create MDK a project with List-Detail template

Provide the Project Name as ” NS_CustomerSales”
Provide service configurations as below, And click on check service to validate.
| Name | SampleServiceV2 |
| Service URL | select /destinations/mobileservices_cf destination |
| Application ID | com.sap.mdk.demo |
| Destination Name | com.sap.edm.sampleservice.v2 |
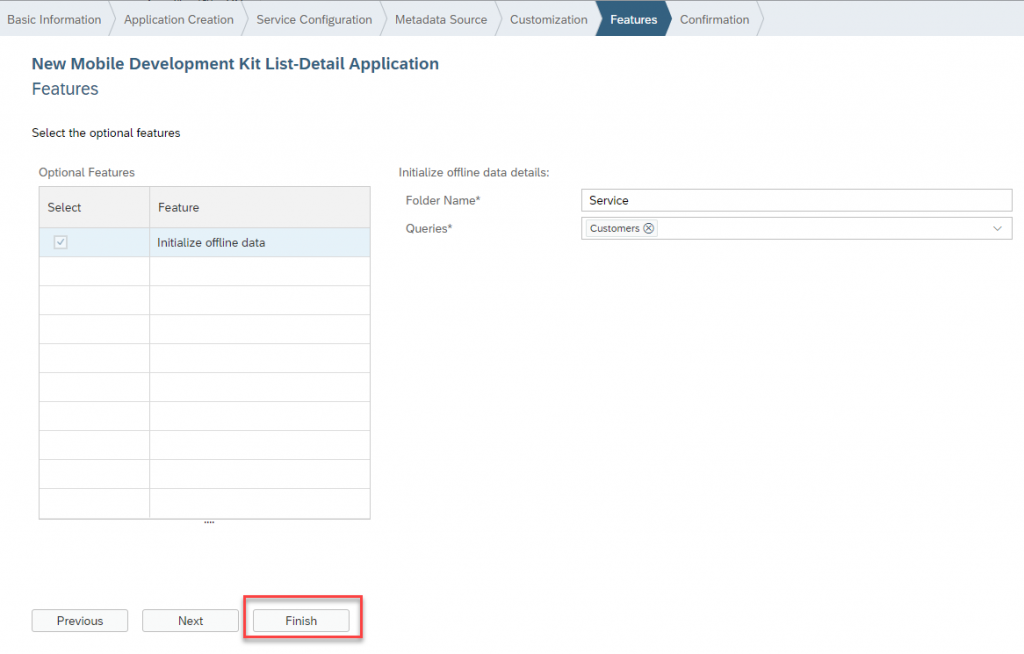
| Enable Offline Store | Uncheck it |
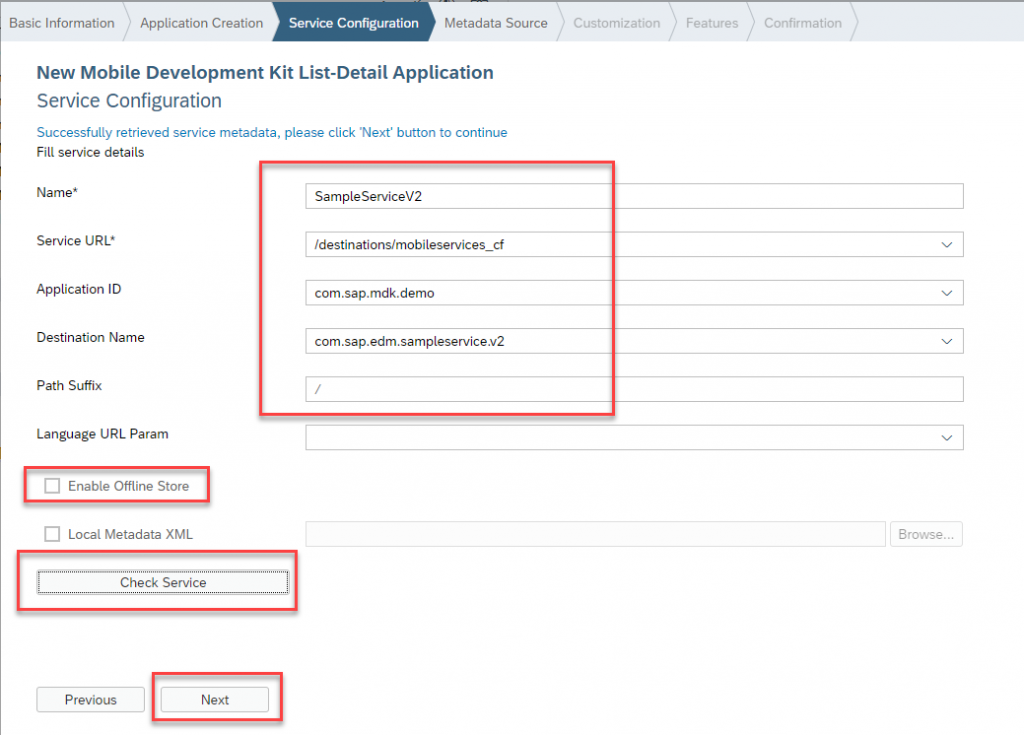
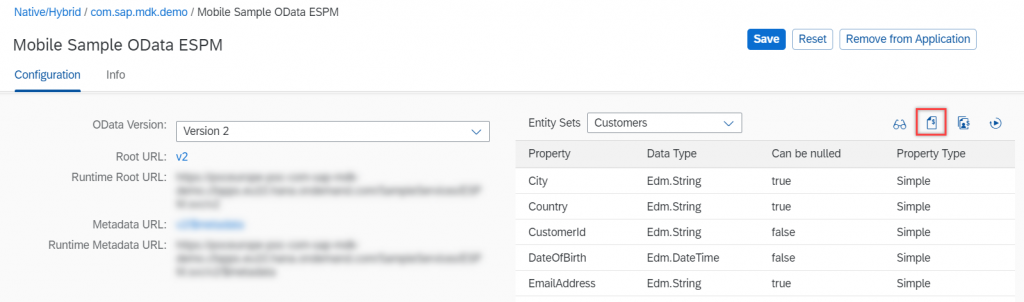
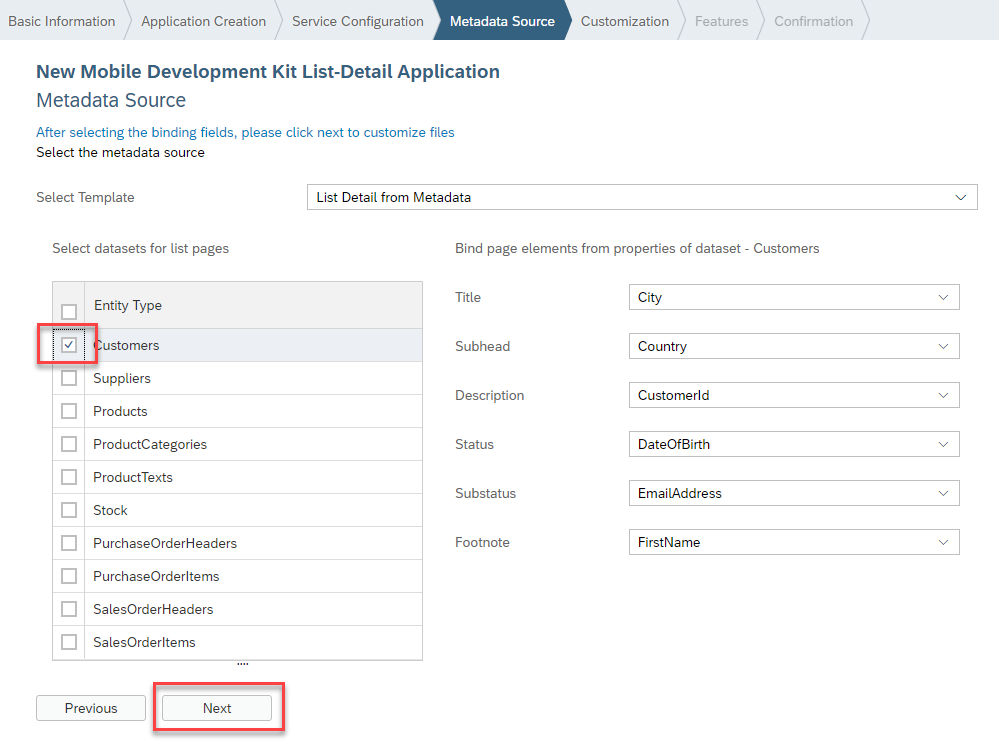
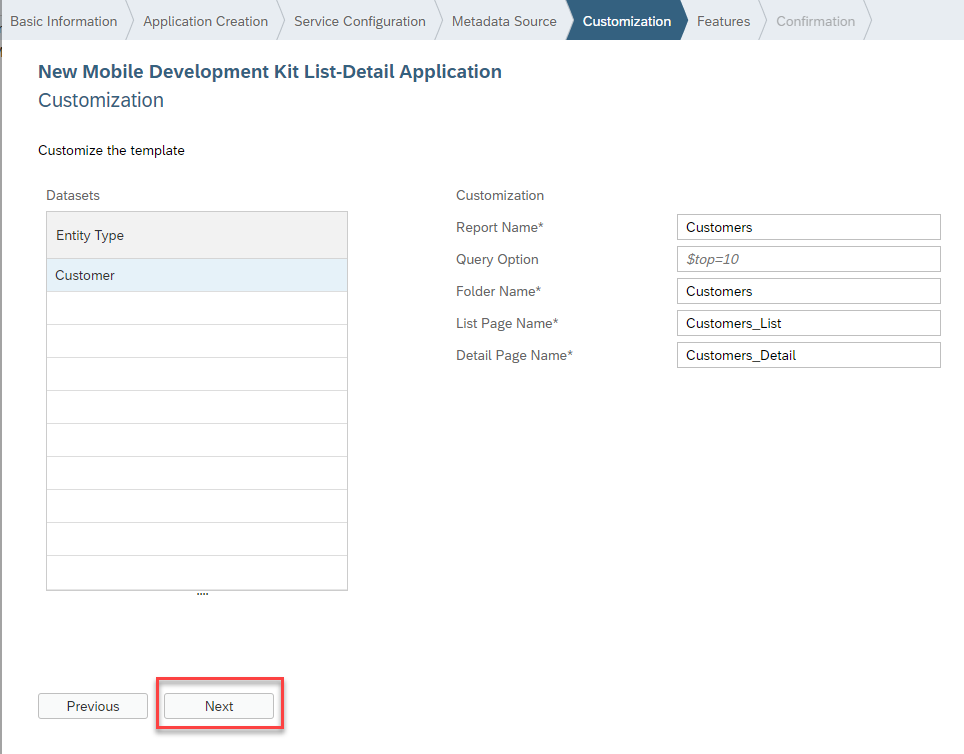
Select the “Customers” entity type and click on Next and finish.
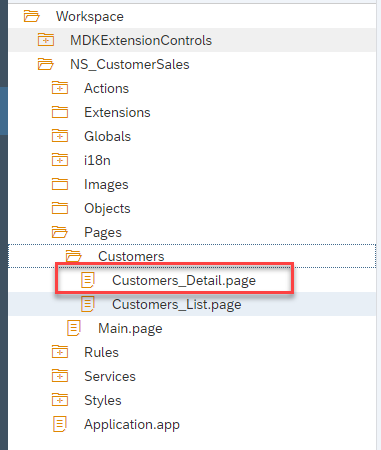
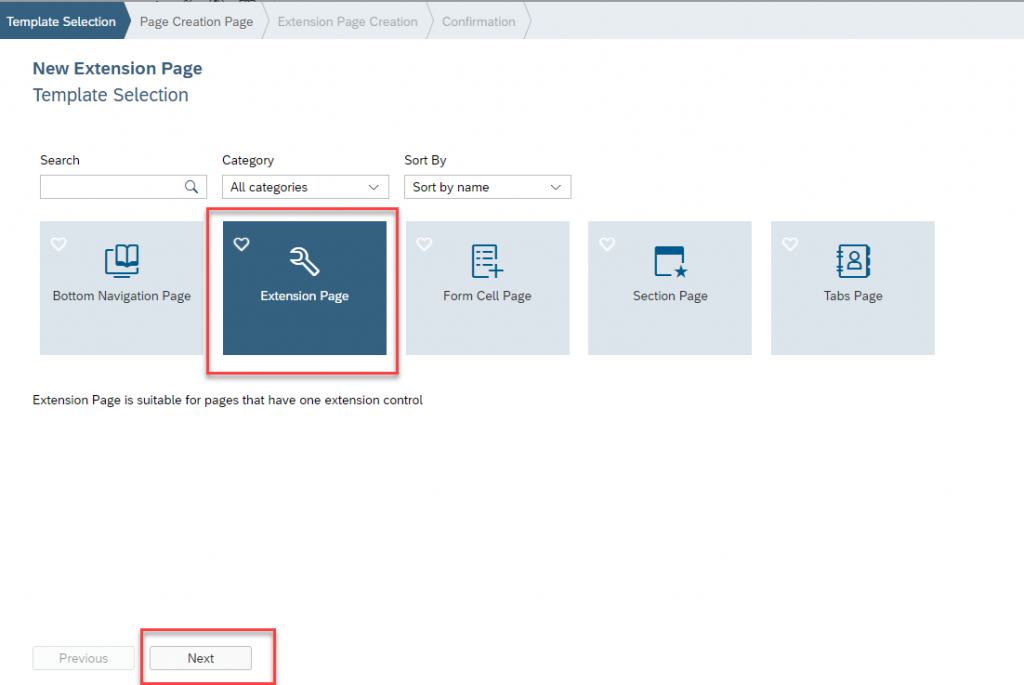
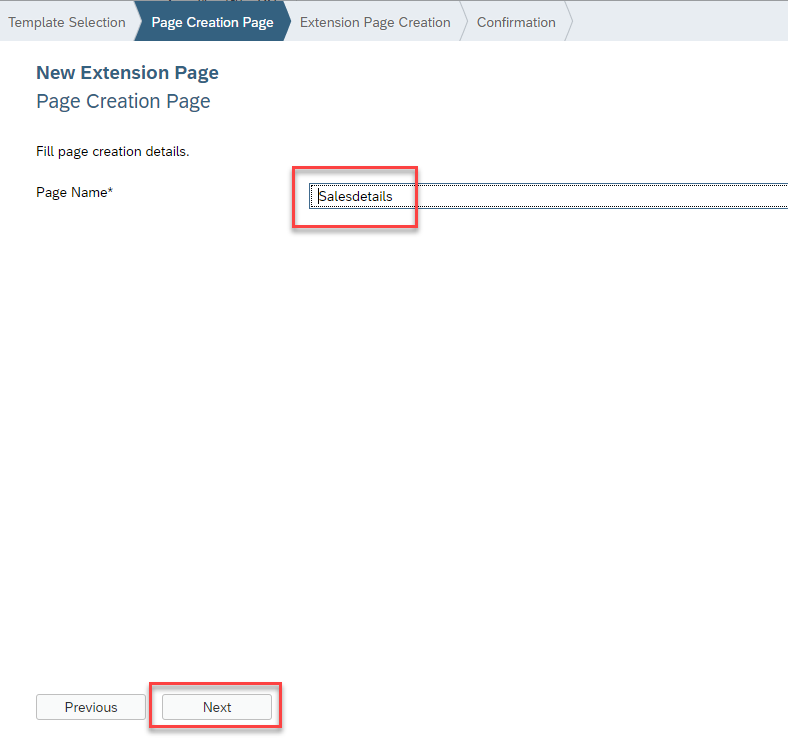
Navigate to Pages Folder and Delete “Customers_Detail.page”.
Create a new page with the name “Salesdetails” as shown in the below.
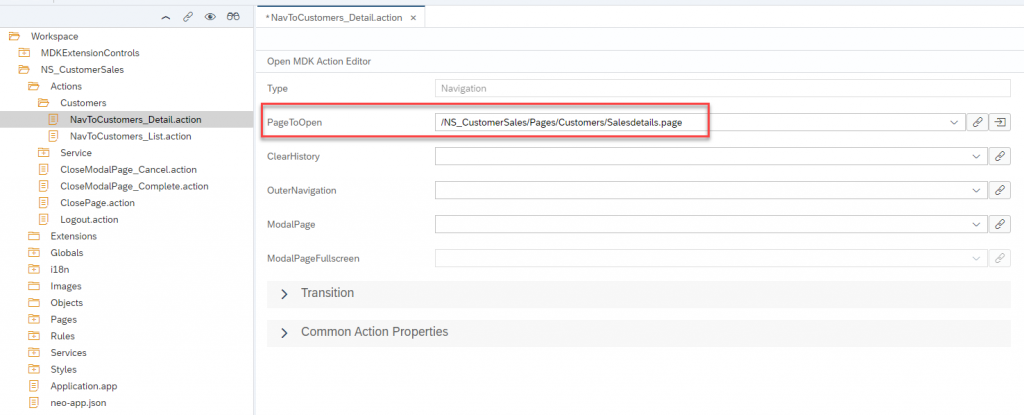
Navigate to Actions, Under Customer Folder open “NavToCustomers_Detail.action” and set PageToOpen property to New page(Salesdetails.page) which was created in the earlier step.
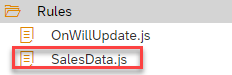
Navigate to Rule folder, Create a new rule with name “SalesData.js”
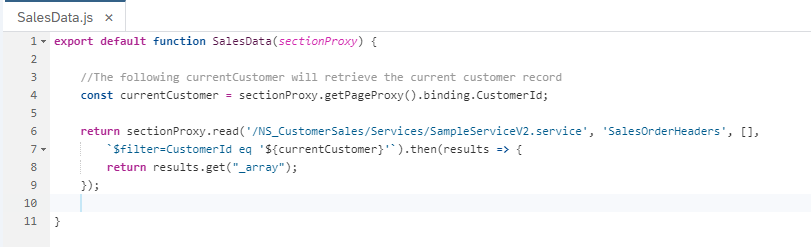
export default function SalesData(sectionProxy) {
//The following currentCustomer will retrieve the current customer record
const currentCustomer = sectionProxy.getPageProxy().binding.CustomerId;
return sectionProxy.read('/NS_CustomerSales/Services/SampleServiceV2.service',
'SalesOrderHeaders', [],`$filter=CustomerId eq '${currentCustomer}'`).then(results => {
return results.get("_array");
});
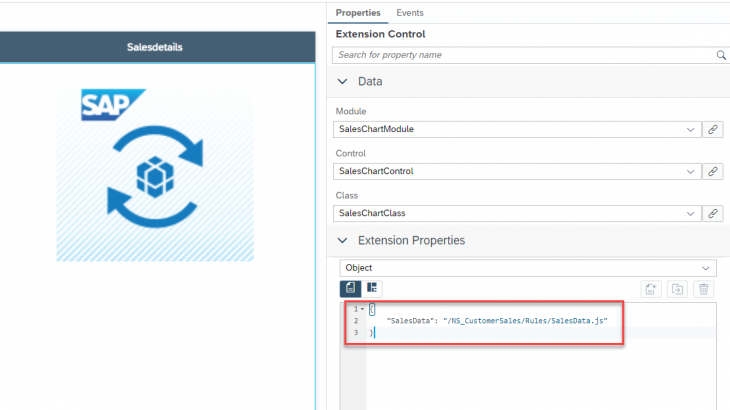
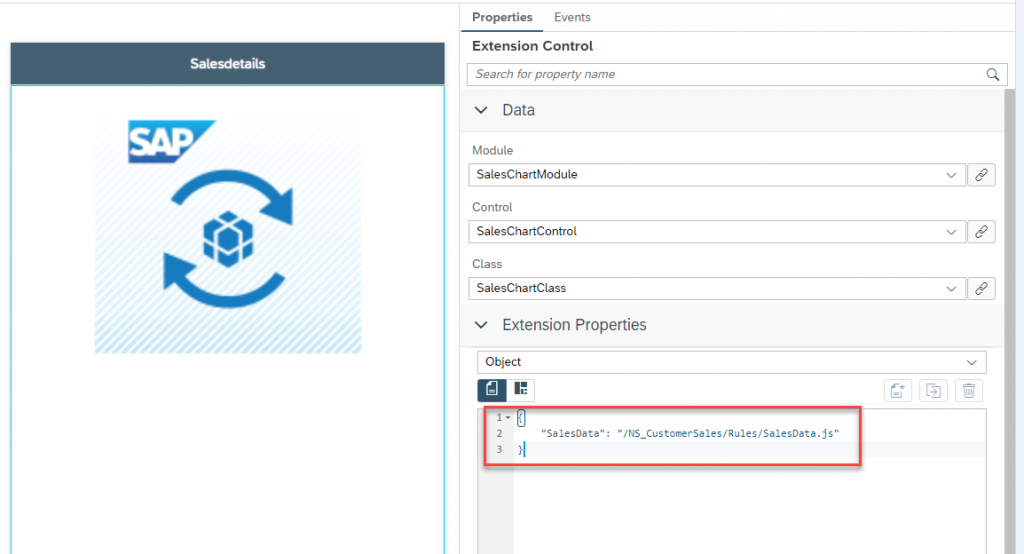
}Navigate to Salesdetails.page and Scroll down to the Extension Properties, switch to Text mode and paste the following information:
{
  "SalesData": "/NS_CustomerSales/Rules/SalesData.js"
}
Step 3: Implement Extension
Navigate to Extensions folder, create files & folders as per below.

In tsconfig.json file, copy and paste the following code.
{
   "compilerOptions":{
      "module":"commonjs",
      "target":"es5",
      "experimentalDecorators":true,
      "emitDecoratorMetadata":true,
      "removeComments":true,
      "inlineSourceMap":false,
      "sourceMap":false,
      "noEmitOnError":false,
      "noEmitHelpers":true,
      "declaration":true,
      "lib":[
         "es6",
         "dom"
      ],
      "baseUrl":".",
      "paths":{
         "tns-core-modules/*":[
            "./node_modules/tns-core-modules/*"
         ],
         "mdk-sap":[
            "./node_modules/mdk-sap"
         ],
         "toolbar-plugin":[
            "./node_modules/toolbar-plugin"
         ],
         "zip-plugin":[
            "./node_modules/zip-plugin"
         ]
      }
   },
   "exclude":[
      "node_modules",
      "platforms",
      "modules",
      "plugins",
      "build.definitions"
   ]
}
In main-model.ts file, copy and paste the following code.
import { Observable } from 'tns-core-modules/data/observable';

export class oModel extends Observable {
    private list : any;
    constructor() {
        super();
        this.initData();
    }

   private initData() {
        this.set("SalesOrderHeader",
            [{ SalesOrderId: "4500001", Amount: 10 }]); // Dummy record
        this.list = this.get( "SalesOrderHeader" );
    }

   private setSalesOrderHeader( SalesOrderId, Amount ){
   		this.list.push({ "SalesOrderId": SalesOrderId , "Amount" : Amount });
   }

   private getSalesOrderHeader(){
   		return this.list;
   }
}
In SalesChartControl.ts file, copy and paste the following code.
import * as app from 'tns-core-modules/application';
import { BaseObservable } from 'mdk-core/observables/BaseObservable';
import { Color } from 'tns-core-modules/color';
import { IControl } from 'mdk-core/controls/IControl';
import { Label } from "tns-core-modules/ui/label";
import { StackLayout } from "tns-core-modules/ui/layouts/stack-layout";
import { oModel } from './main-model';
import { Page } from 'tns-core-modules/ui/page';
import { RadPieChart, DonutSeries, ChartSeriesSelectionMode } from 'nativescript-ui-chart';
import { ObservableArray } from "tns-core-modules/data/observable-array";

export class SalesChartClass extends IControl {
  private _model: any;
  private _observable: BaseObservable;
  private _targetLabel: any;
  private _StackLayout: any;
  private oRadPieChart: any;
  private oDonutSeries: any;
  private Selectionmode: any;
  private seriesArray: any;

  public initialize(props) {
  	super.initialize(props);

	// Initiate saleorder Model
    if(!this._model){ this._model = new oModel(); };

   // Stack Layout
    this._StackLayout = new StackLayout();
    this._StackLayout.backgroundColor = "#f2efe8";

   // Create Label
    this._targetLabel = new Label();
    this._targetLabel.text  = "No Sales Data";
    this._StackLayout.addChild(this._targetLabel);

    // Create Pie Chart using External plugin
    this.oRadPieChart = new RadPieChart();
    this.oRadPieChart.row = 0 ;
    this.oDonutSeries = new DonutSeries();
    this.oDonutSeries.seriesName = "myDonutSeries";
    this.Selectionmode = <ChartSeriesSelectionMode> 'None';
    this.oDonutSeries.selectionMode = this.Selectionmode;
    this.oDonutSeries.expandRadius = 0.4;
    this.oDonutSeries.outerRadiusFactor = 0.6;
    this.oDonutSeries.innerRadiusFactor = 0.8;
    this.oDonutSeries.valueProperty = "Amount";
    this.oDonutSeries.showLabels = true;
    this.seriesArray = new ObservableArray();
    this.seriesArray.push(this.oDonutSeries);
	this.oRadPieChart.series = this.seriesArray;
    this._StackLayout.addChild(this.oRadPieChart);

    // Extension Properties
    let extProps = this.definition().data.ExtensionProperties;
	  if (extProps) {
    	  // Resolve SalesData
	      this.valueResolver().resolveValue(extProps.SalesData, this.context, true).then(function(SalesData){
			this._targetLabel.text  = "Sales Orders Revenue";
			this._targetLabel.textAlignment = "center";
			this._targetLabel.fontWeight = "bold";
			SalesData.forEach(result=> {
				 this._model.setSalesOrderHeader( result.SalesOrderId, result.NetAmount );
			});
            this.oDonutSeries.items = this._model.getSalesOrderHeader();
	      }.bind(this));
    	}
  }

  public view() {
      return this._StackLayout; // Return View
  }

  public viewIsNative() {
    return true;
  }

  // Abstract Method
   public observable() {
    if (!this._observable) {
      this._observable = new BaseObservable(this, this.definition(), this.page());
    }
    return this._observable;

    }

  // Abstract Method
    public setValue(value: any, notify: boolean): Promise<any> {
       return Promise.resolve();
  }

  public setContainer(container: IControl) {
    // do nothing
  }
}
Step 4: MDK Deploy and Activate
Right-click the NS_CustomerSales MDK Application in the project explorer pane and select MDK Deploy and Activate.
Past below in Externals and click on Next. “Nativescript-ui-chart” which is the external plugin we use in this app
file-system;ui/dialogs;./controls/IControl;./observables/BaseObservable;nativescript-ui-chart;ui/enums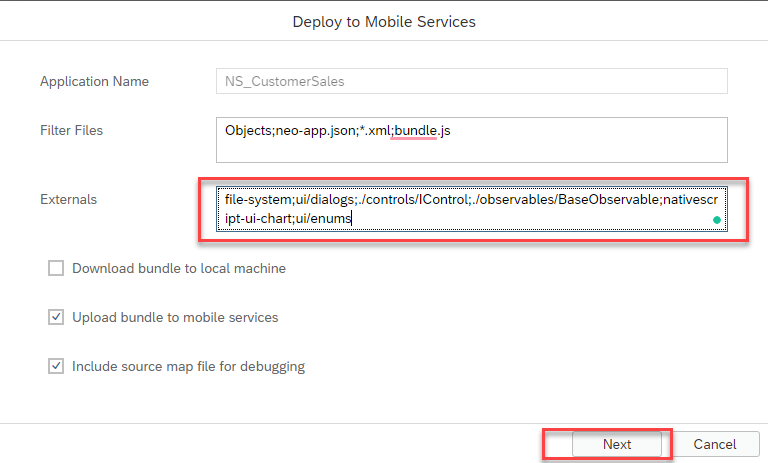
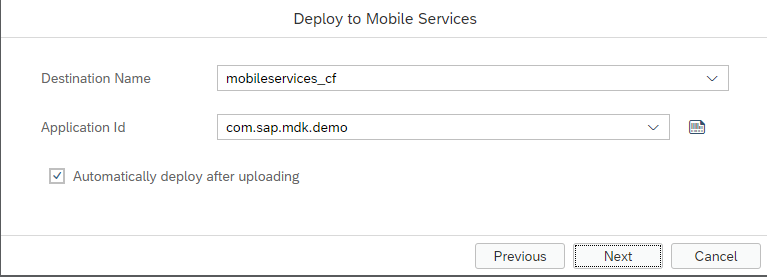
Confirm the destination name and application id match where you want to deploy.
Step 5: Create Your Branded MDK Client
create a branded client using MDK SDK.

Make sure your external “Nativescript-ui-chart” is also mentioned in your branding client
Step 6: Run the MDK Client(Android)
In this step, we will run the app on android device
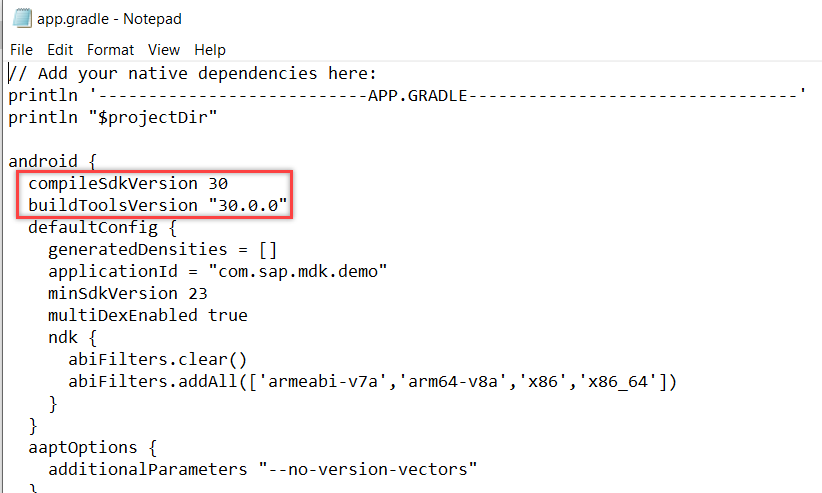
Navigate to \Customer Sales\app\App_Resources\Android.
Make sure compile SDK version is “30”( Android SDK API level )
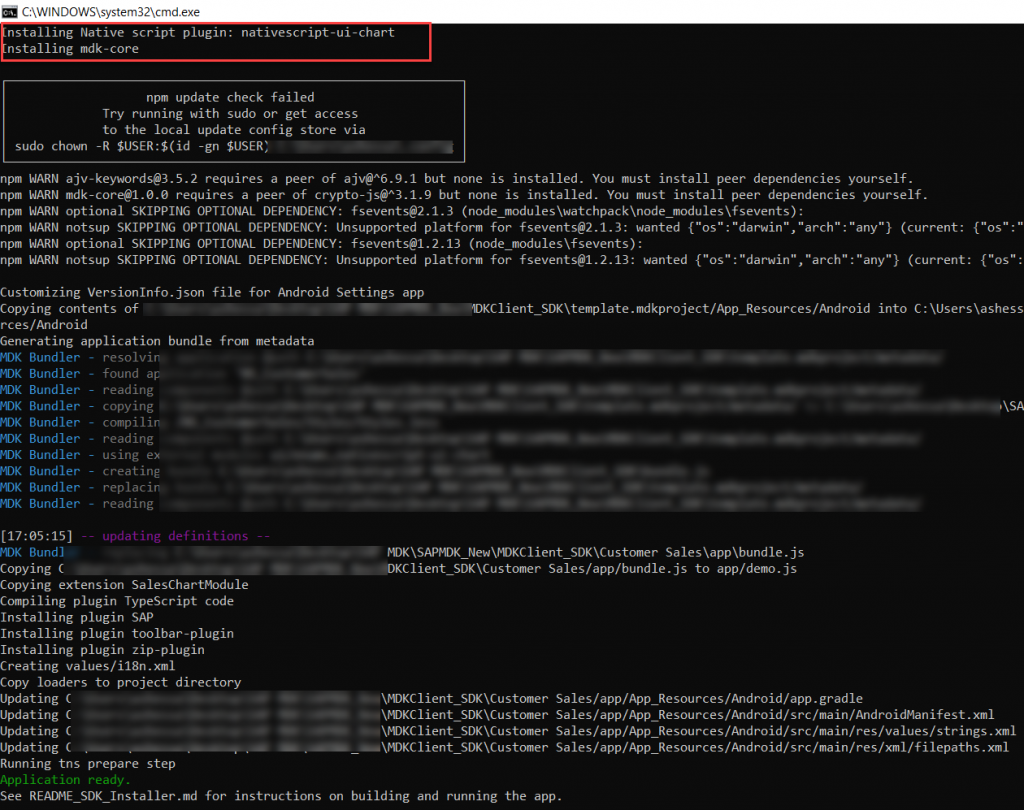
In terminal or command line window, navigate to the app name folder Customer Sales App in MDClient_SDKpath and use tns run android –device command to run the MDK client on android device.

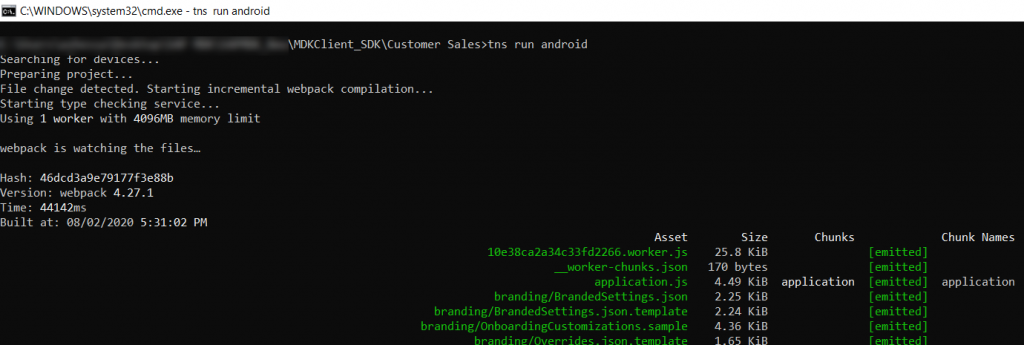
Once, the above command gets successfully executed, you will see new MDK client up and running in the Android device.
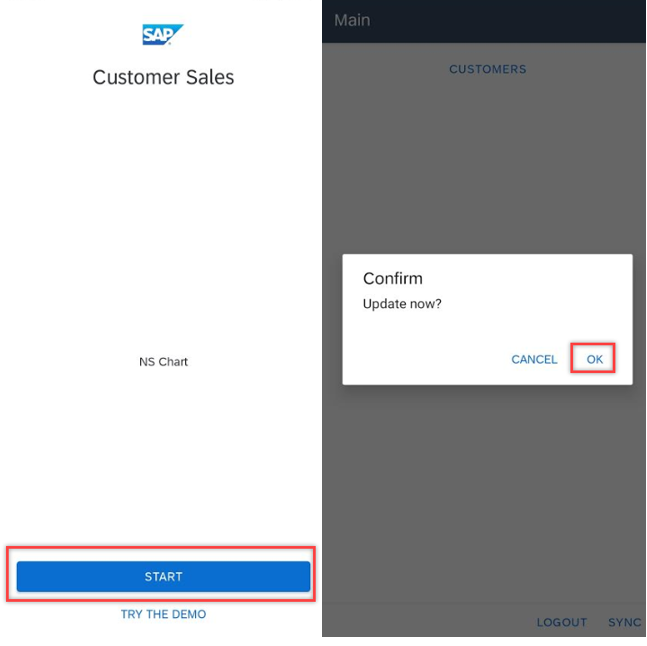
Tap START to connect MDK client to SAP Cloud Platform and Enter the email address and password to login to SAP Cloud Platform and tap Log On to authenticate.
Upon finishing the authentication, Tap OK to update the client with new MDK metadata.
Navigate to the Customer List page and click on any of the customer to see the Nativescript Chart loading in the extension page
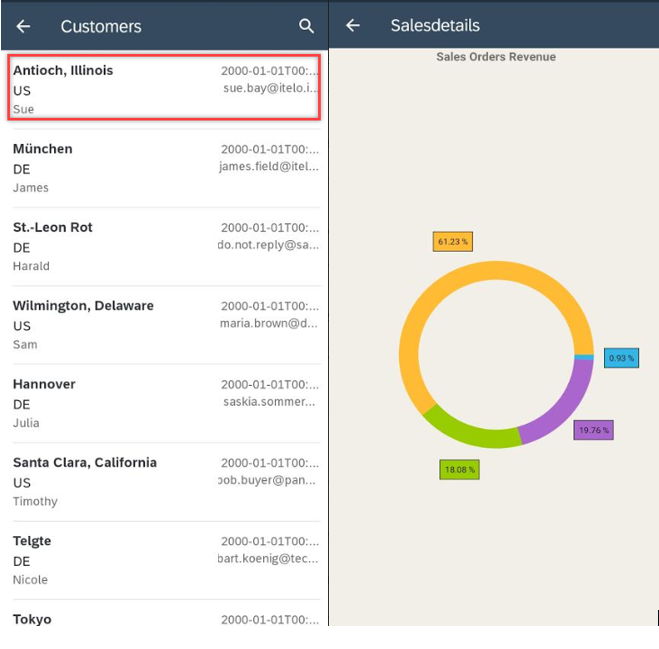
Make sure you have created enough mock data by clicking on “Generate Sample Sales orders” icon as shown in the below