Introduction
Fiori Applications are really useful and user friendly mechanism to access SAP transactions and reports . To access these applications securely over Internet SAML Authentication can be used.
For this, single sign-on can be implemented using SAML 2.0 based authentication in conjunction with IdP (Identity Provider) software such as SAP IDP, Ping Federate or Microsoft’s Active Directory Federation Service (AD FS).
The user will need to authenticate themselves in a process known as Service Provider based authentication.
Here in this blog post i will provide the step by step approach to configure SAML based authentication to SAP Fiori system in your landscape.
Prerequisites
- SAP Fiori system Initial Gateway configuration is completed.
- SSL should be properly configured for the Fiori System.
- Web Dispatcher of F5 Load balancer should have been configured to act as reverse proxy for redirecting Fiori URL’s from internet to Fiori server.
Configuration Steps
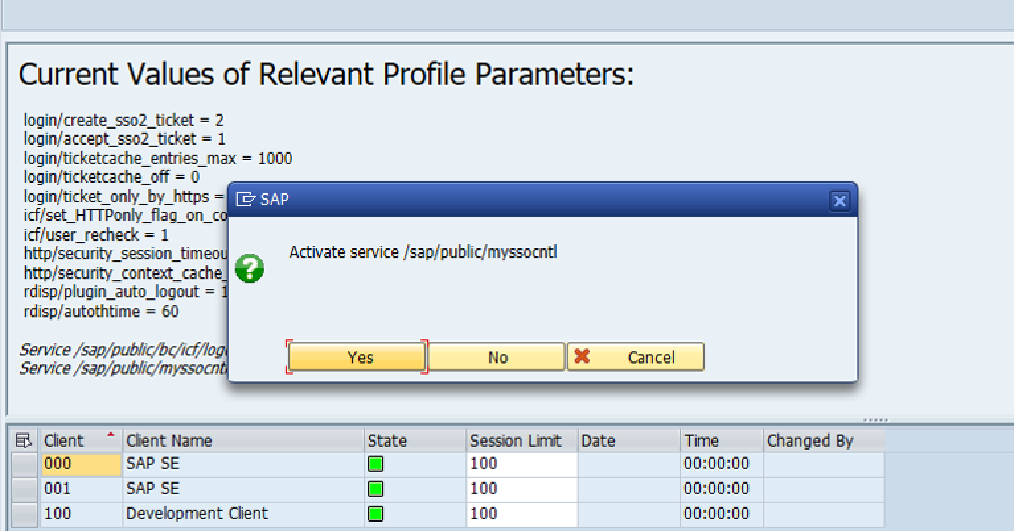
1. Login to Fiori server working client and execute transaction SICF_SESSIONS and activate /sap/bc/myssocntl for working client.
Goto to transaction SICF and activate the following services.
a) /default_host/sap/bc/webdynpro/sap/saml2
b) /default_host/sap/public/bc
c) /default_host/sap/public/bc/icons
d) /default_host/sap/public/bc/icons_rtl
e) /default_host/sap/public/bc/webicons
f) /default_host/sap/public/bc/pictograms
g) /default_host/sap/public/bc/webdynpros
h) /default_host/sap/public/bc/uics
i) /default_host/sap/public/bc/sec/saml2
j) /default_host/sap/public/bc/sec/cdc_ext_service
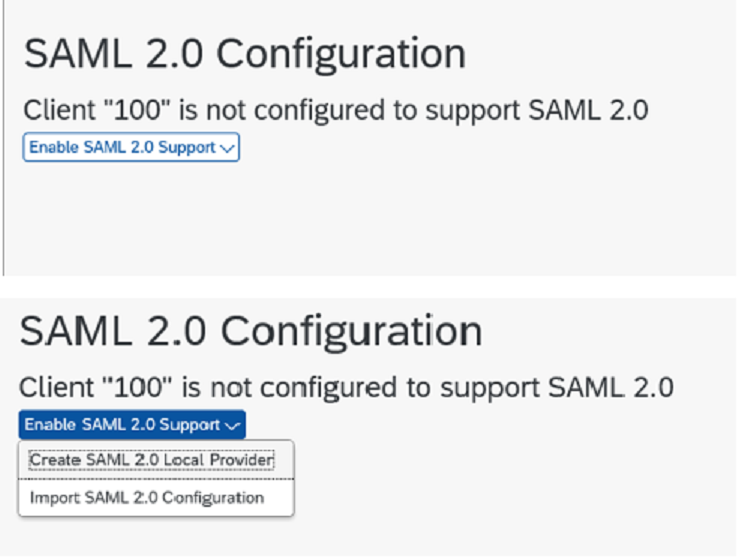
3. Run Transaction SAML2, it will open in web browser. Enter Fiori credentials to login
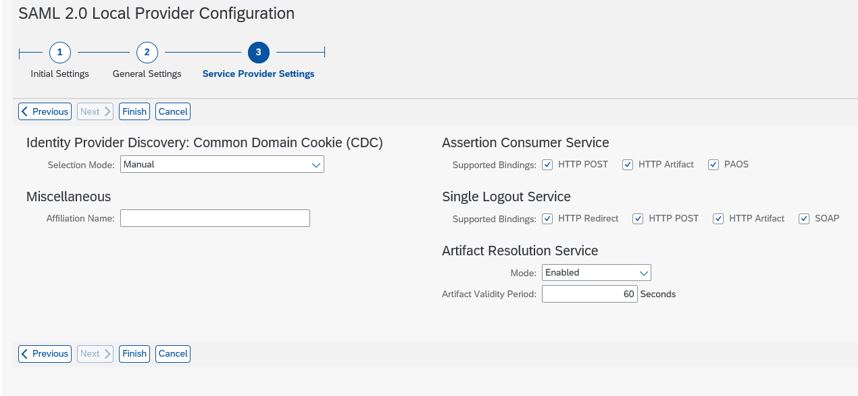
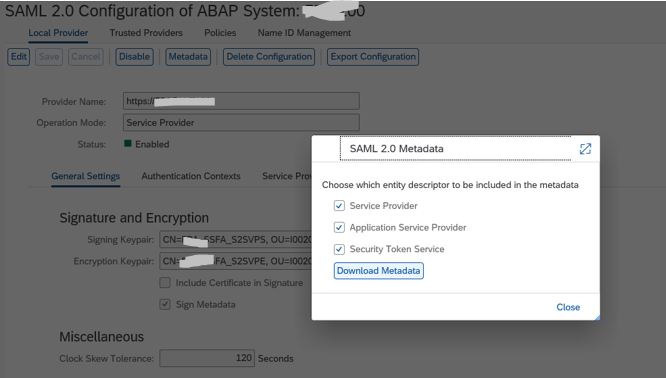
4. Create and enable a Local Provider.
This identifies your NW Gateway server as a system that can accept SAML based authentication.
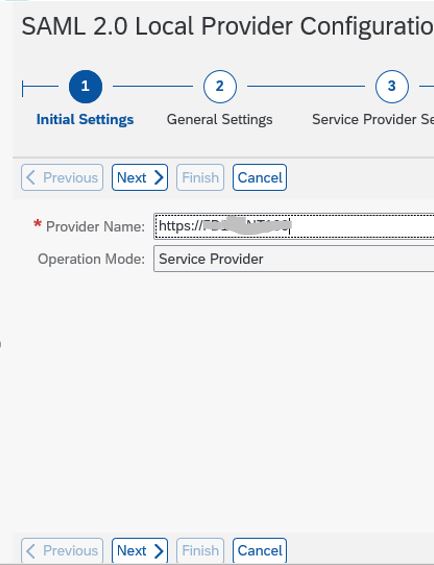
5. Provide Local provider name in the format https://<SIDCLNTxxx>

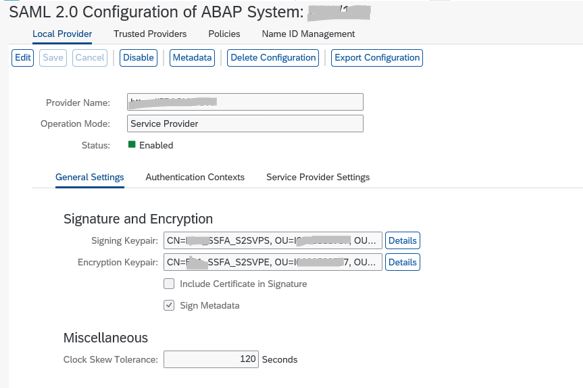
6. System configured as Local Provider
7. Download the SAML2 Metadata and send it to Azure ADFS (Active Directory Federation Service) to configure SSO and request for Azure metadata and certificate file for Azure AD team.
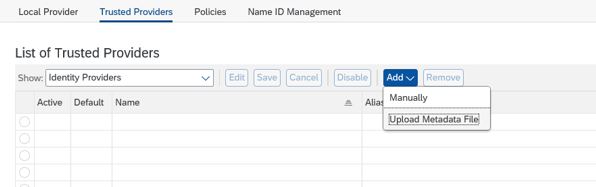
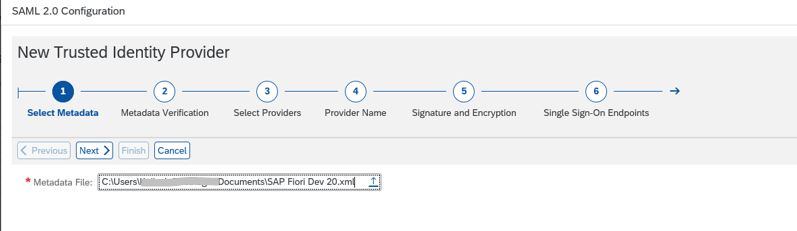
8. Once the Azure metadata file and certificate file is received ,go to trusted provider tab and Add the files using the wizard.
9. Upload Azure Metadata file <file>.xml
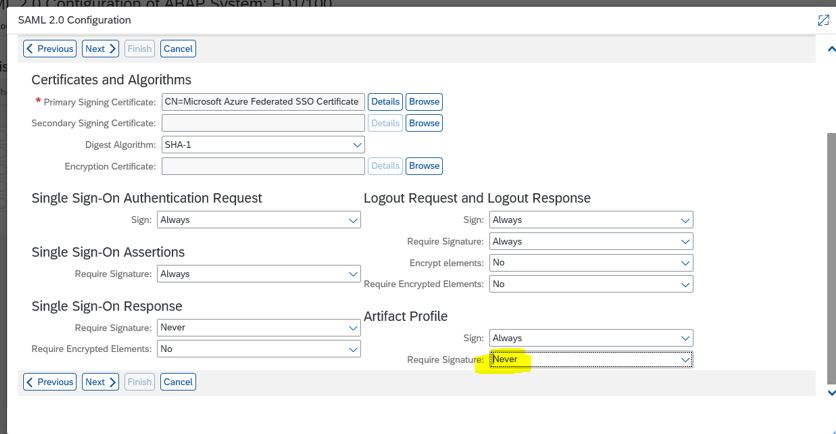
10. Upload the Azure certificate file received .

11. Give the Name of Identity Provider

12. Under Artifact profile change Require Signature to Never.
13. Select Http Redirect
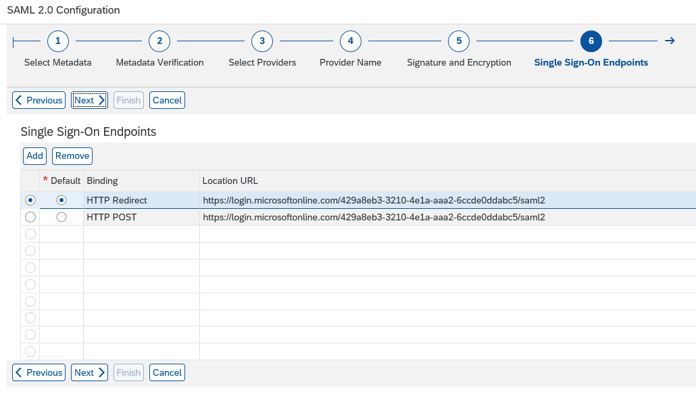
14. Confirm if Http Redirect is selected .
15. Leave blank
16. Select Http Artifact under Authentication Response

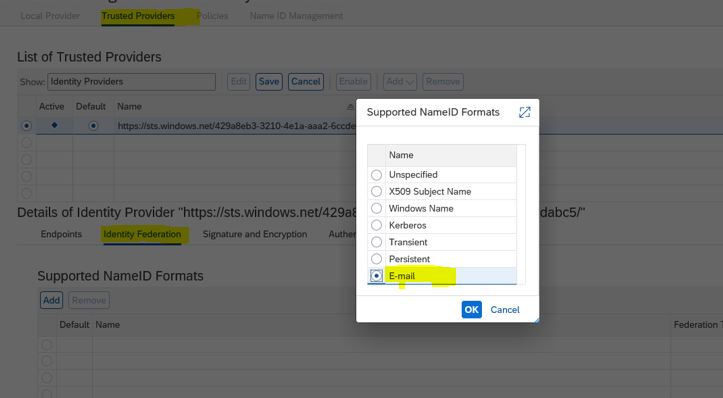
17. Under Trusted Provider -> Identity Federation -> click Add and select E-Mail ( AS email will e used for Authentication . Make sure to maintain proper email id’s under SU01 in Fiori system for all user using Fiori Apps
18. Configuration Completed
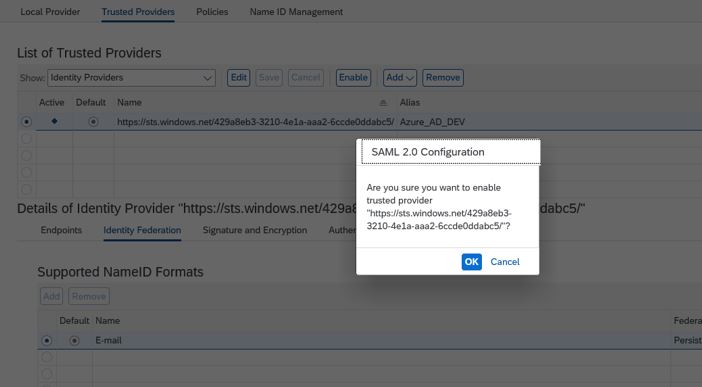
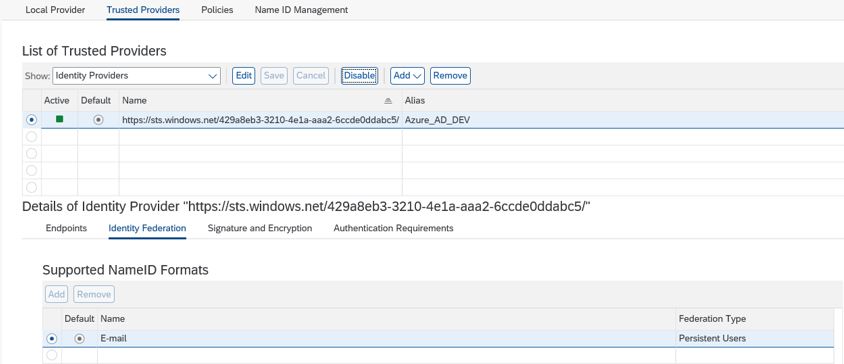
19. Final Screen with Identity Provider Enabled.
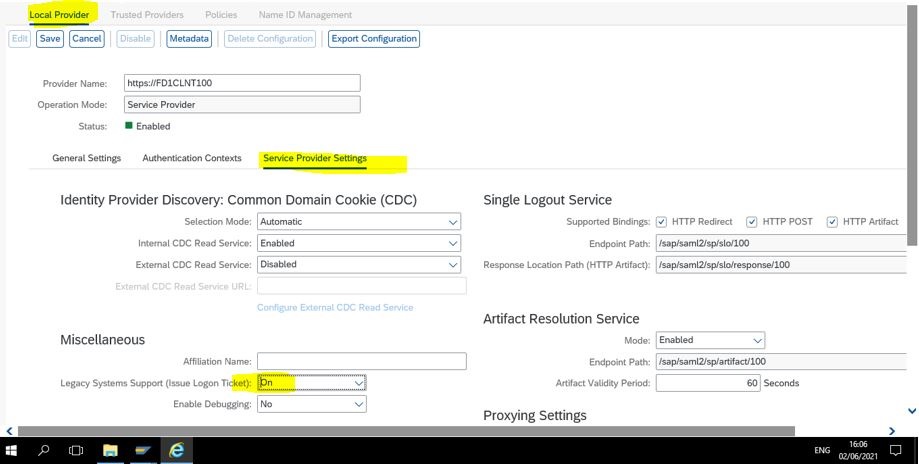
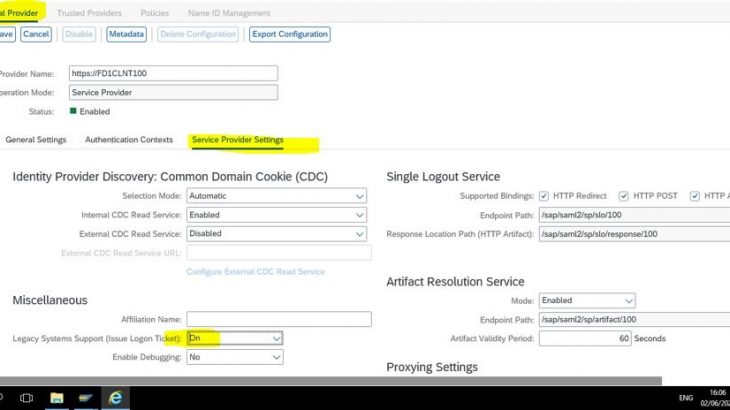
20. Go to Local Provider -> Service Provider Setting and Under Miscellaneous switch ON Legacy system Logon tickets